Project Planning in Kavia Chat
Create a New Project
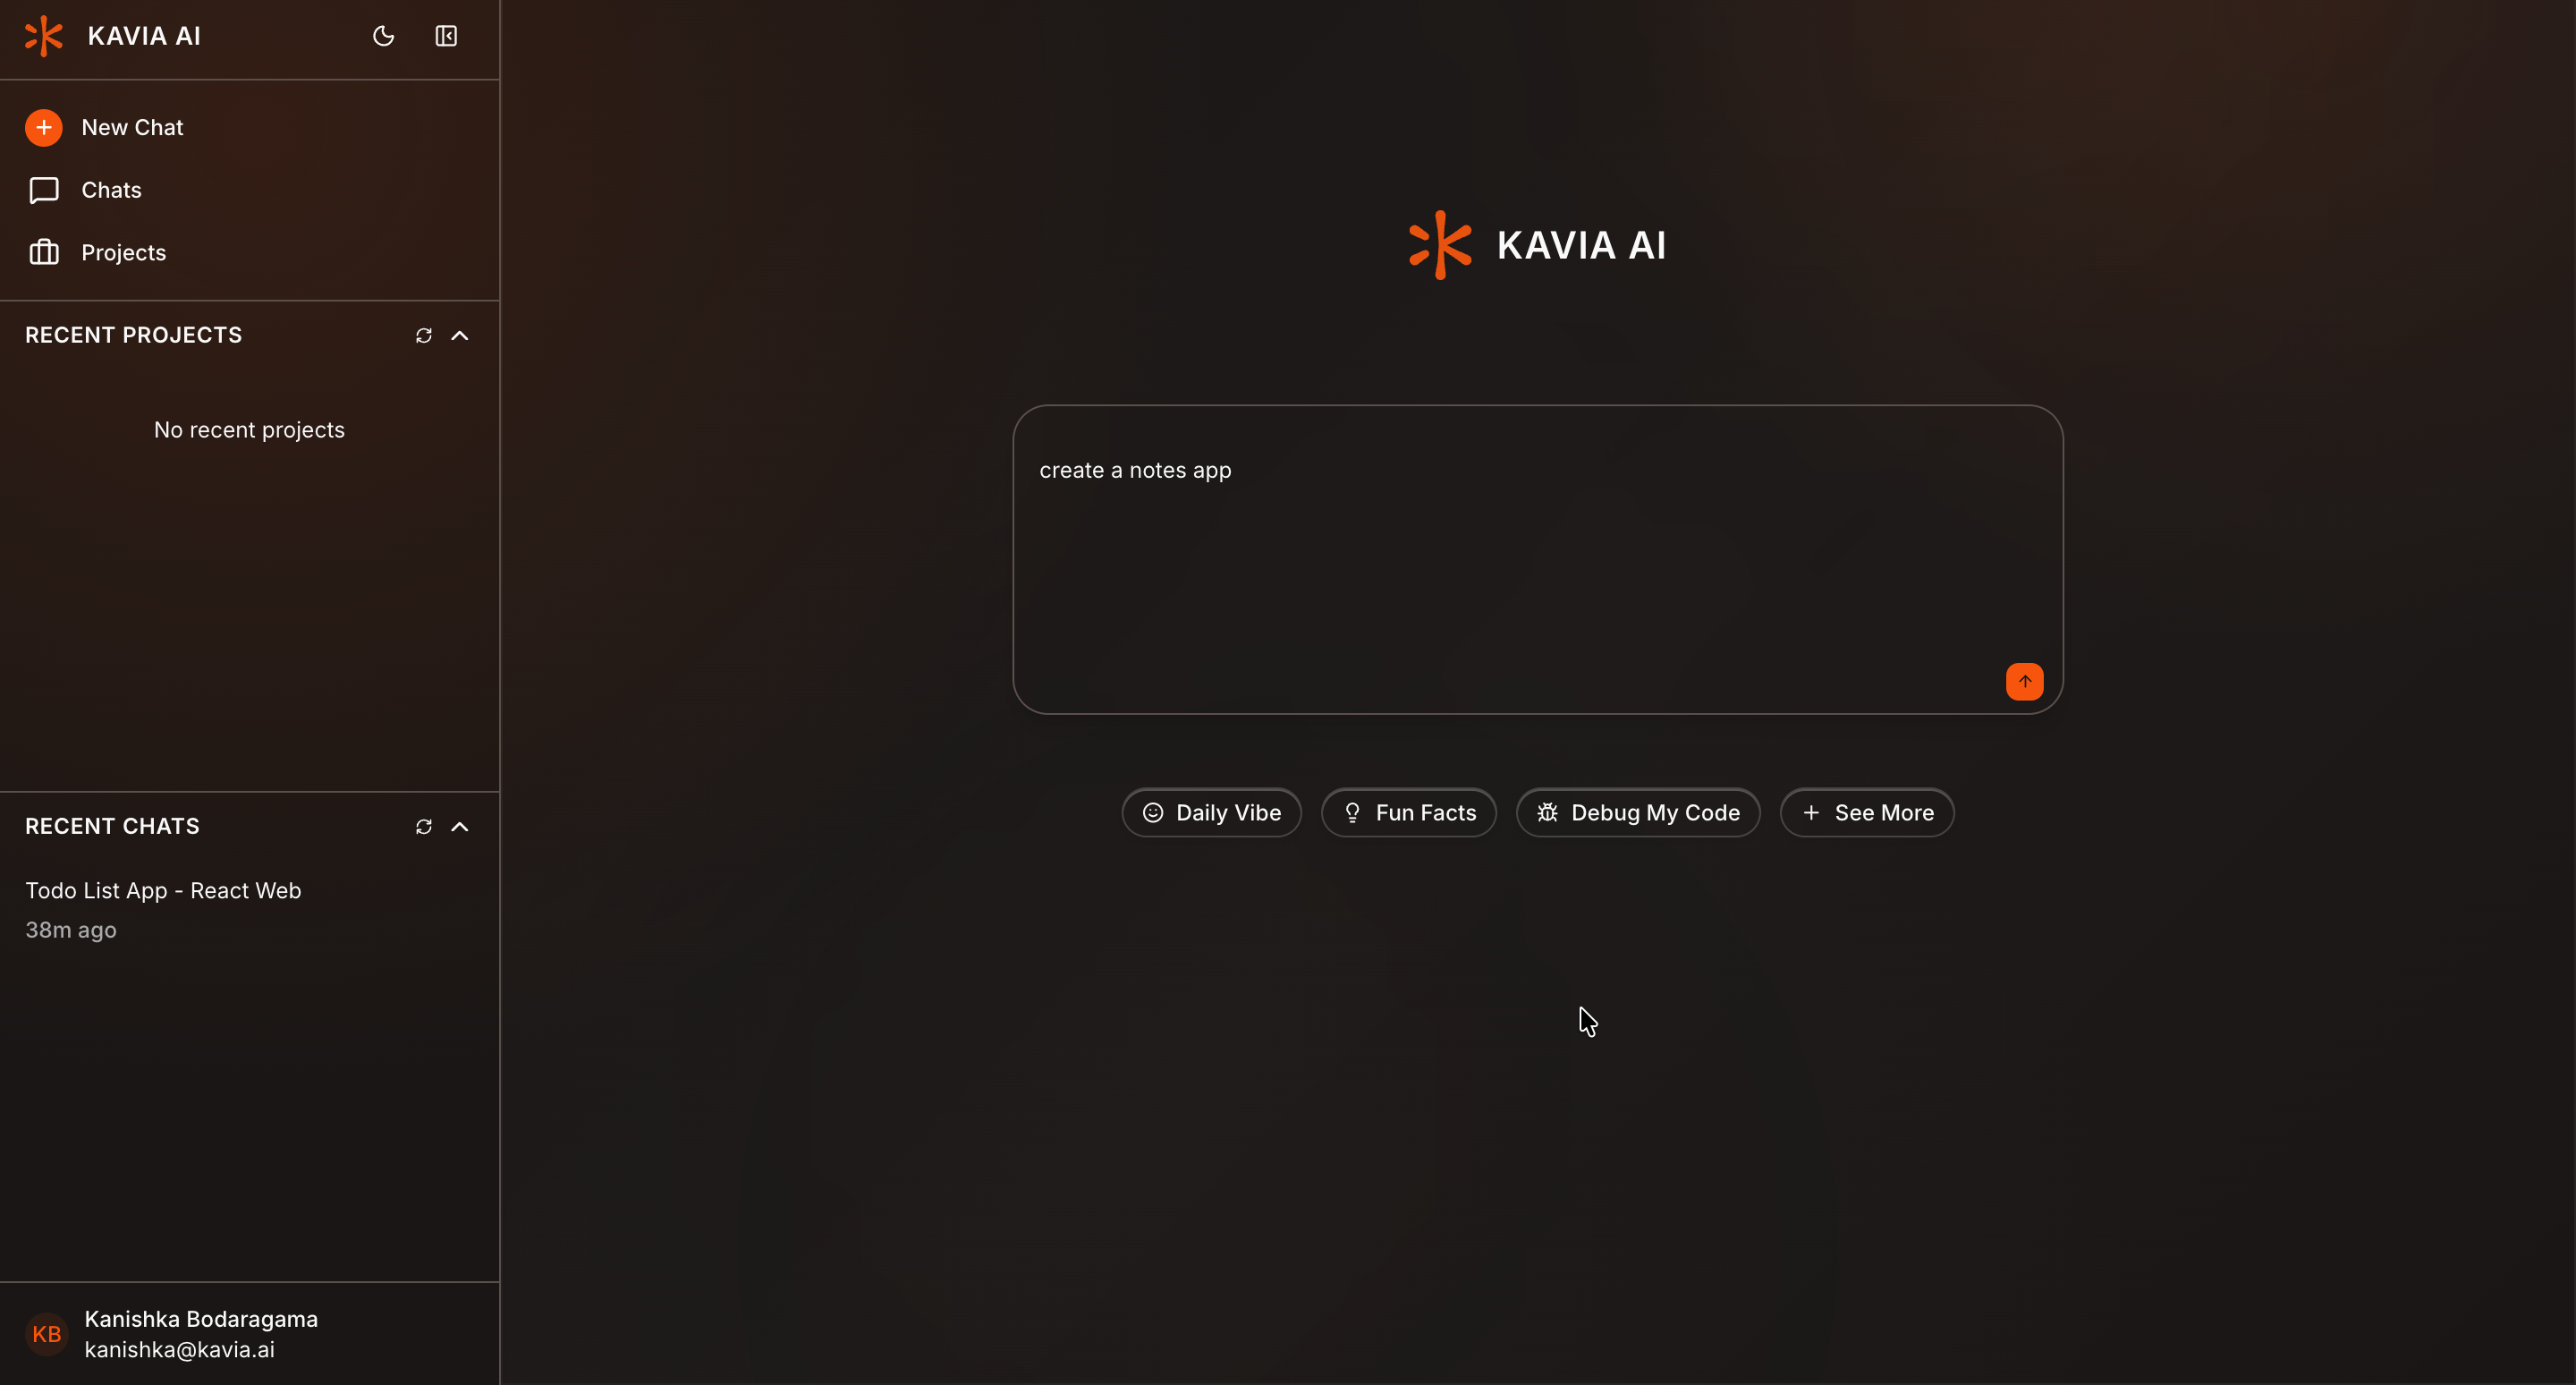
Create a new project from Kavia Chat.
Once the project is created, click the arrow button to continue to the Project Blueprint.
Review Project Blueprint Settings
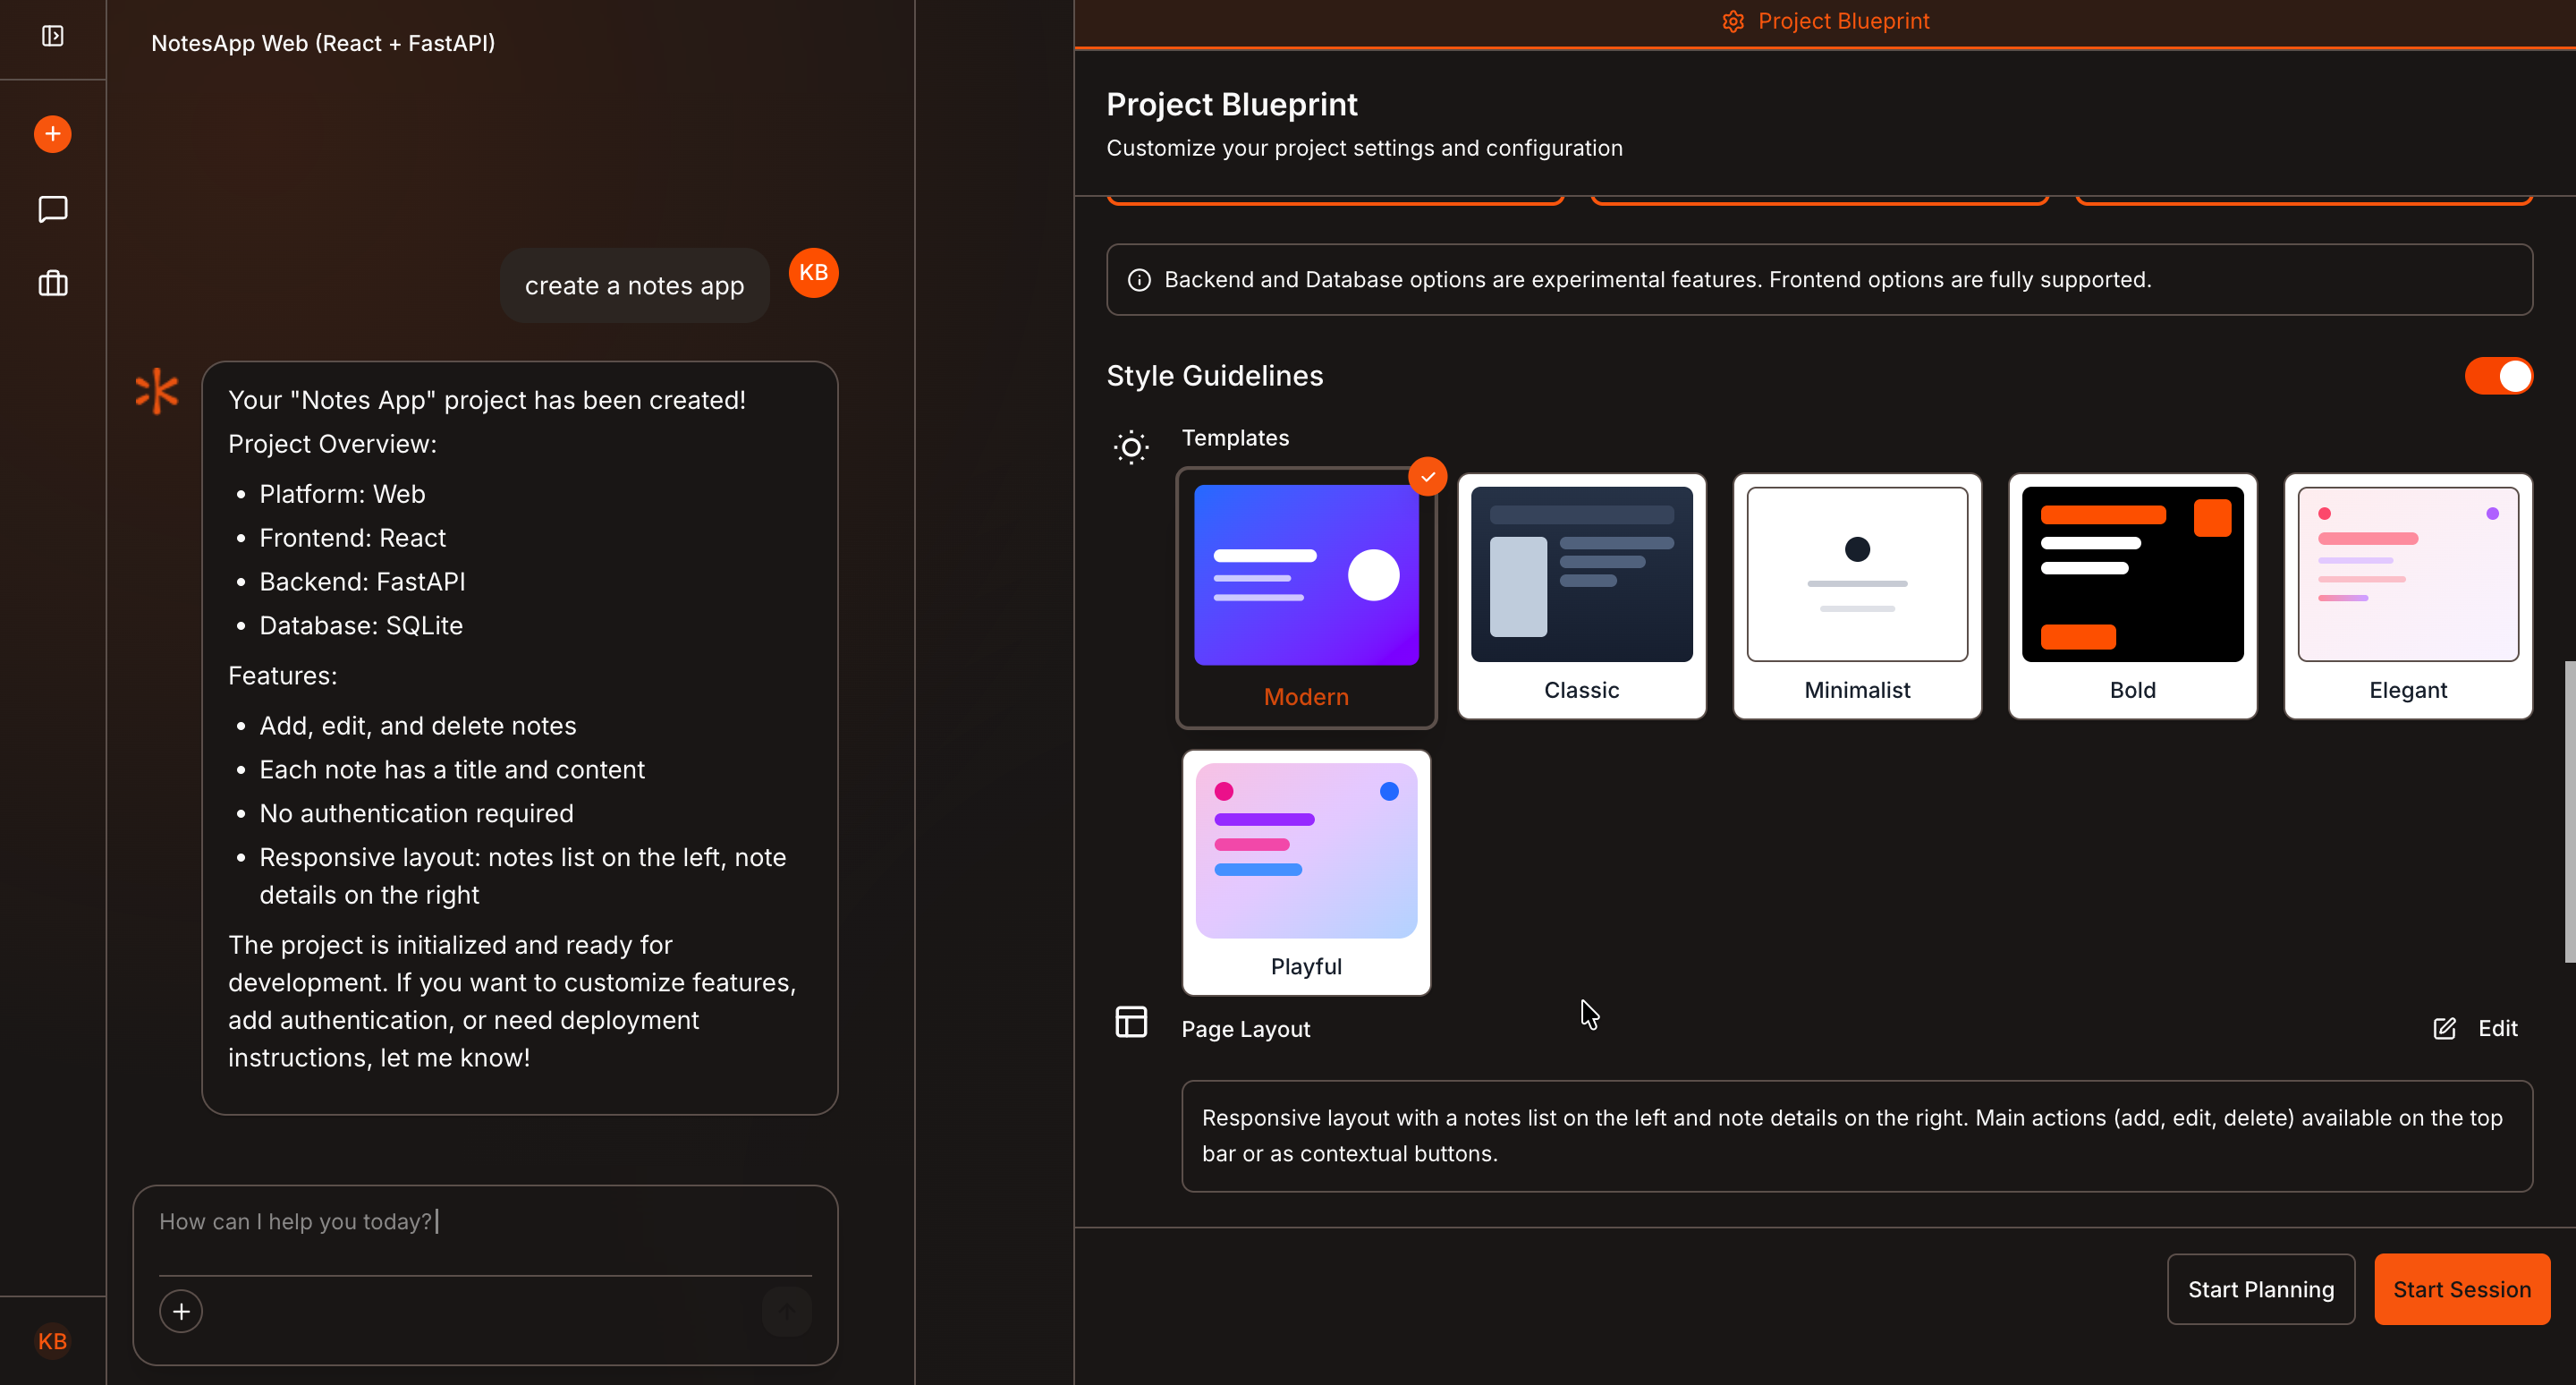
Inside the Project Blueprint, review and configure the basic project settings.
Once you’re satisfied with the initial setup, click Start Planning to begin the project planning process.
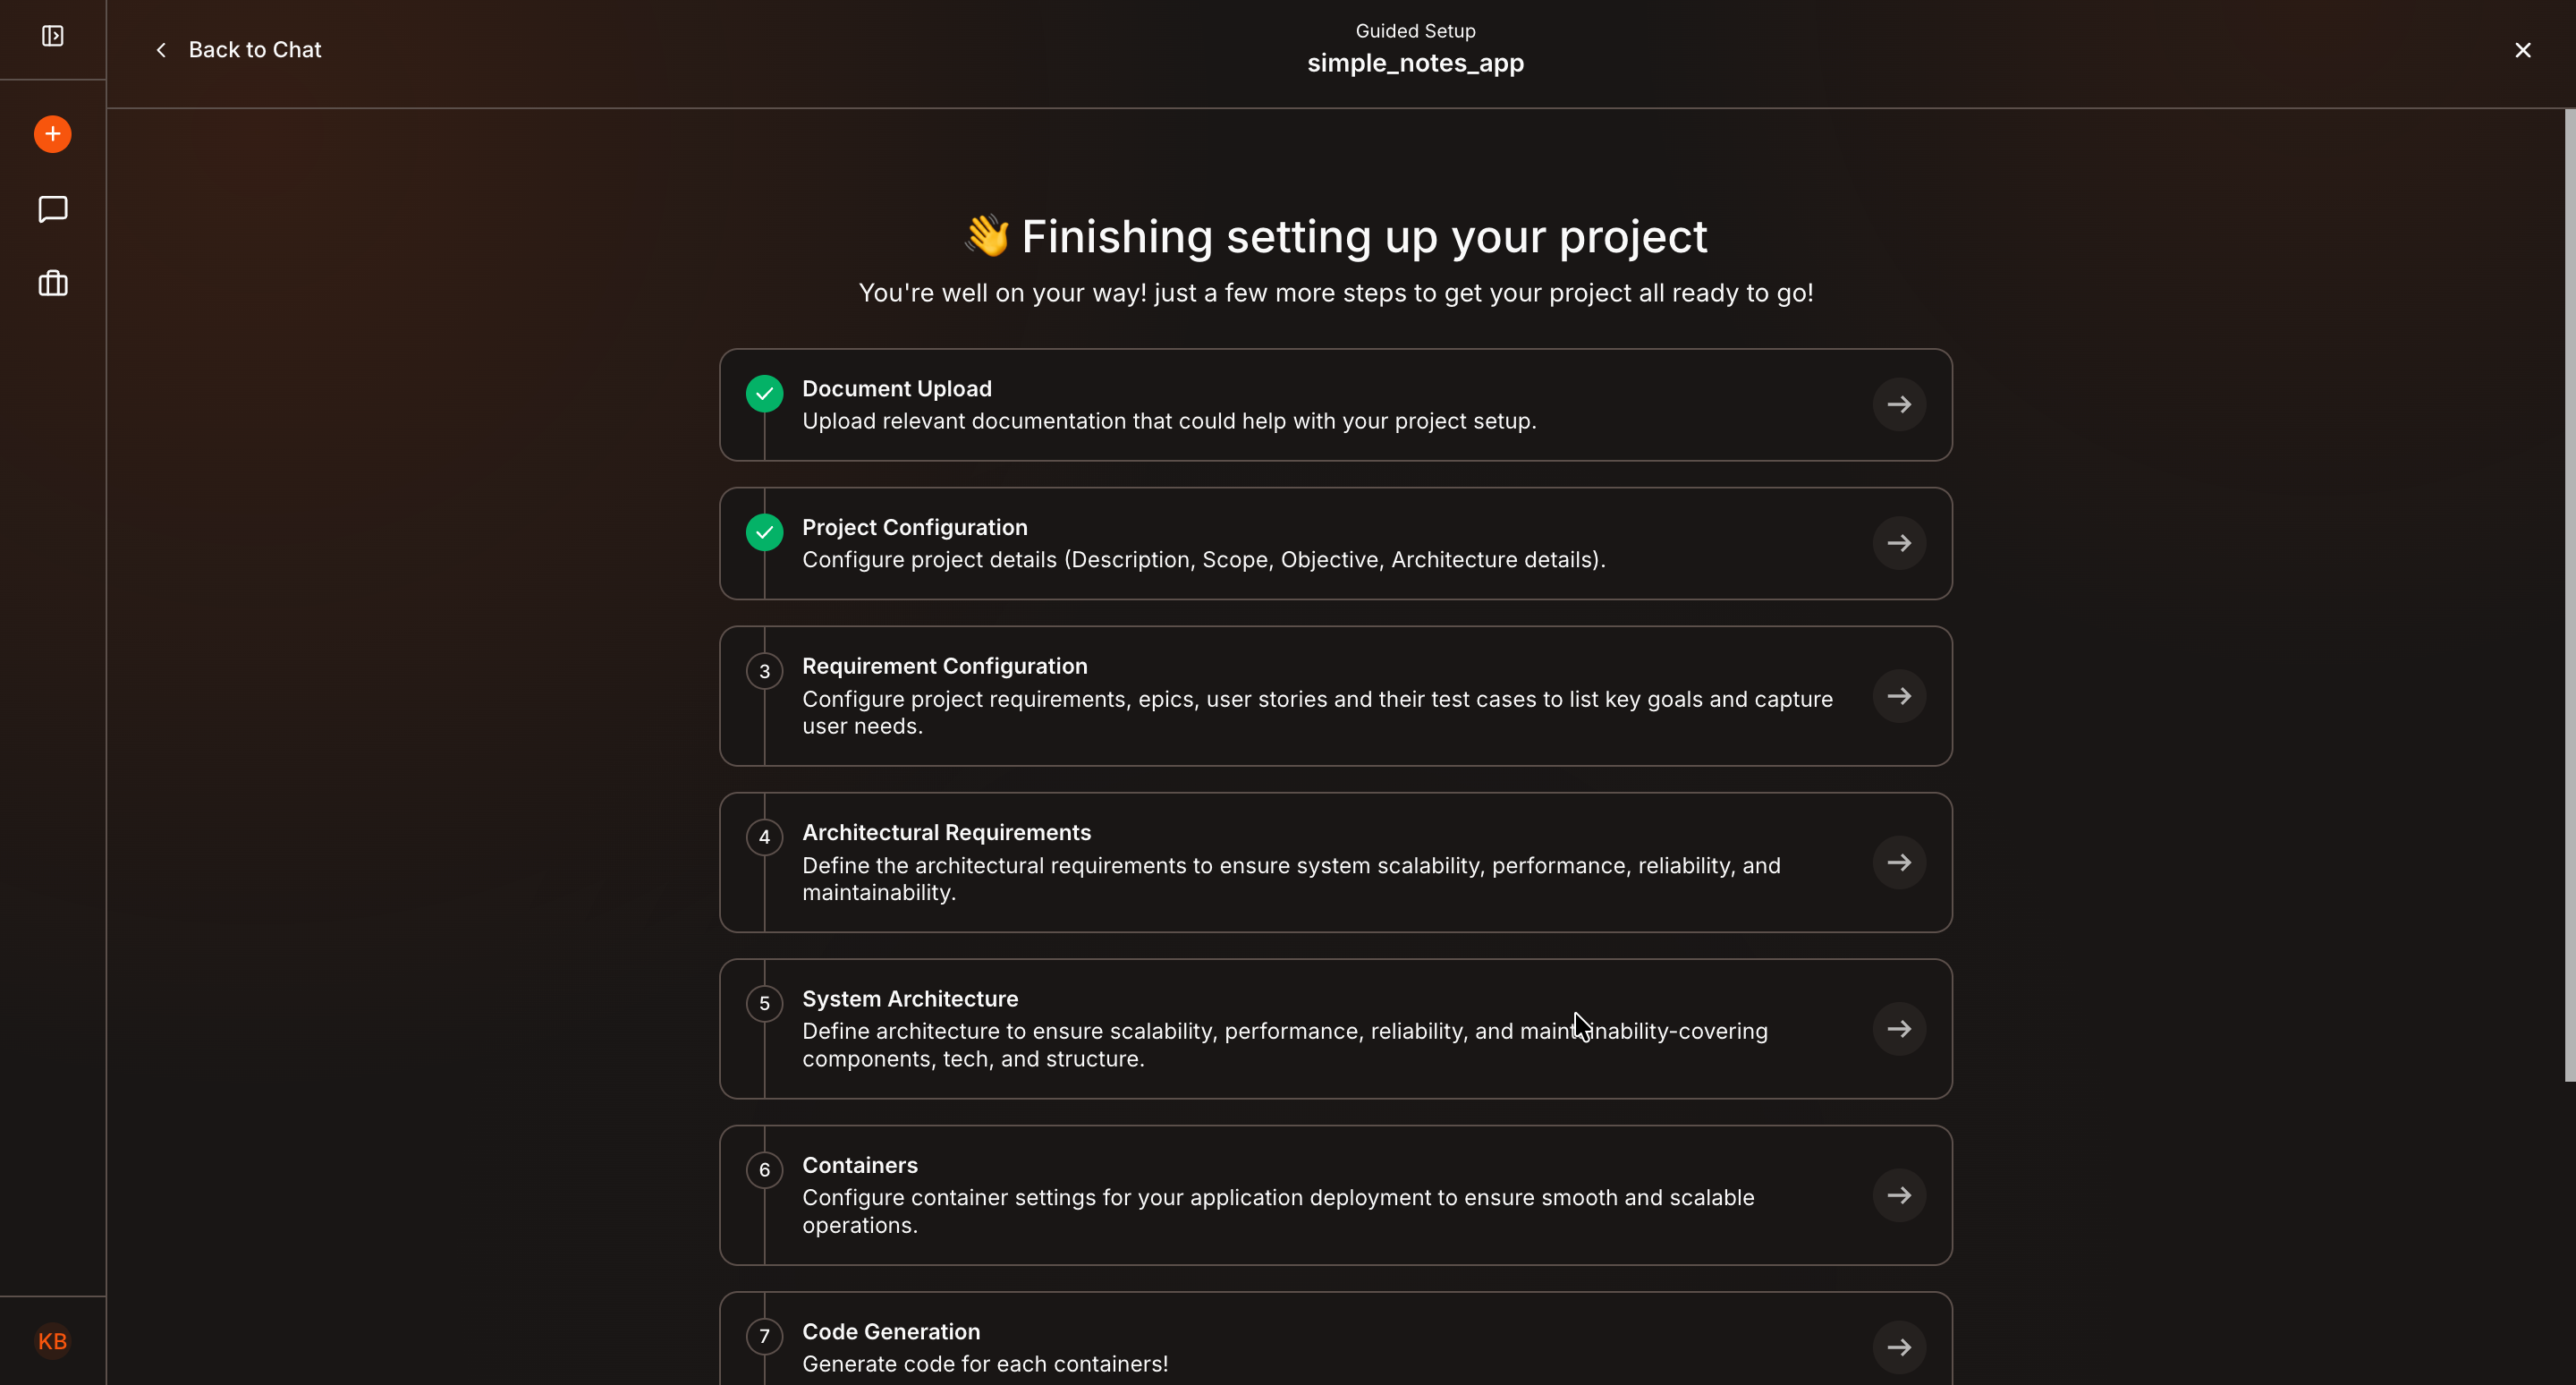
Access the Planning Steps
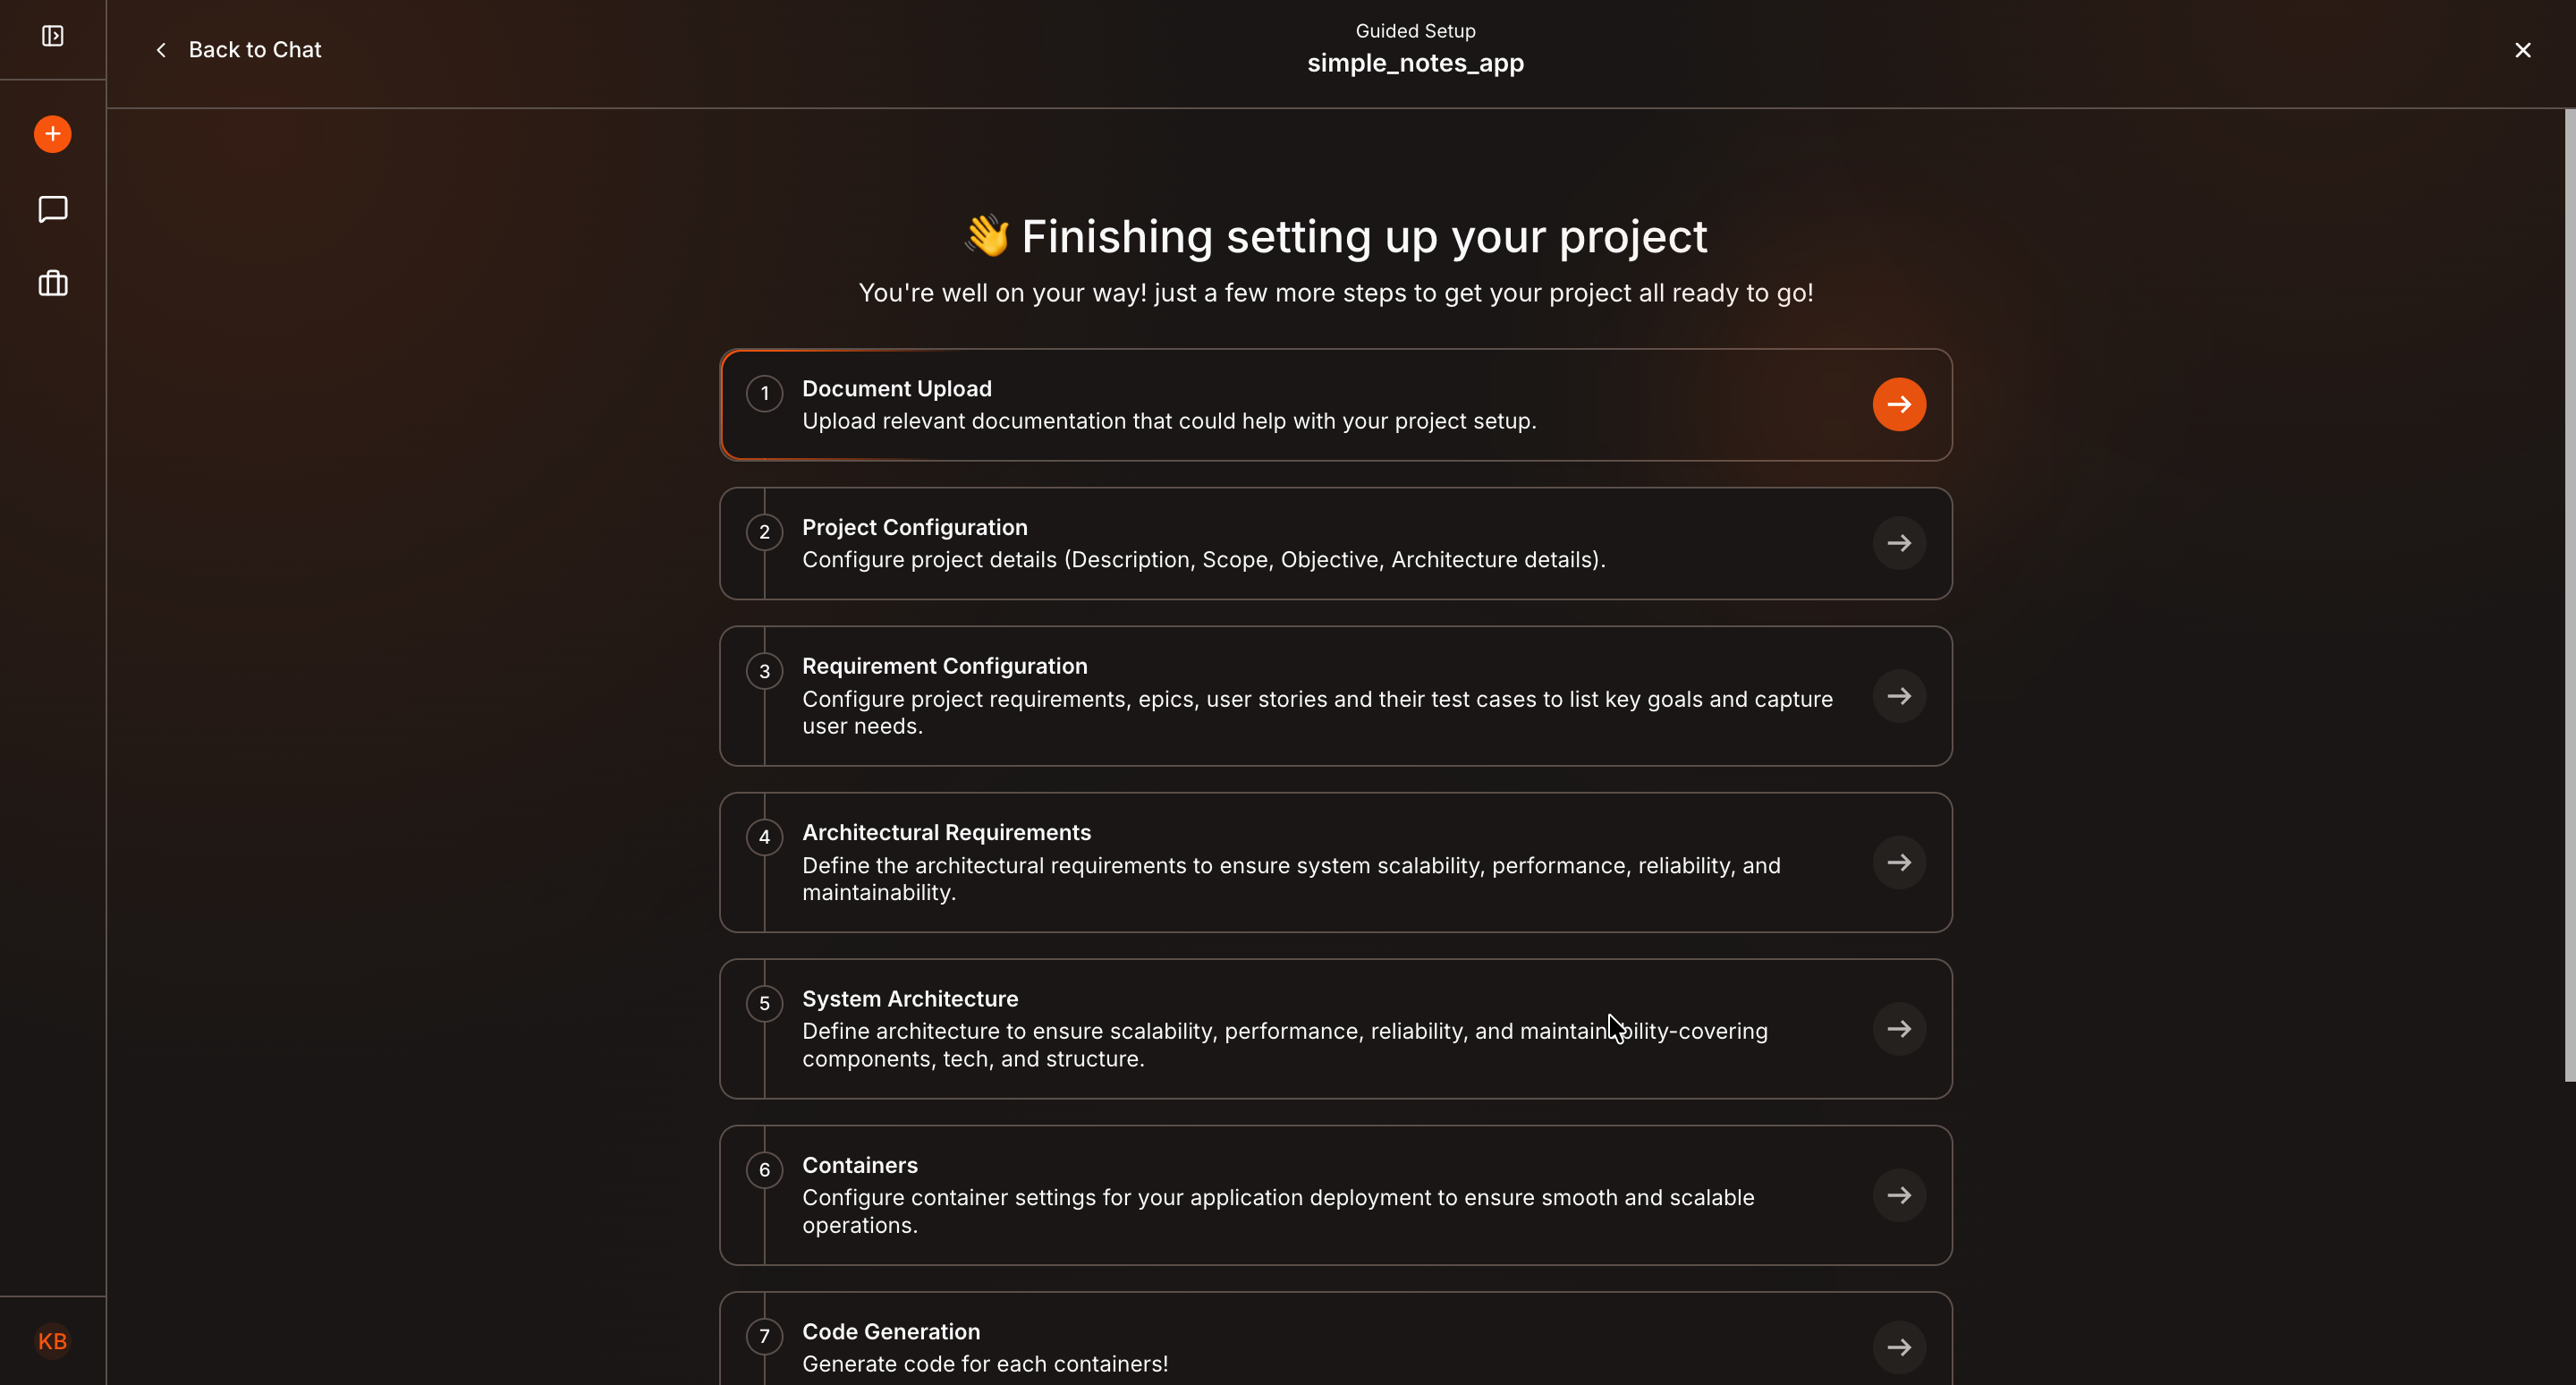
You’ll be redirected to the Project Planning screen, where you’ll see 9 planning steps.
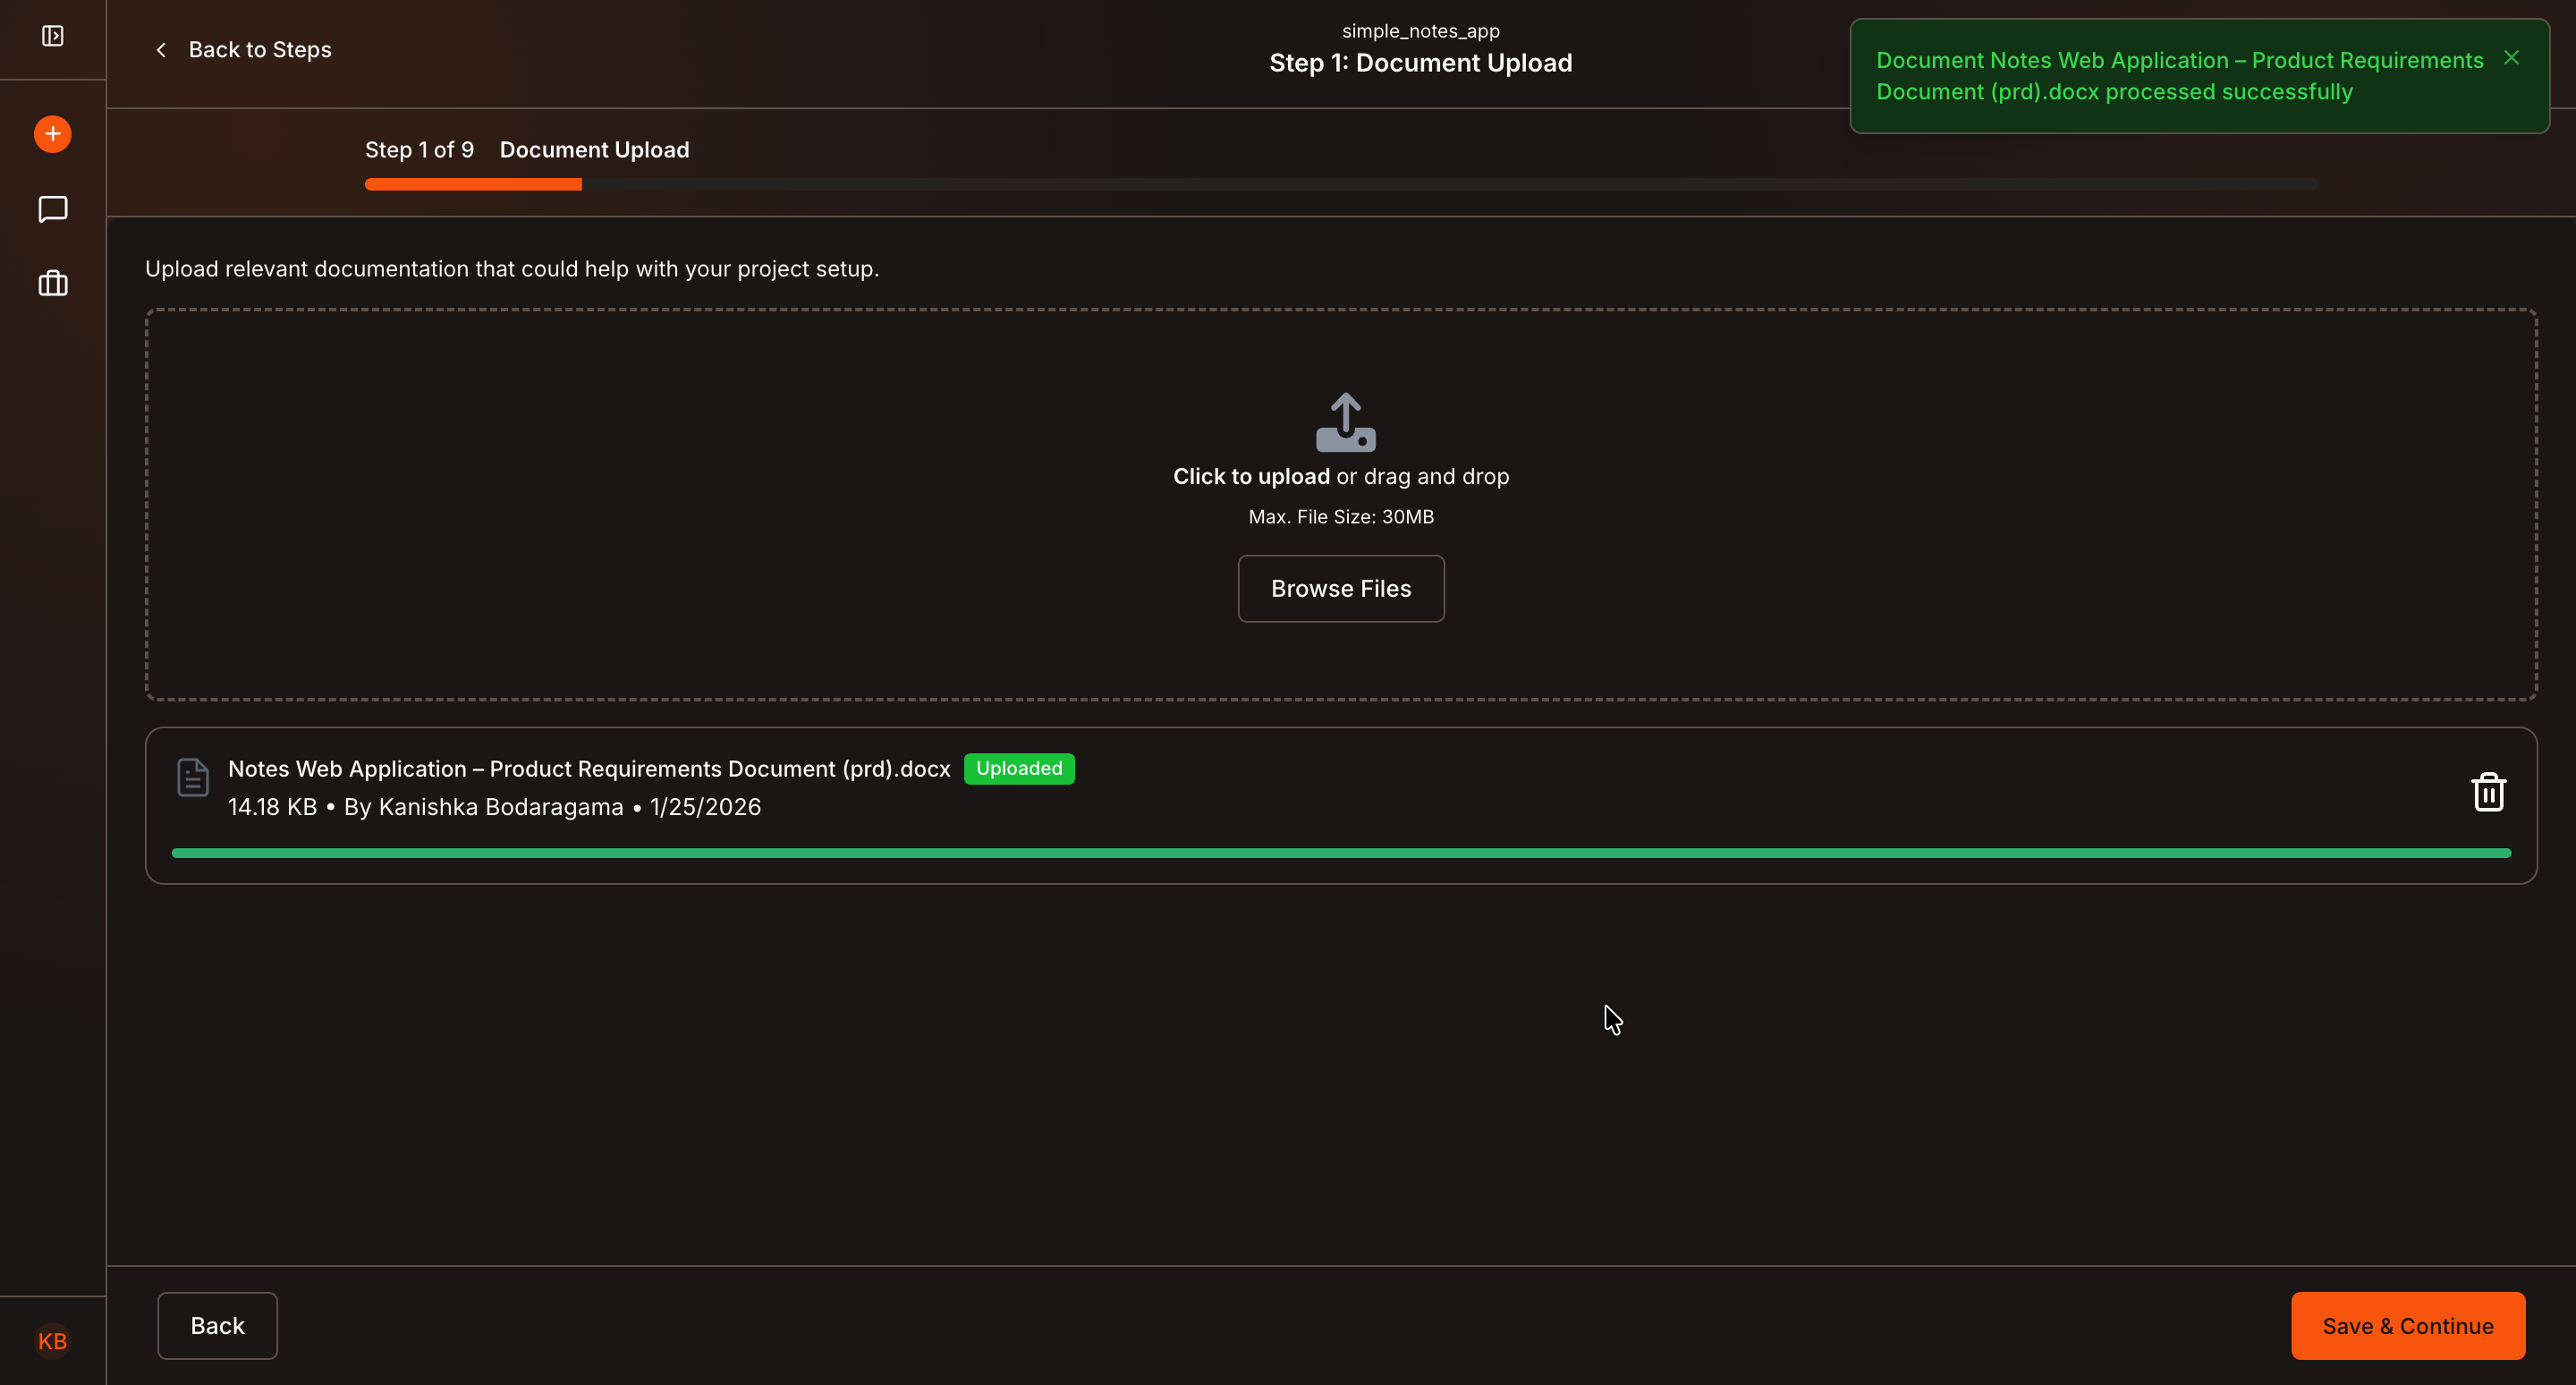
Start with the first step: Document Upload.
Click the step and wait until Kavia redirects you to the relevant page.
Upload Project Documents
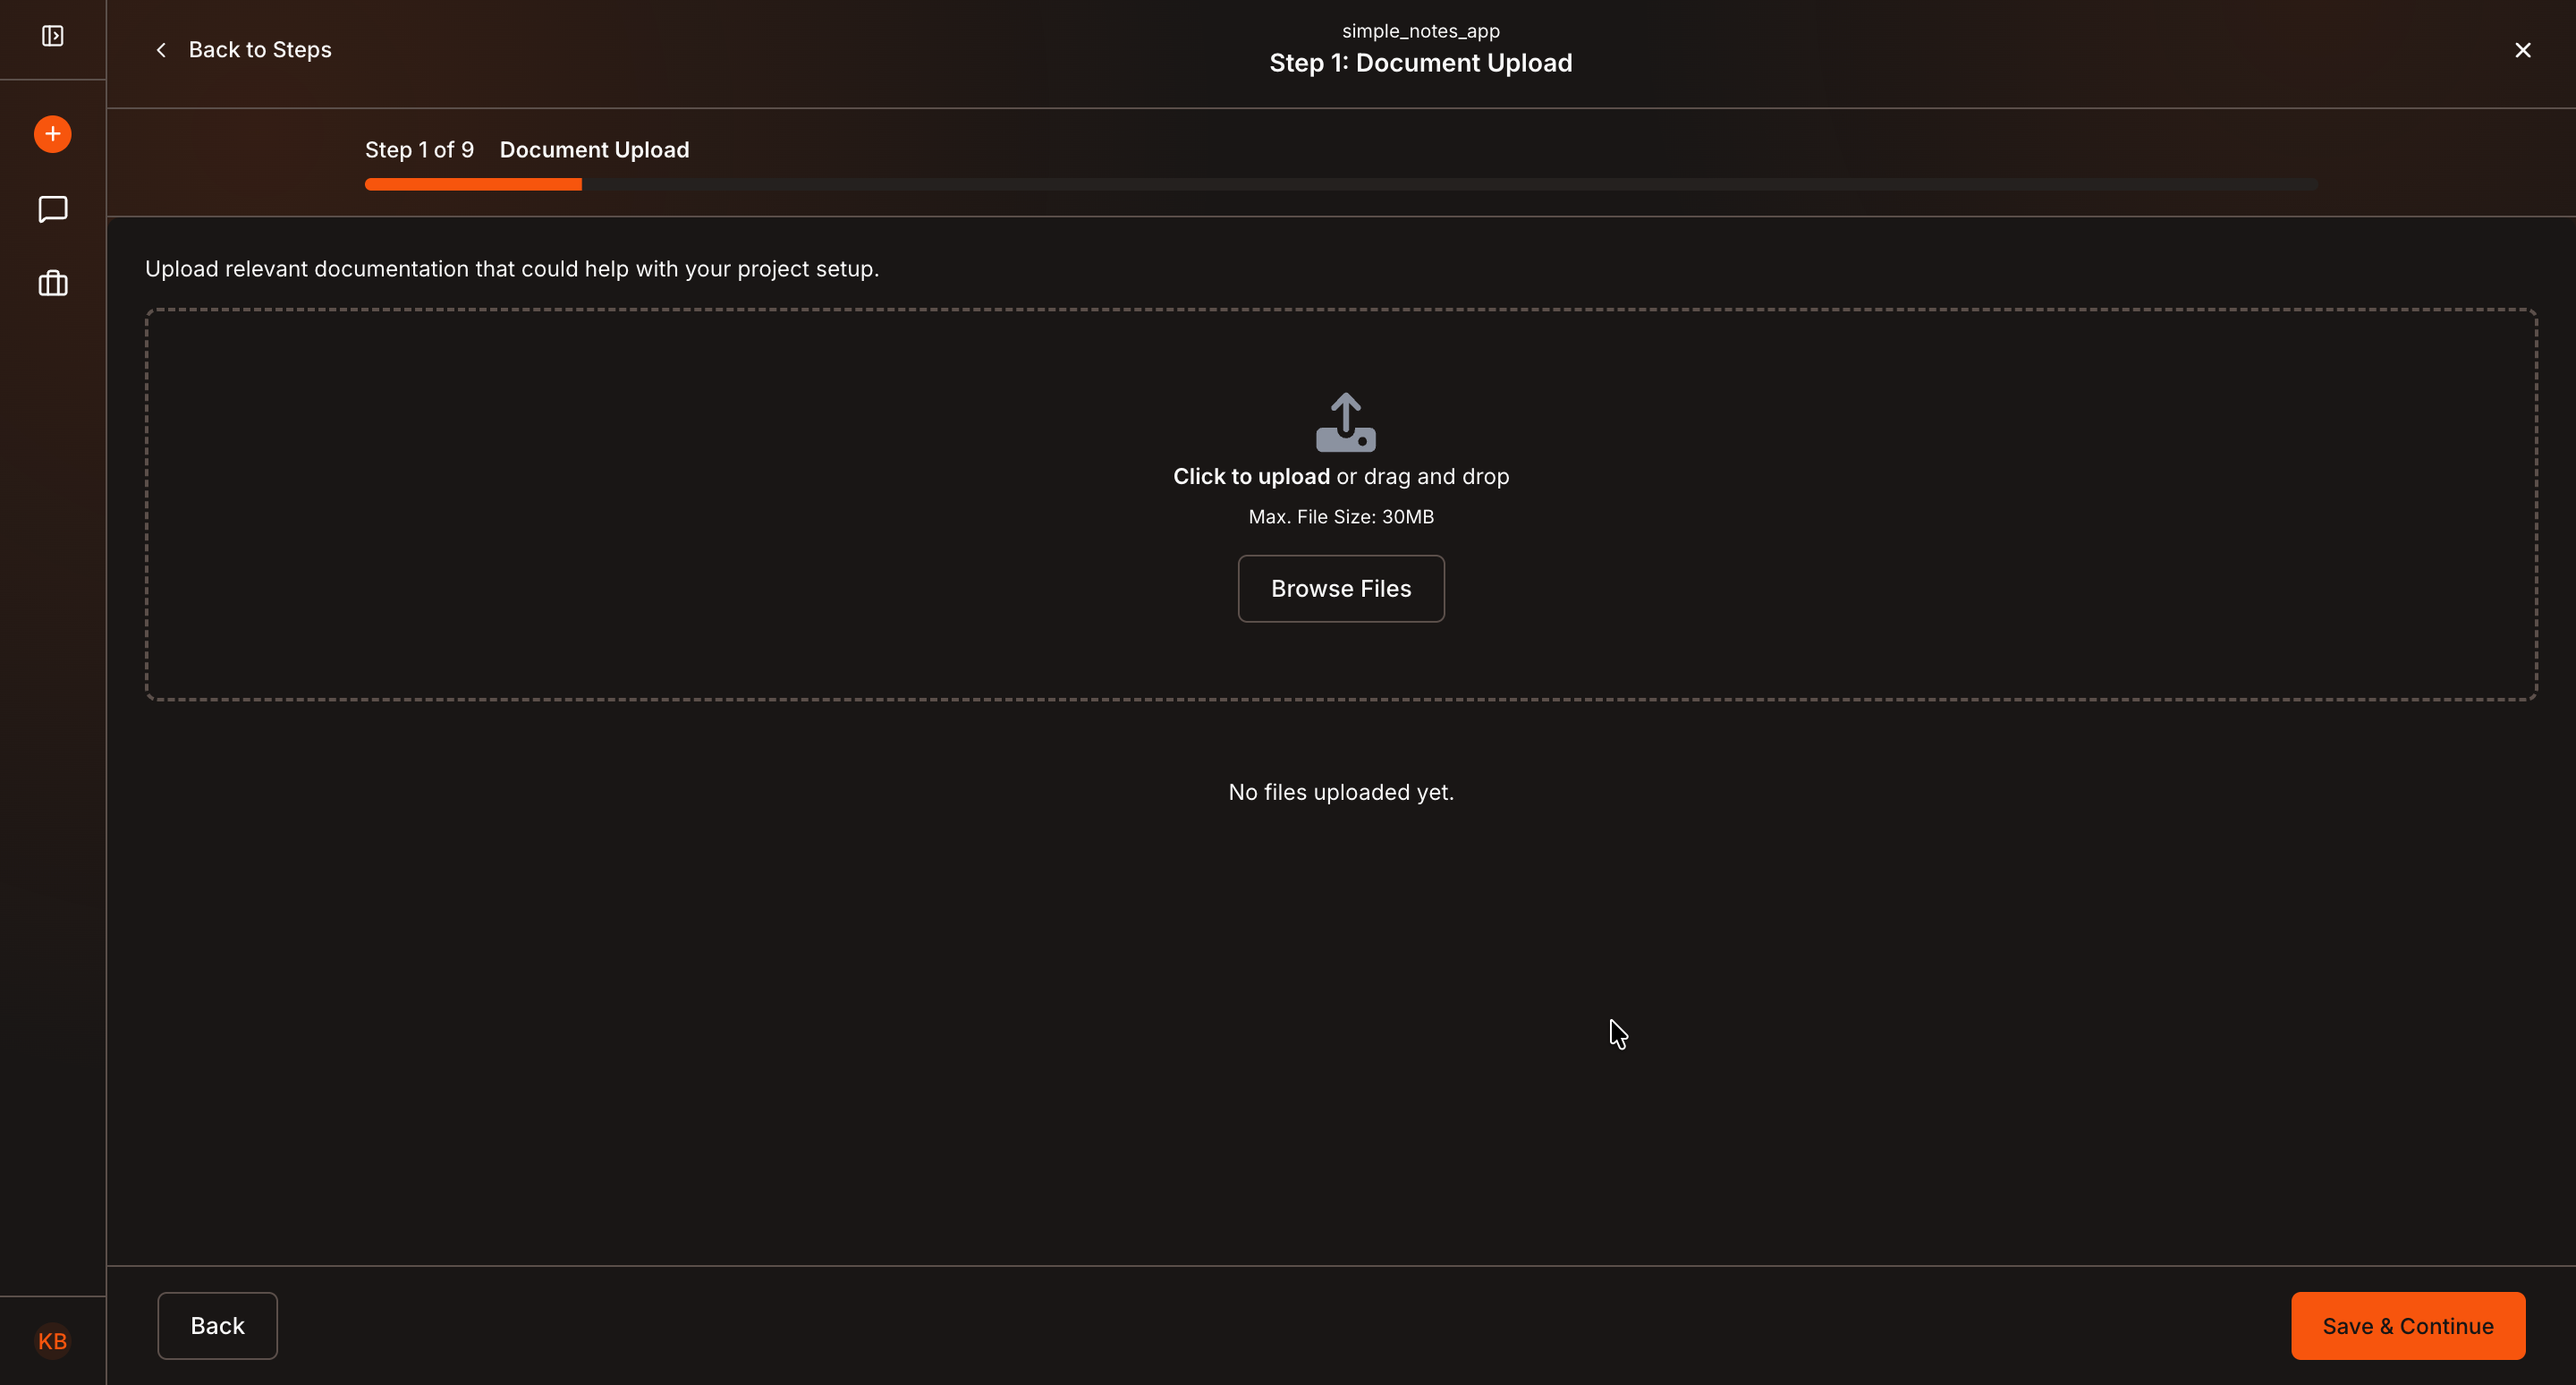
On the document upload page, click Browse Files and upload all relevant project documents such as:
- Requirement documents
- Feature briefs
- Specifications
These documents will be used by Kavia to understand and shape your project.
Review and Continue
Kavia will analyze the uploaded documents and use them for project planning.
You can:
- Click Save & Continue to move to the next step
- Or click the back arrow (top-left) to return to the steps and manually select another step
Once a step is successfully configured, you’ll see a green checkmark, indicating completion.
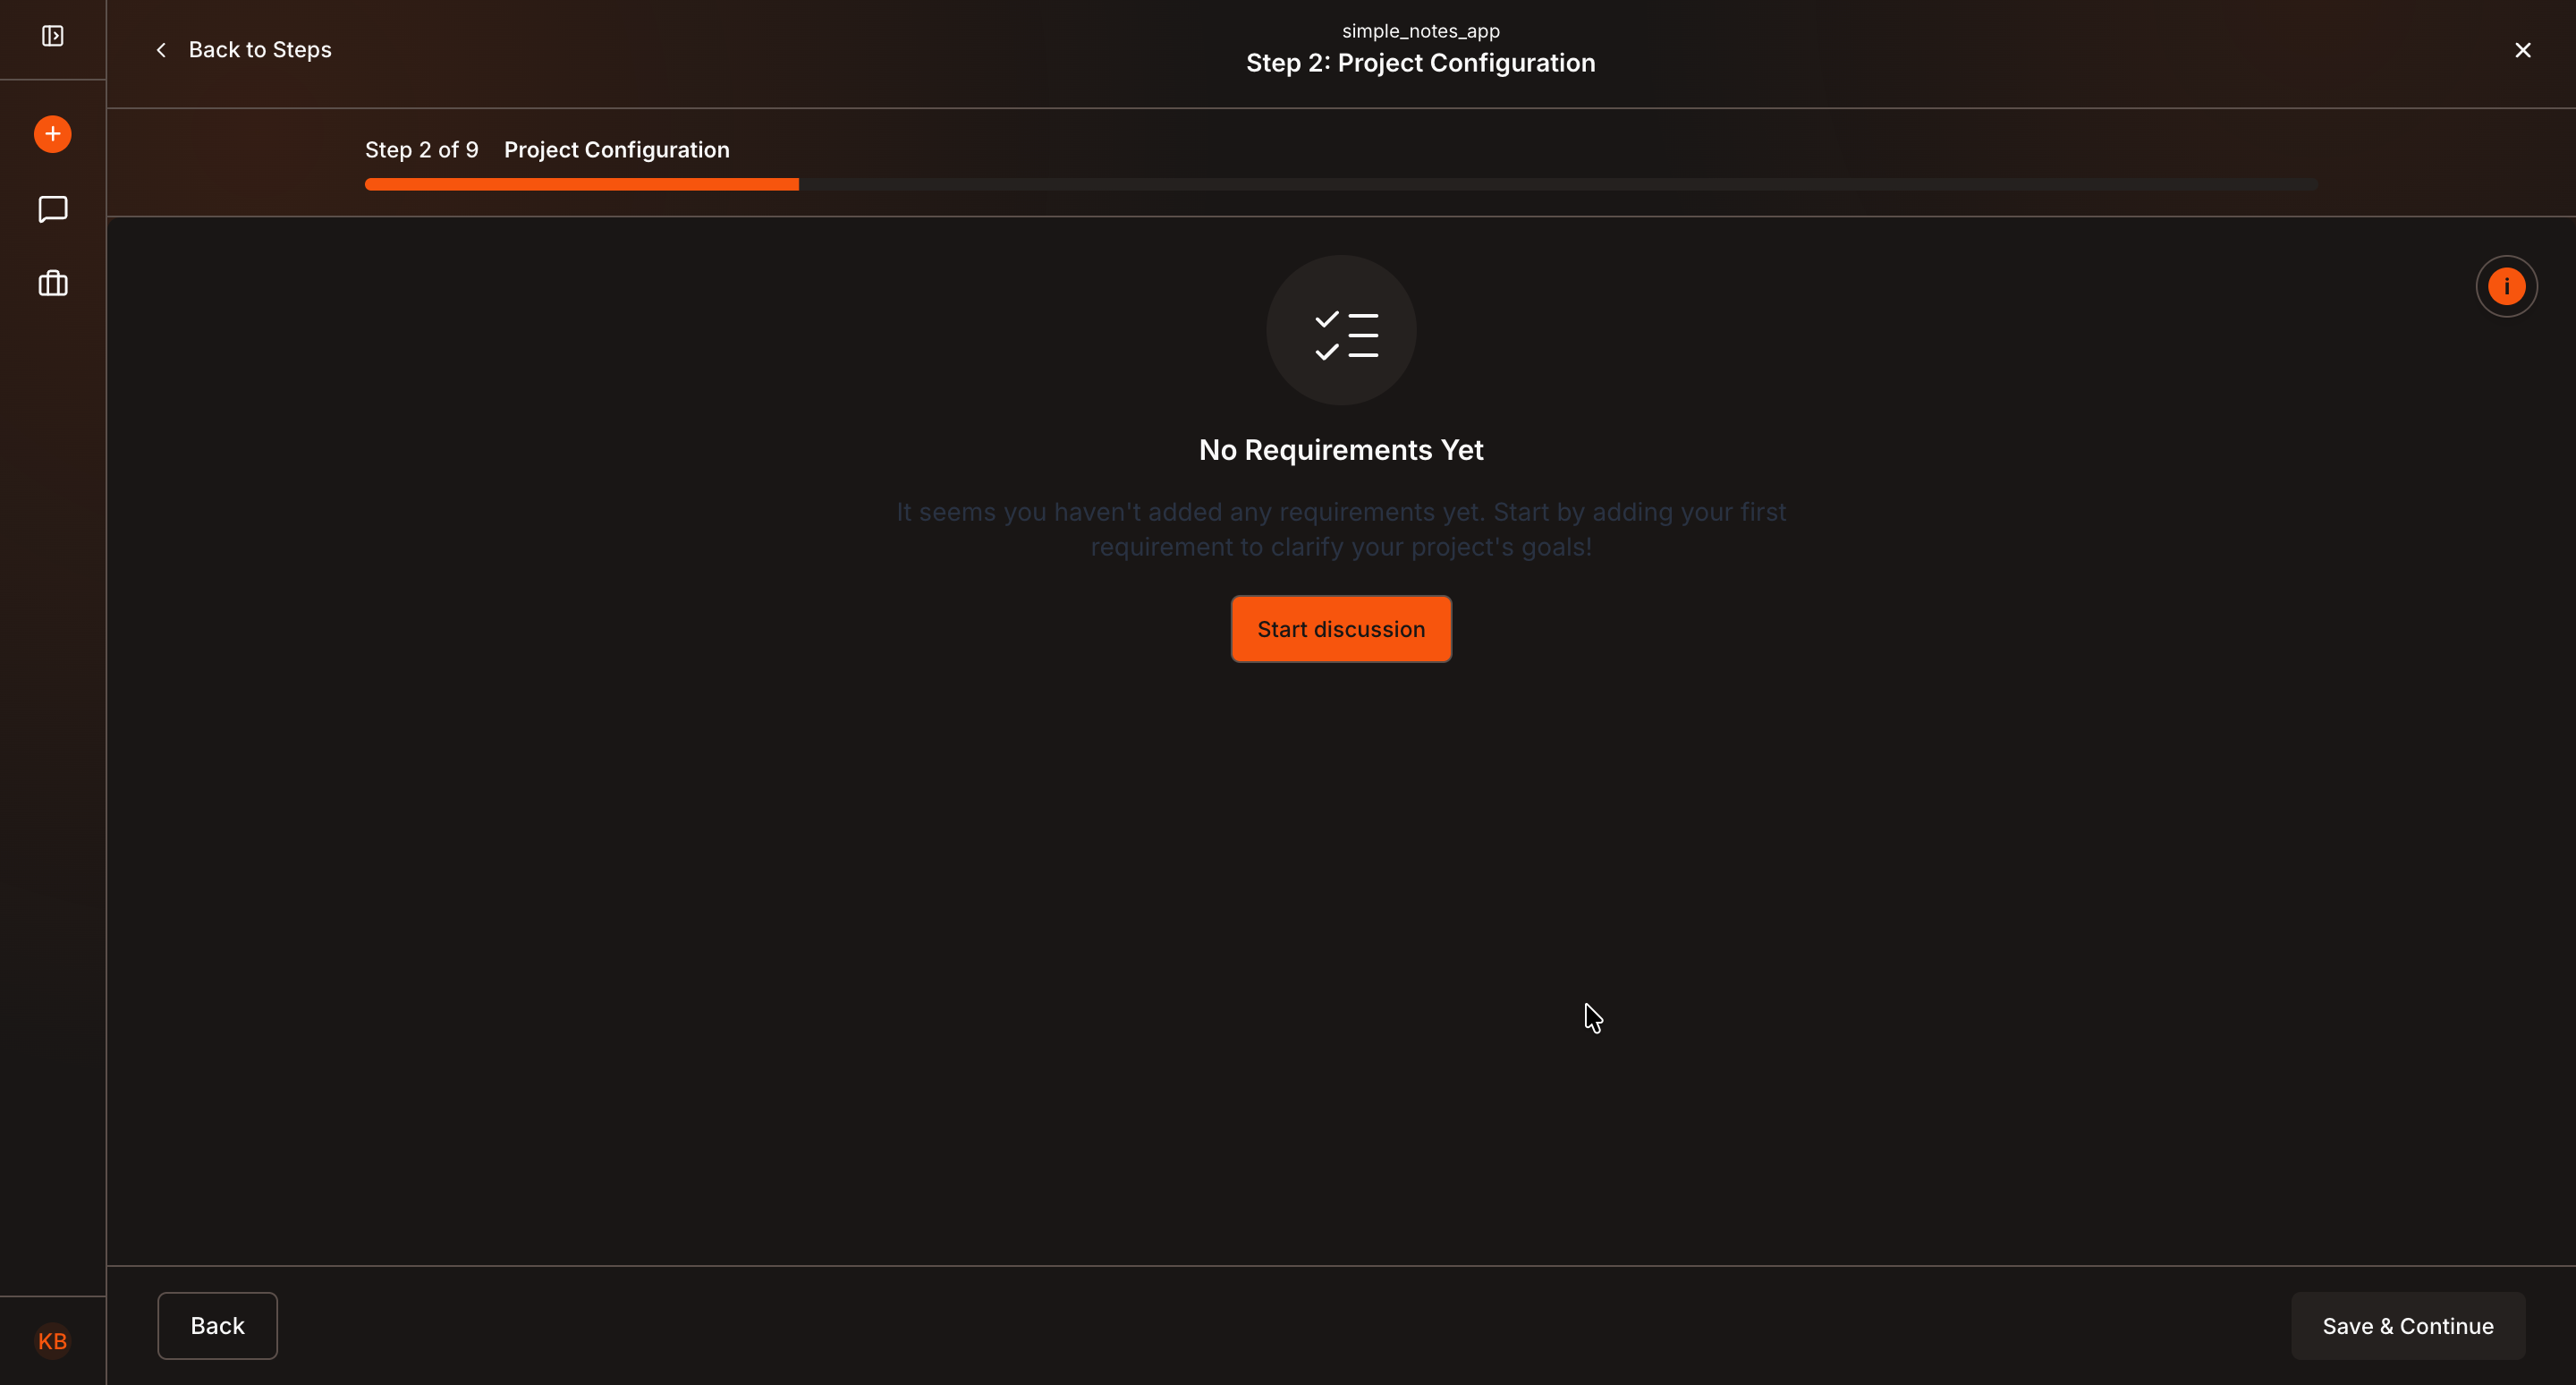
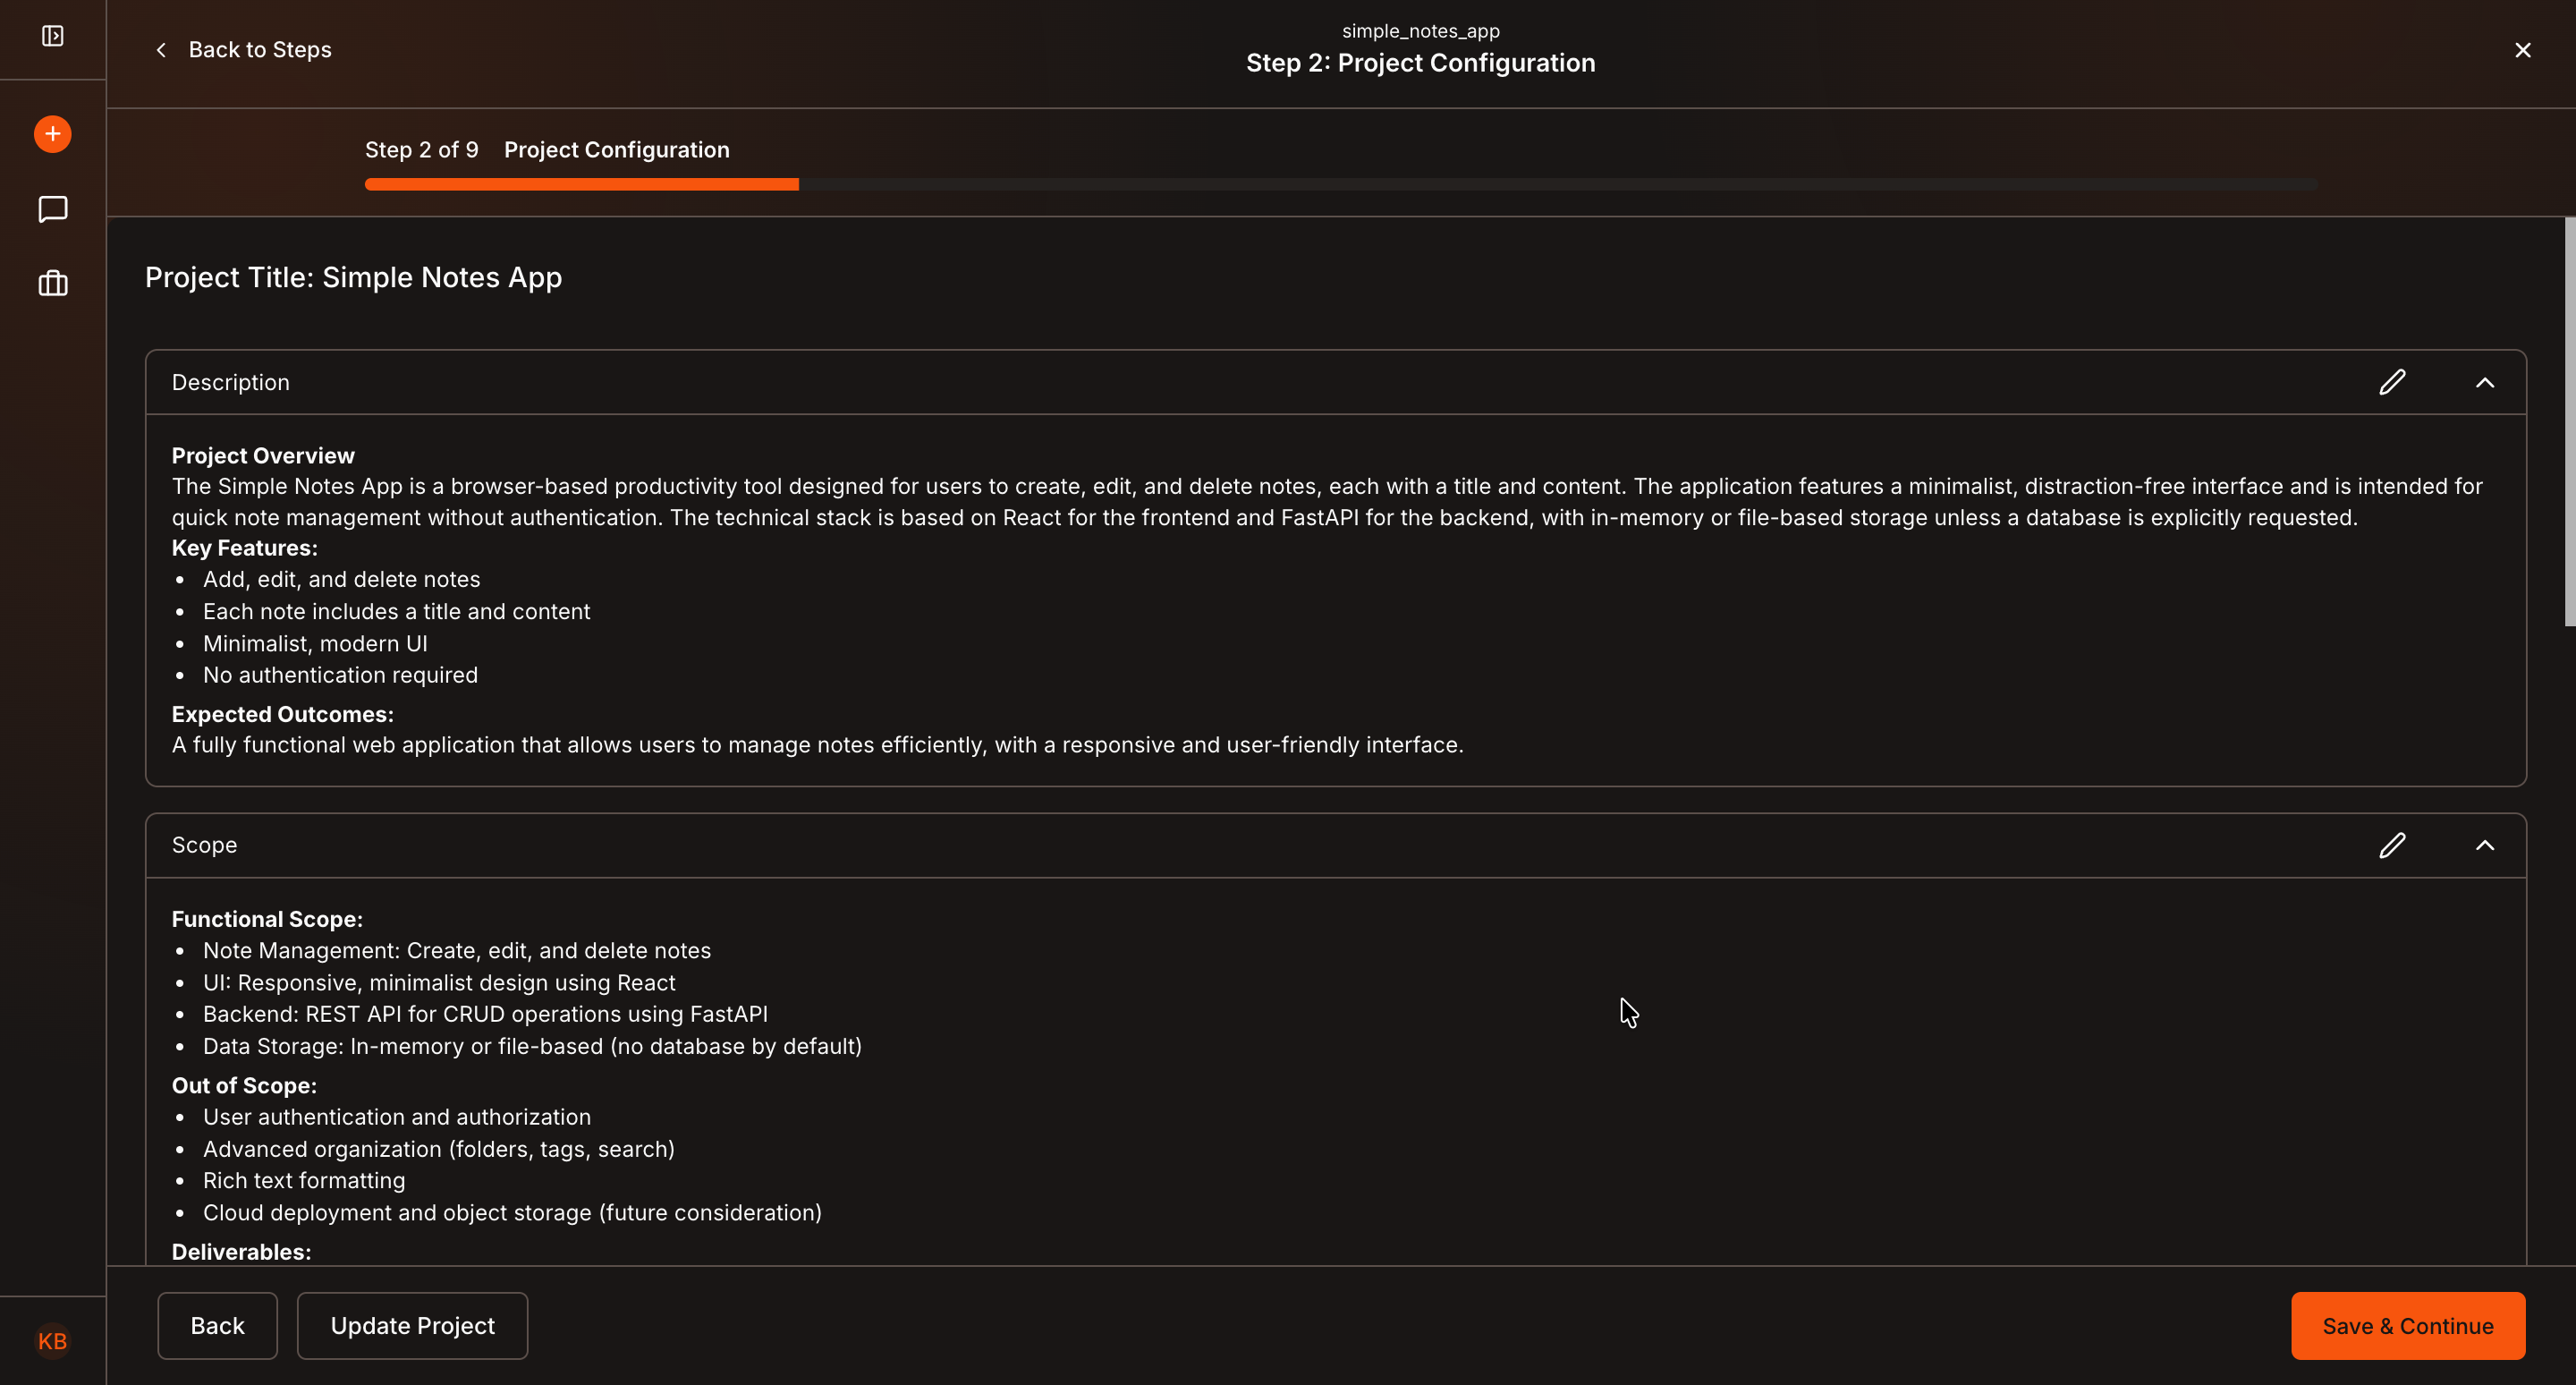
Project Configuration
Next, Click Save and Continue to go to the next step which is Project Configuration or click Back to steps button on top left to go back to the steps list and select Project Configuration from there.
Kavia will redirect you to the configuration page.
Click Start Discussion to open a chat window.
- Click Save & Continue to move to the next step
- Or click the back arrow (top-left) to return to the steps and manually select another step
Once a step is successfully configured, you’ll see a green checkmark, indicating completion.
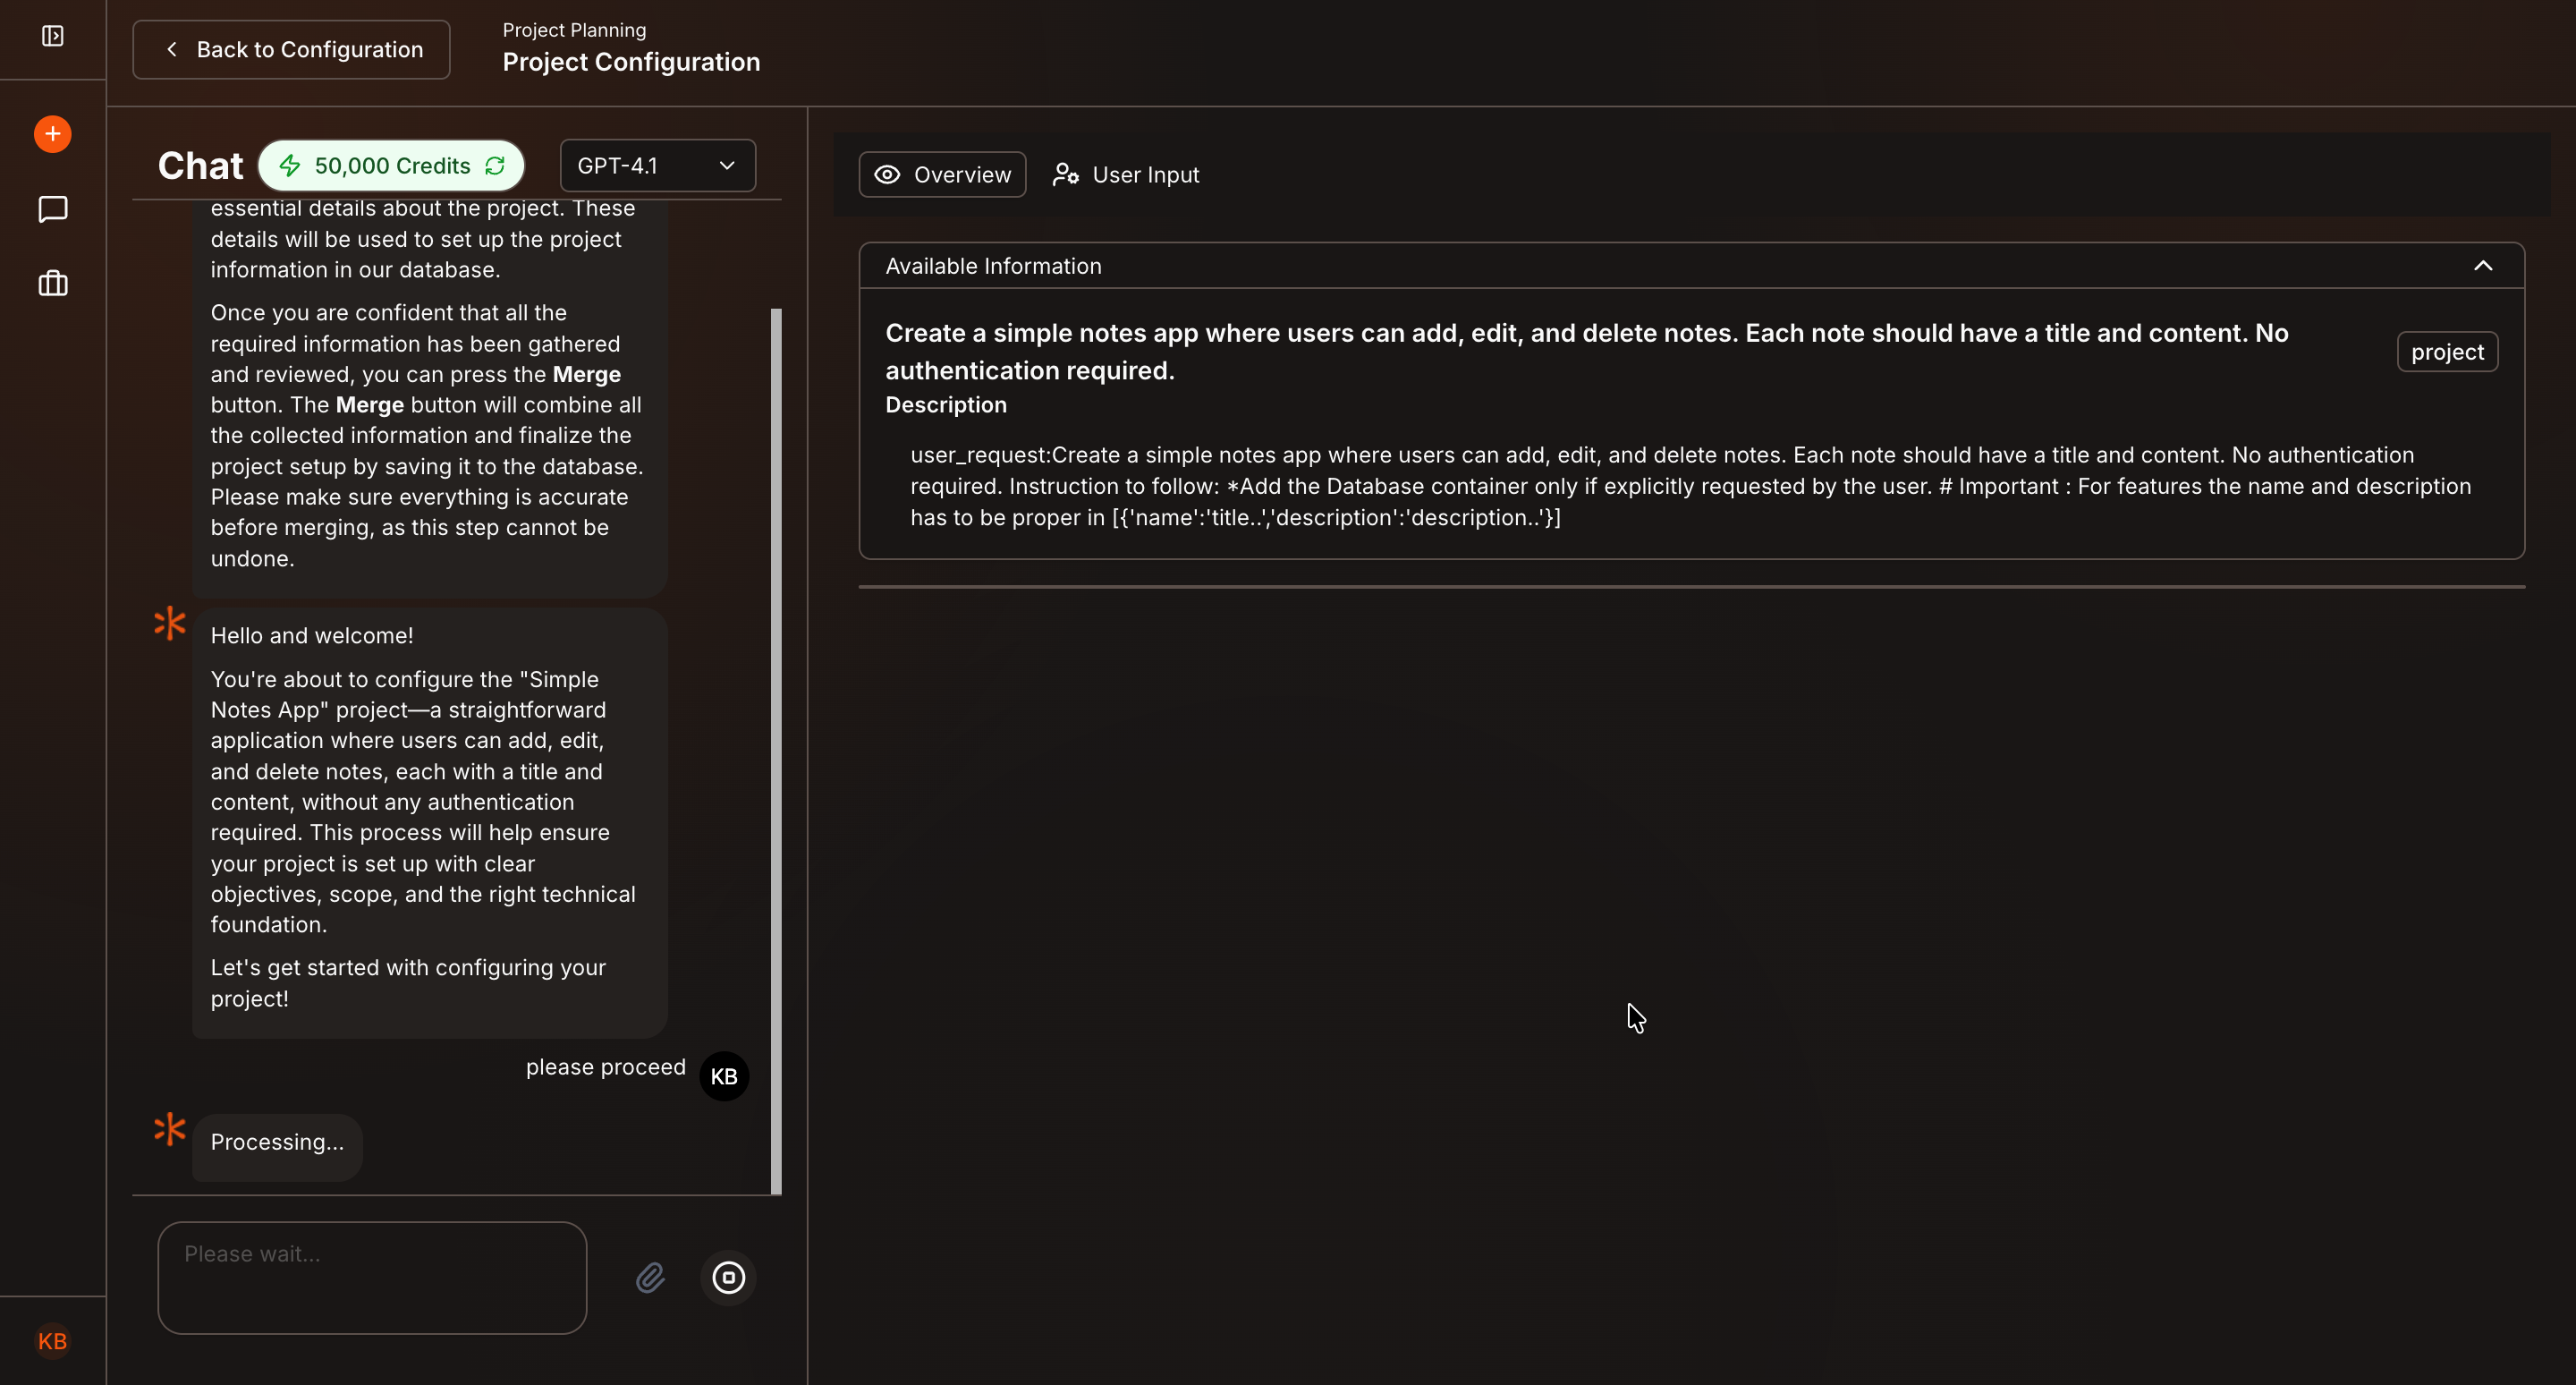
Refine Configuration Using Chat
In the chat:
- Ask Kavia to proceed with project configuration
- Wait until Kavia completes the configuration
- Review the generated details
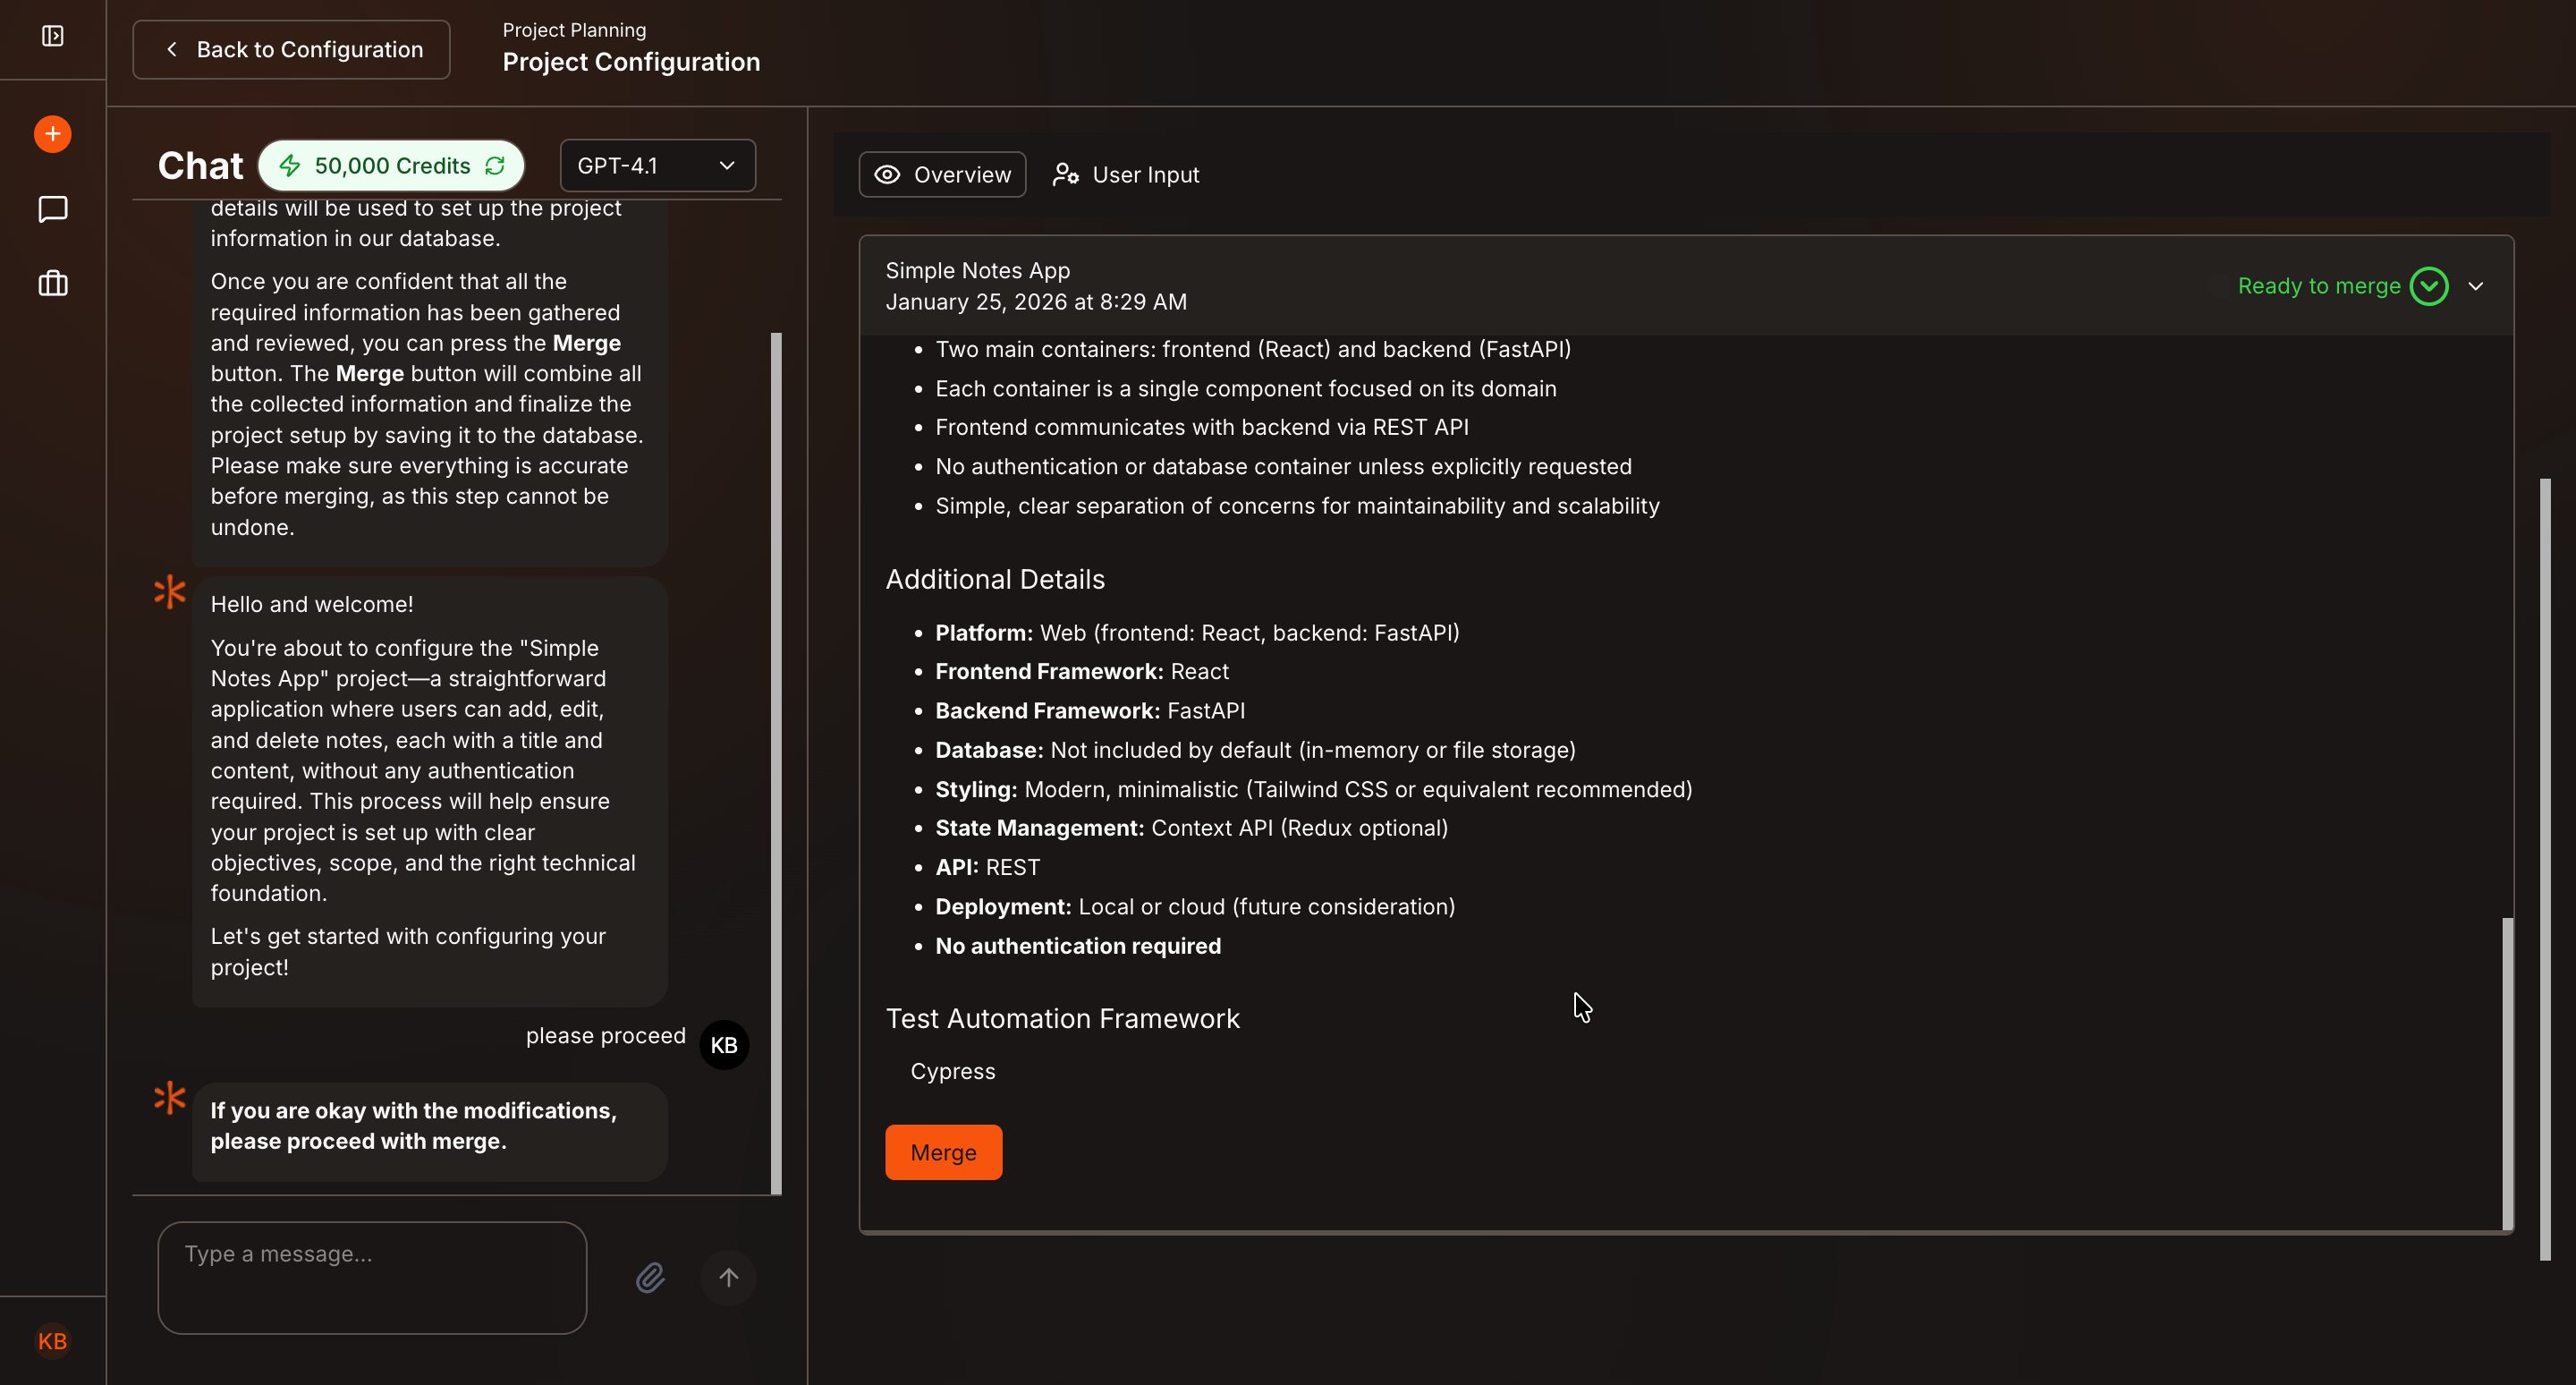
When Kavia finishes, a Ready to Merge label will appear.
- Review the changes
- Click Merge to apply them
- Continue chatting if further changes are required
Repeat this process until the configuration fully matches your requirements.
Once satisfied:
- Click Back to Configuration
- Then click Save & Continue to move to the next step
Alternatively, click Back to Steps to return to the planning overview.
Continue All Planning Steps
Continue configuring the remaining steps using the same workflow:
- Open a step
- Start discussion
- Review changes
- Merge updates
- Save and continue
You do not need to complete all steps in one session.
Note: For best results, Kavia recommends completing all planning steps before starting development.
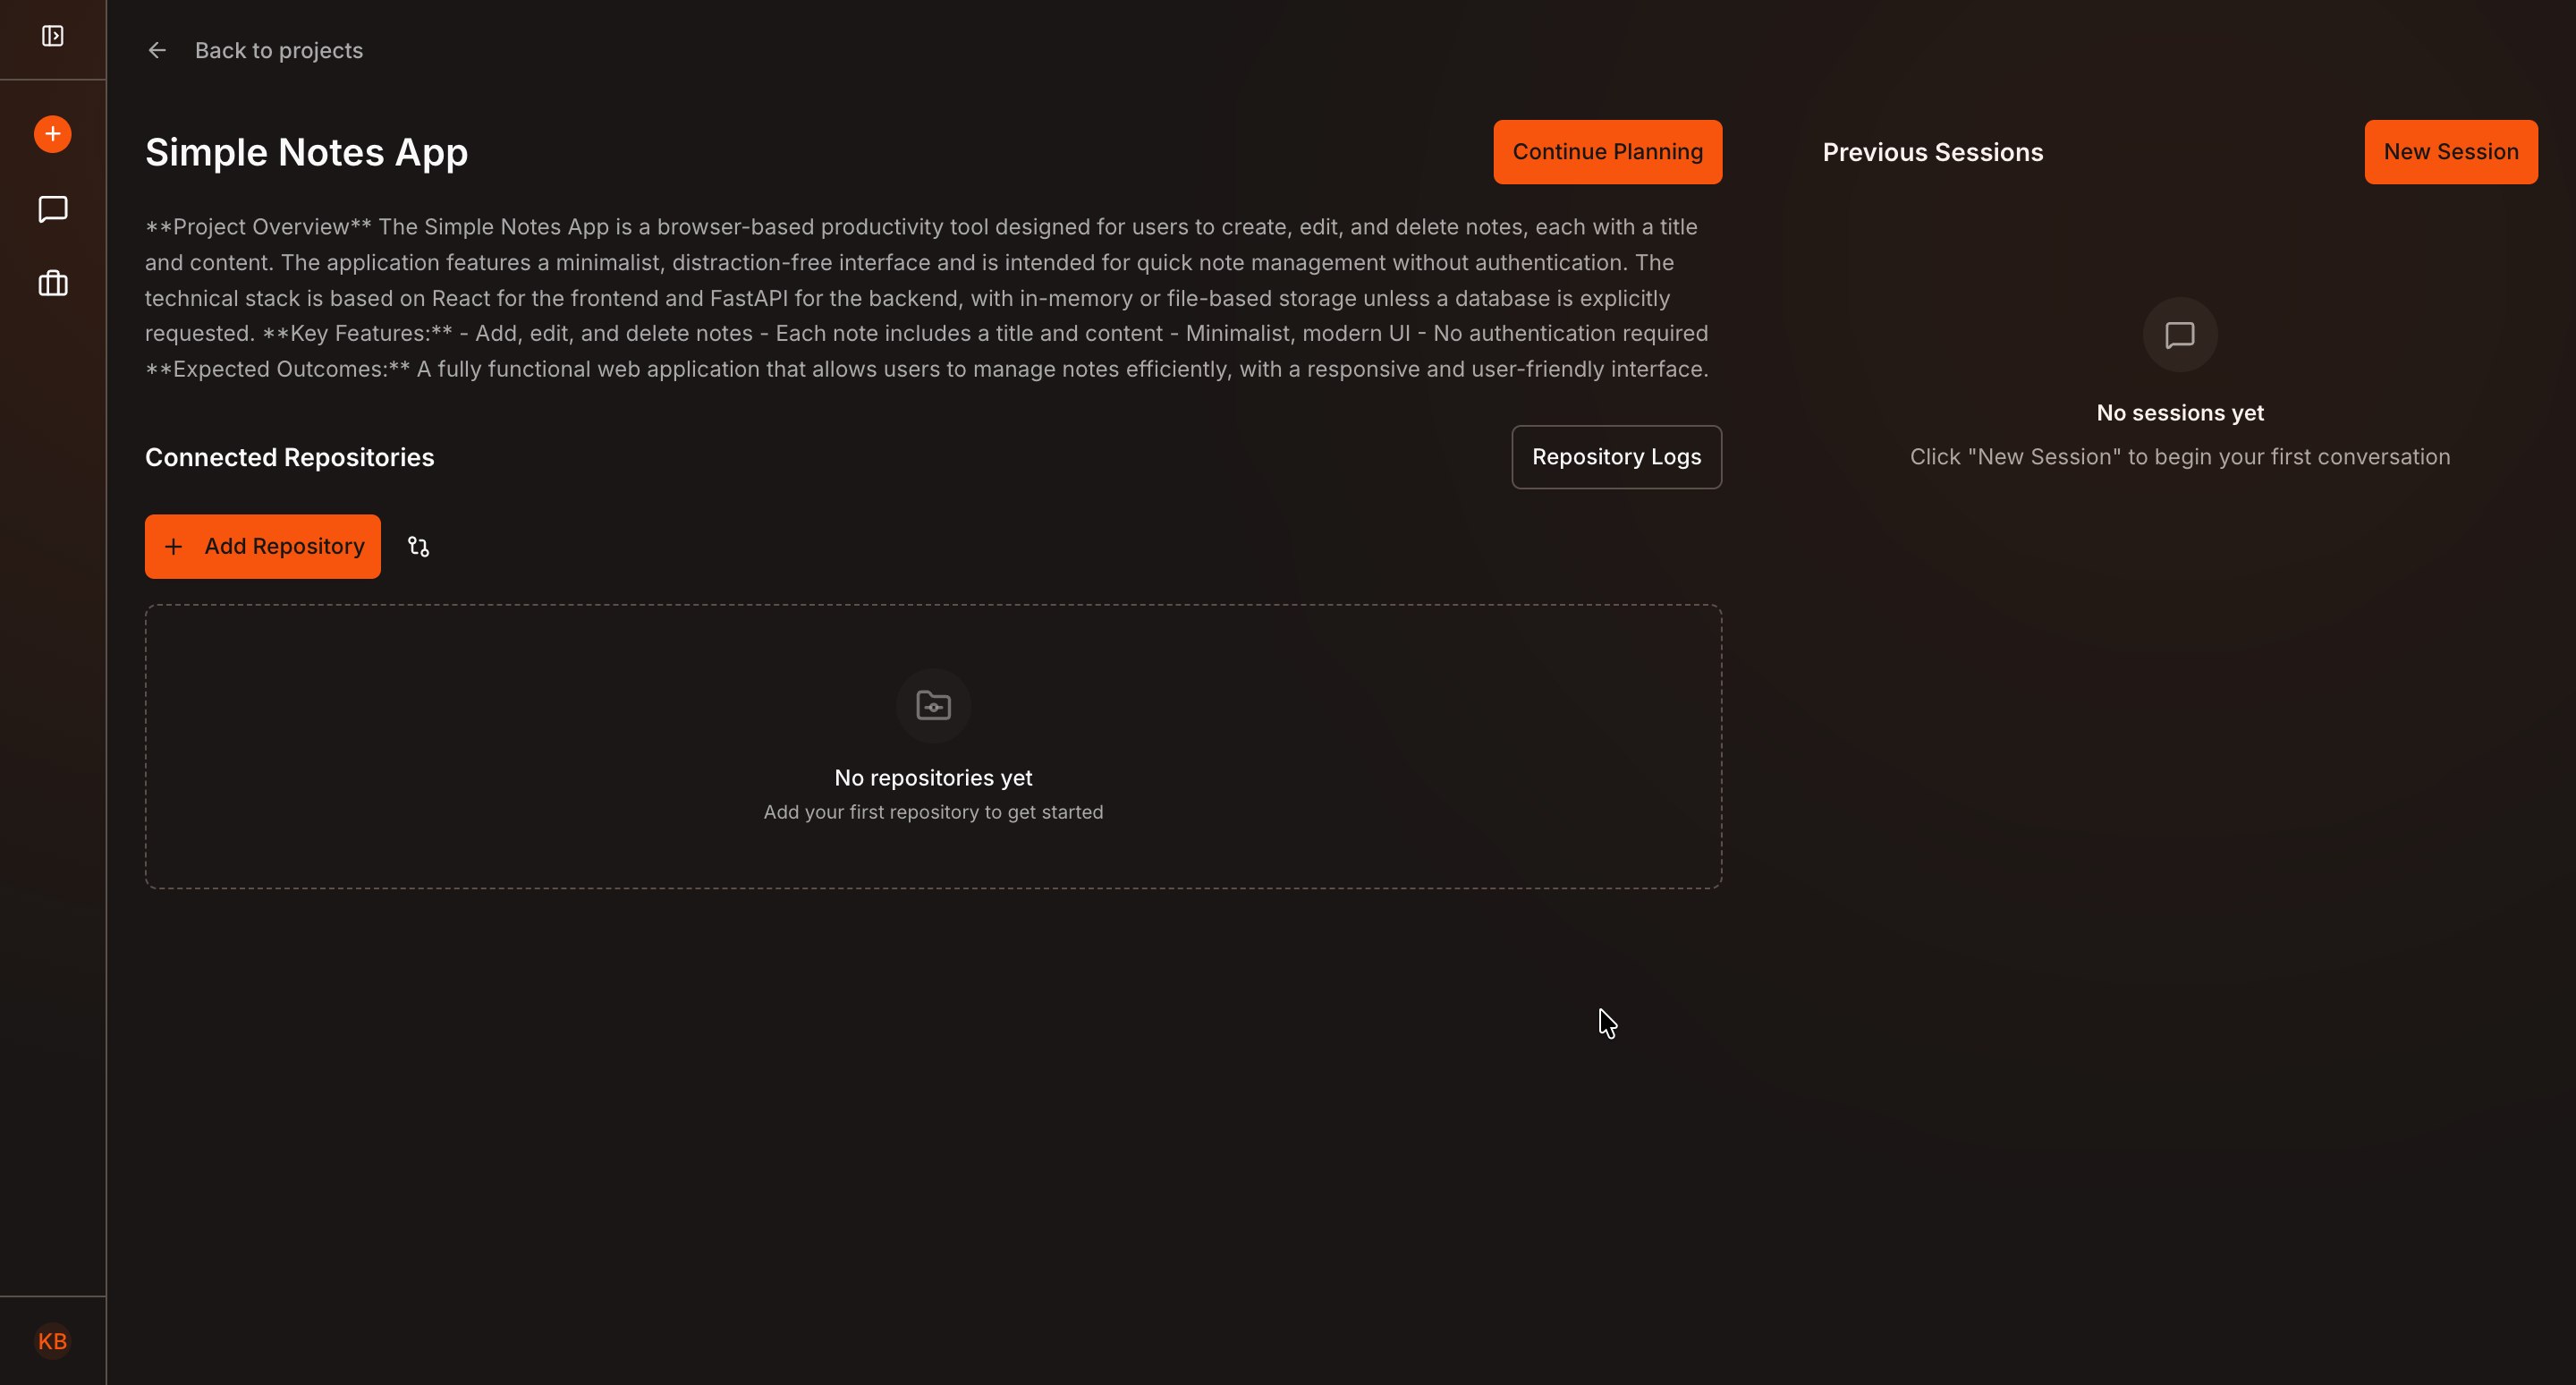
Resume Planning Anytime
You can pause project planning at any time.
To continue later:
- Close Kavia
- Reopen Kavia and select the project from the Projects list
- Go to the Project Dashboard
- Click Continue Planning to resume from where you left off
Why Use Project Planning in Kavia?
- Converts documents into structured plans
- Ensures clarity before development starts
- Allows iterative refinement through chat
- Reduces rework during implementation
- Supports pause-and-resume workflows
Project Planning in Kavia helps you move forward with confidence—turning ideas and documents into a clear, actionable project plan.