Plan Custom Prompt Tutorial
Open the Dashboard
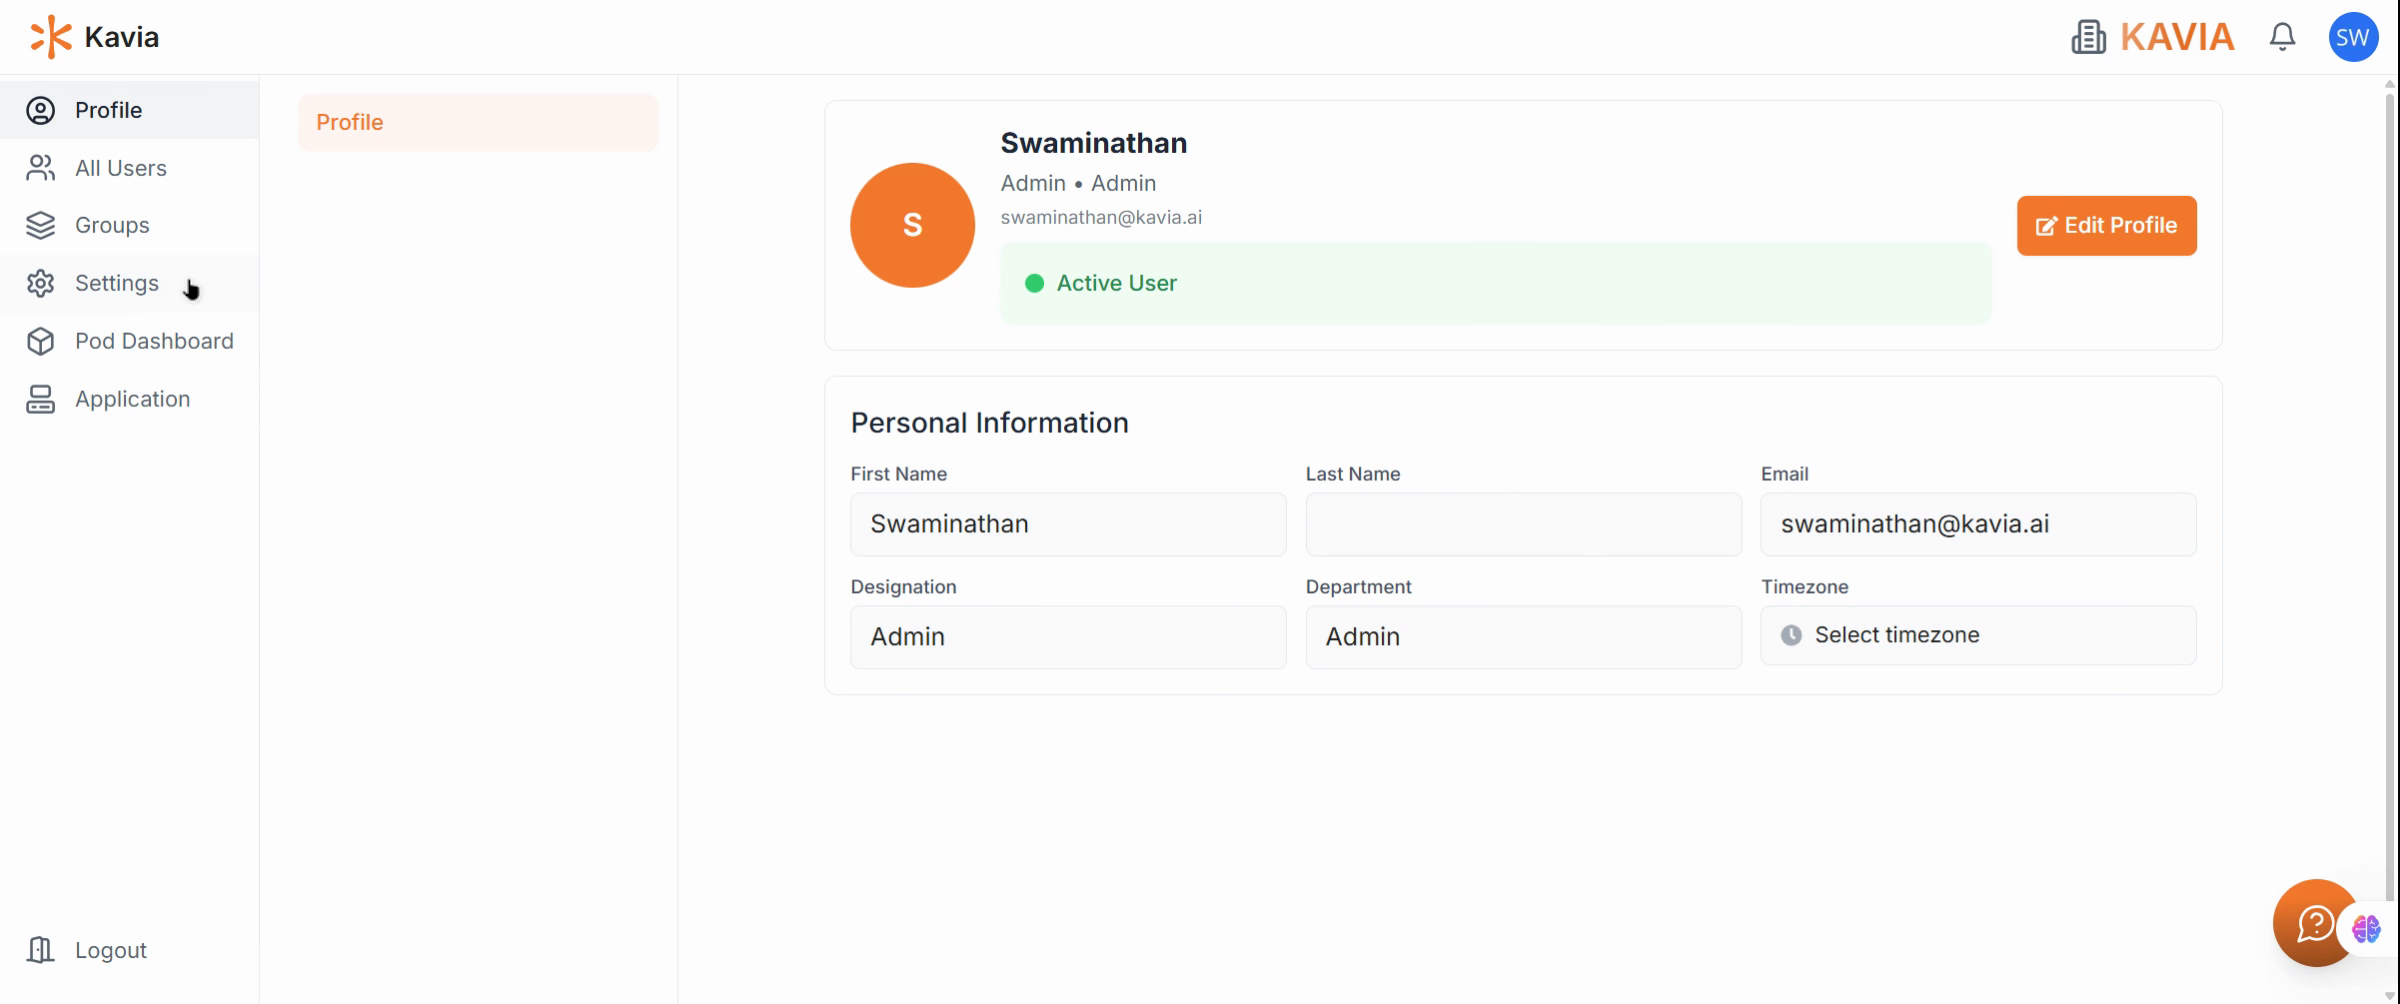
Navigate to Settings
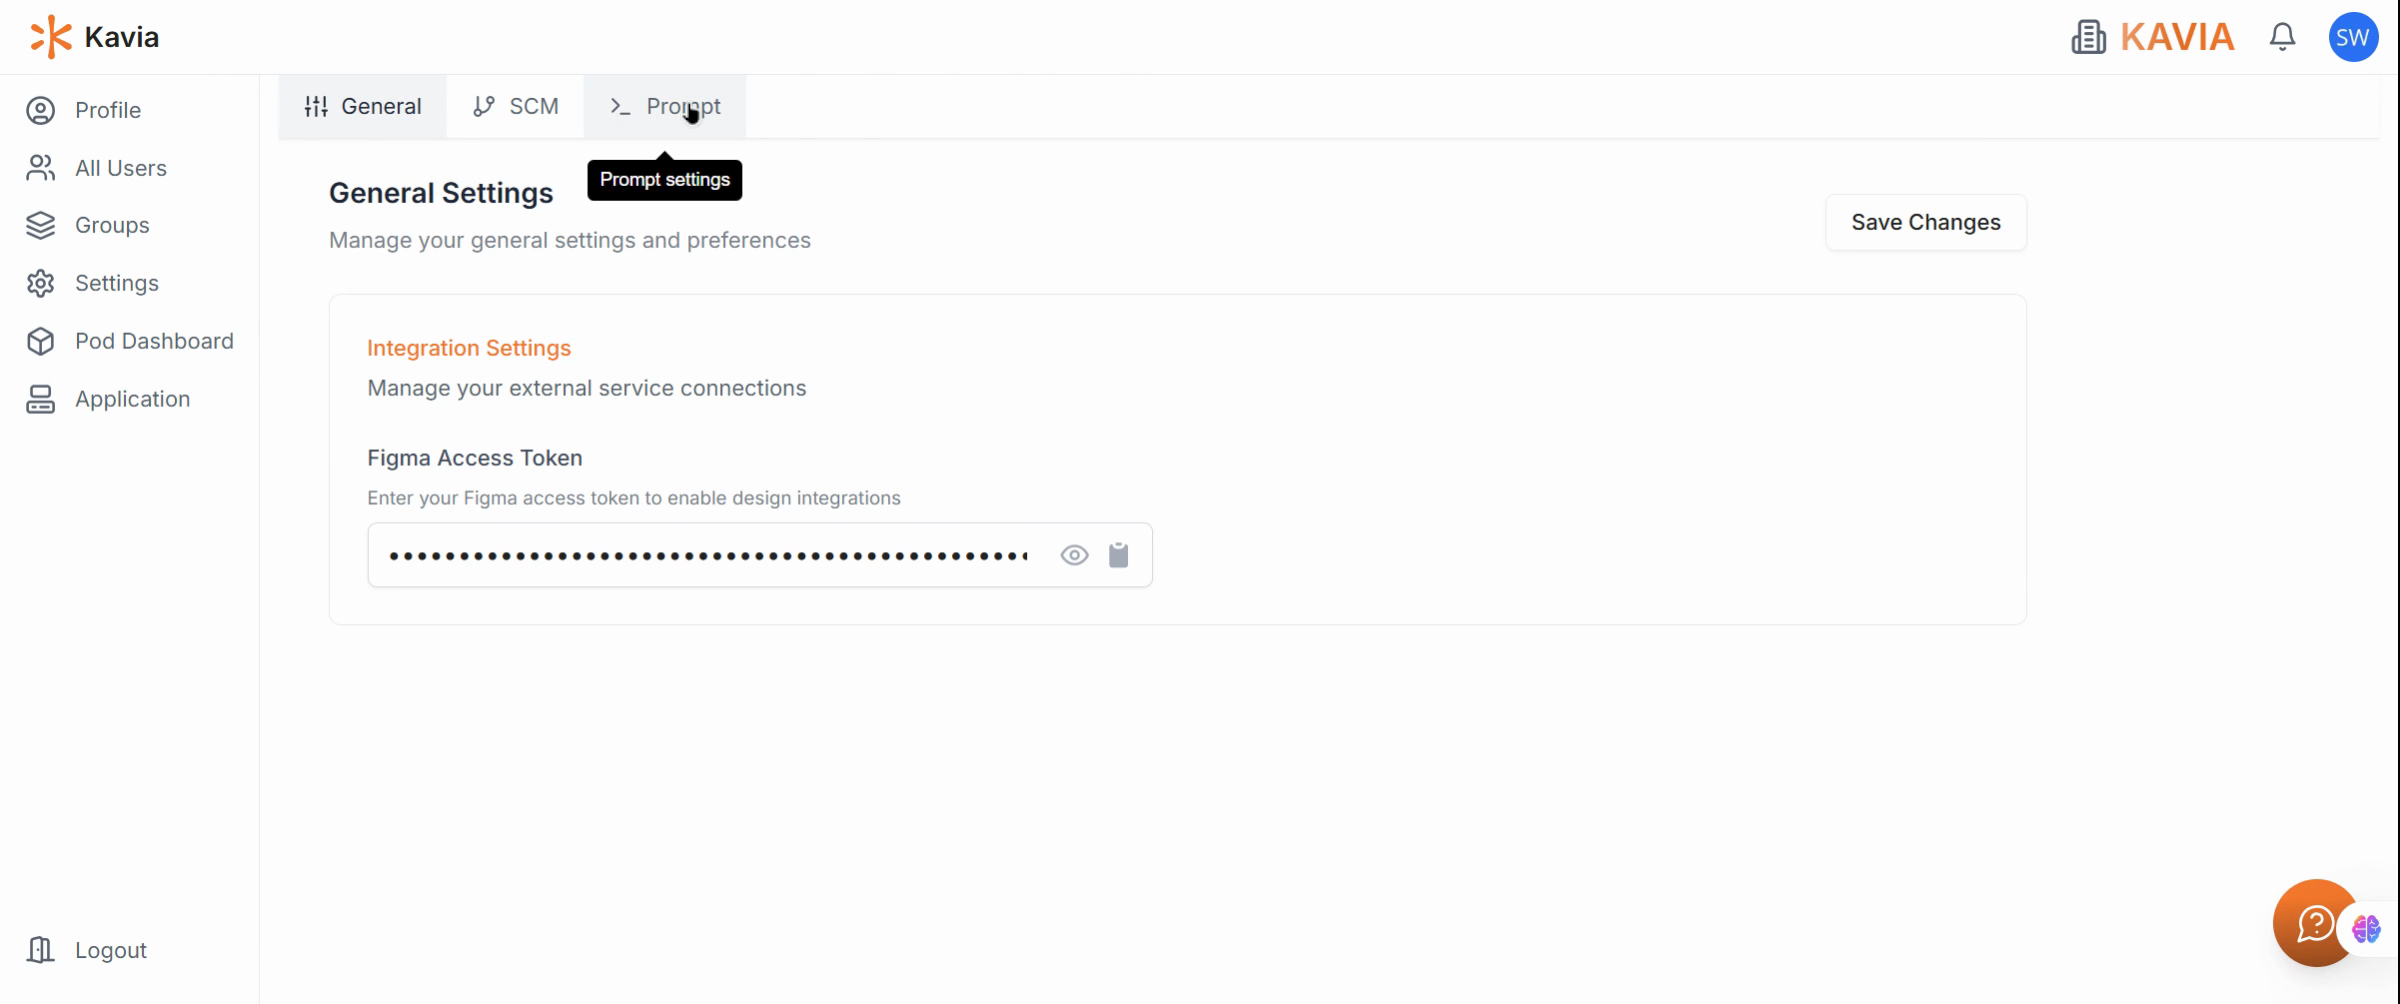
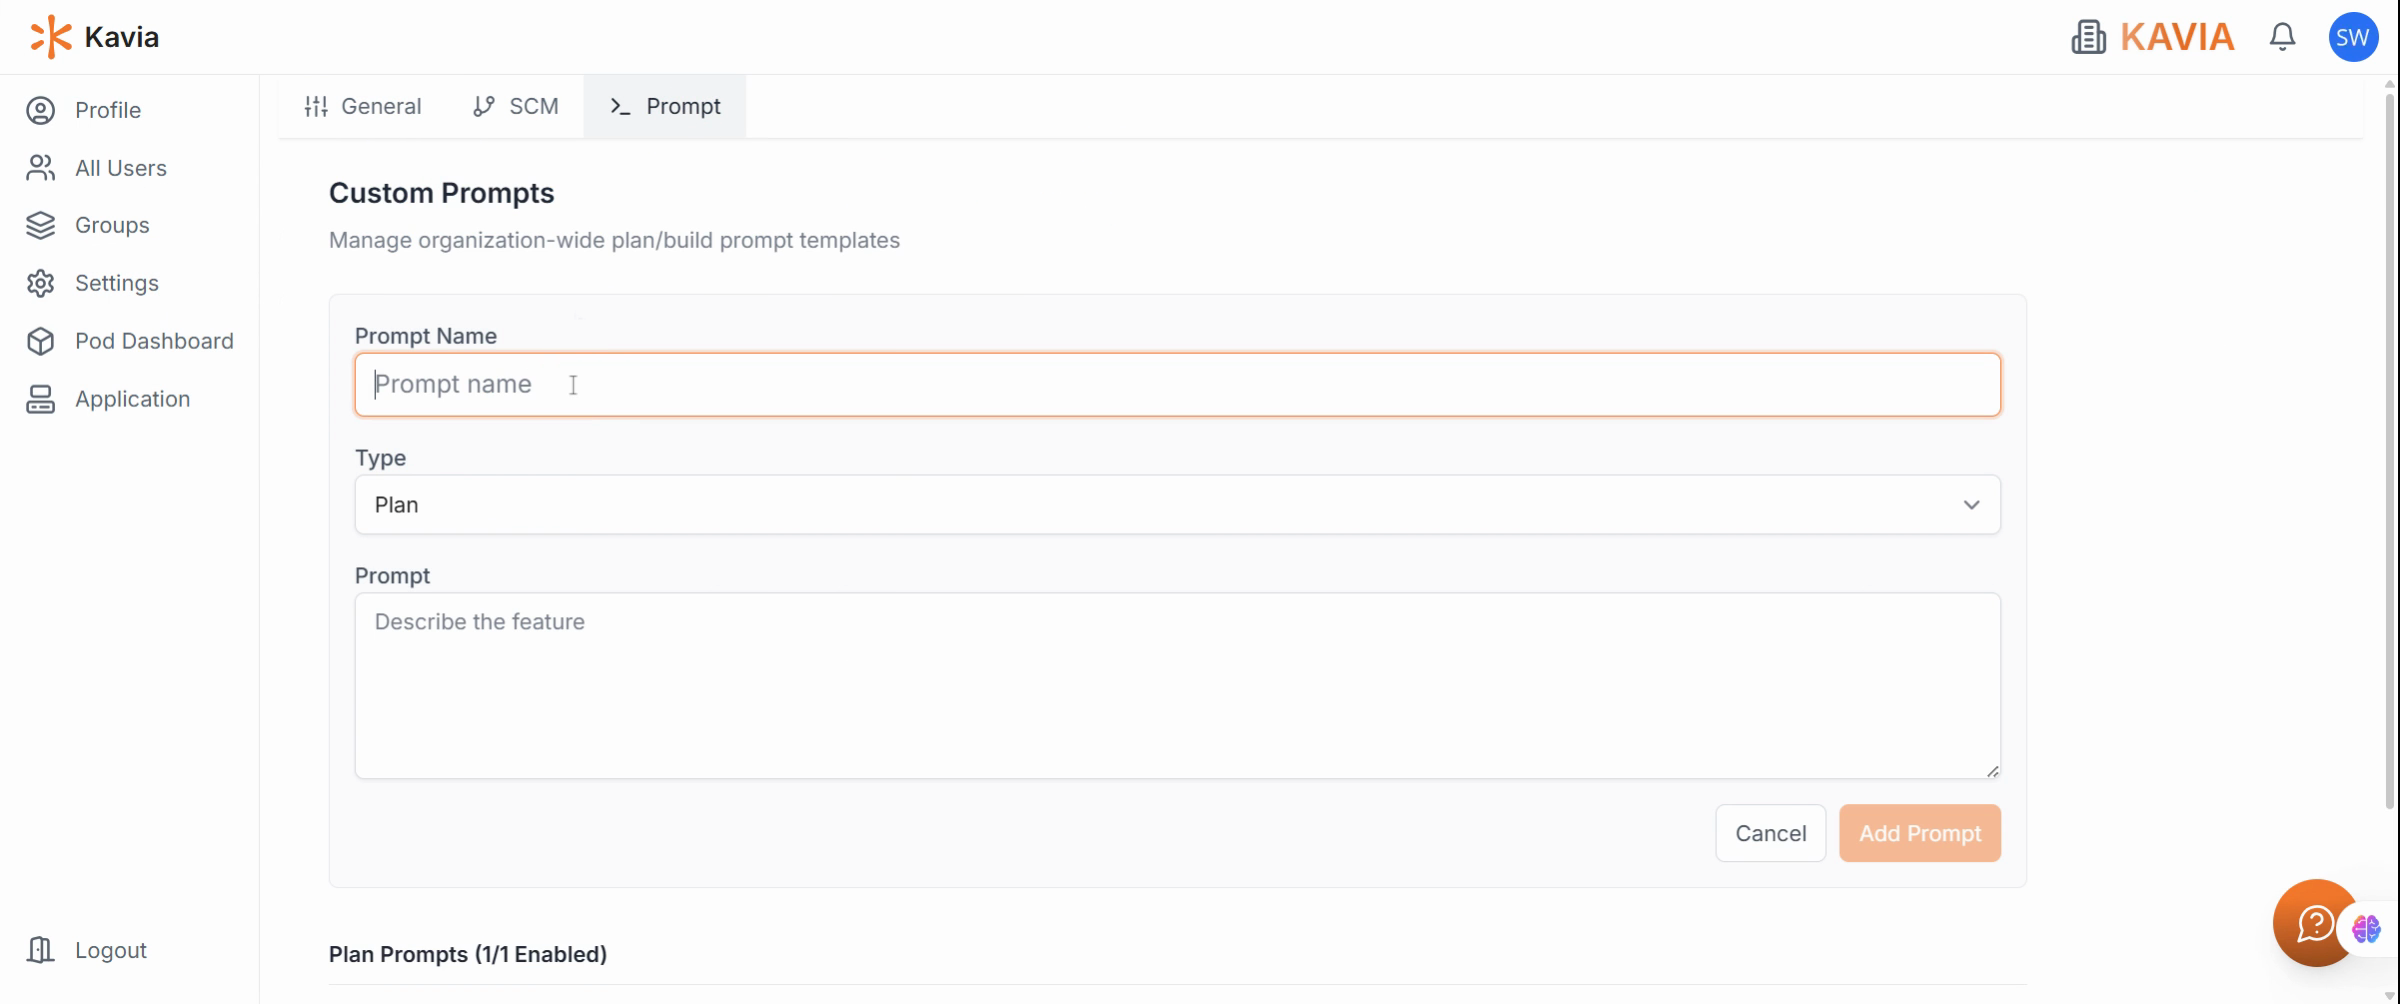
Open the Prompt Section
Inside the Settings page, select the Prompt section to manage and create new prompts and click Create Prompt, give your prompt a name, set the type to Plan, and briefly describe its purpose.
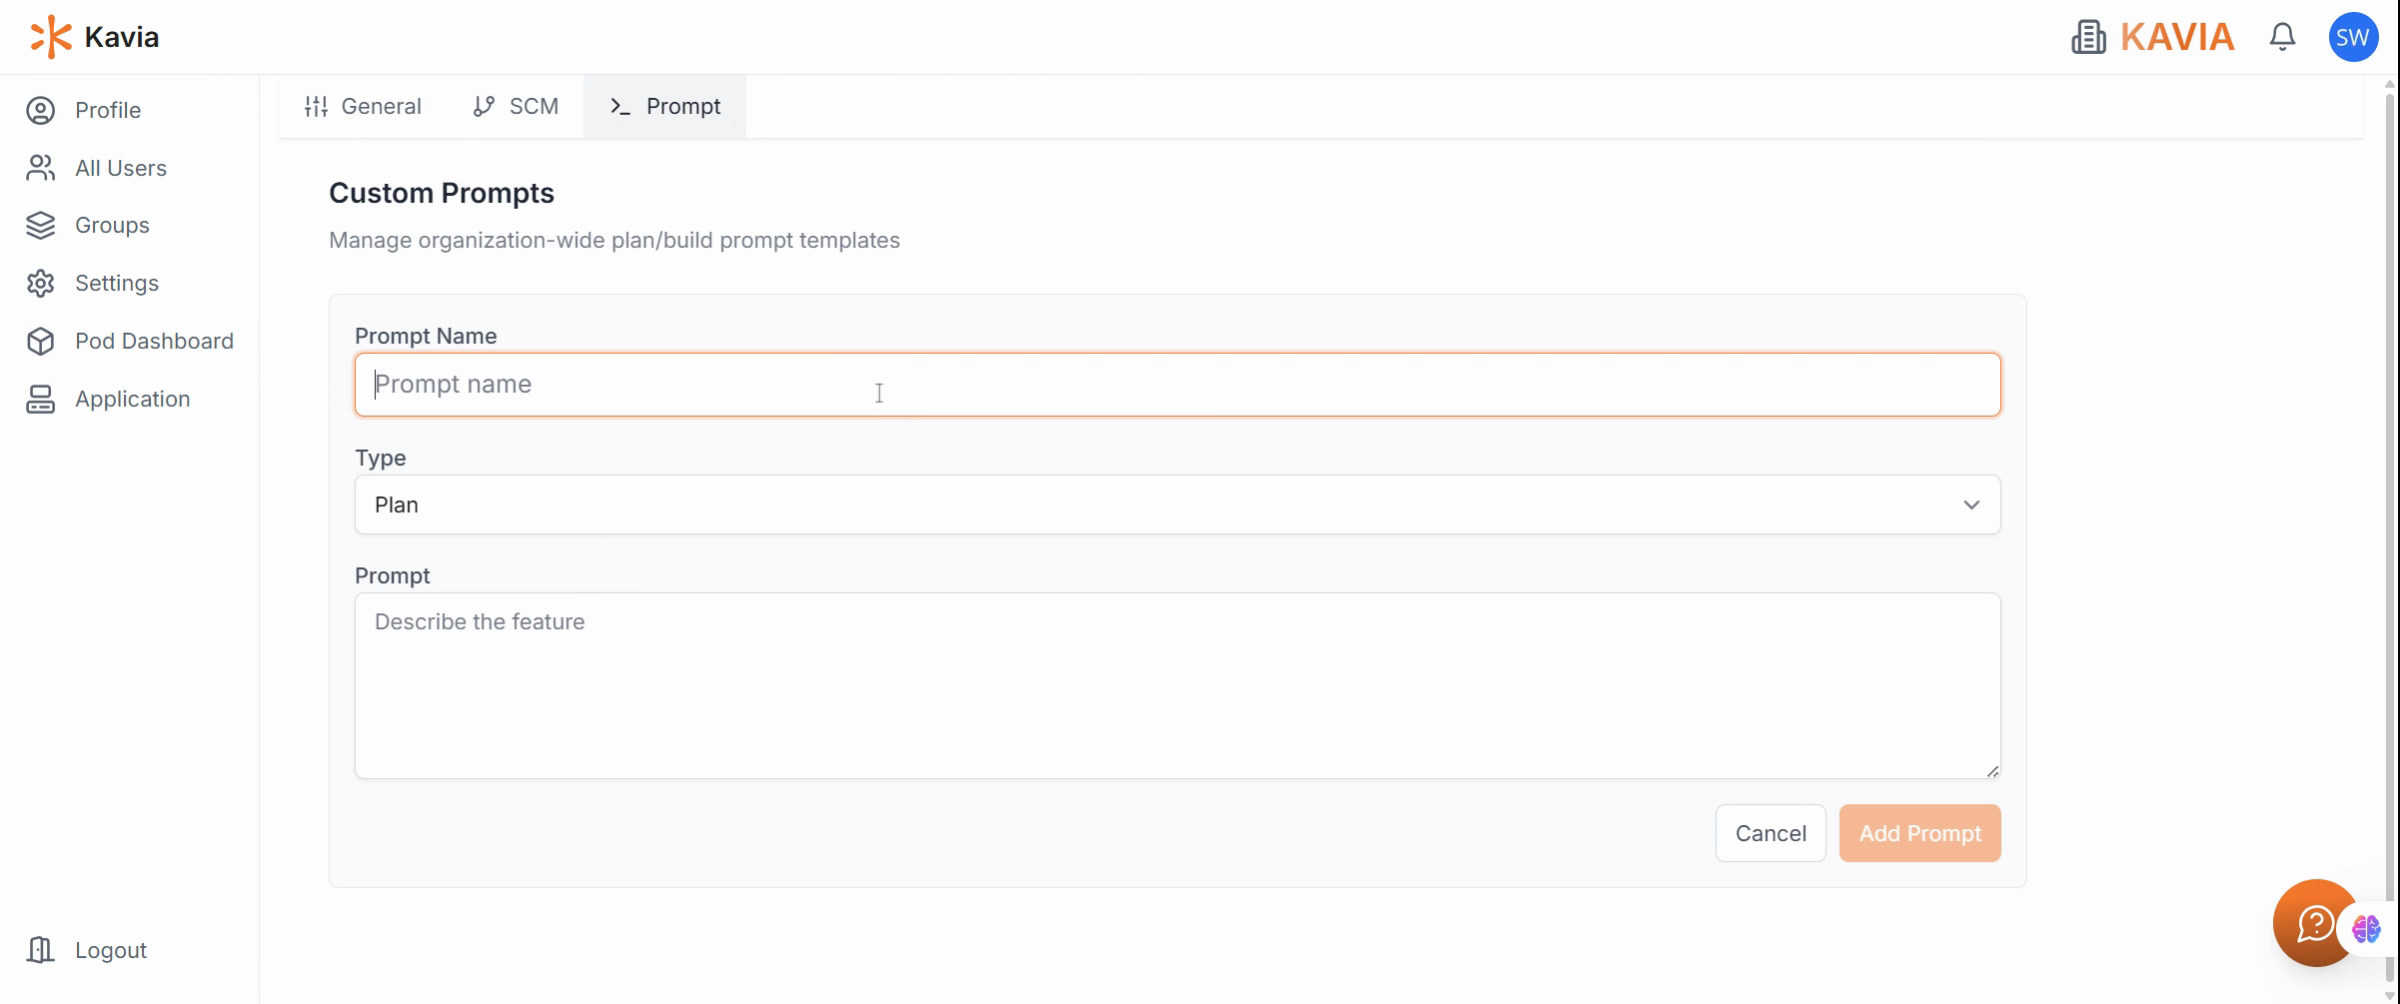
For example, name it Monolithic Architecture Setup and note that it helps structure projects with a monolithic approach.
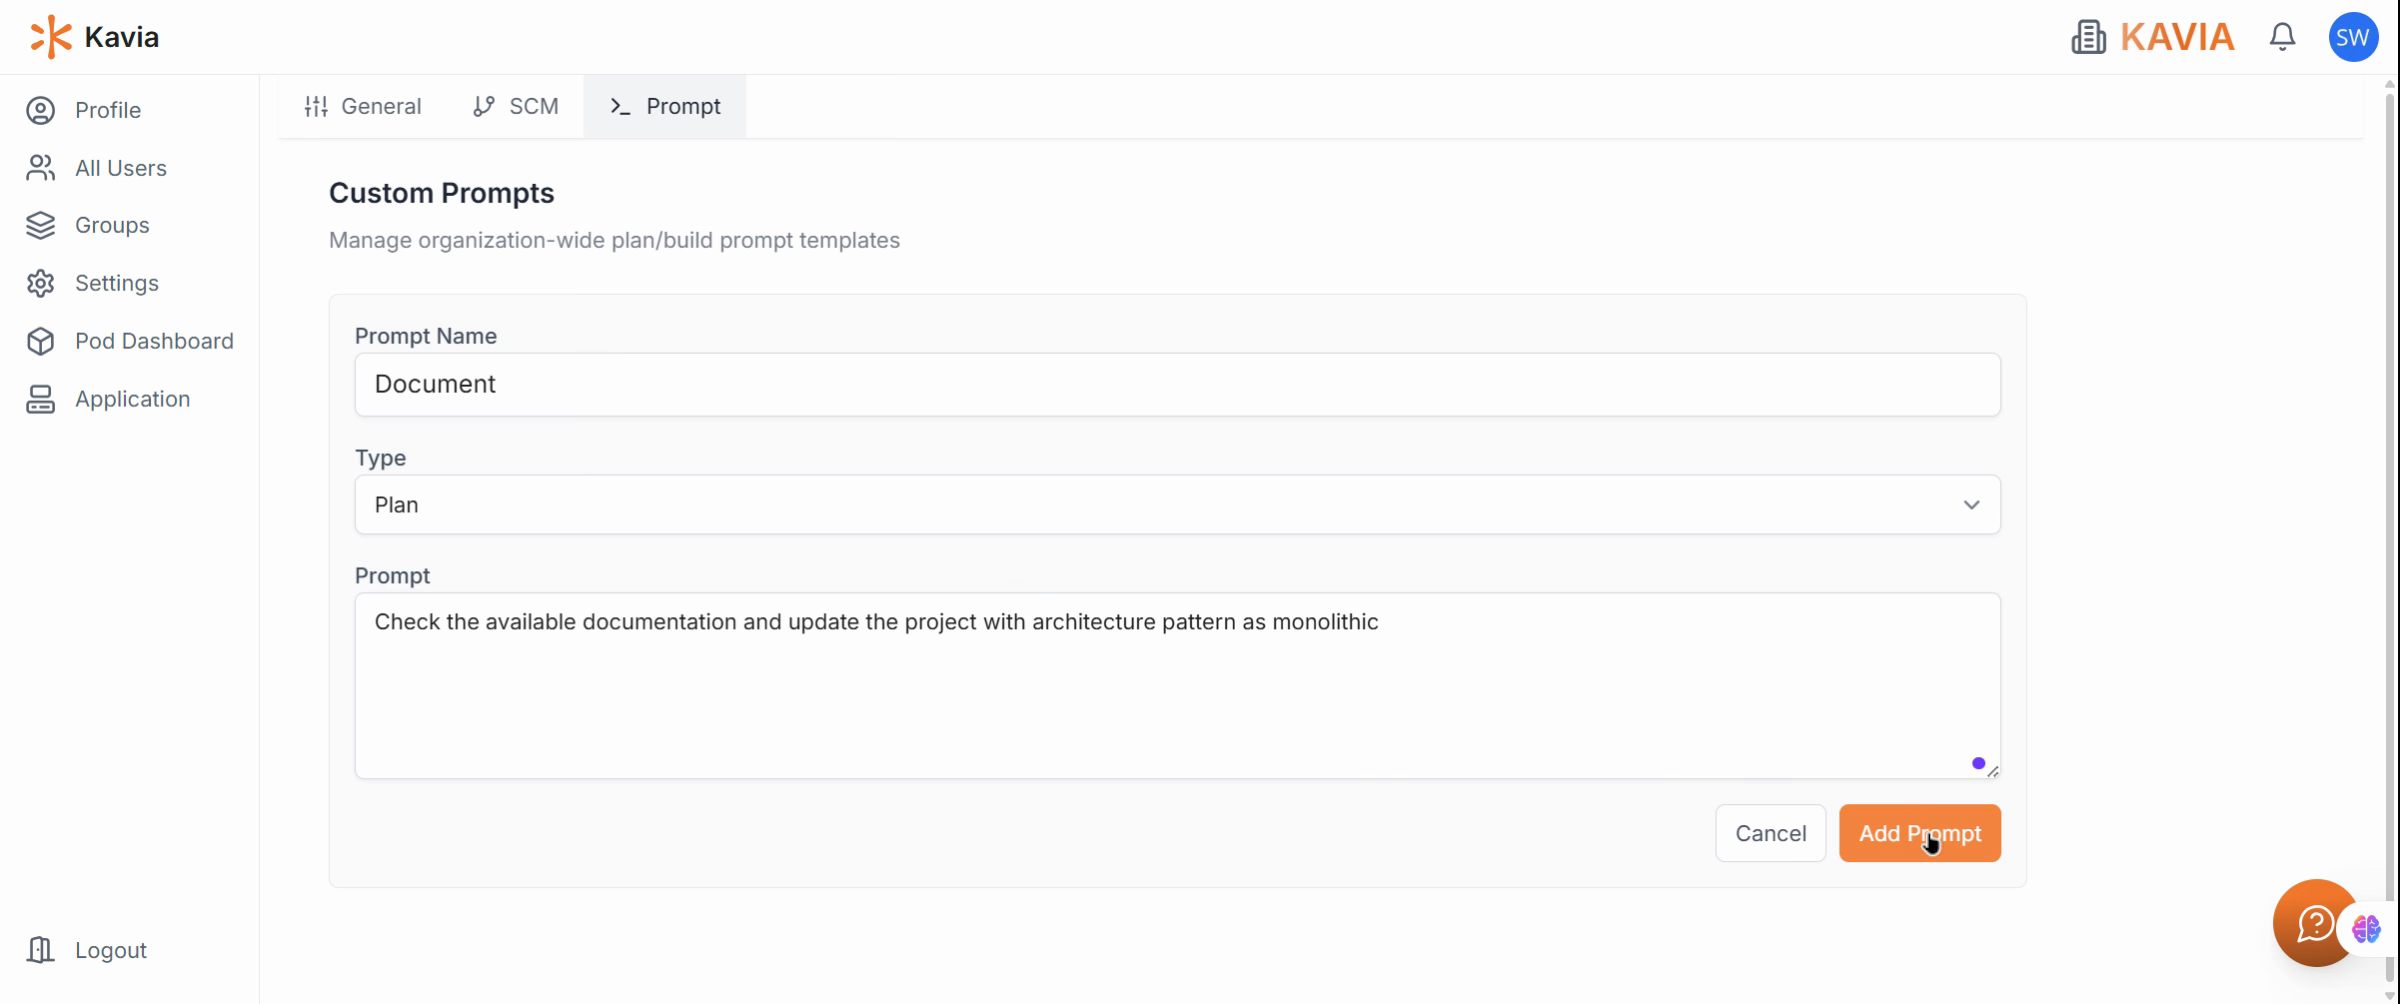
In the description field, type:
“Check the available documentation and update the project with a monolithic architecture pattern.”
then click Add Prompt to save it.
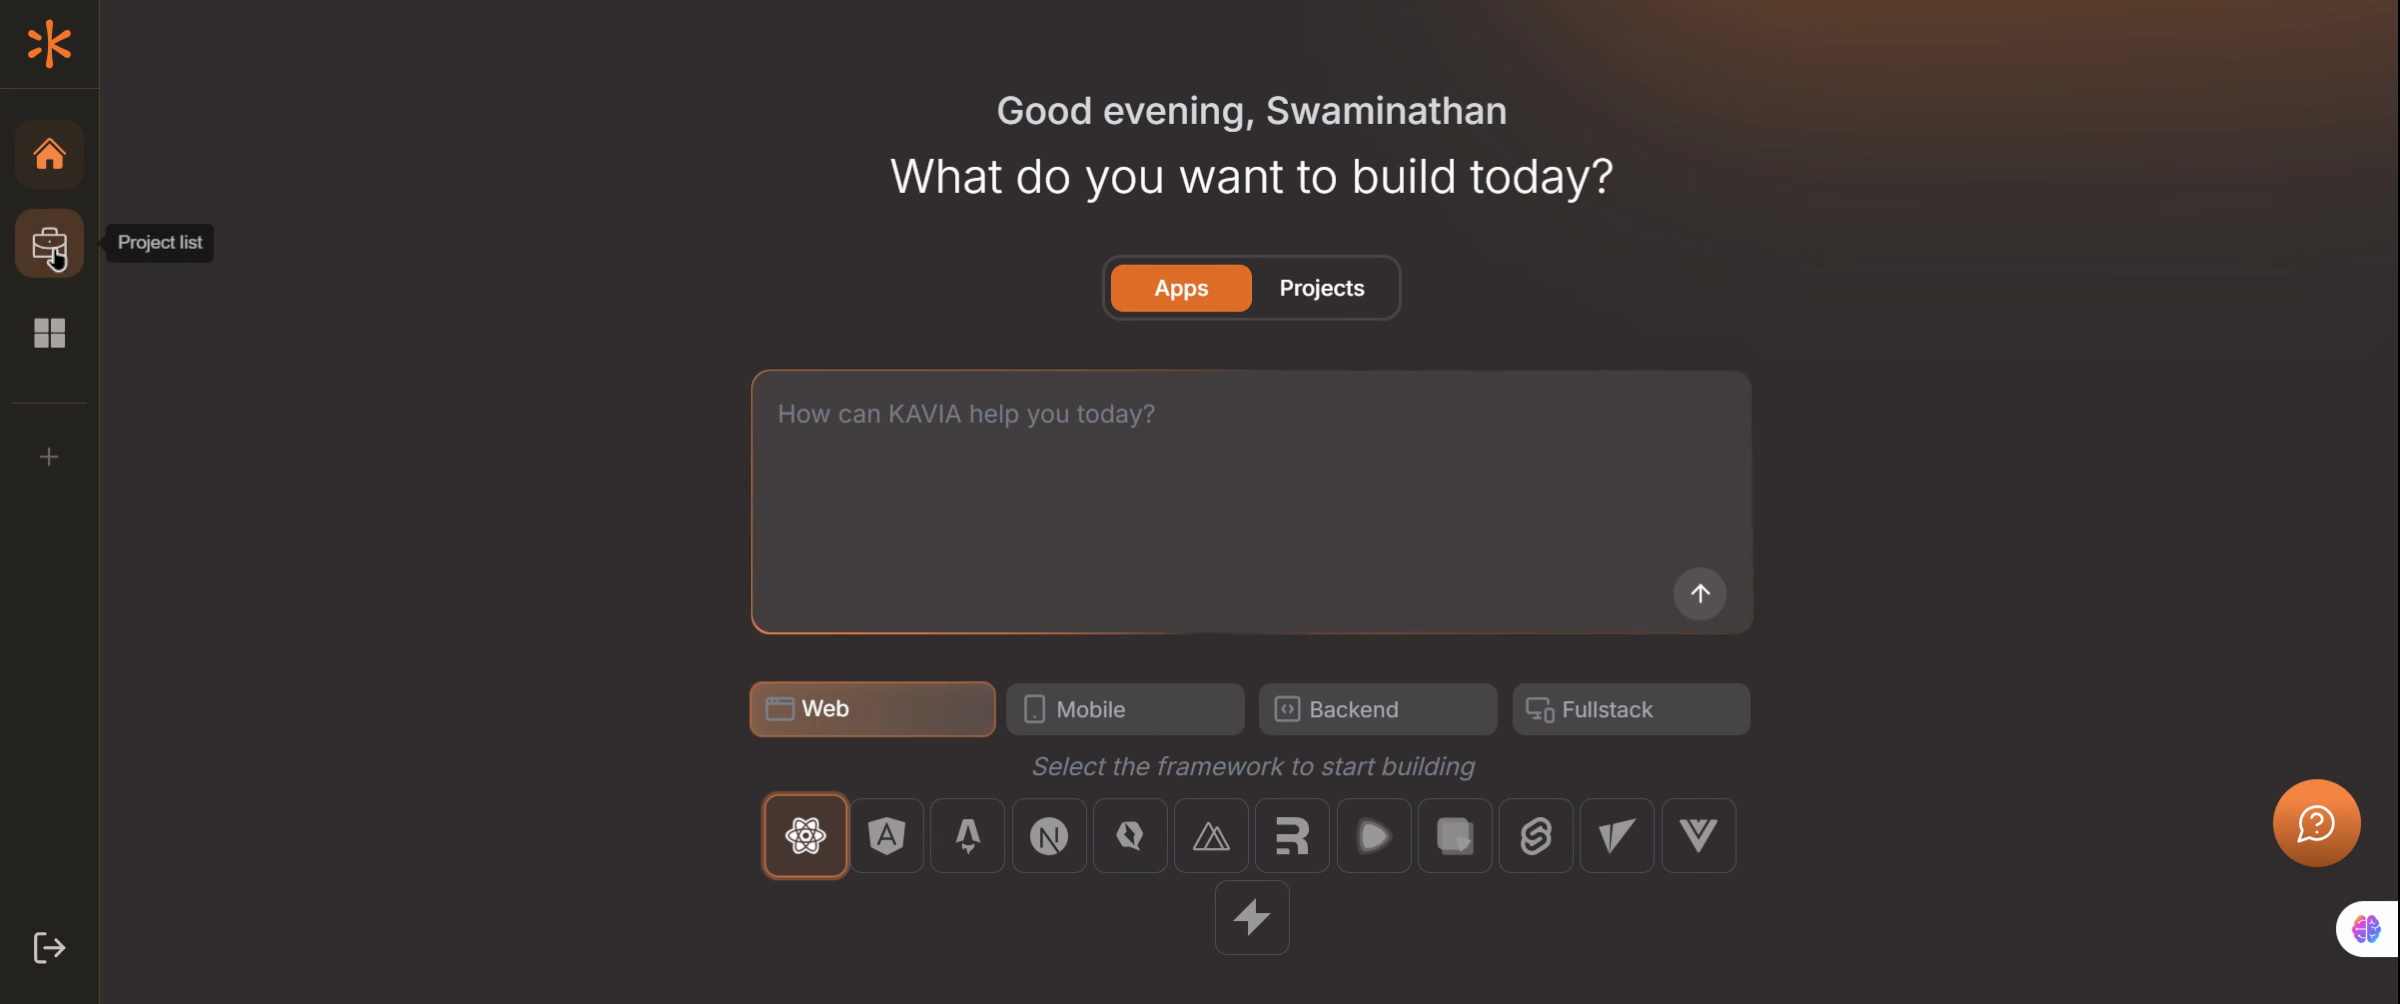
Launch the Application
Go to the Application section and open your existing project.
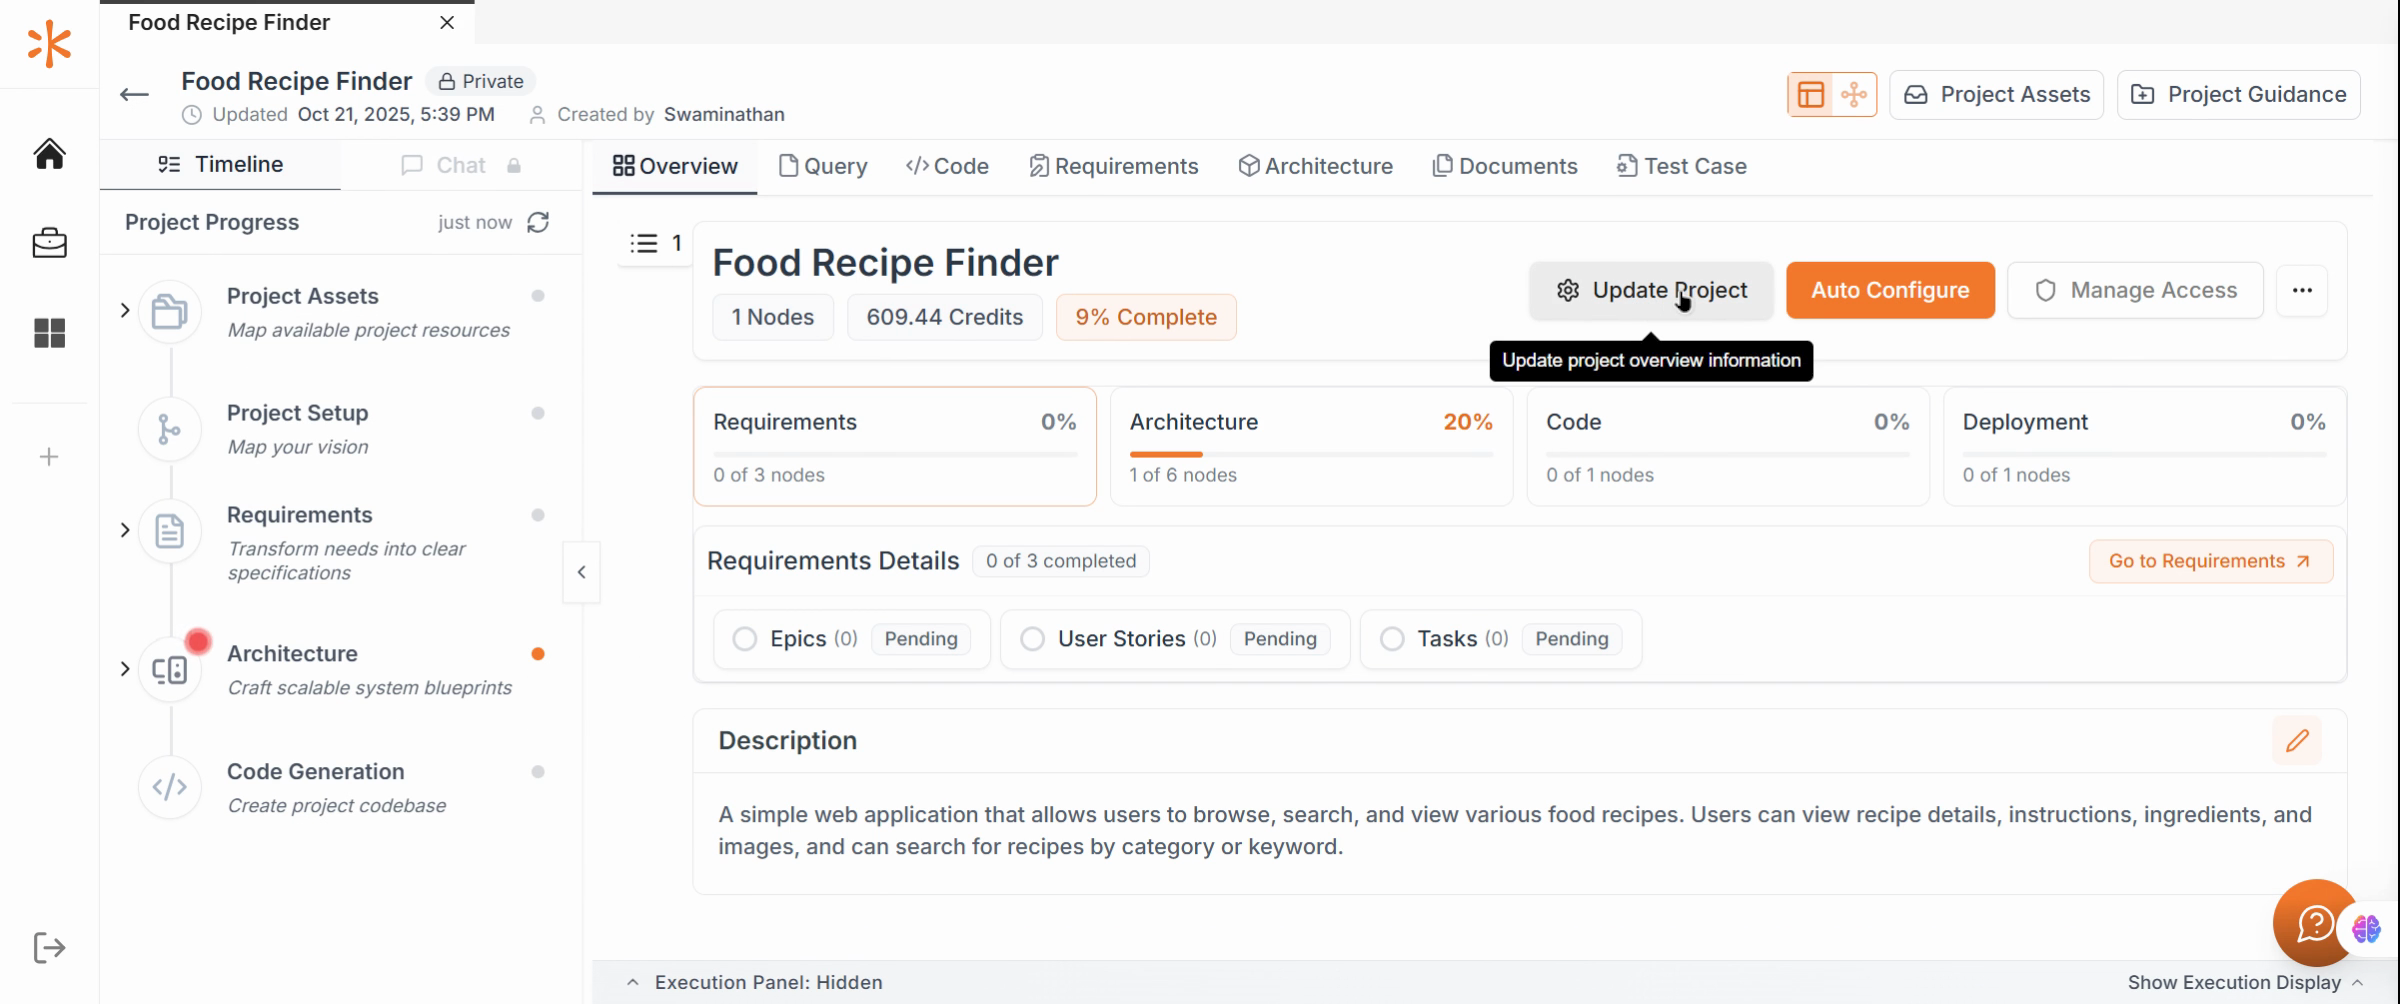
Update the Project
Within your project dashboard, find and use the Update option. Kavia will process updates according to your custom prompt.
Confirm Architecture Pattern
Verify that the project’s architecture is now set to Monolithic, reflecting your prompt’s instruction.
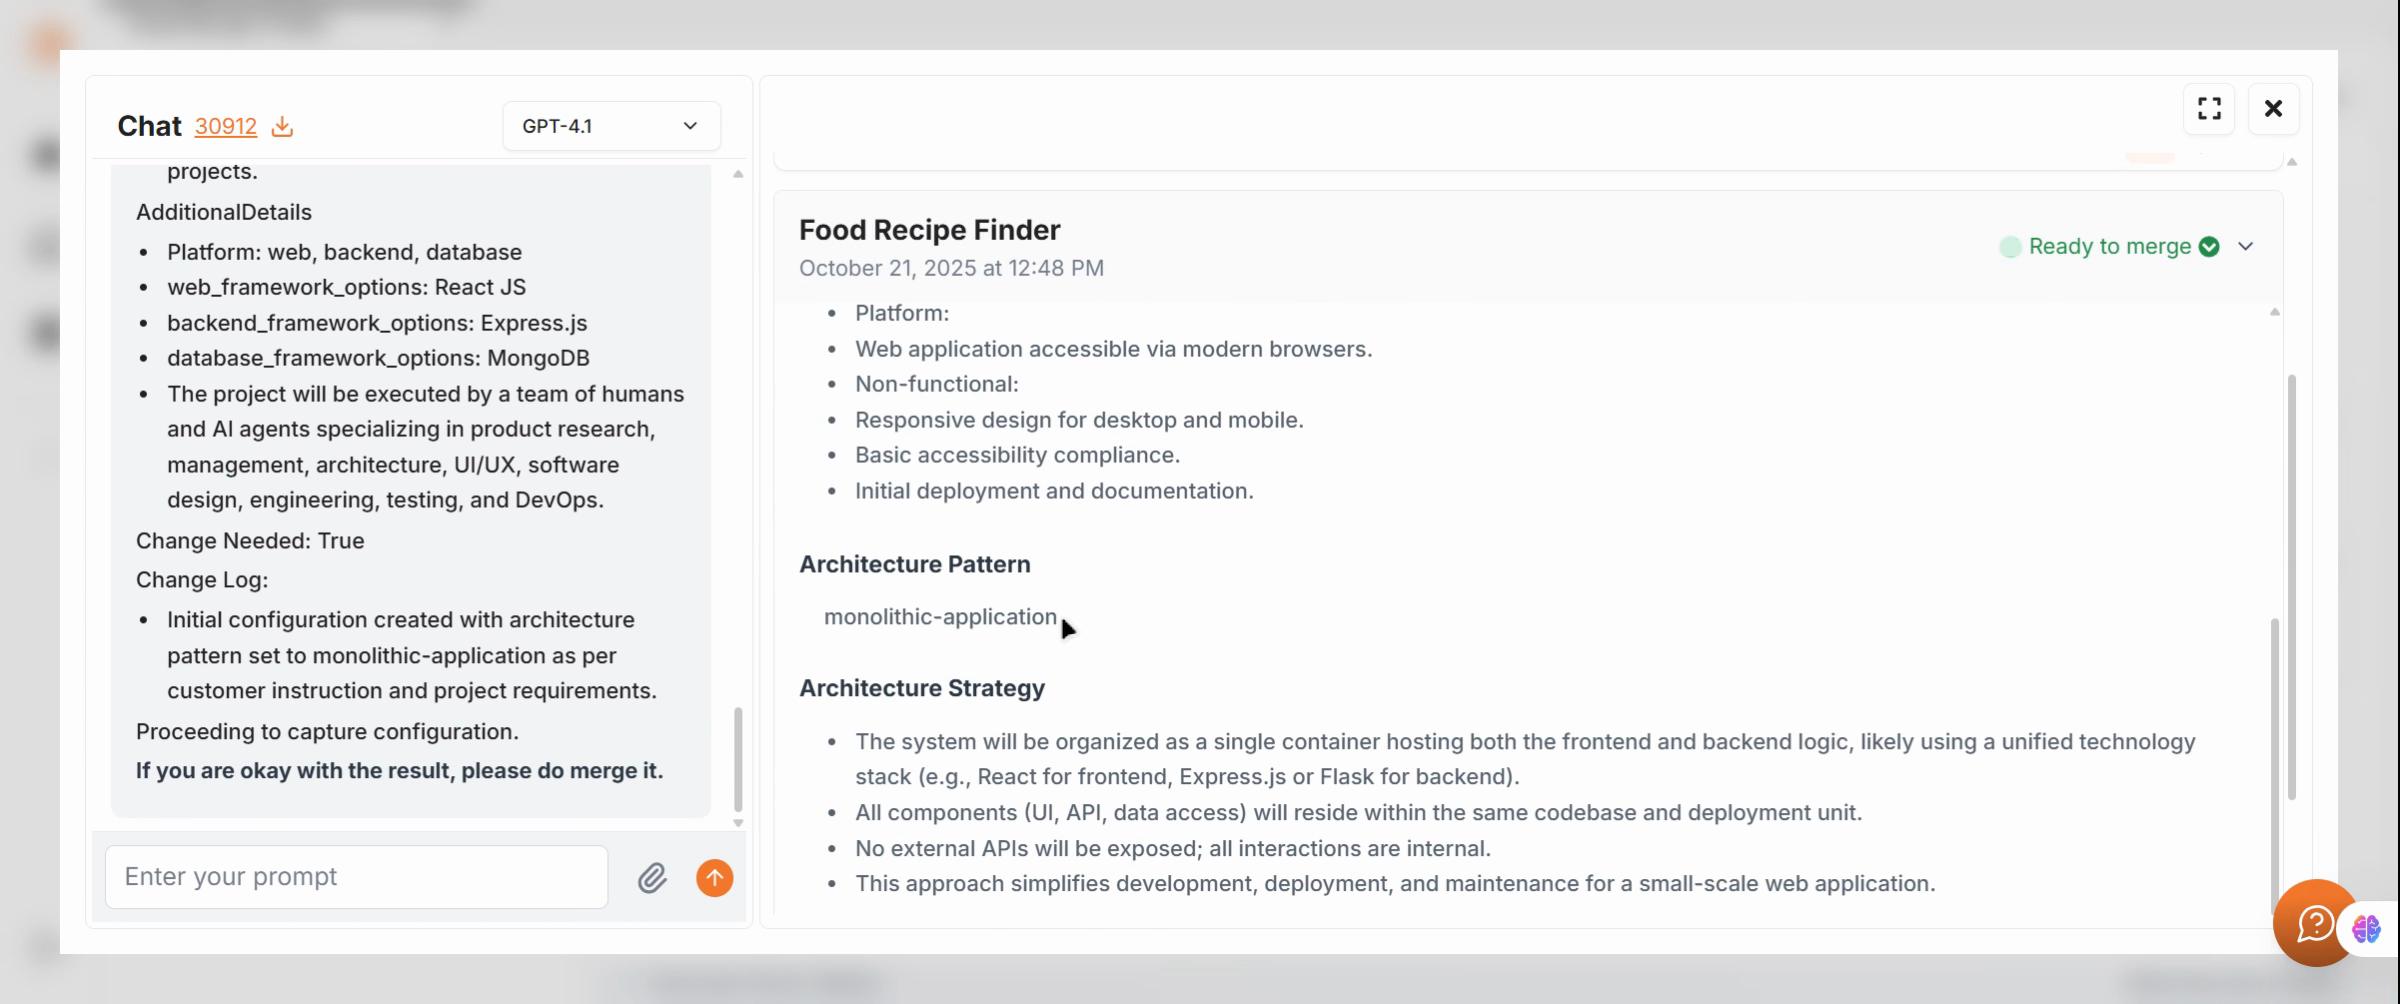
Merge Changes
Apply and merge the changes into your active project to finalize the update.

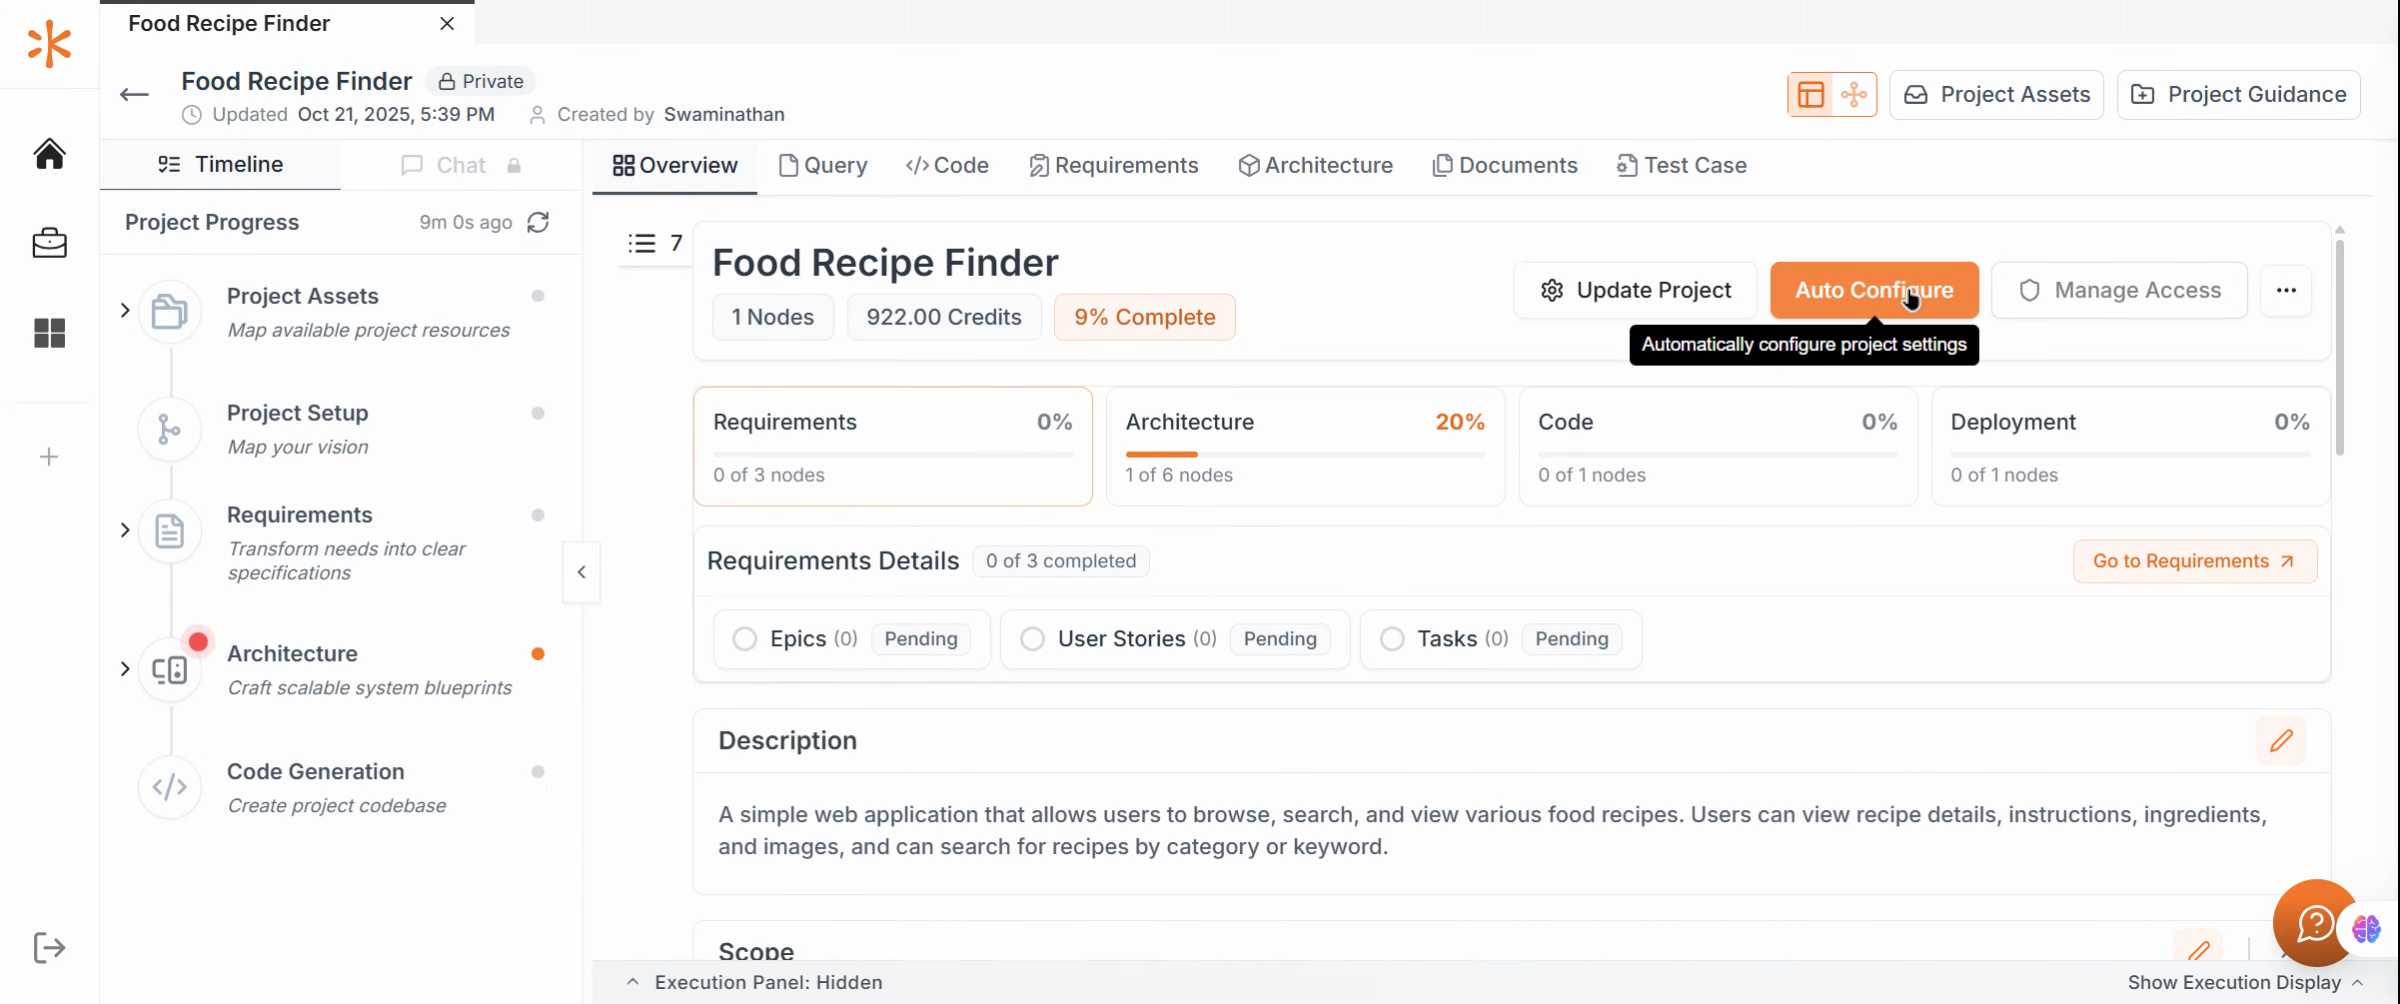
Auto-Configure the Project
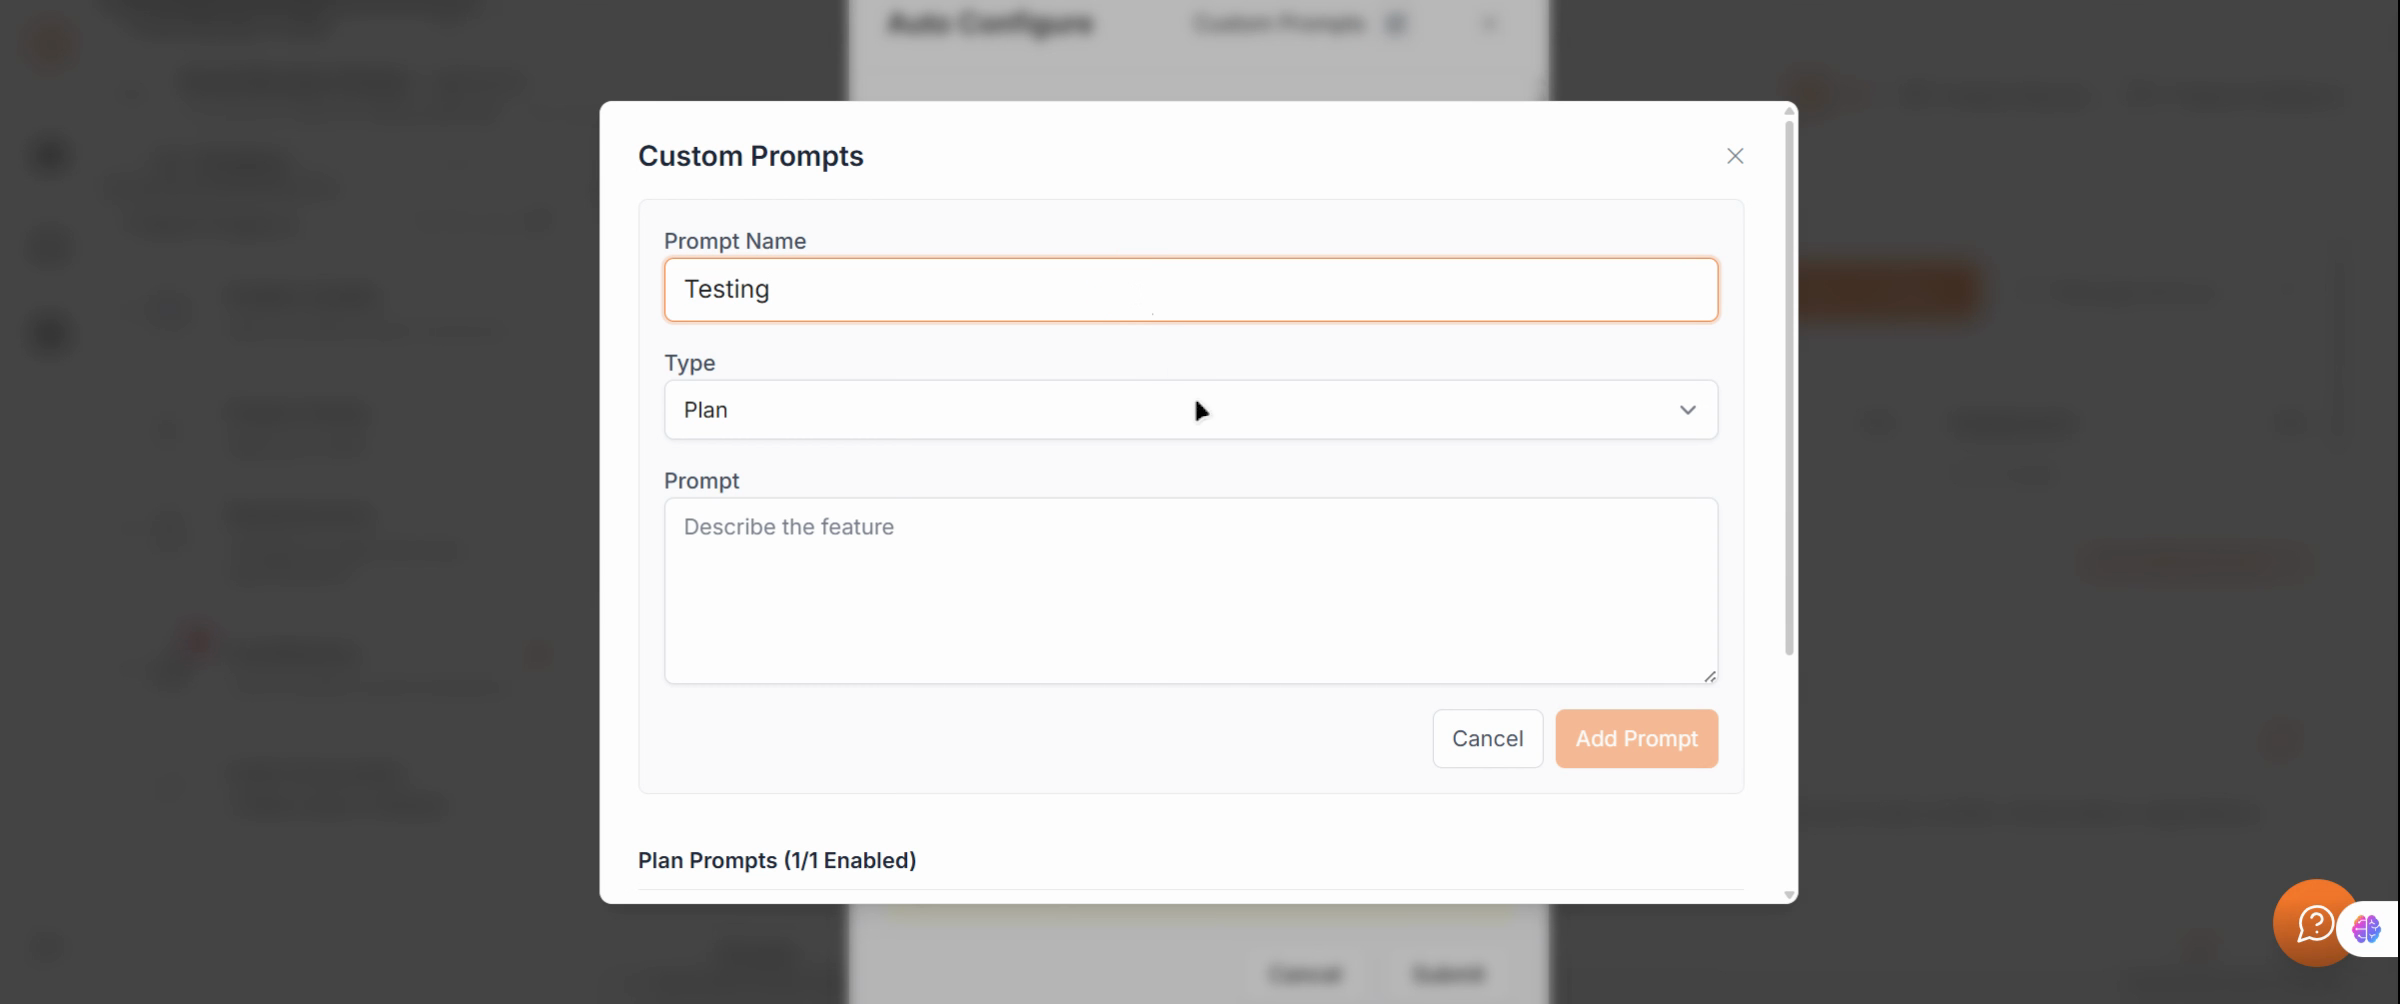
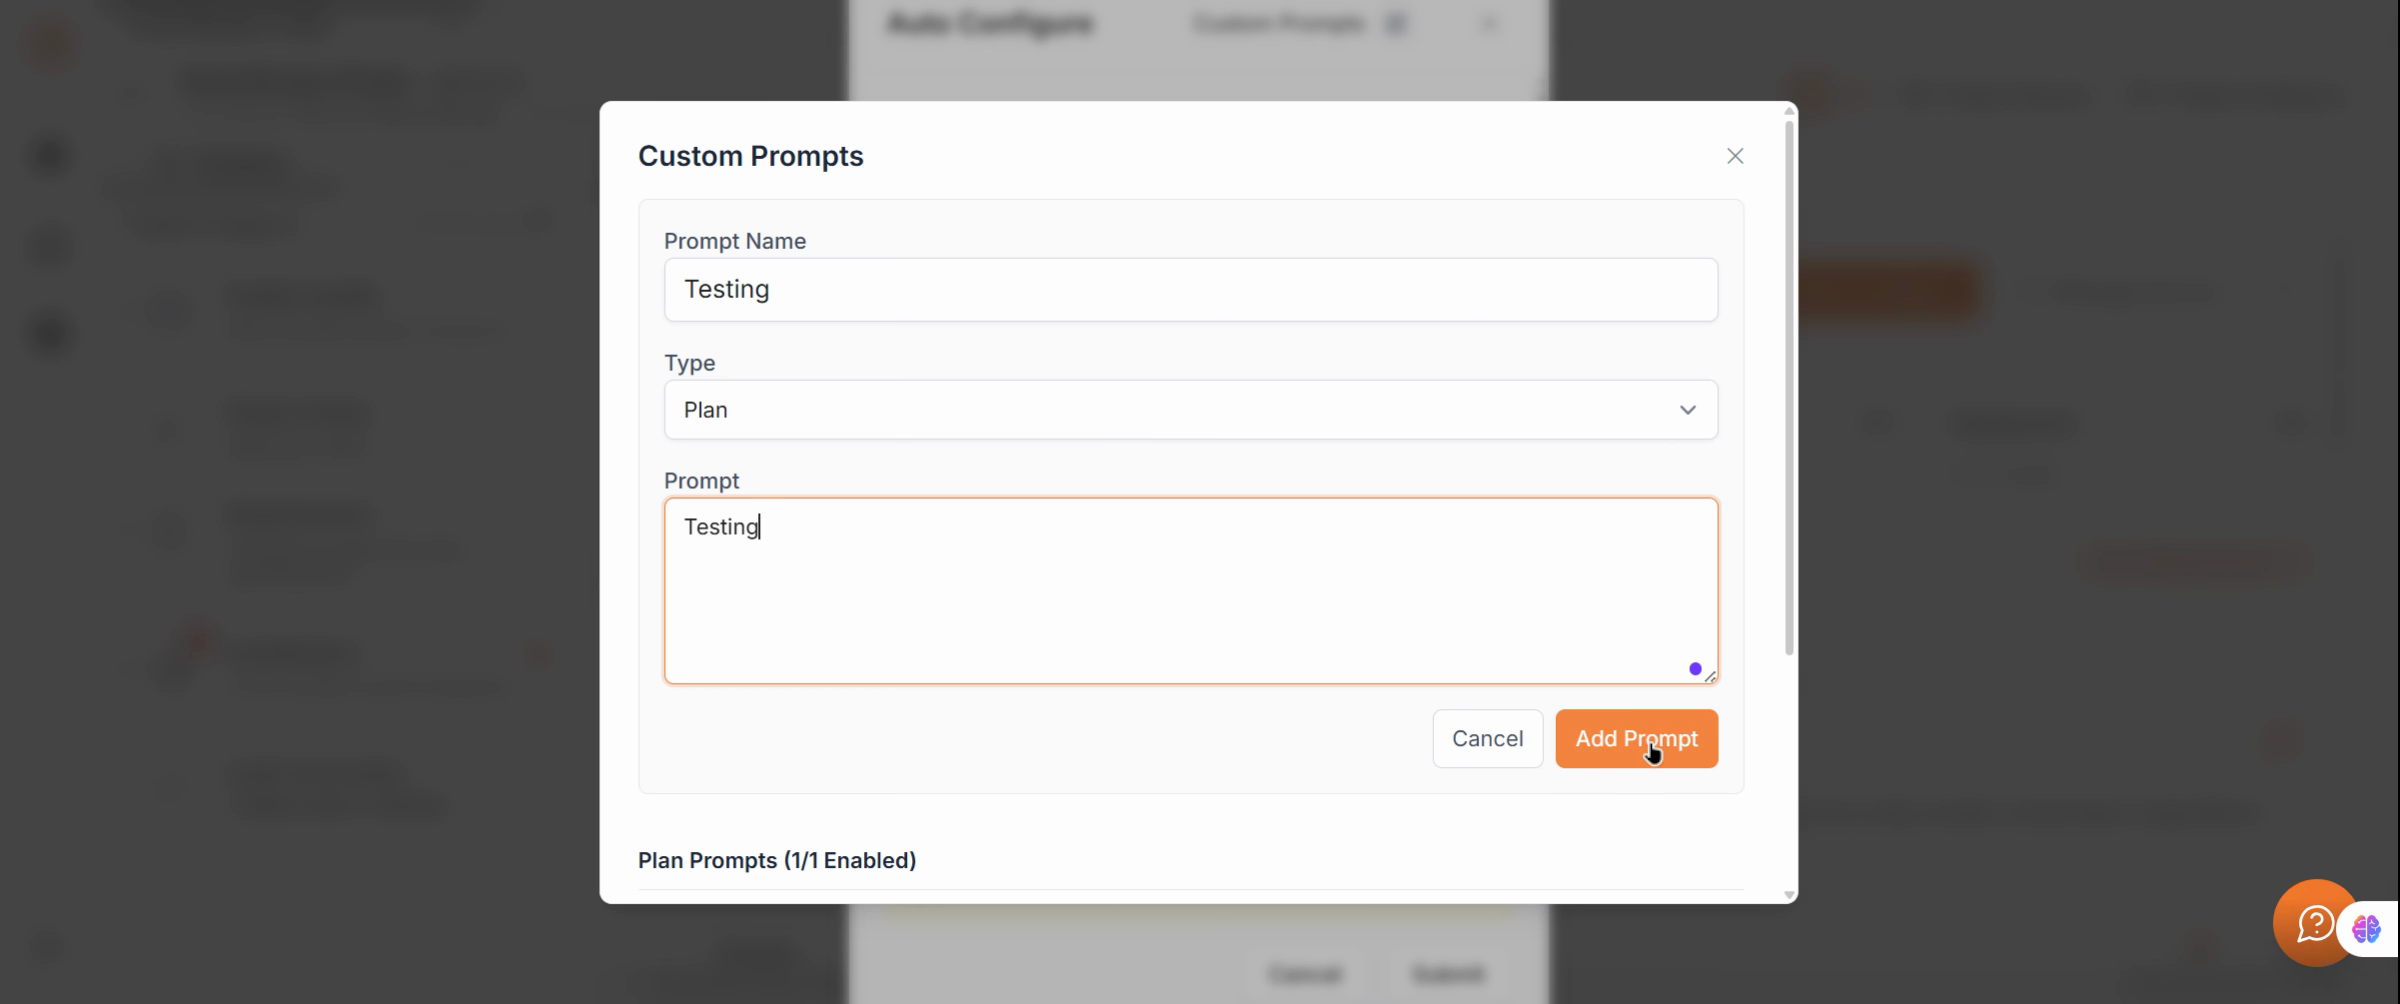
Open Auto Configuration. Under the Custom Prompt tab, create another prompt named Testing, set the type to Plan, and label it as Testing.
Enable and Submit Prompts
Add the new prompt and click Submit. Both prompts will now appear as enabled and ready for execution.
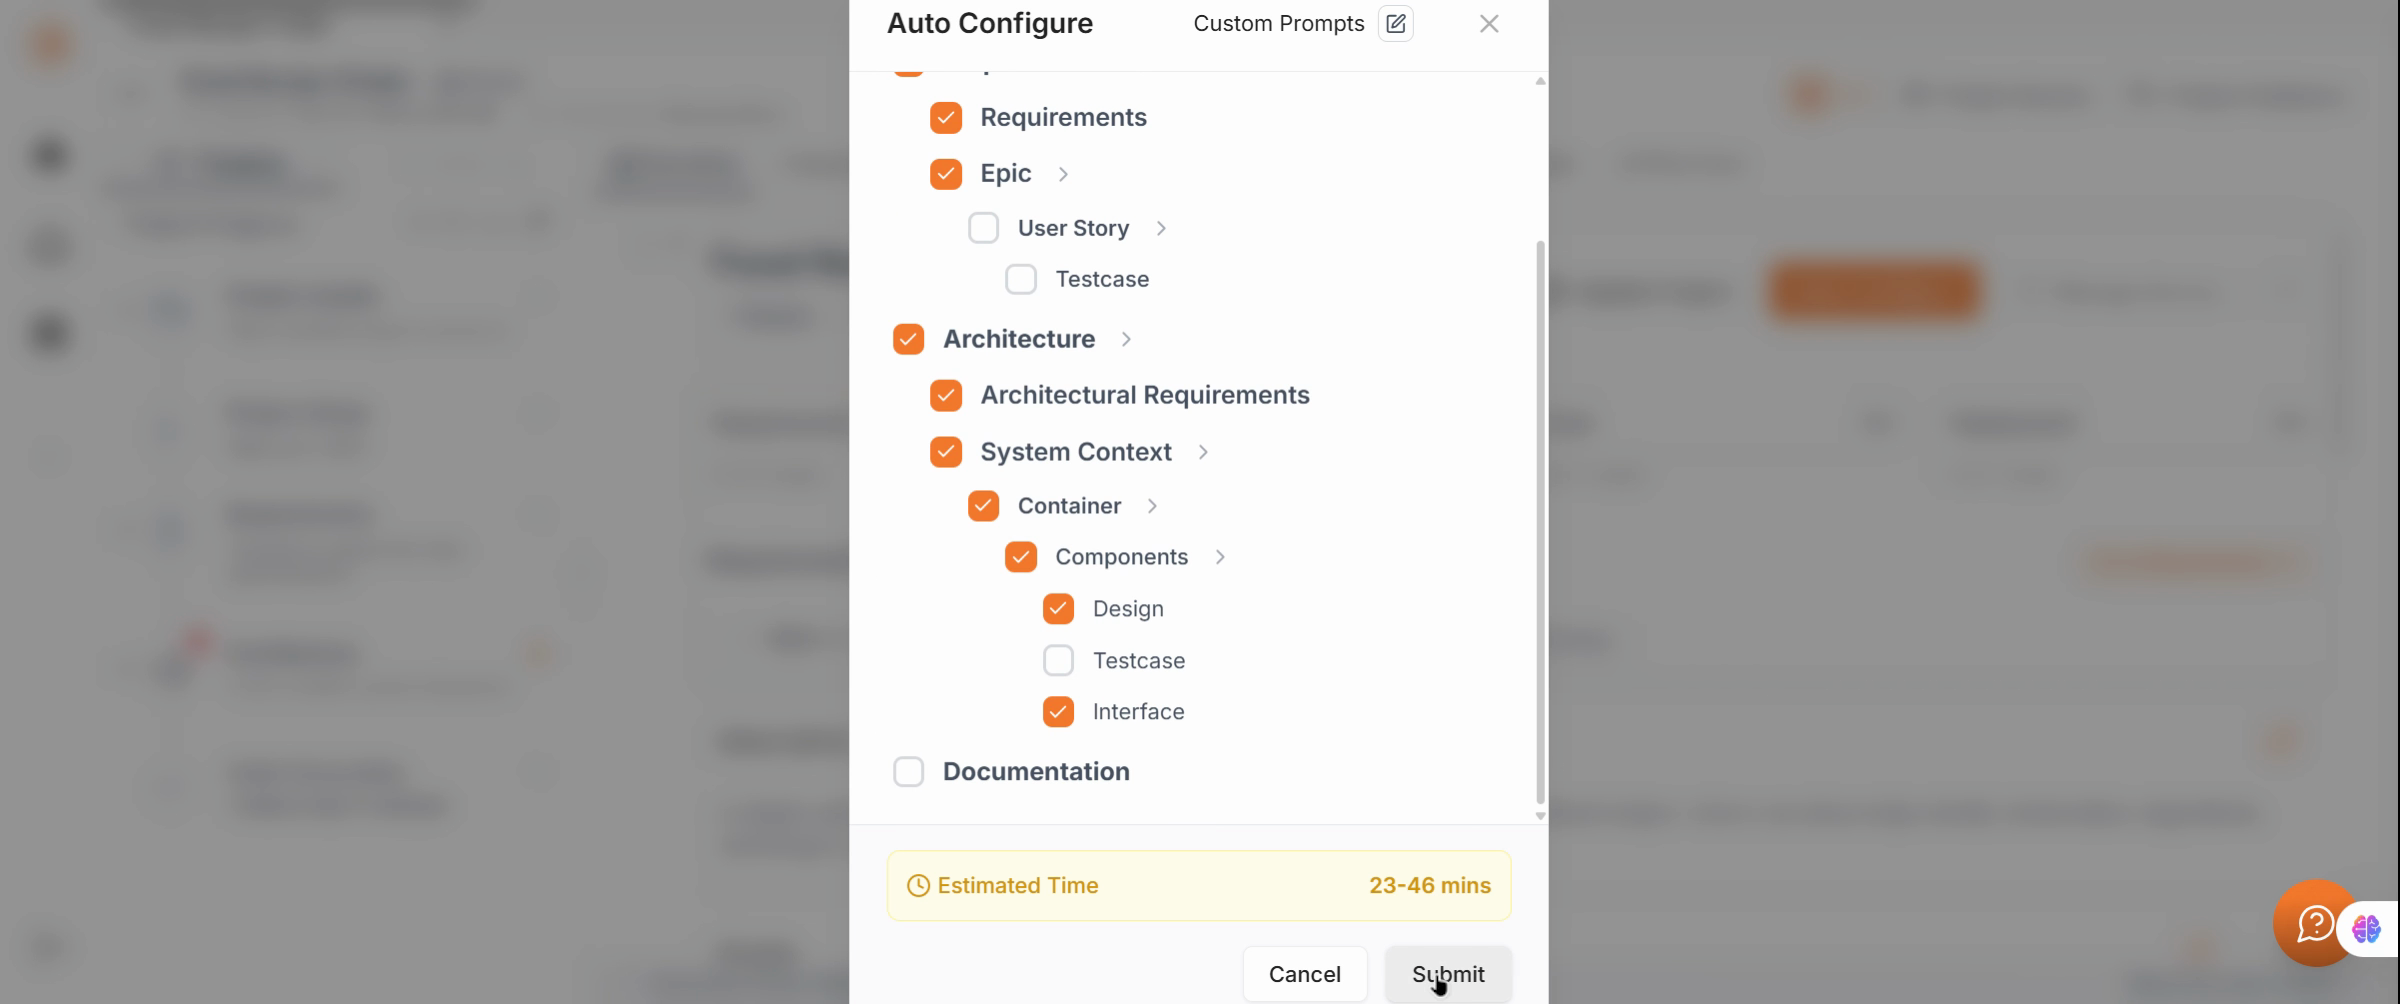
Start Auto-Configuration
Select your desired project features and start Auto Configuration. Wait for the process to complete as Kavia applies your plan prompts automatically.
Review the Code Tab
When auto-configuration is finished, open the Code Tab and verify that the project includes a Monolith Container for both front-end and back-end.

Build Custom Prompt Tutorial
Open the Dashboard for Build
Return to the Dashboard, access Settings, and navigate again to the Prompt Section.
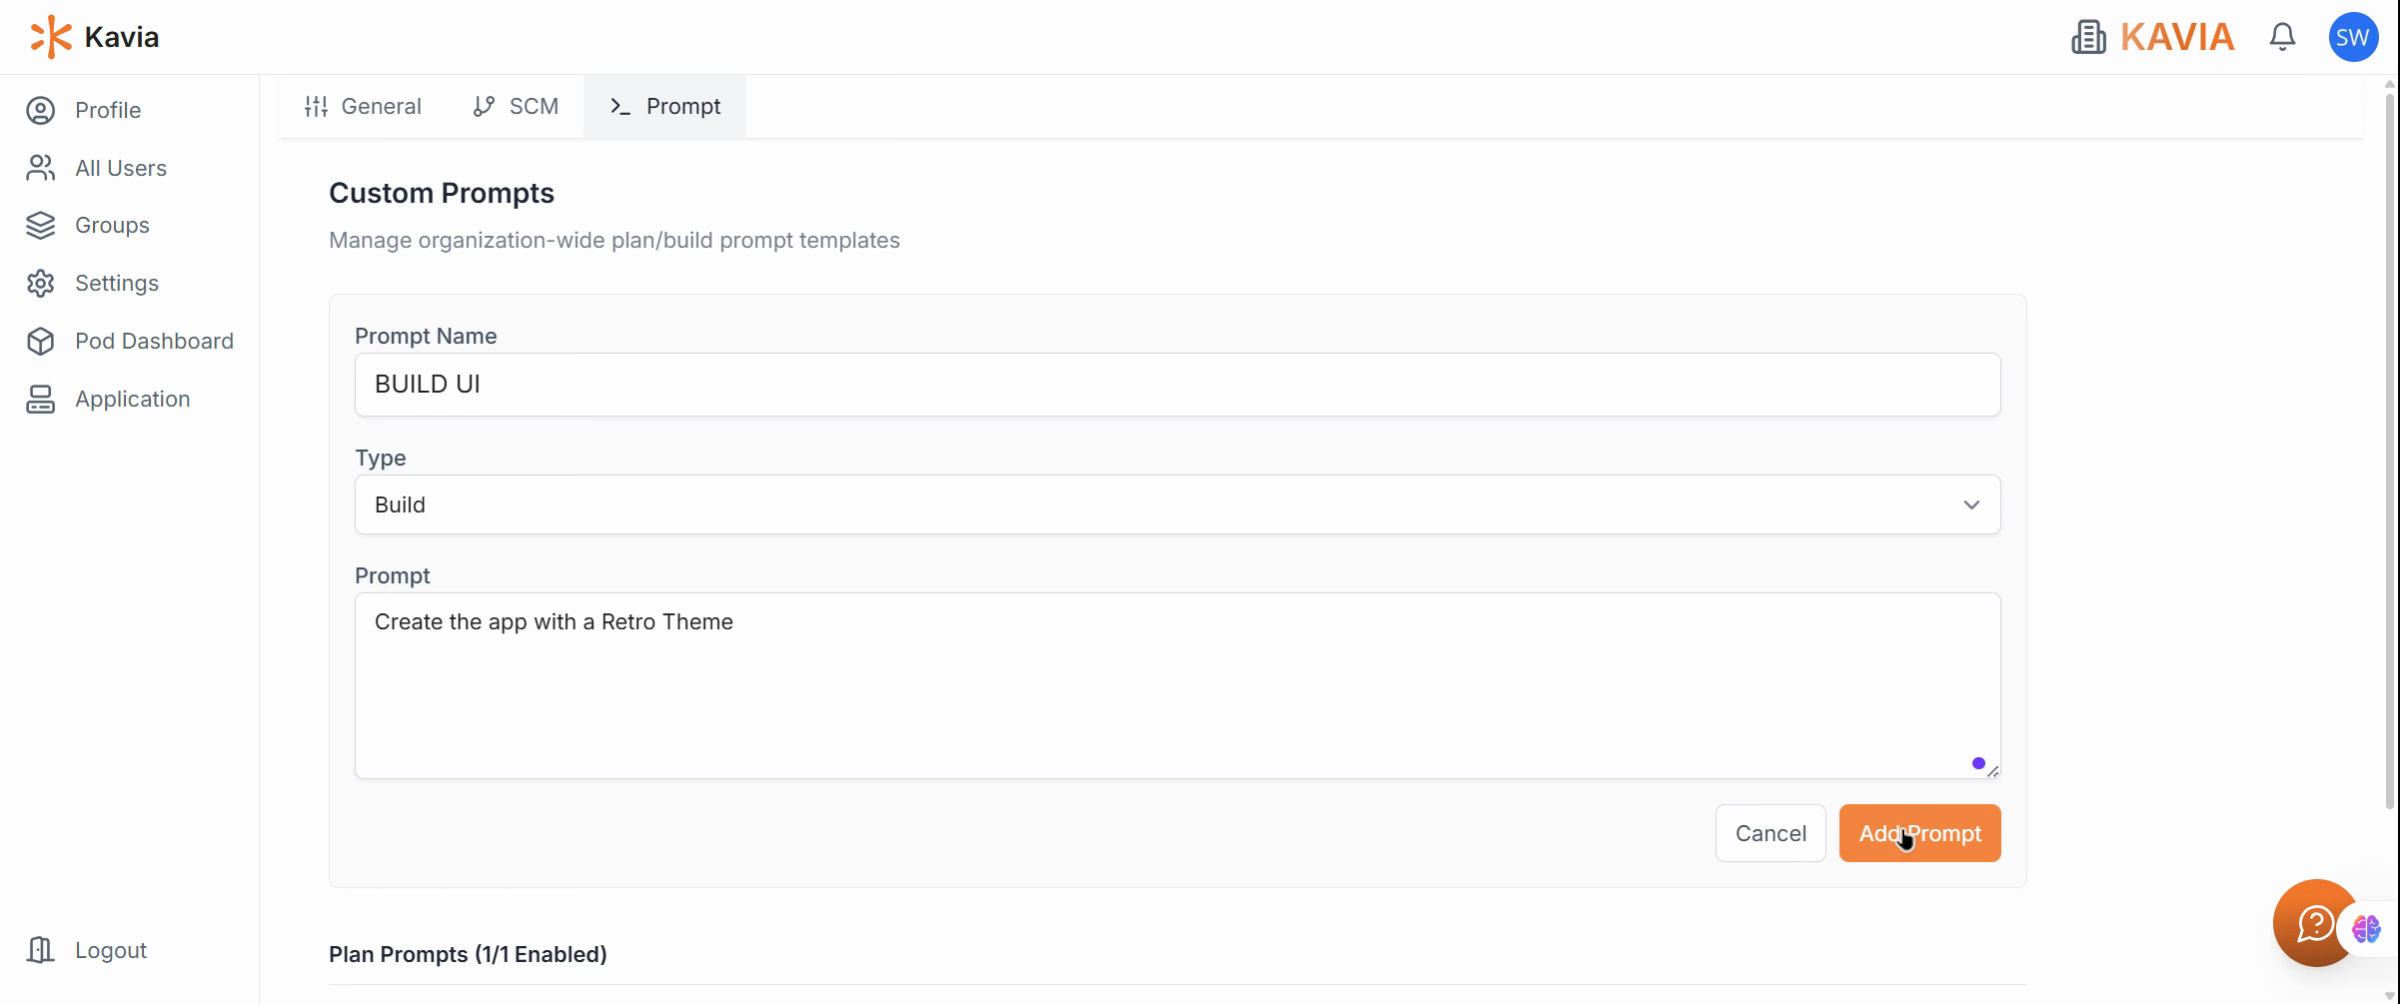
Create the Build Prompt
Create a new prompt named Build UI. Set the type to Build and enter the following description:
“Create the app with a retro theme.”
Click Add Prompt to save it.
Start a New Project
Go to the Application Tab and start a new project. Enter your chosen project prompt to initialize development.
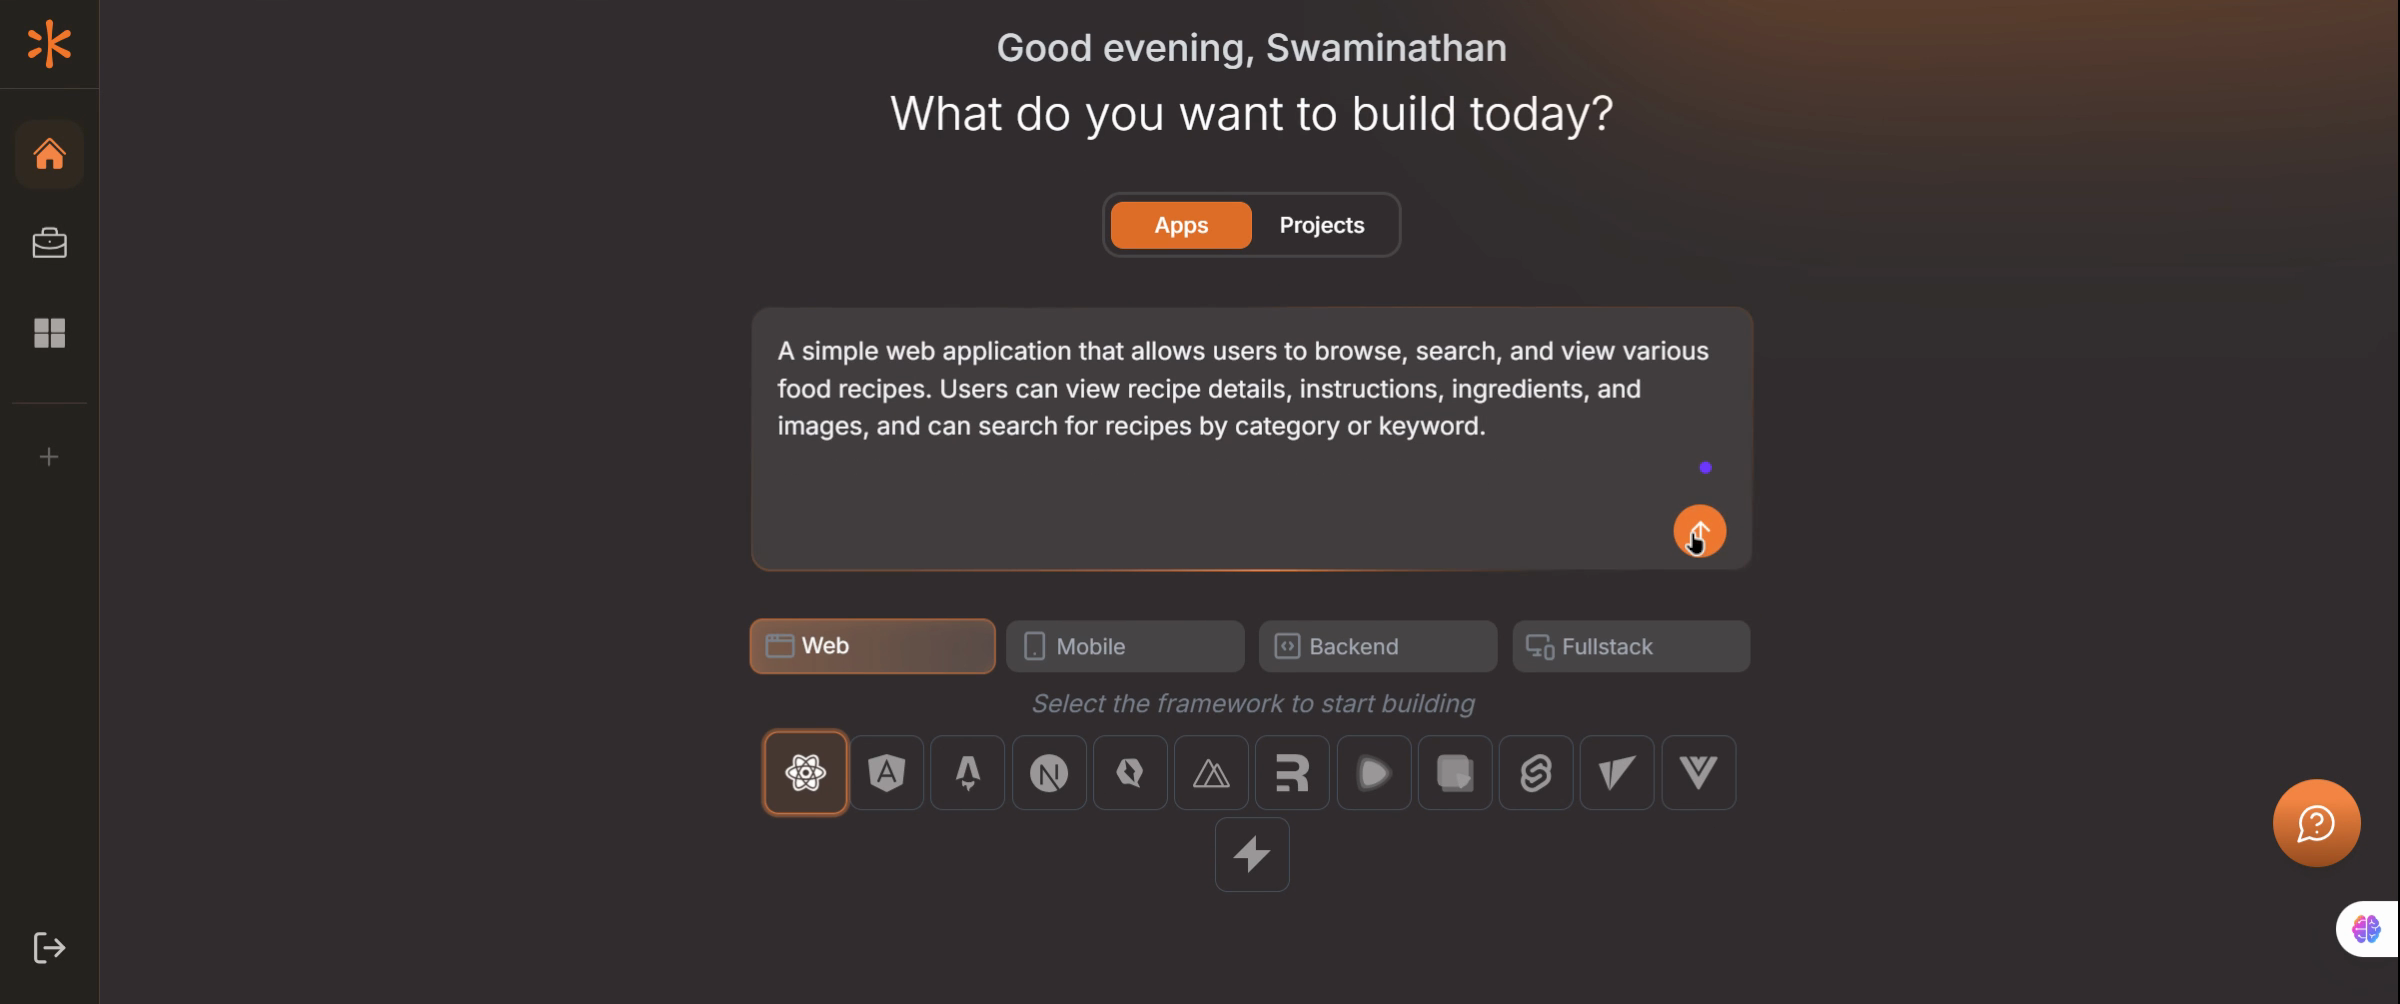
Generate Project Overview
Click Go and wait for Kavia to generate the Project Overview, including core features, tech stack, and styling guidelines.

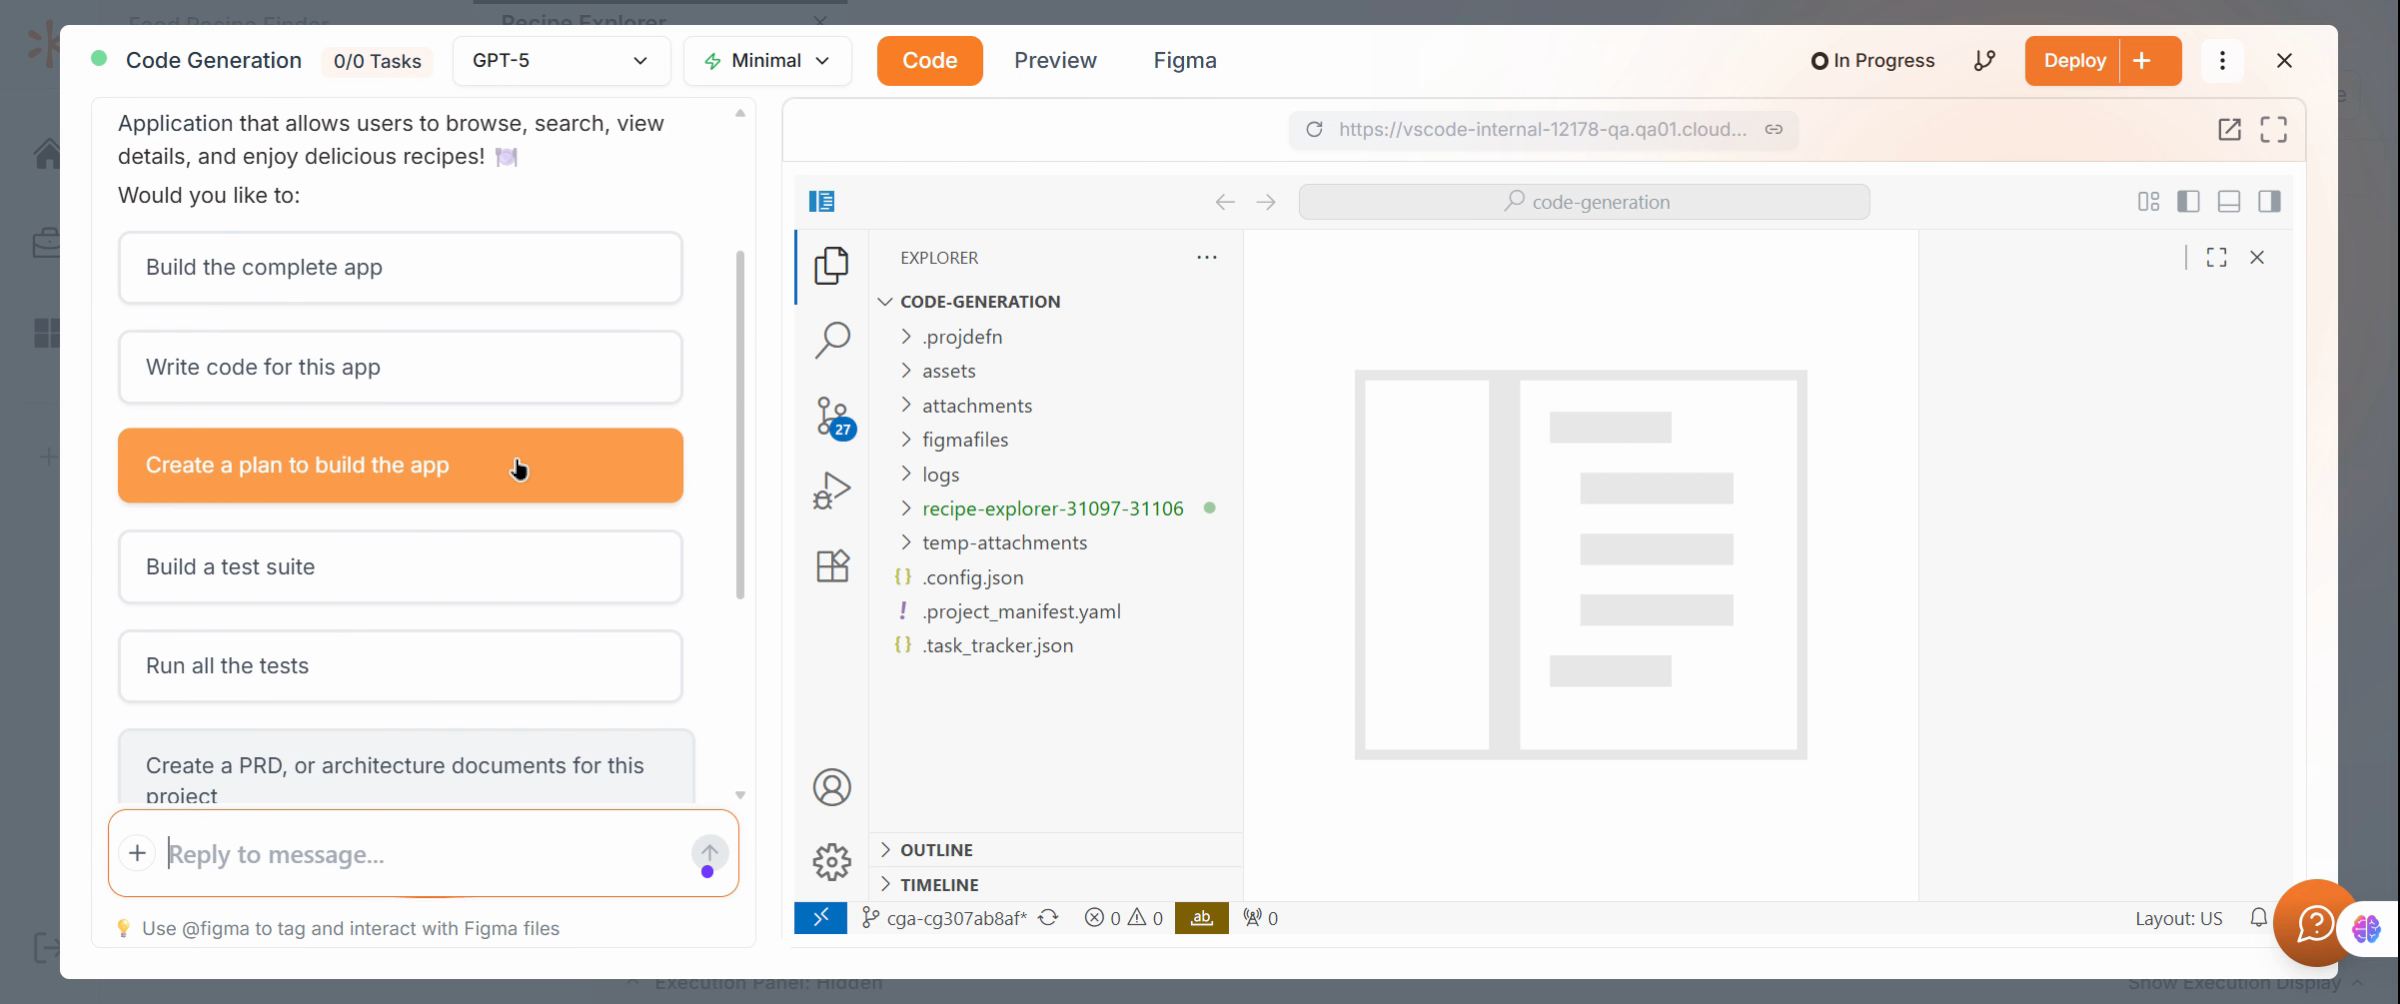
Begin the Session
Start the session and allow the environment setup to complete. When ready, use your prompt Create a Plan to instruct Kavia to begin building the application.
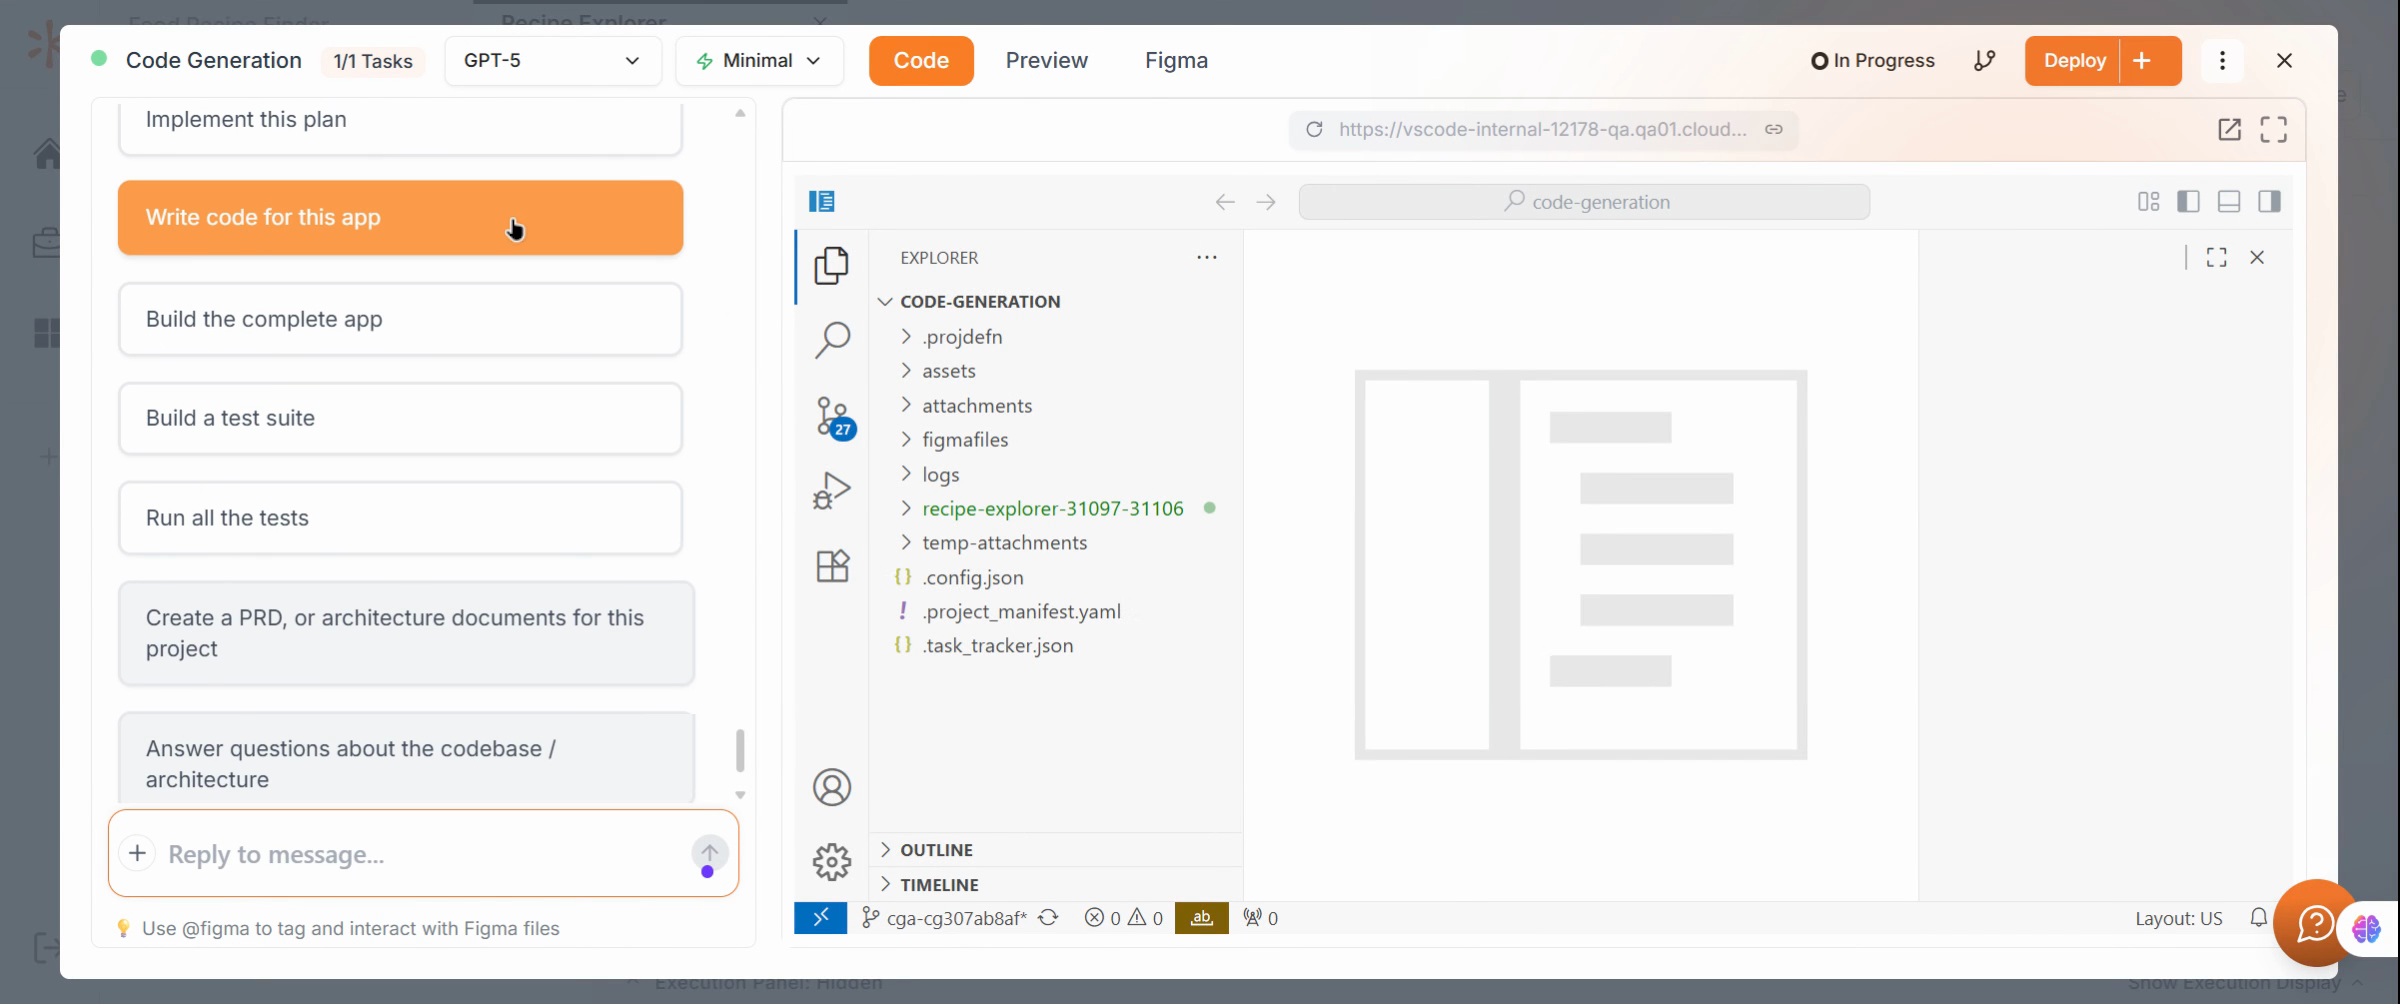
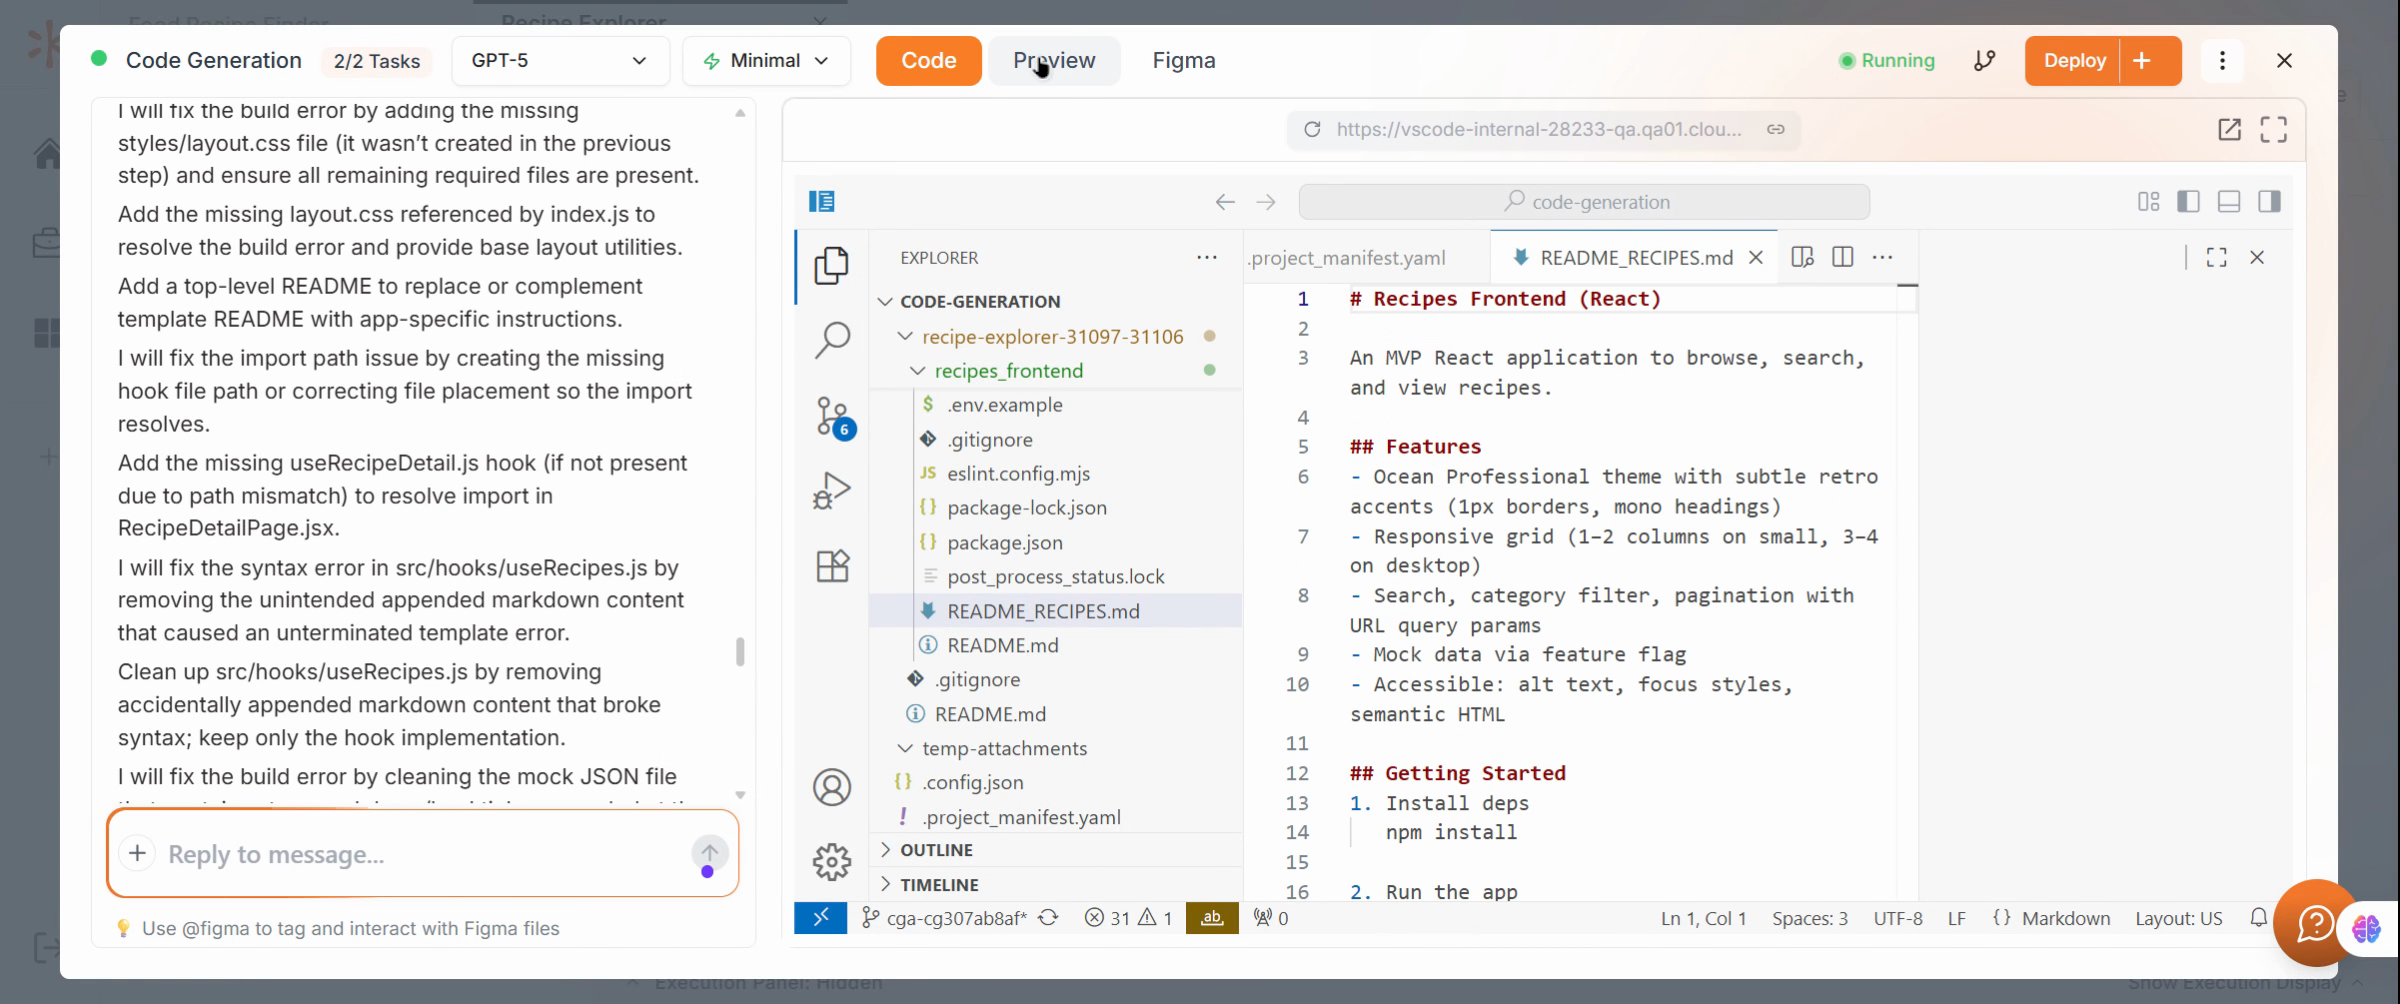
Finalize and Generate Code
After the plan is complete, prompt Kavia to Generate Code. Wait for code creation to finish, then preview the generated results.
Preview the Application
Open the Recipe Explorer App (the example generated project) in a new browser tab and confirm that it includes all the expected features.
Interact with the Application
Explore the Recipe Explorer by selecting a food item to view its ingredients and cooking instructions.
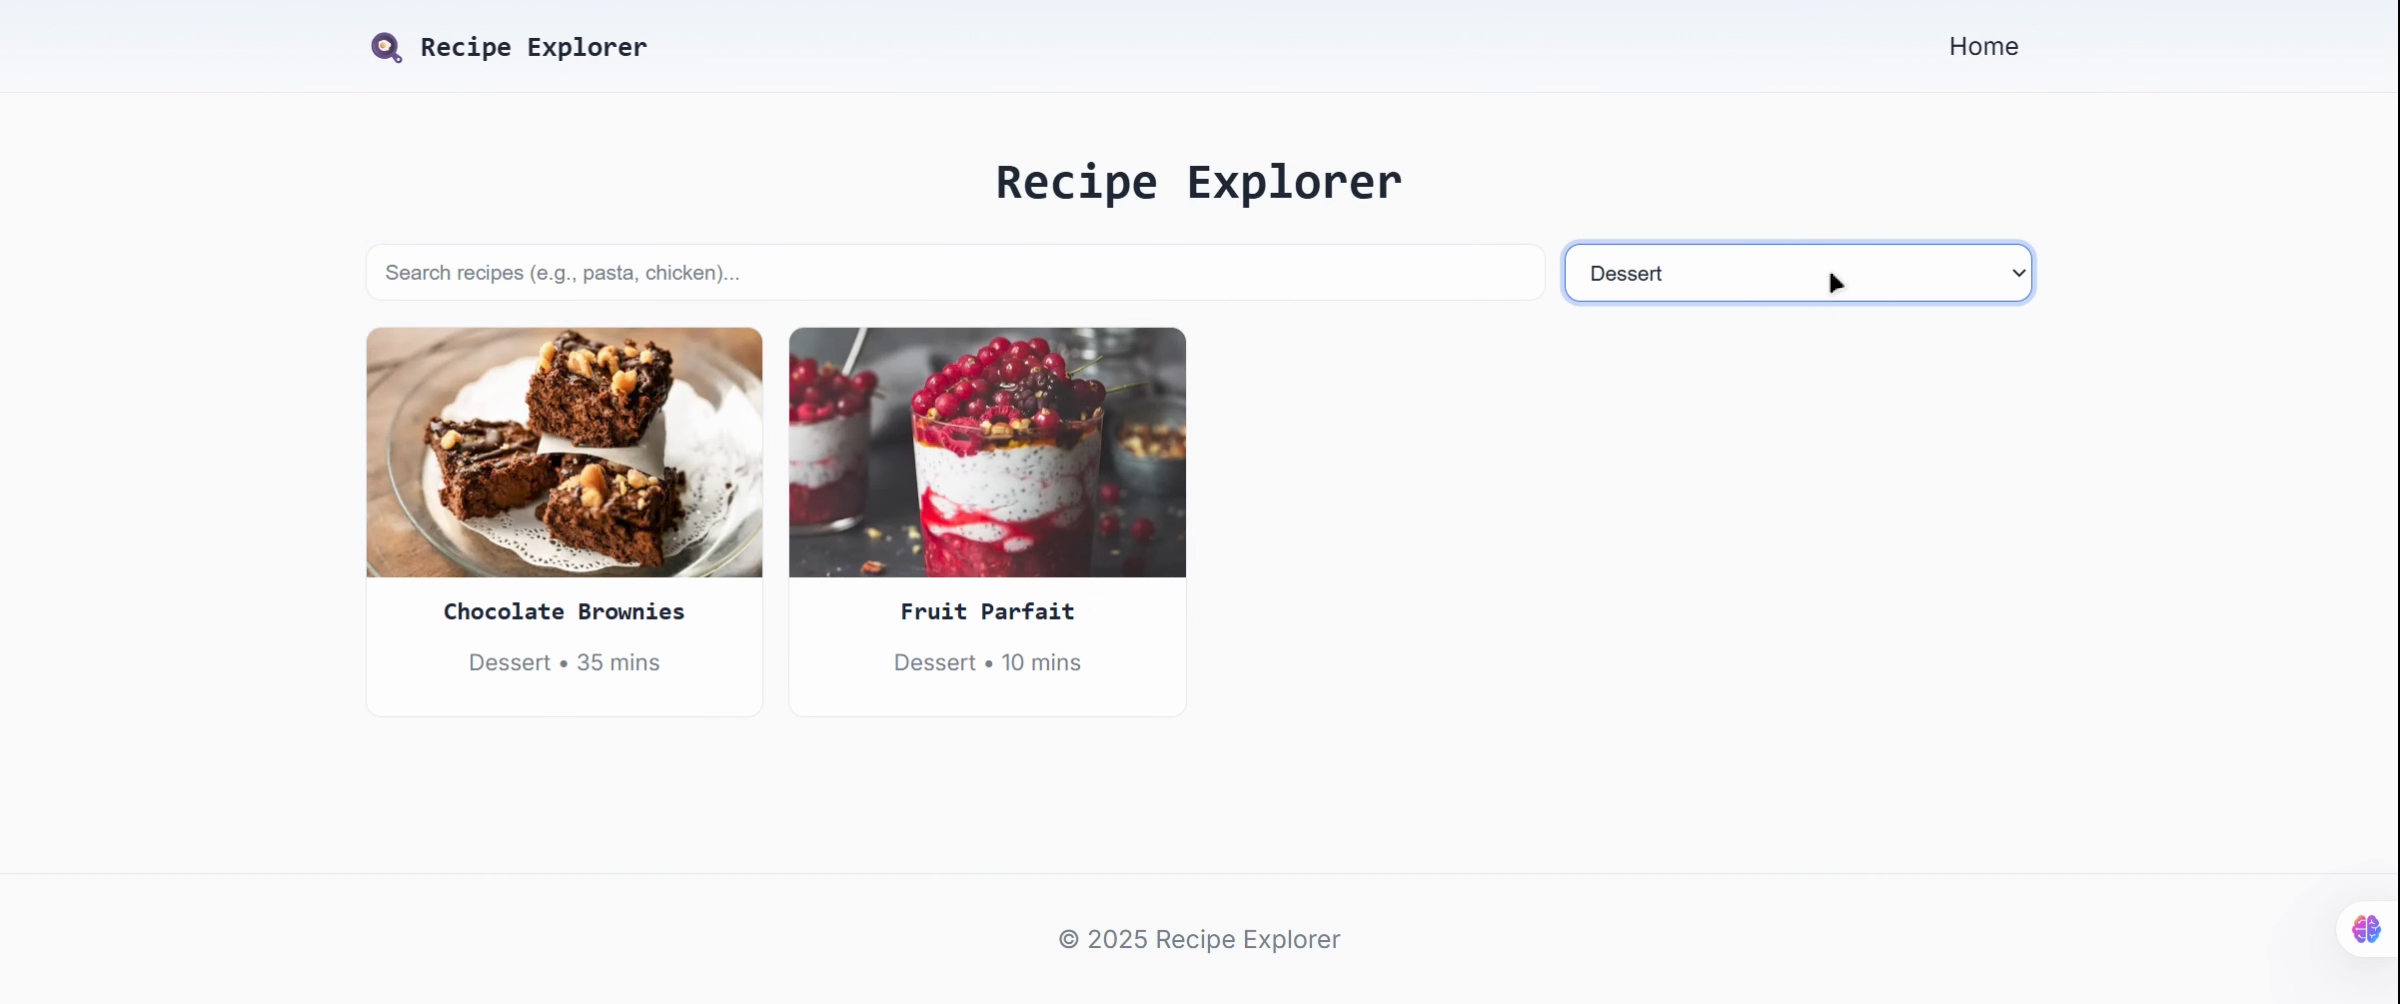
Interact with the Application
Test the app’s functionality by applying filters such as Breakfast, Dessert, Dinner, Lunch, or All Categories.
Try searching for a specific recipe like Tomato Soup to confirm search and filtering work correctly.
