Project Planning
This section walks you through creating a new project from scratch in Kavia, covering everything from initial setup to generating your application code.
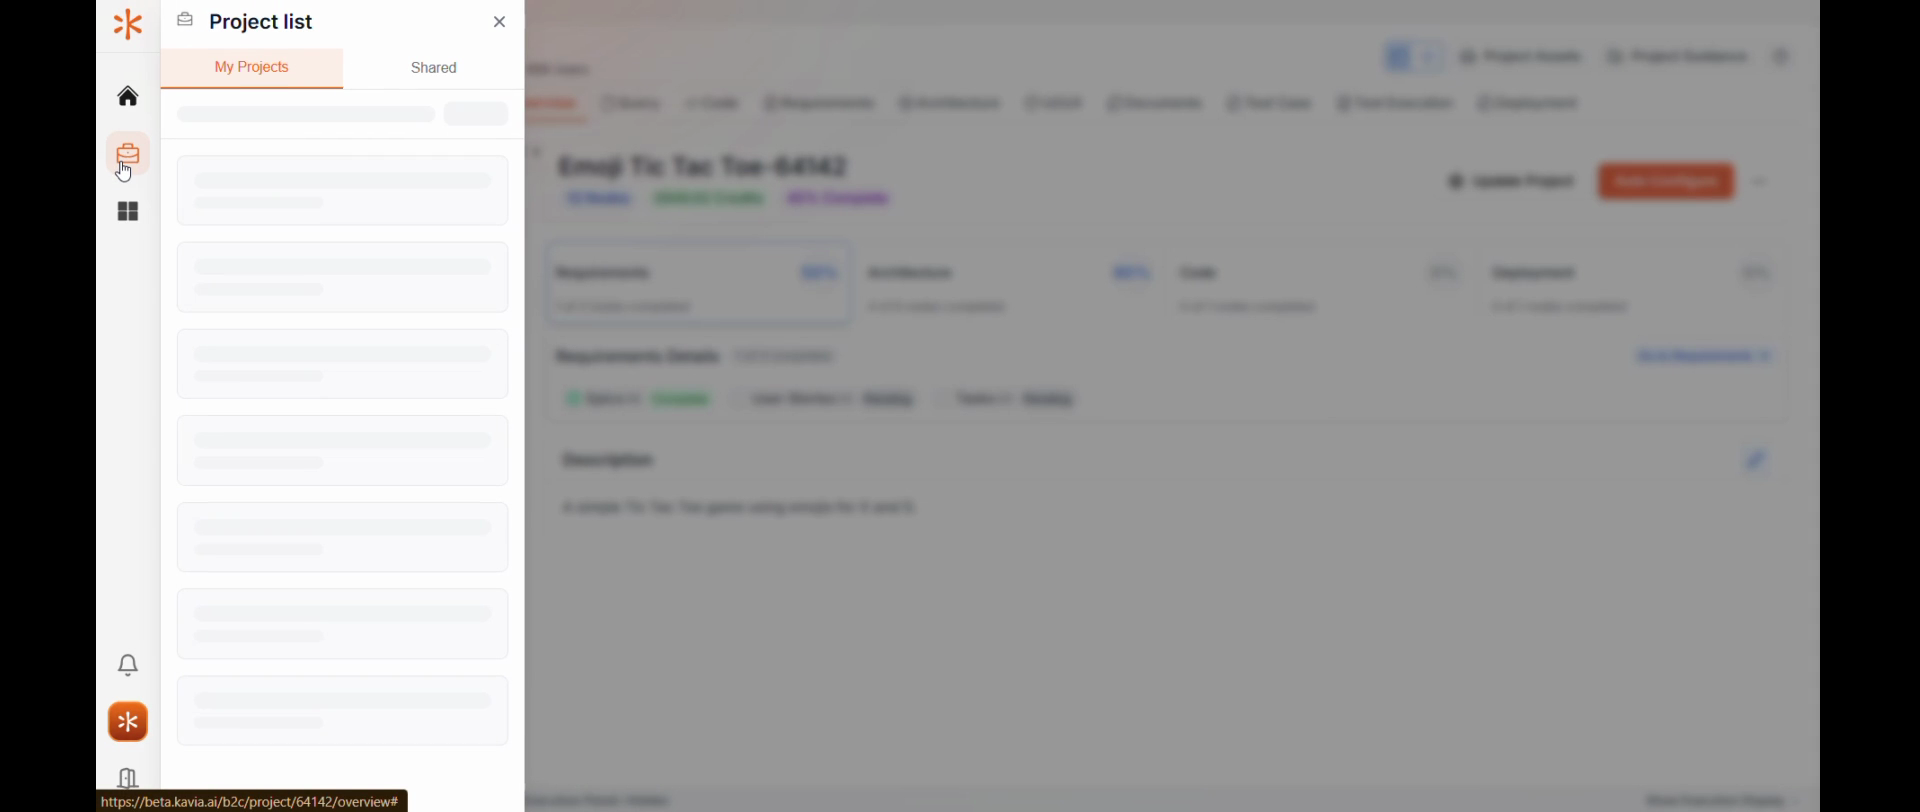
1
Step 1: Navigate to the project list.
Here, you have two options: create a new project or import an existing one. For this tutorial, we'll focus on creating a new project.
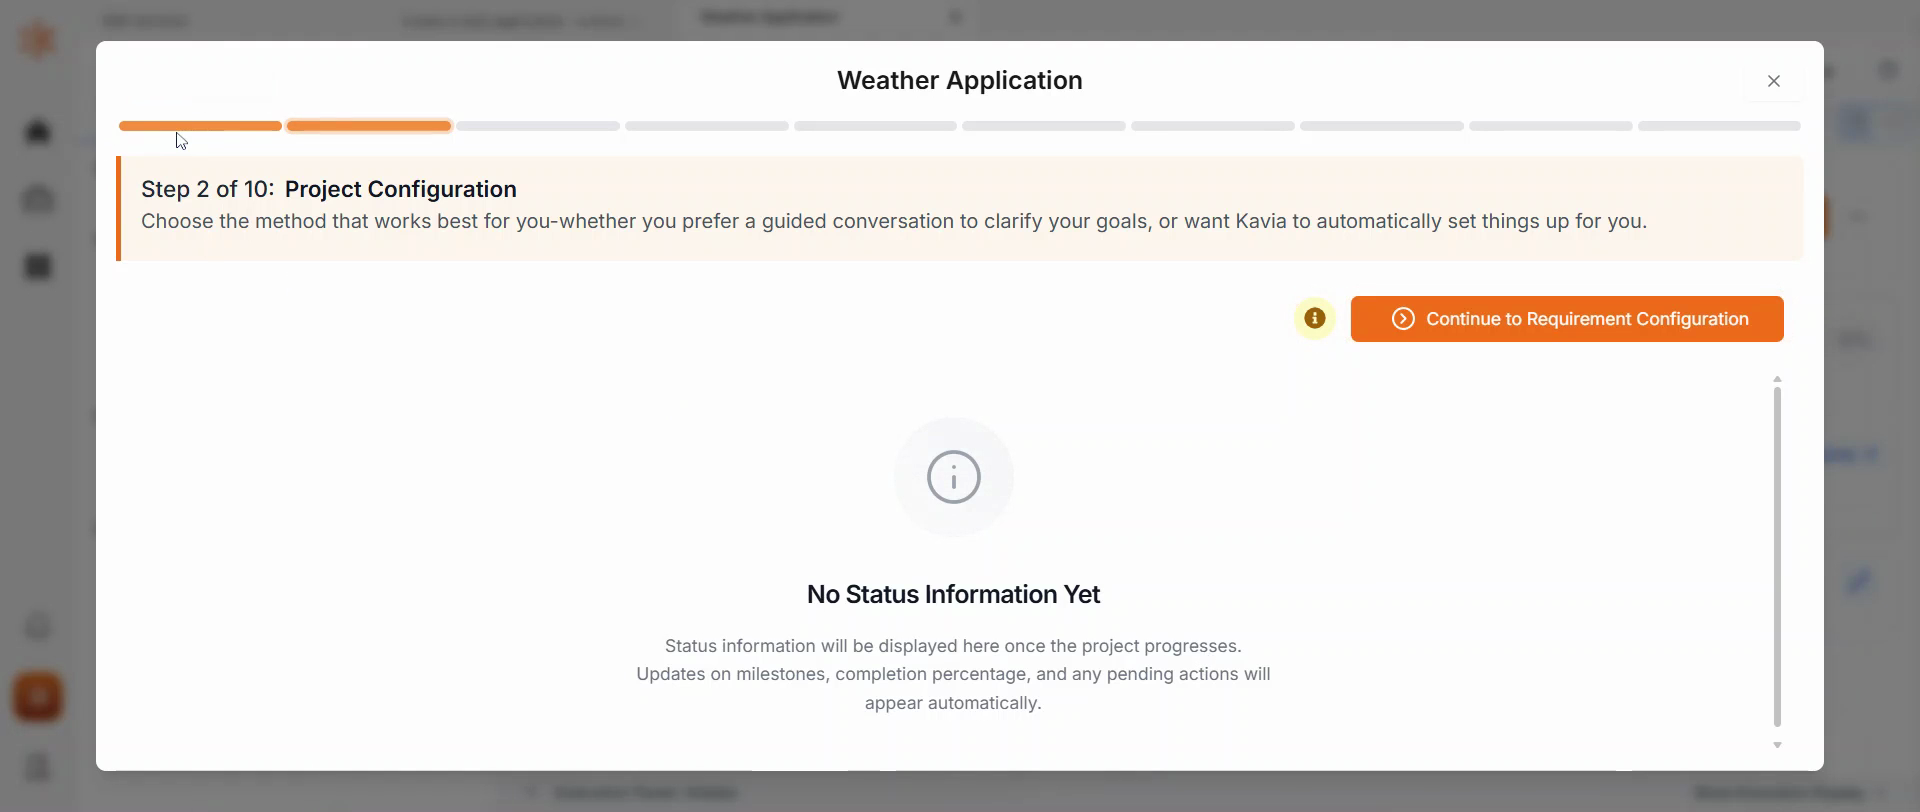
2
Step 2: Enter the title of your new application.
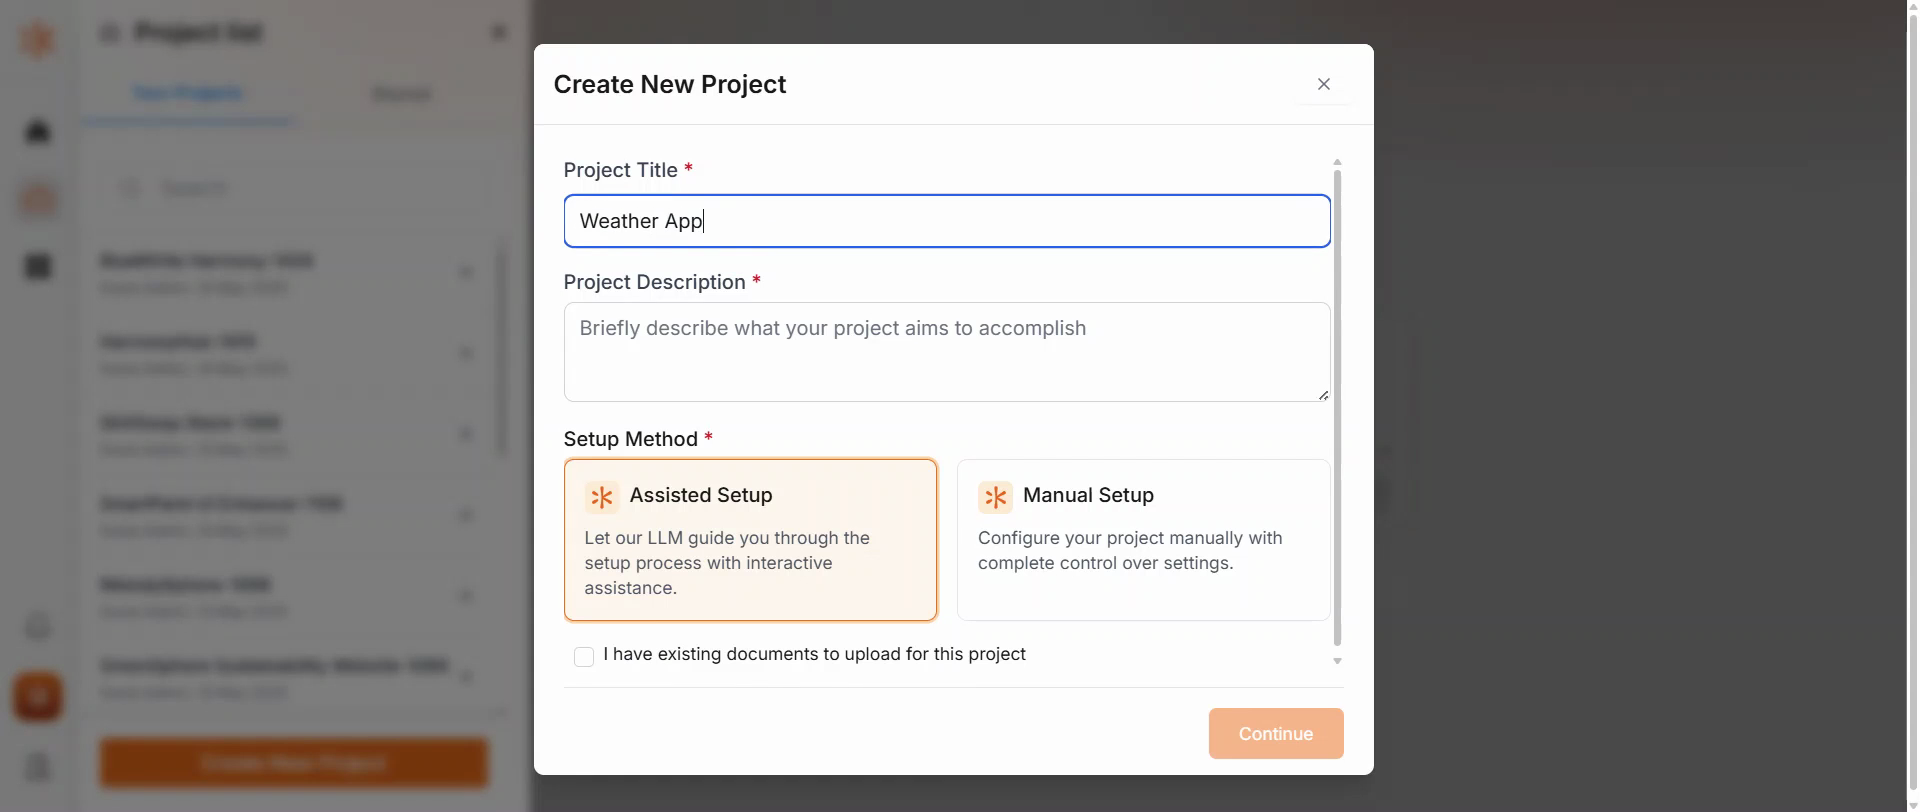
3
Step 3: Choose between assisted setup or manual setup.
If you're a first-time user, we recommend the assisted setup. This will guide you through the entire project planning phase.
4
Step 4: Skip the document upload step if you don't have a document to upload.
Next, you will see the configuration methods: interactive and auto configuration.
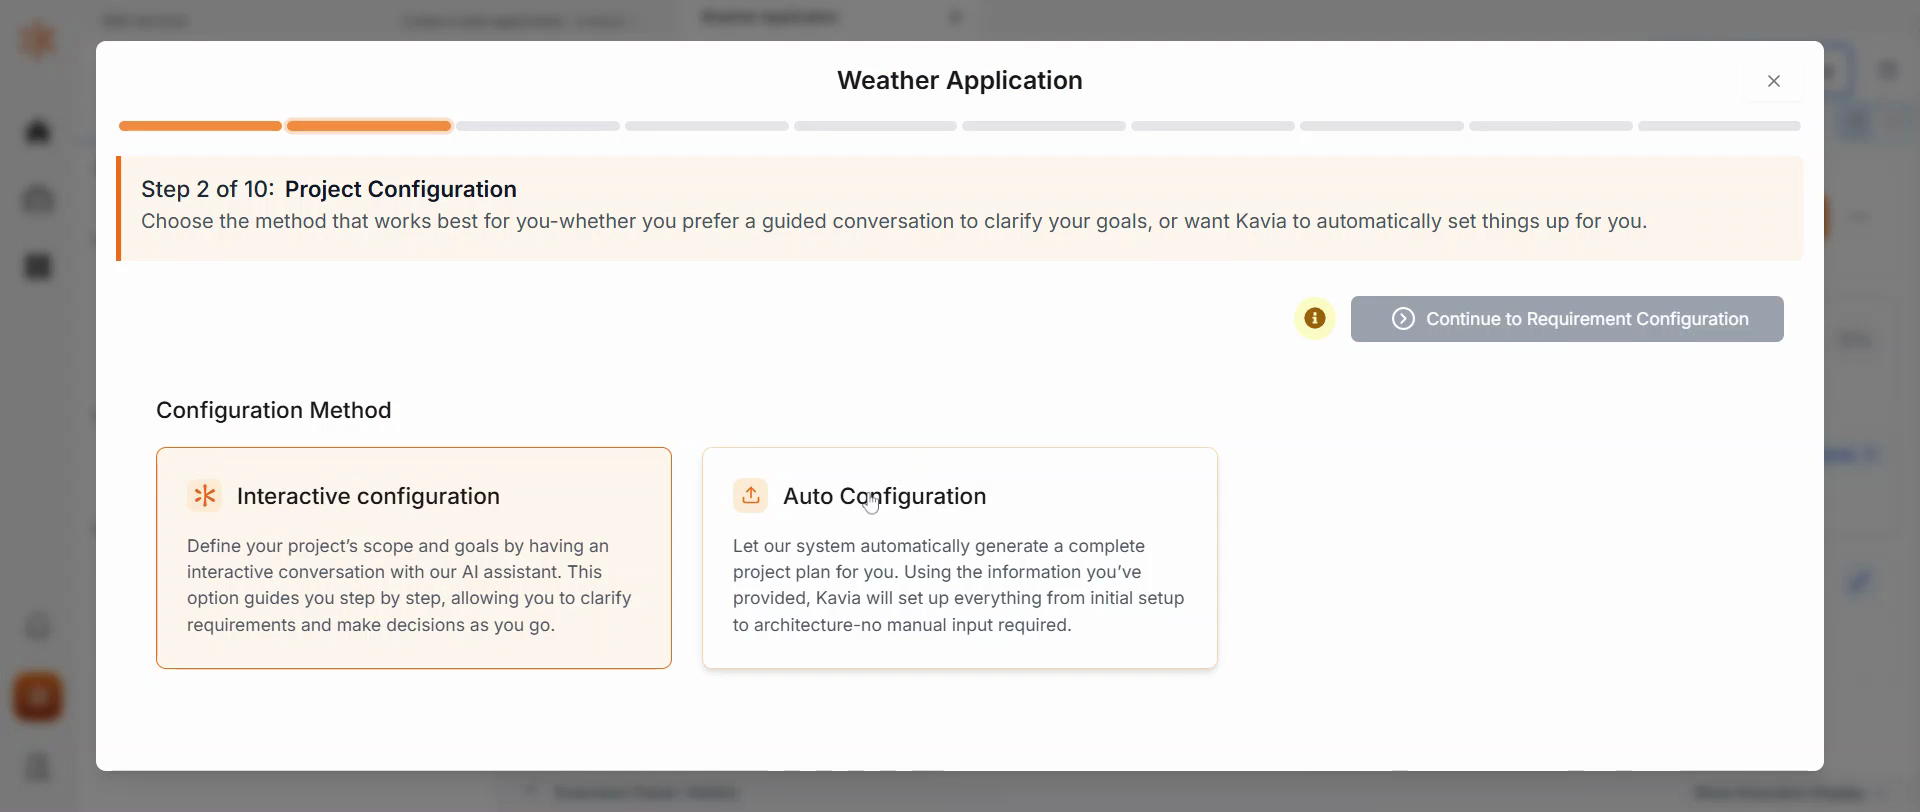
Auto configuration fills in all the details based on your selections, while interactive configuration allows for discussion and decision-making. This is ideal for custom-built applications.
5
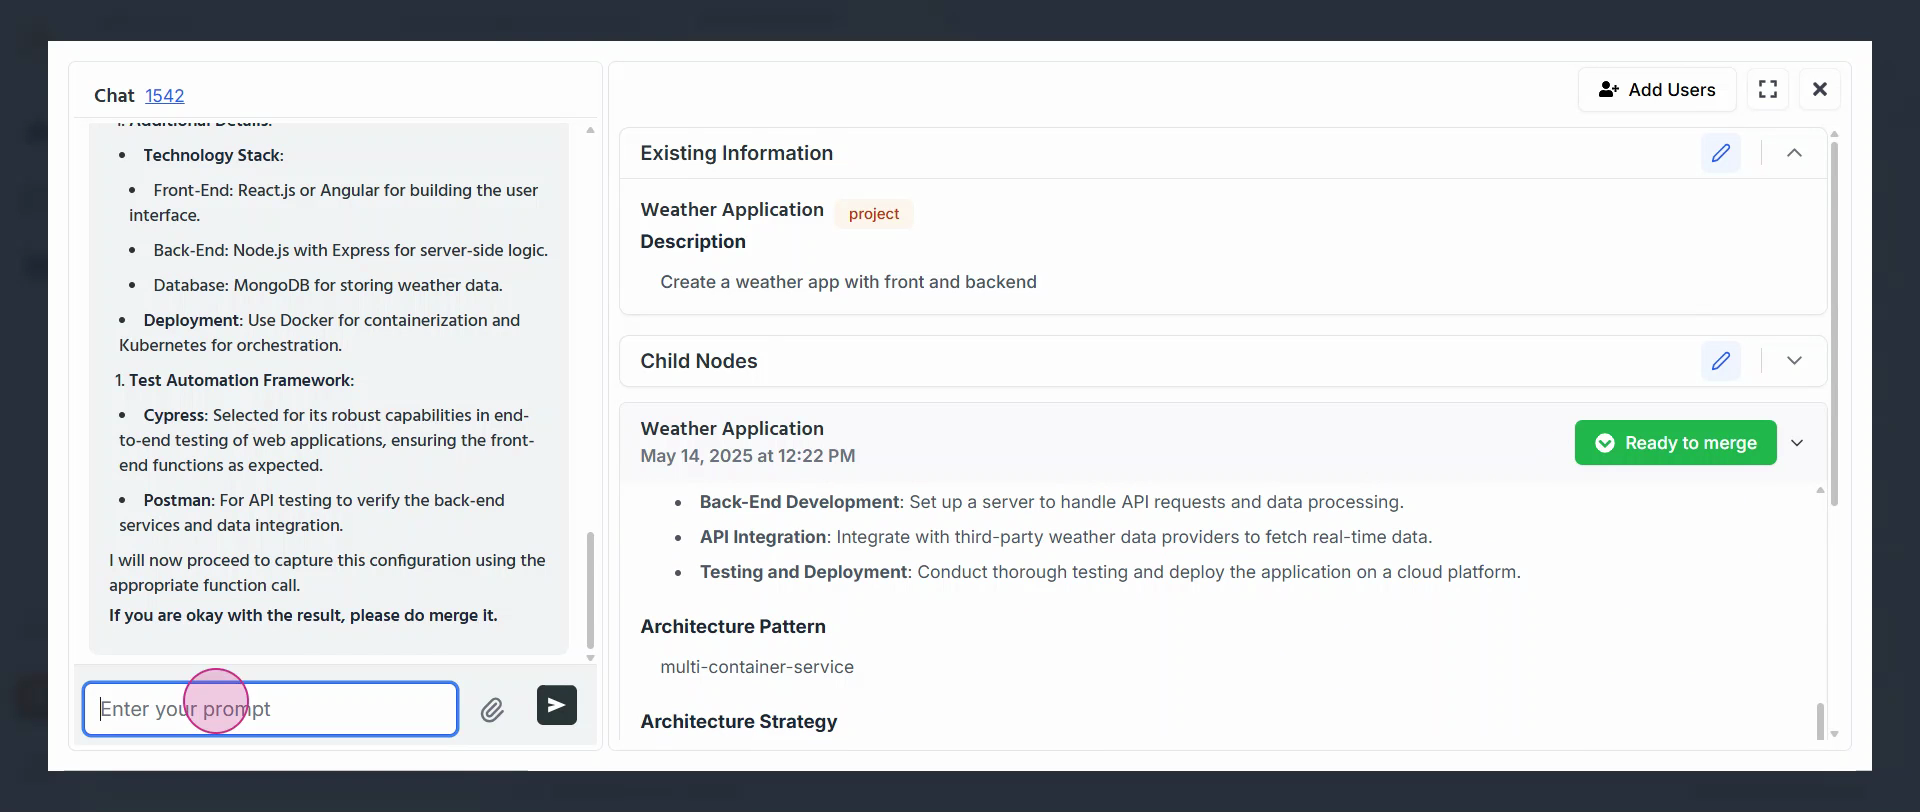
Step 5: Configure your project details.
Any changes you make will be captured and considered.
6
Step 6: Update the key features of your project.
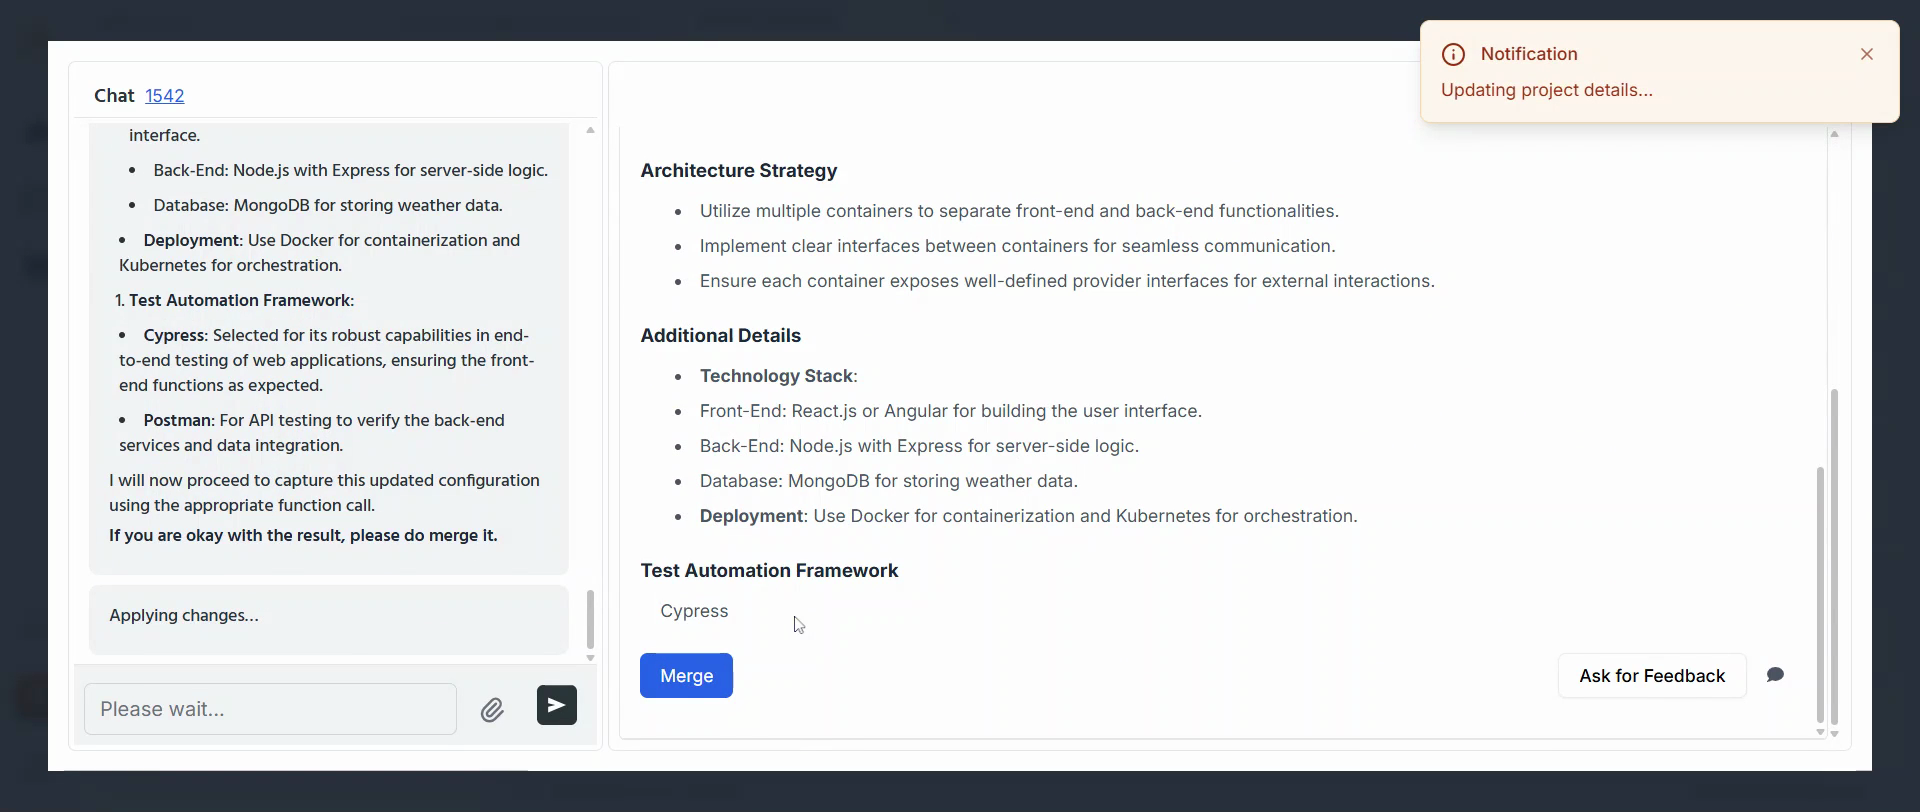
7
Step 7: Merge your application.
After merging, you'll see the details in the project configuration panel.
8
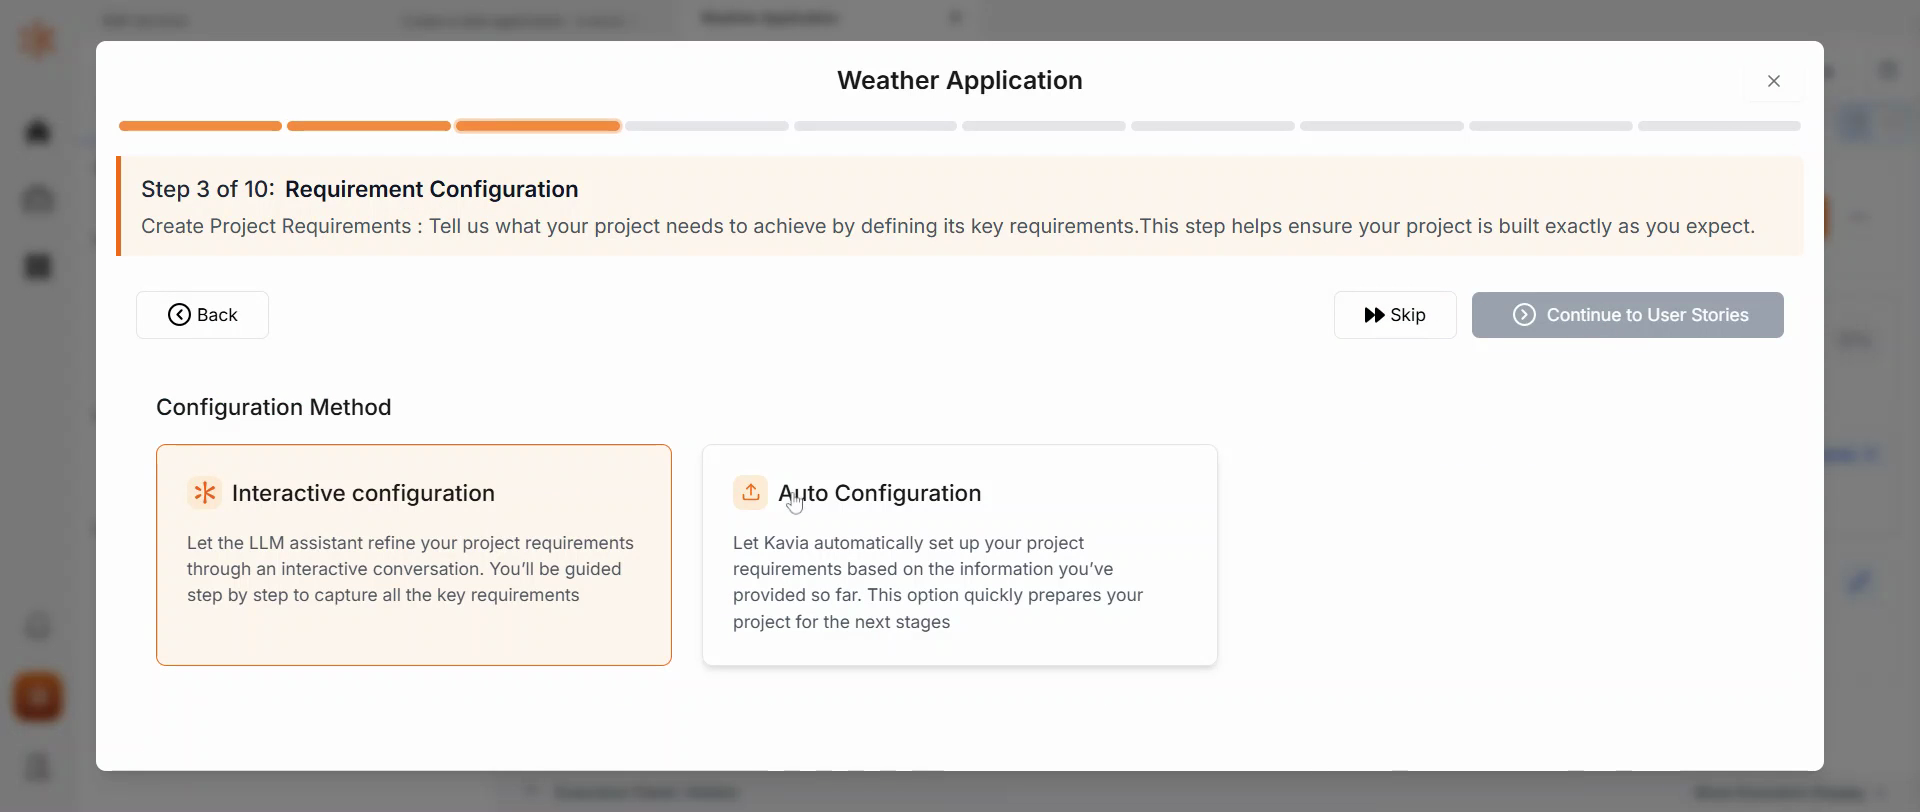
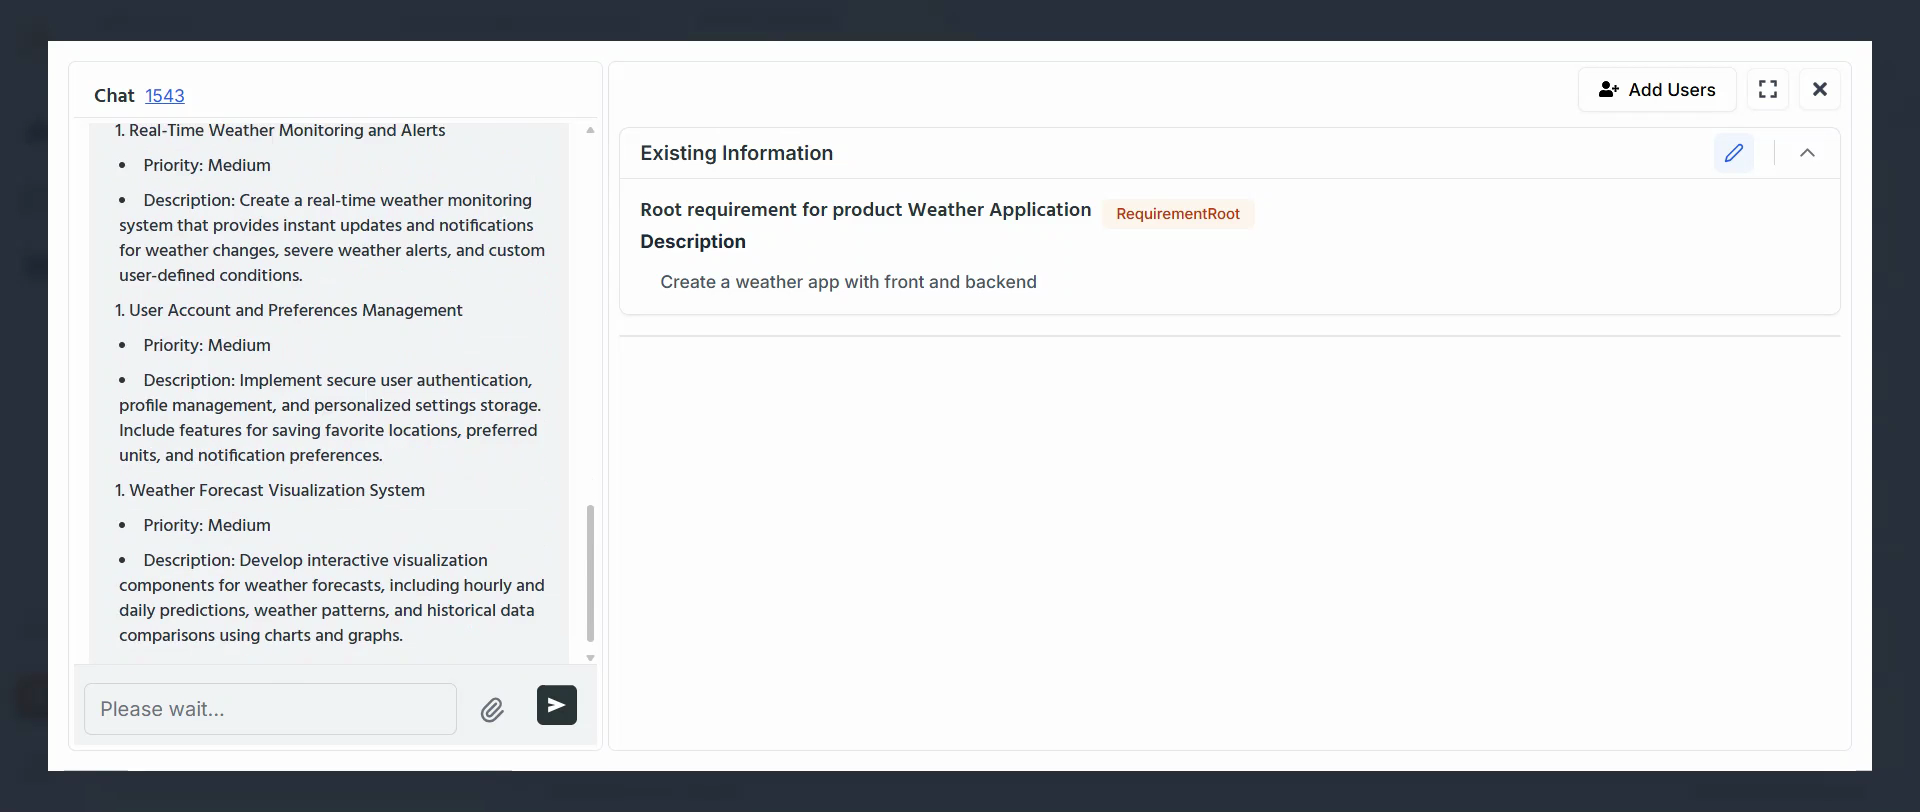
Step 8: Continue with the requirements.
Here, you also have the options of auto configure and interactive.
9
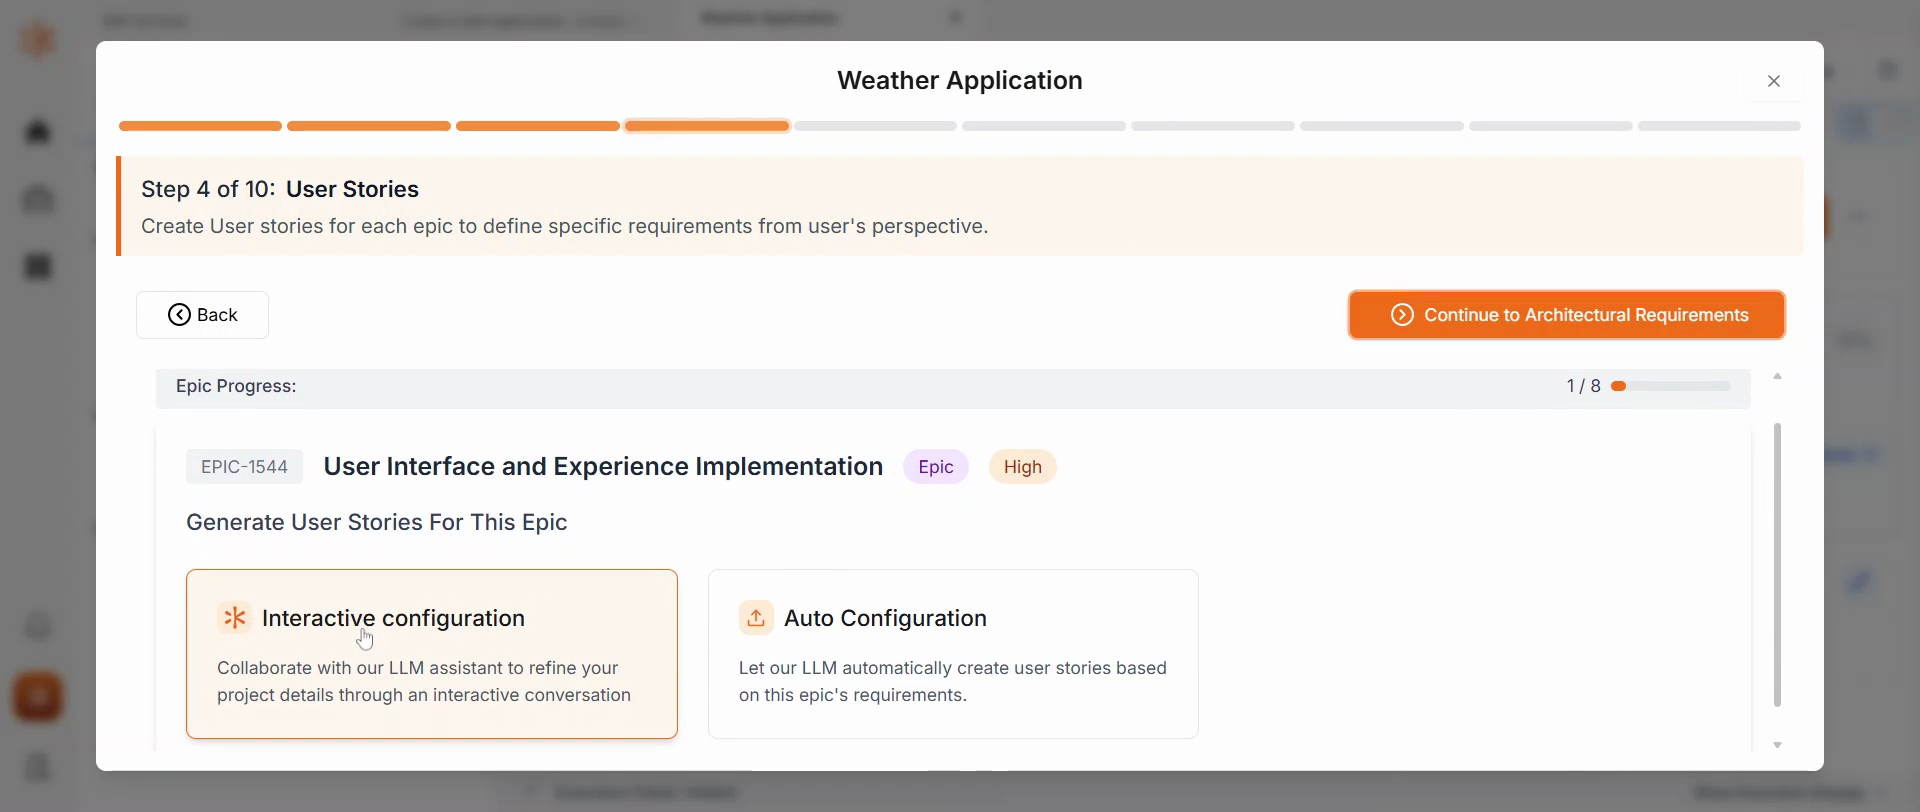
Step 9: Create the epics and stories.
Epics are the first step of the creation, capturing all the epic details.
10
Step 10: Generate user stories one by one.
You can do this for all the epics available.
11
Step 11: Proceed with the architecture.
Along with user stories, you also have test cases.
12
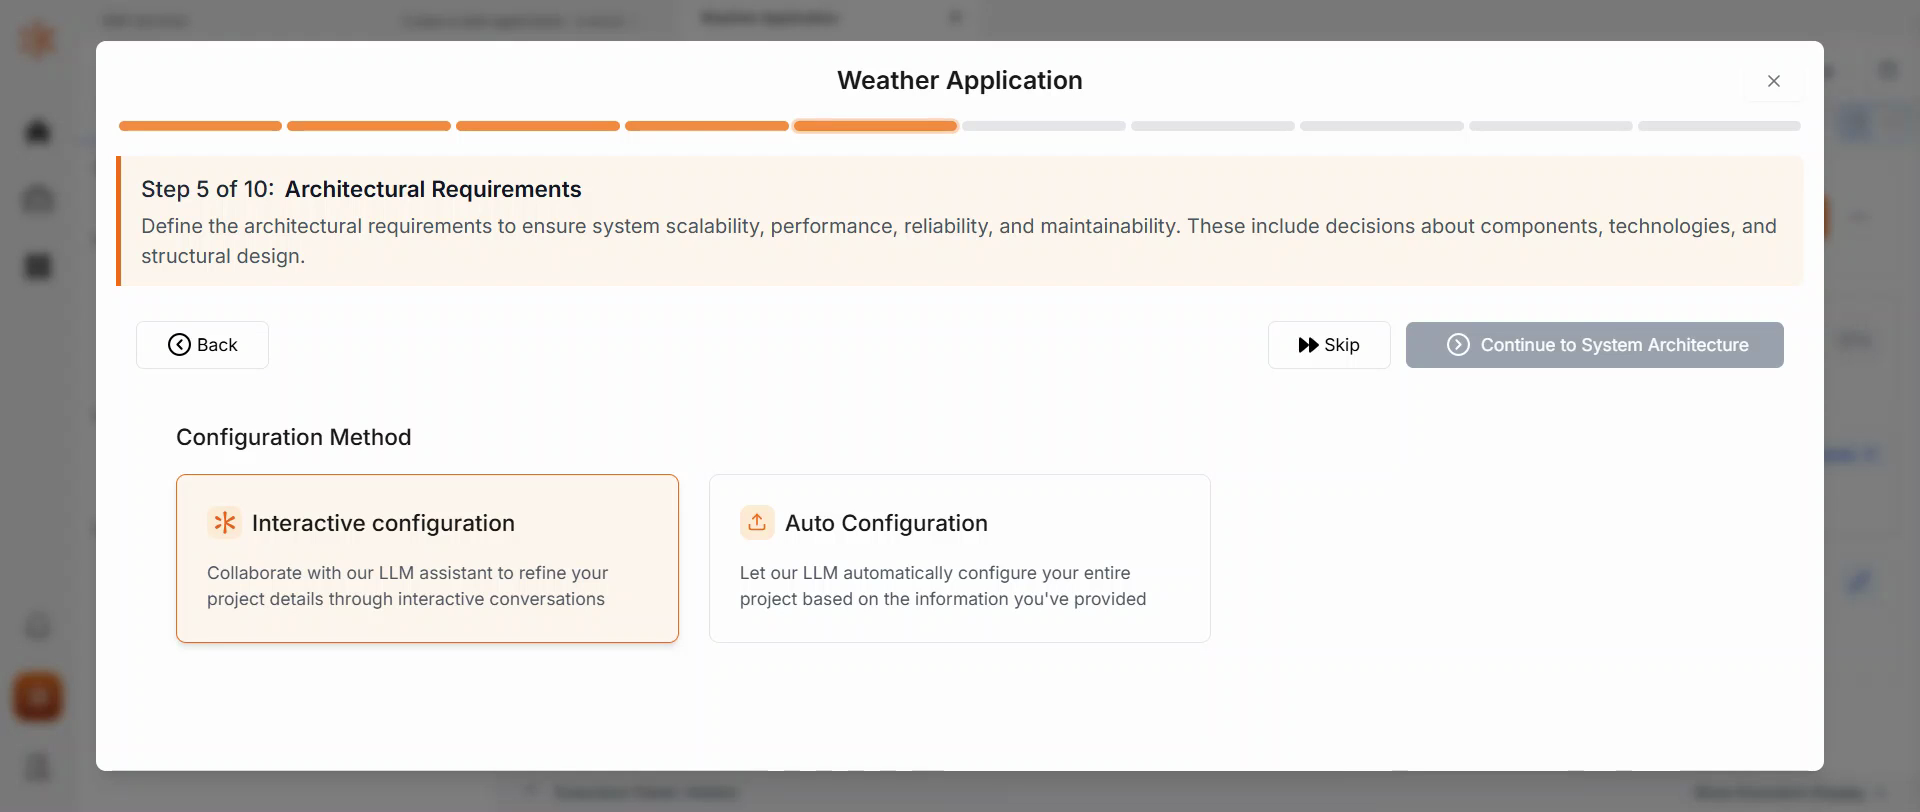
Step 12: Complete the Architecture requirements.
This is a mandatory field and divides the application into functional and non-functional requirements.

13
Step 13: Continue with the system architecture.
This is a high-level architecture of the application.

14
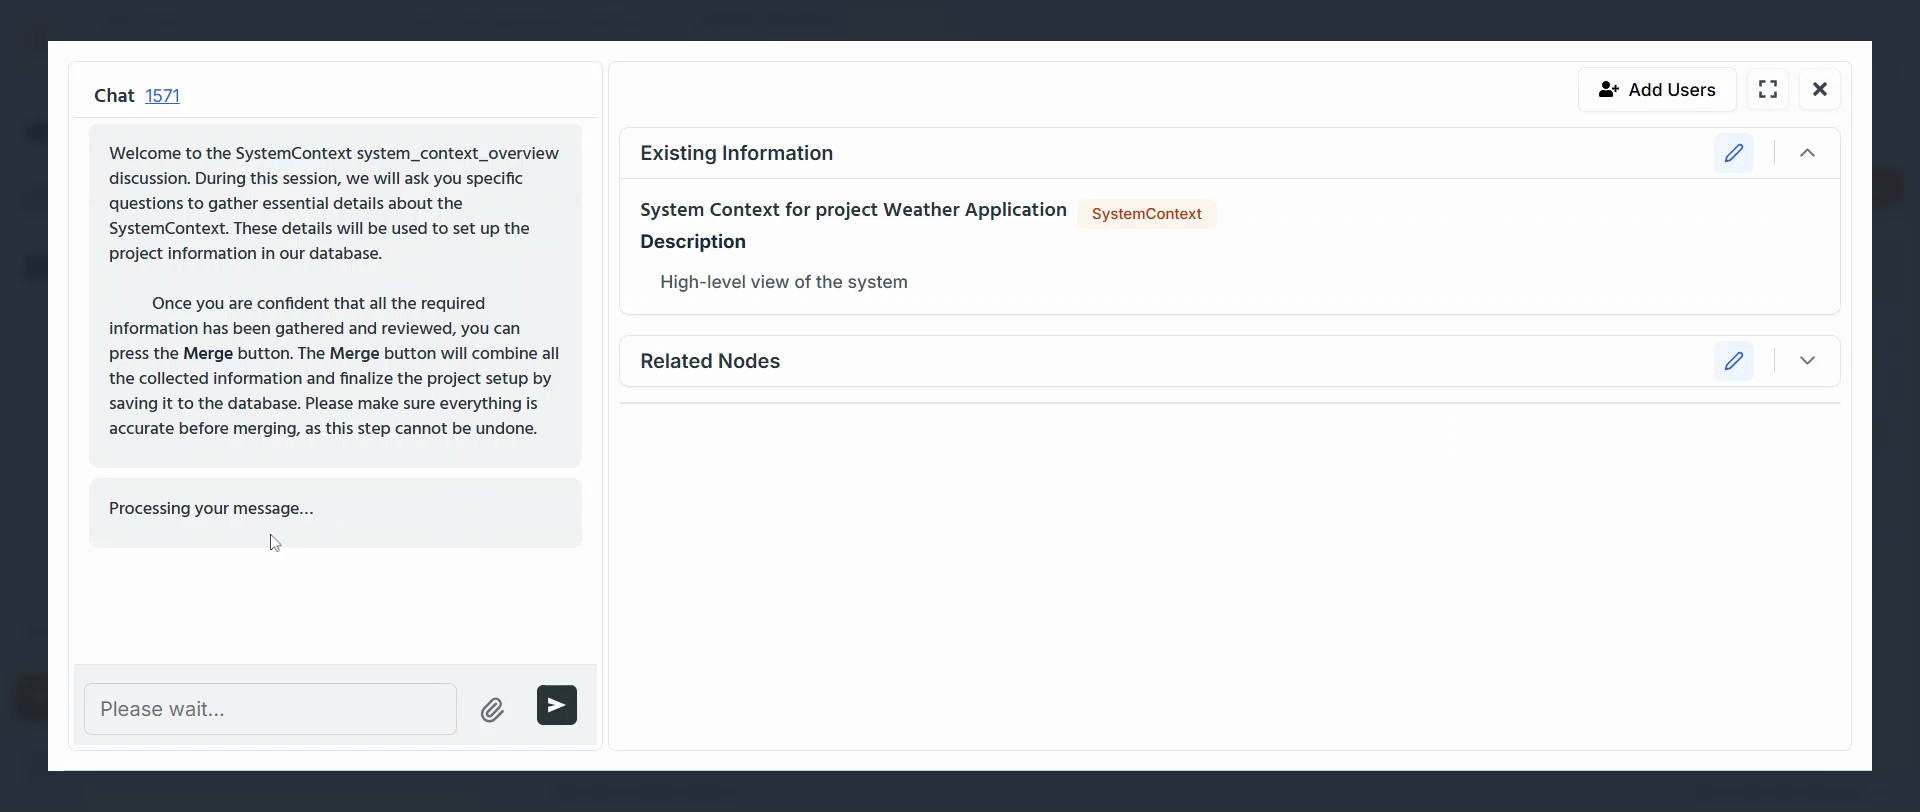
Step 14: View the System context.
This shows the architecture of the application, including external interfaces and users.
15
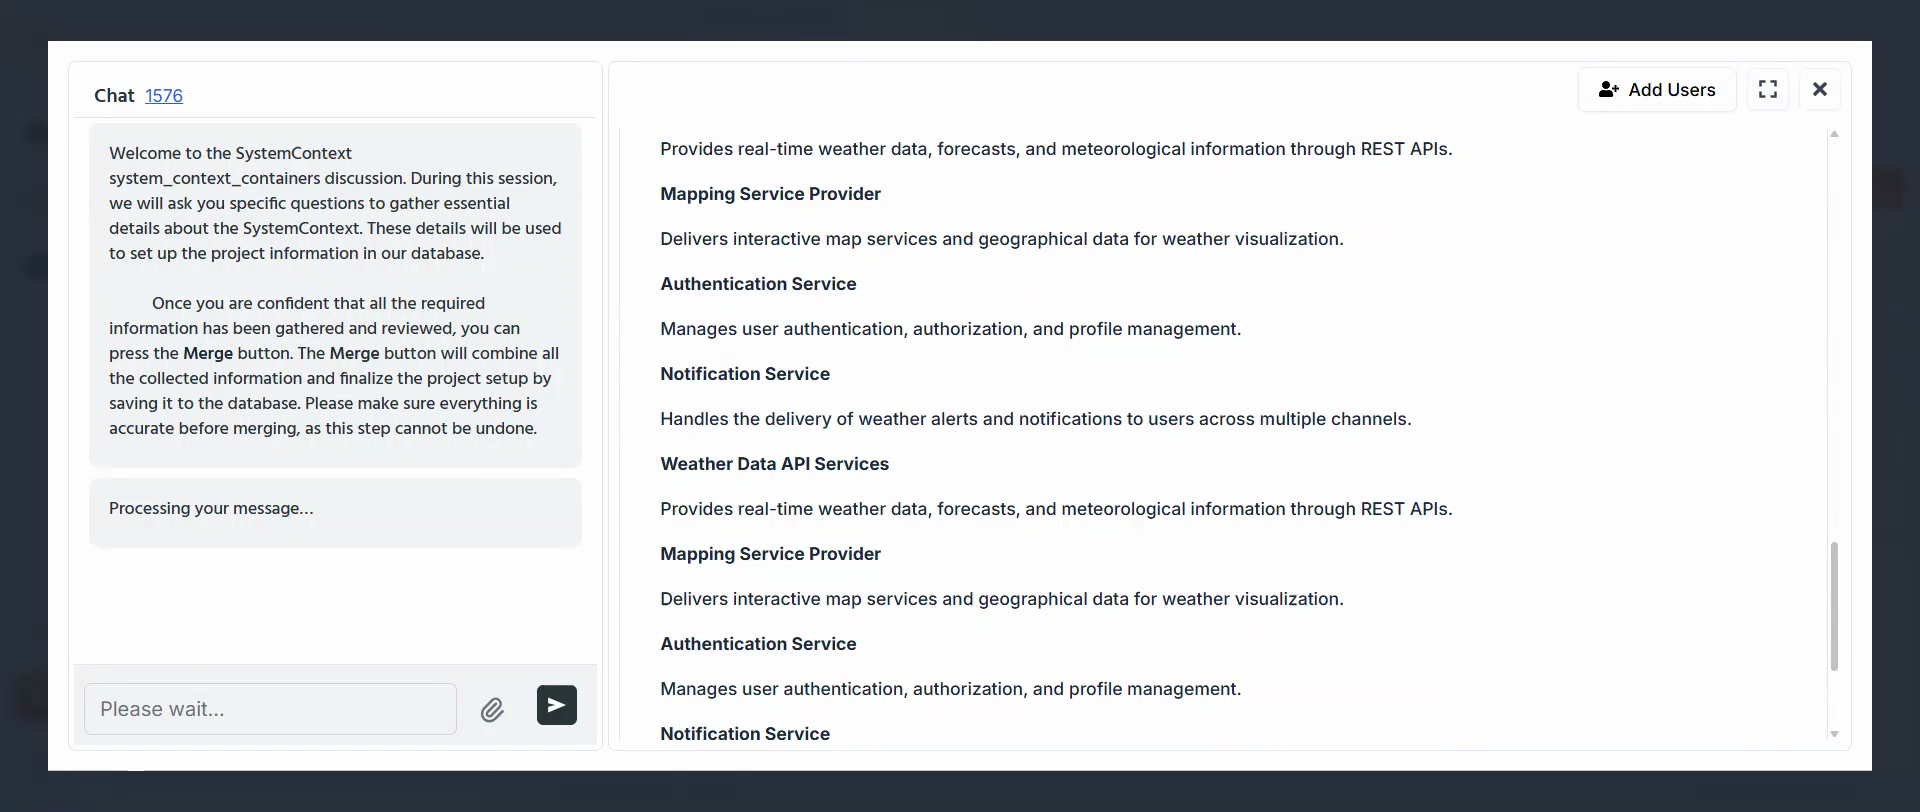
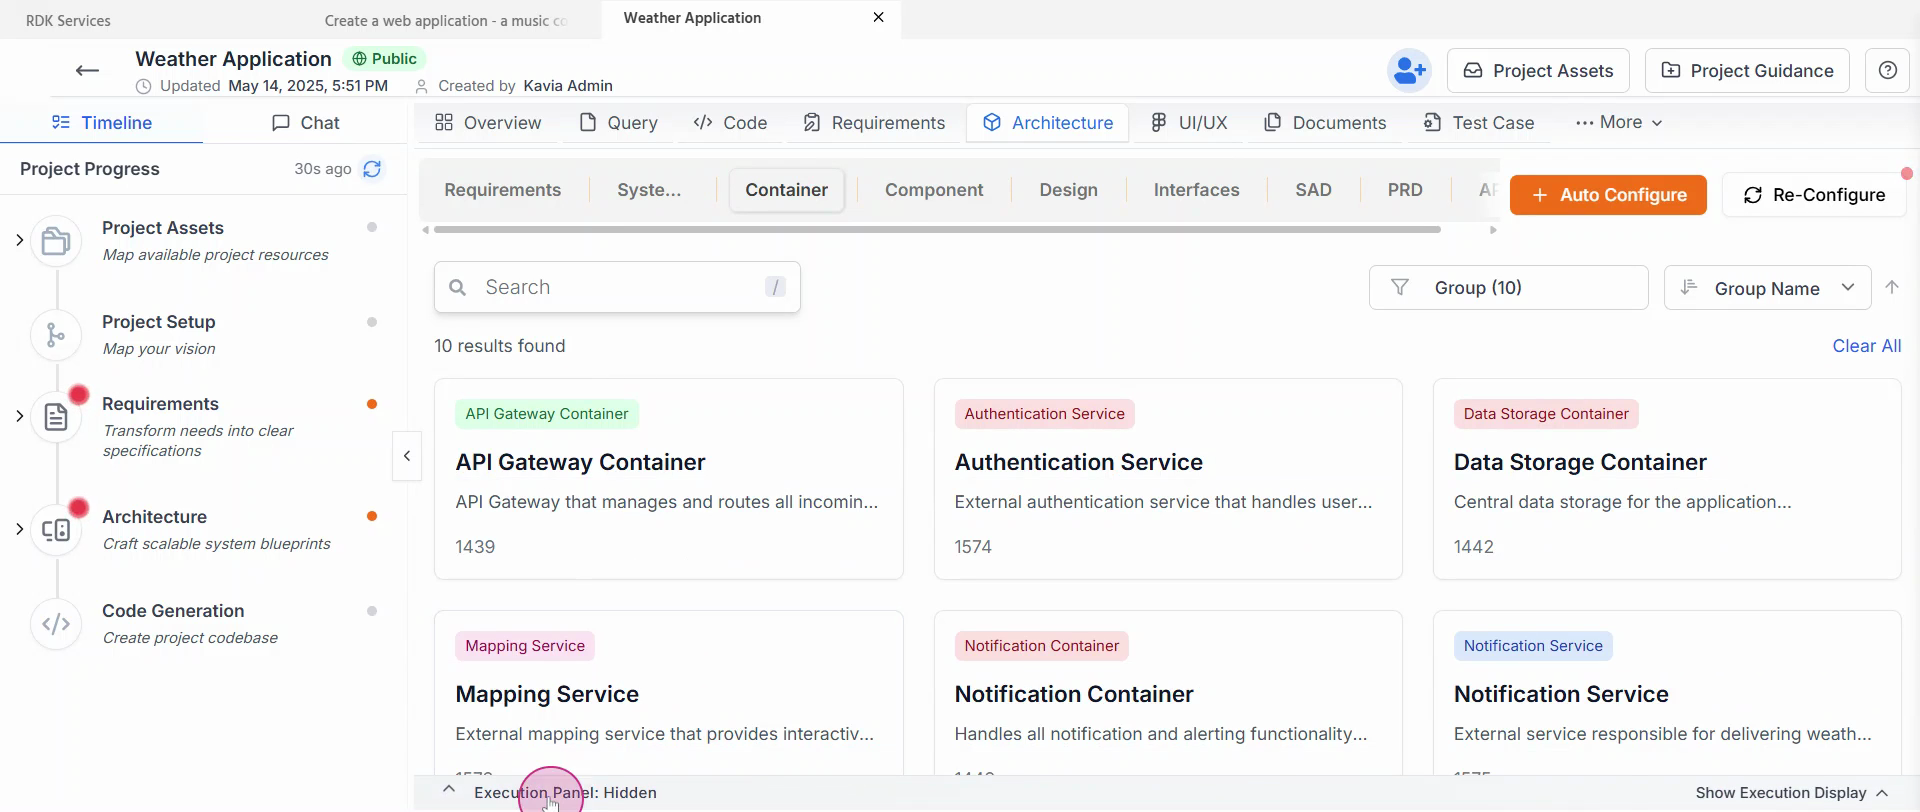
Step 15: Check out the containers that are created.

16
Step 16: Configure these containers as needed.
17
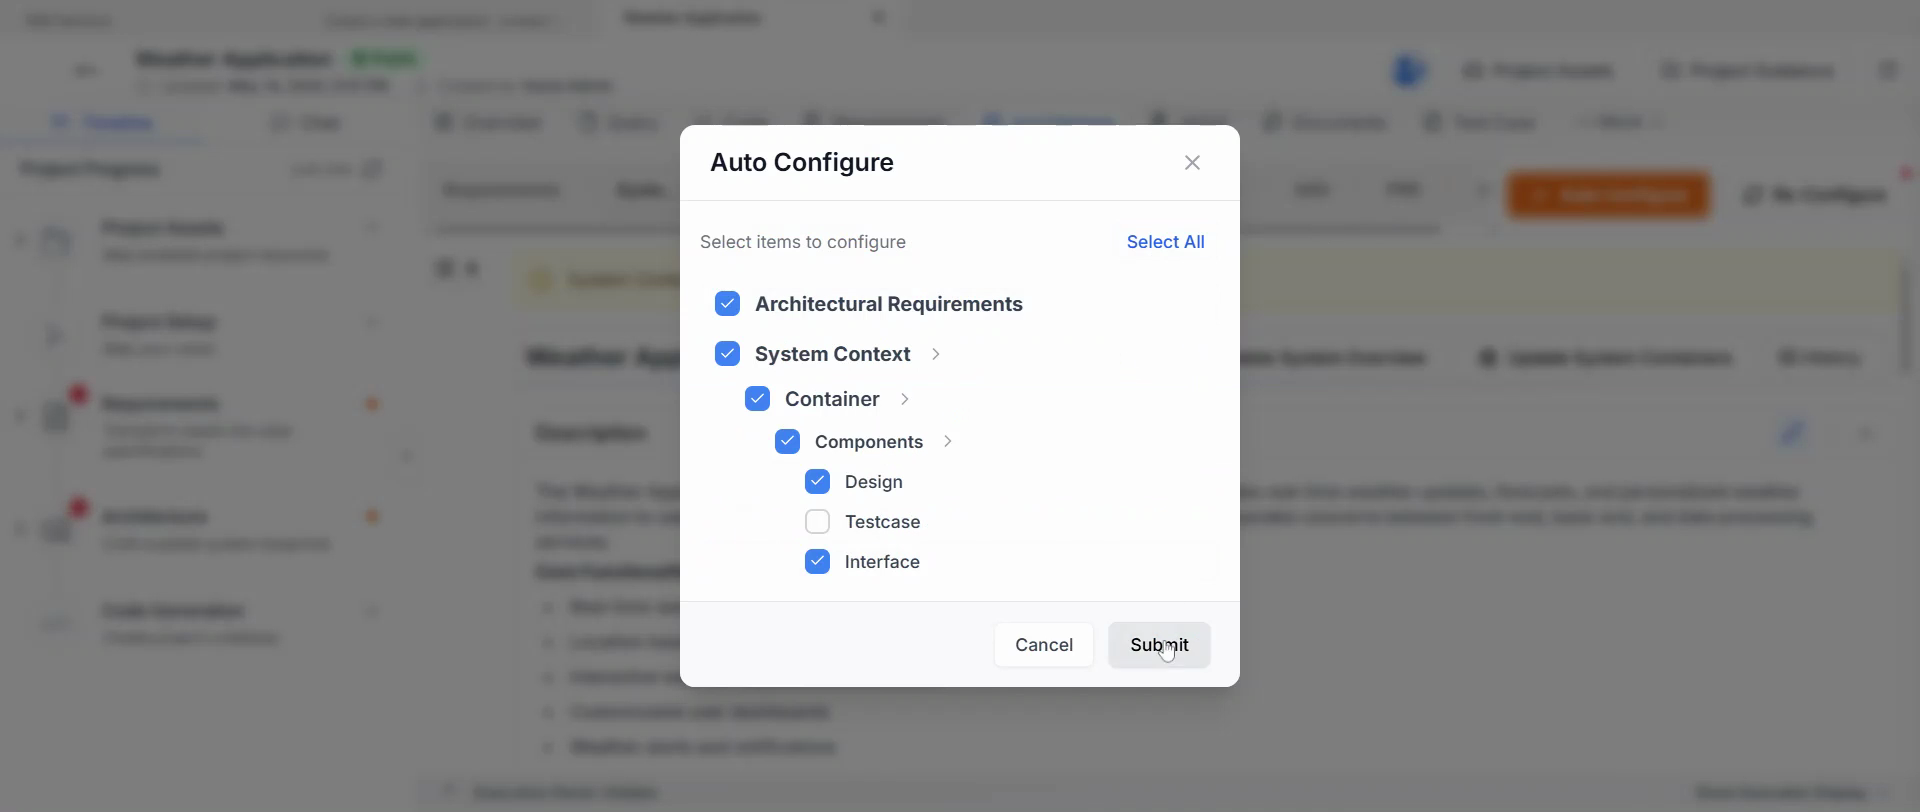
Step 17: Once the configuration is complete, continue with the components.
18
Step 18: Opt for auto configuration.
19
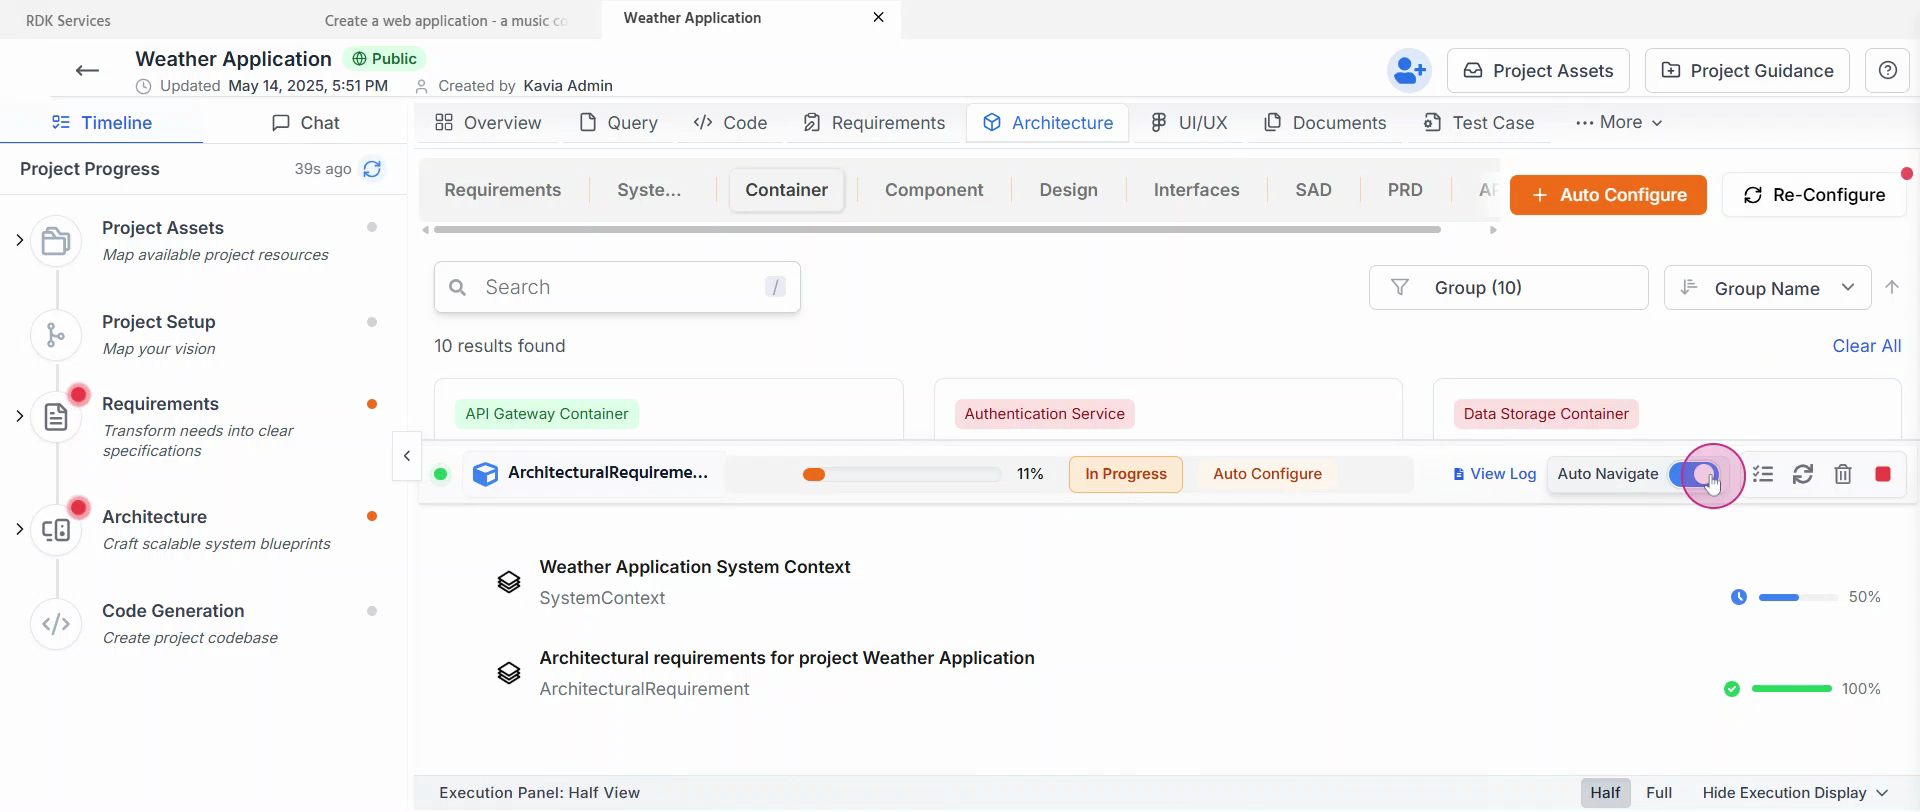
Step 19: Monitor the status panel.
This shows all the details about the auto configuration that is happening currently.
20
Step 20: Click on auto navigate if required.
21
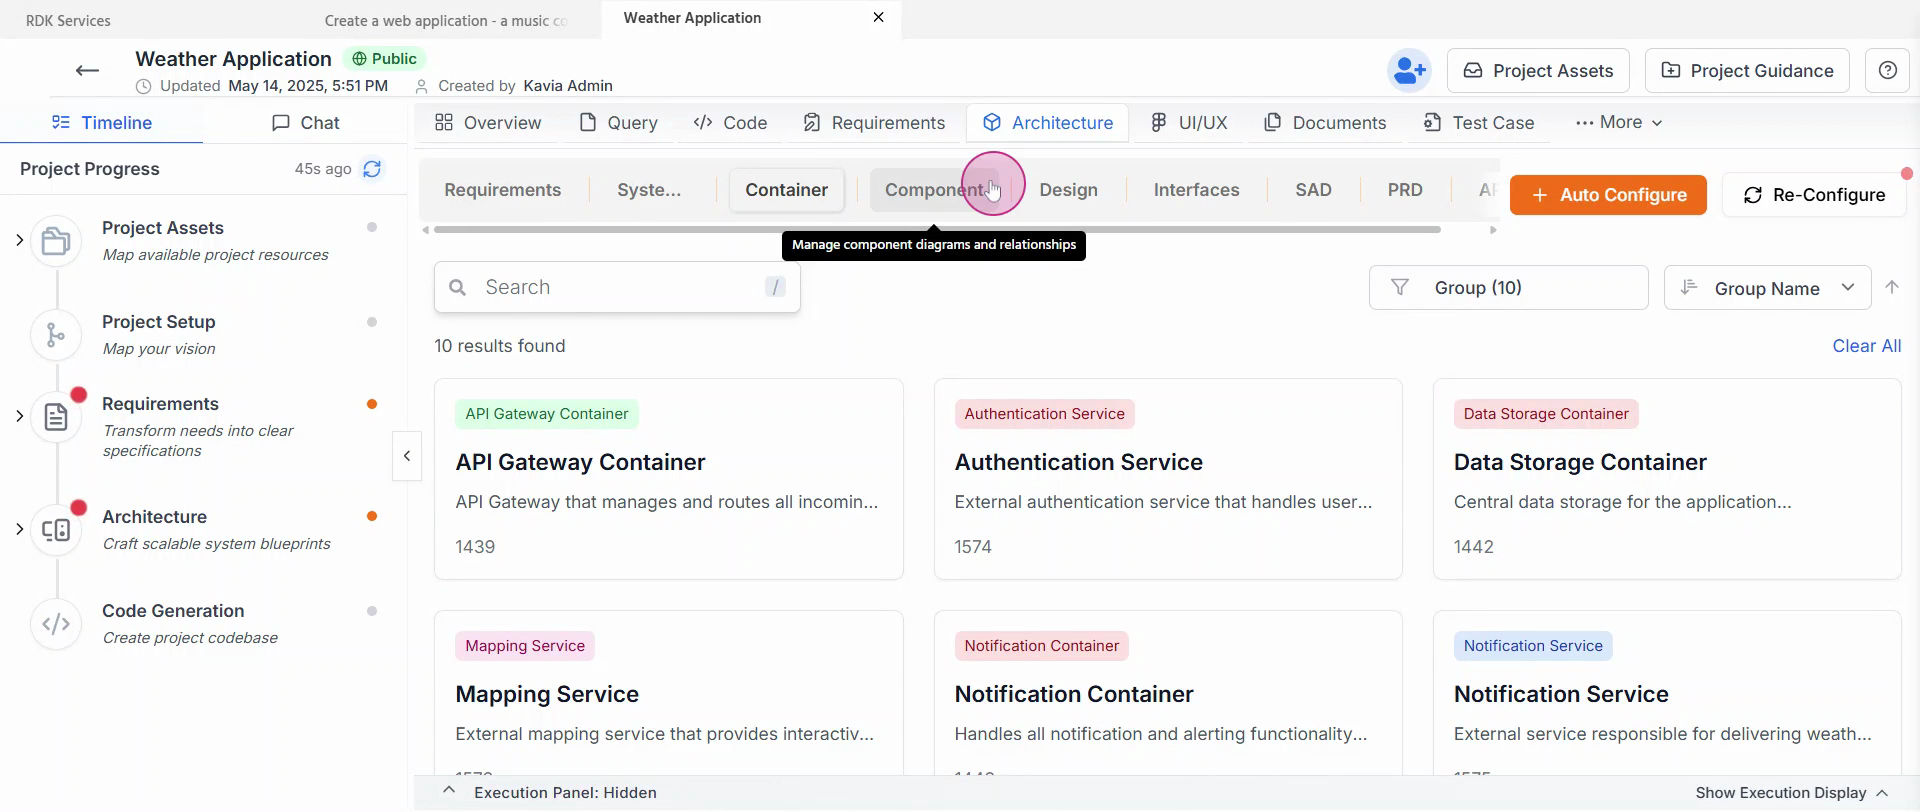
Step 21: View the list of all the containers available.
The components will be created once the containers are configured.
22
Step 22: Start the code generation.

That's it! You've successfully created a new project from scratch.
Previous
Code MaintenanceNext
Features