Code Maintenance
This guide will show you how to maintain and update your existing codebase using Kavia AI’s Code Maintenance feature, enabling seamless edits, refactoring, and optimization.
1
Step 1: Begin by ingesting your code base into Kavia AI.
2
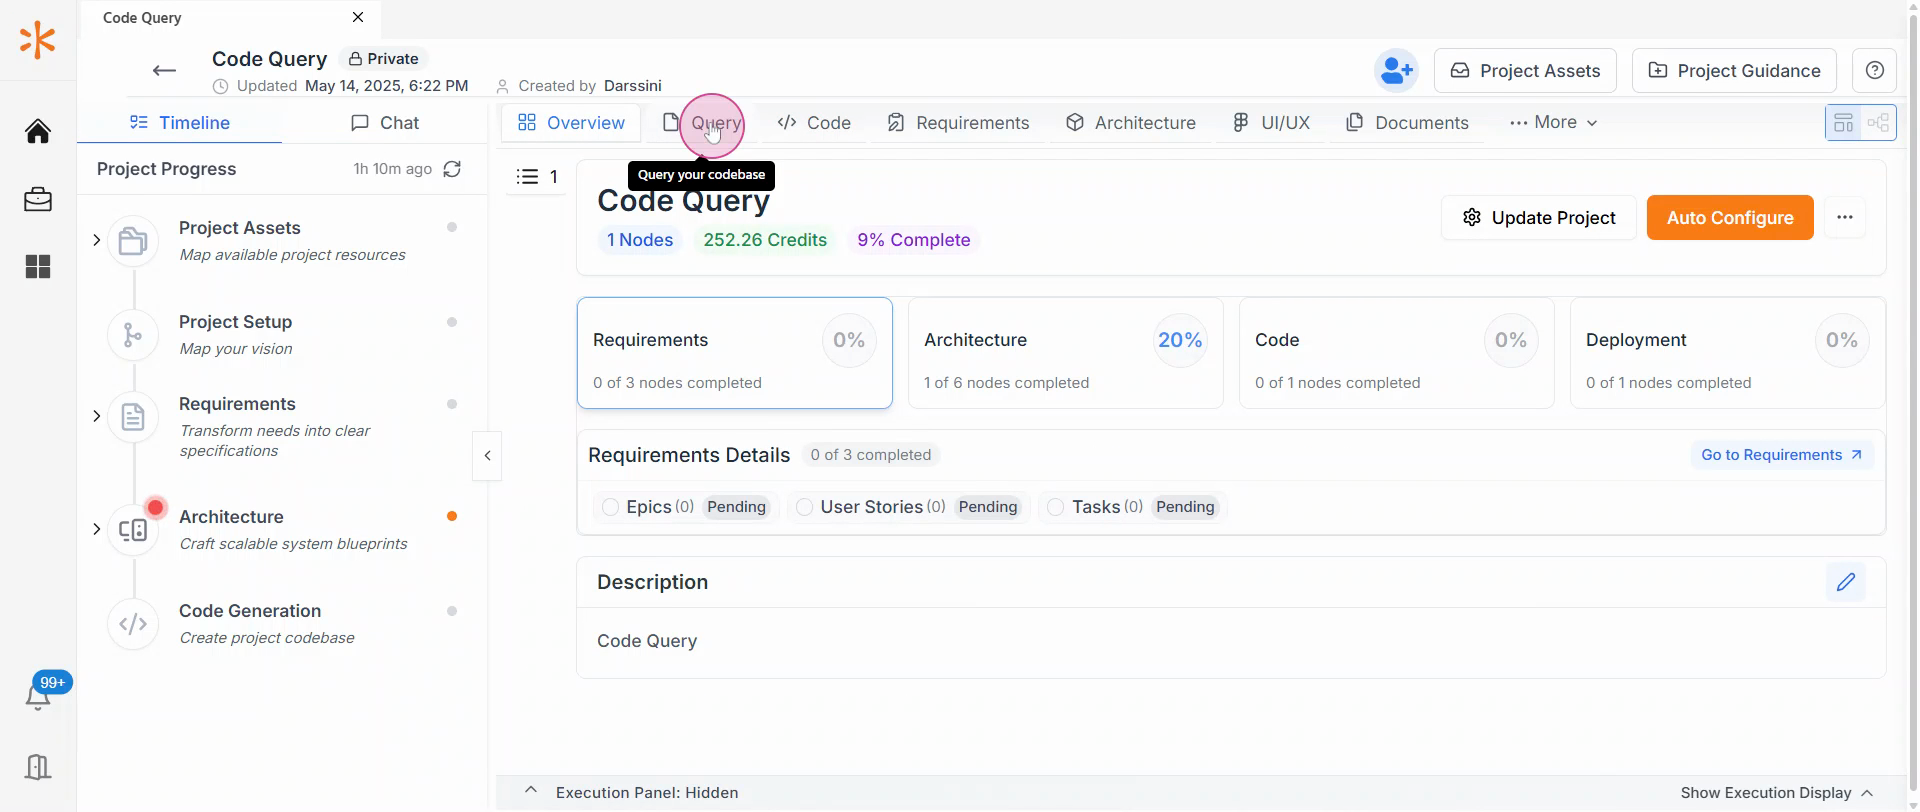
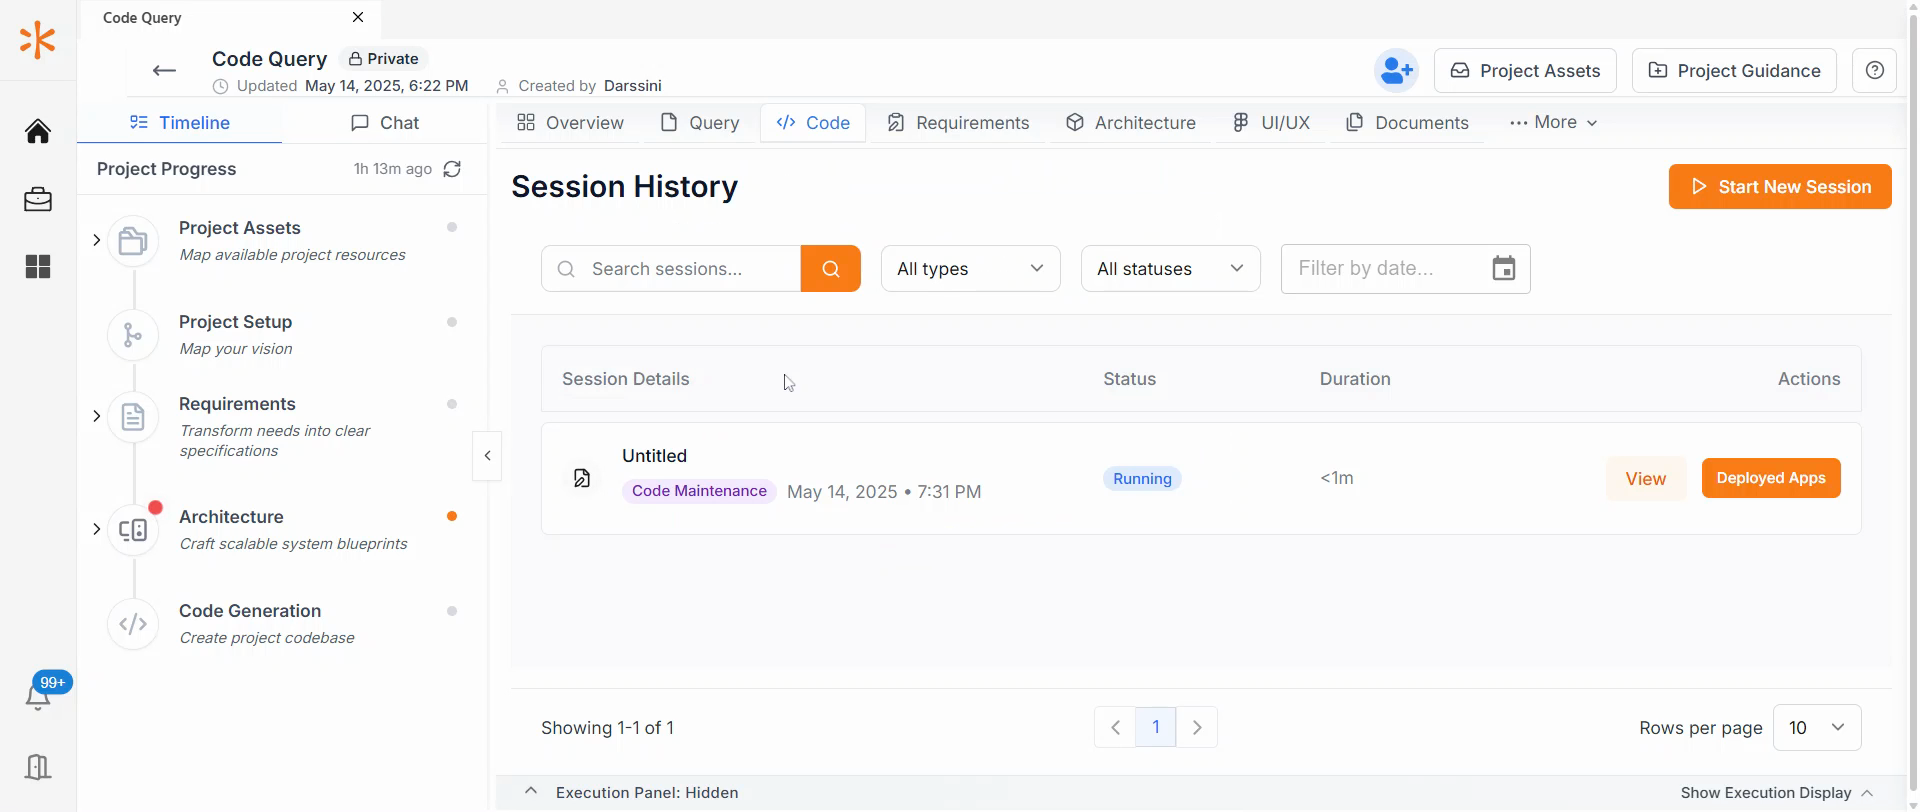
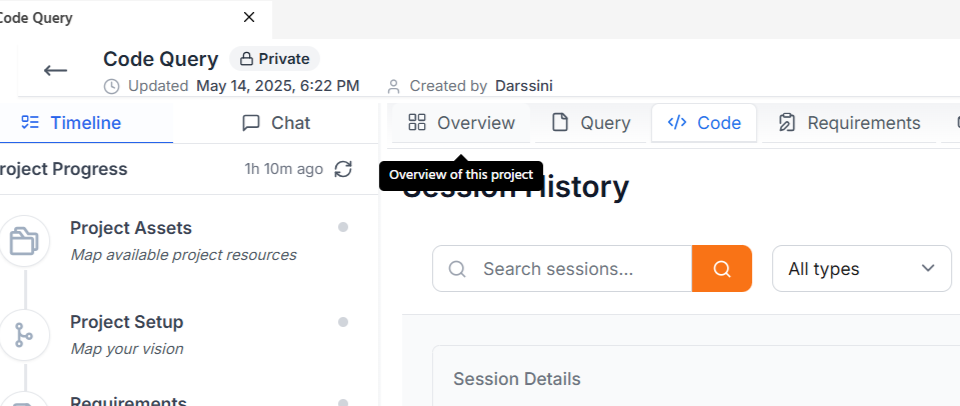
Step 2: Navigate to the code panel.
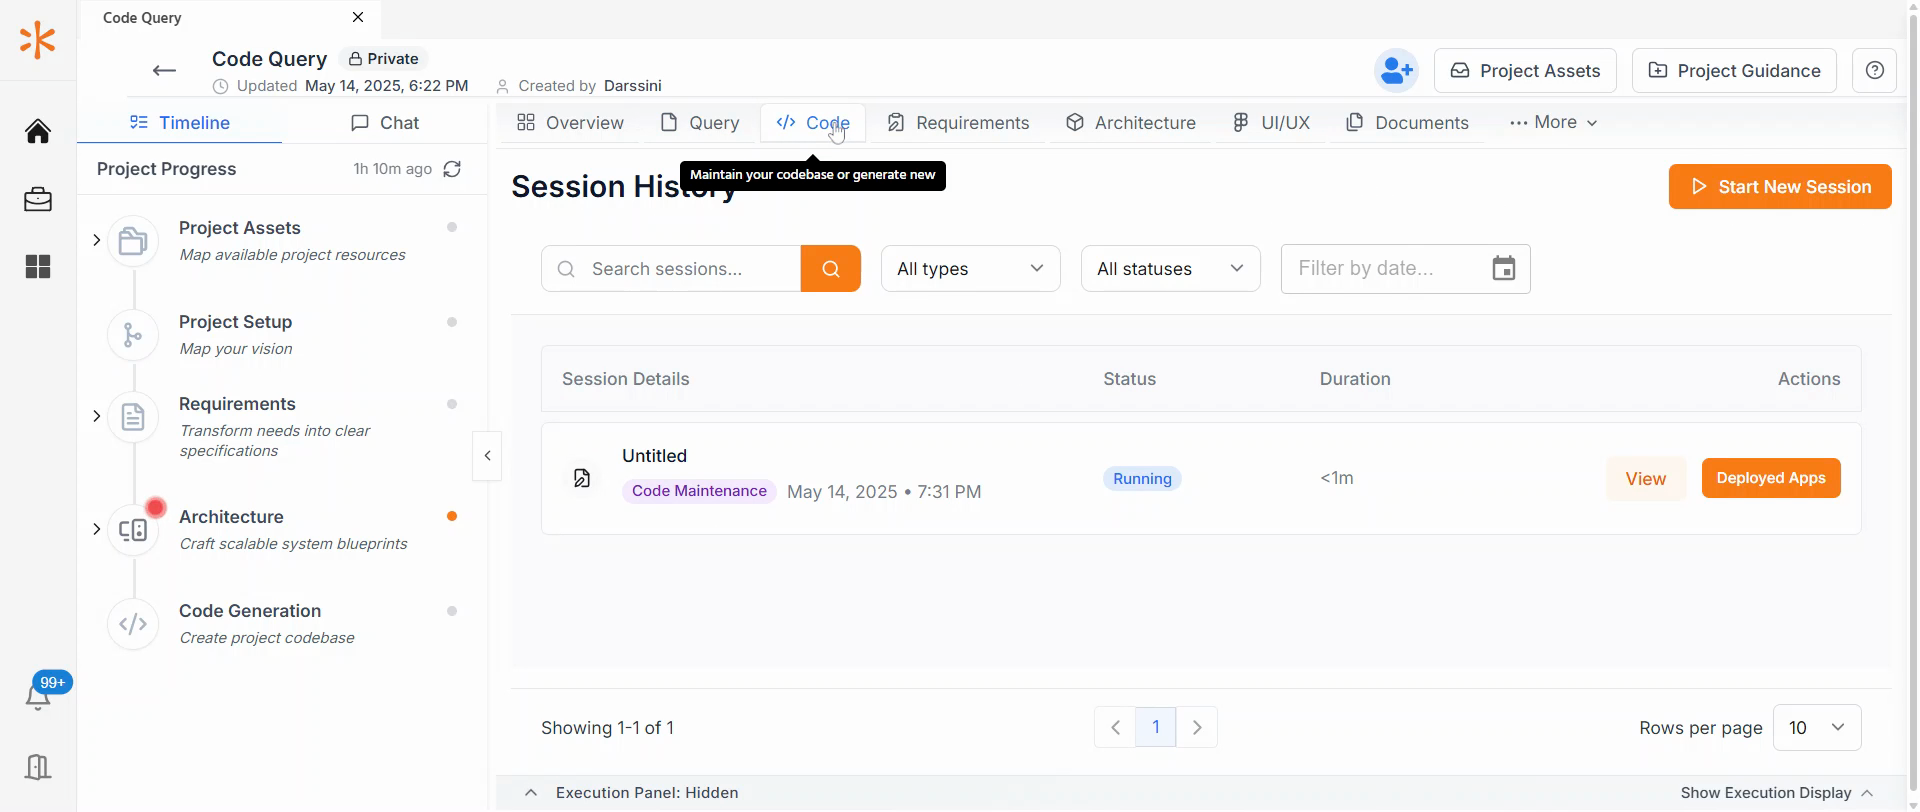
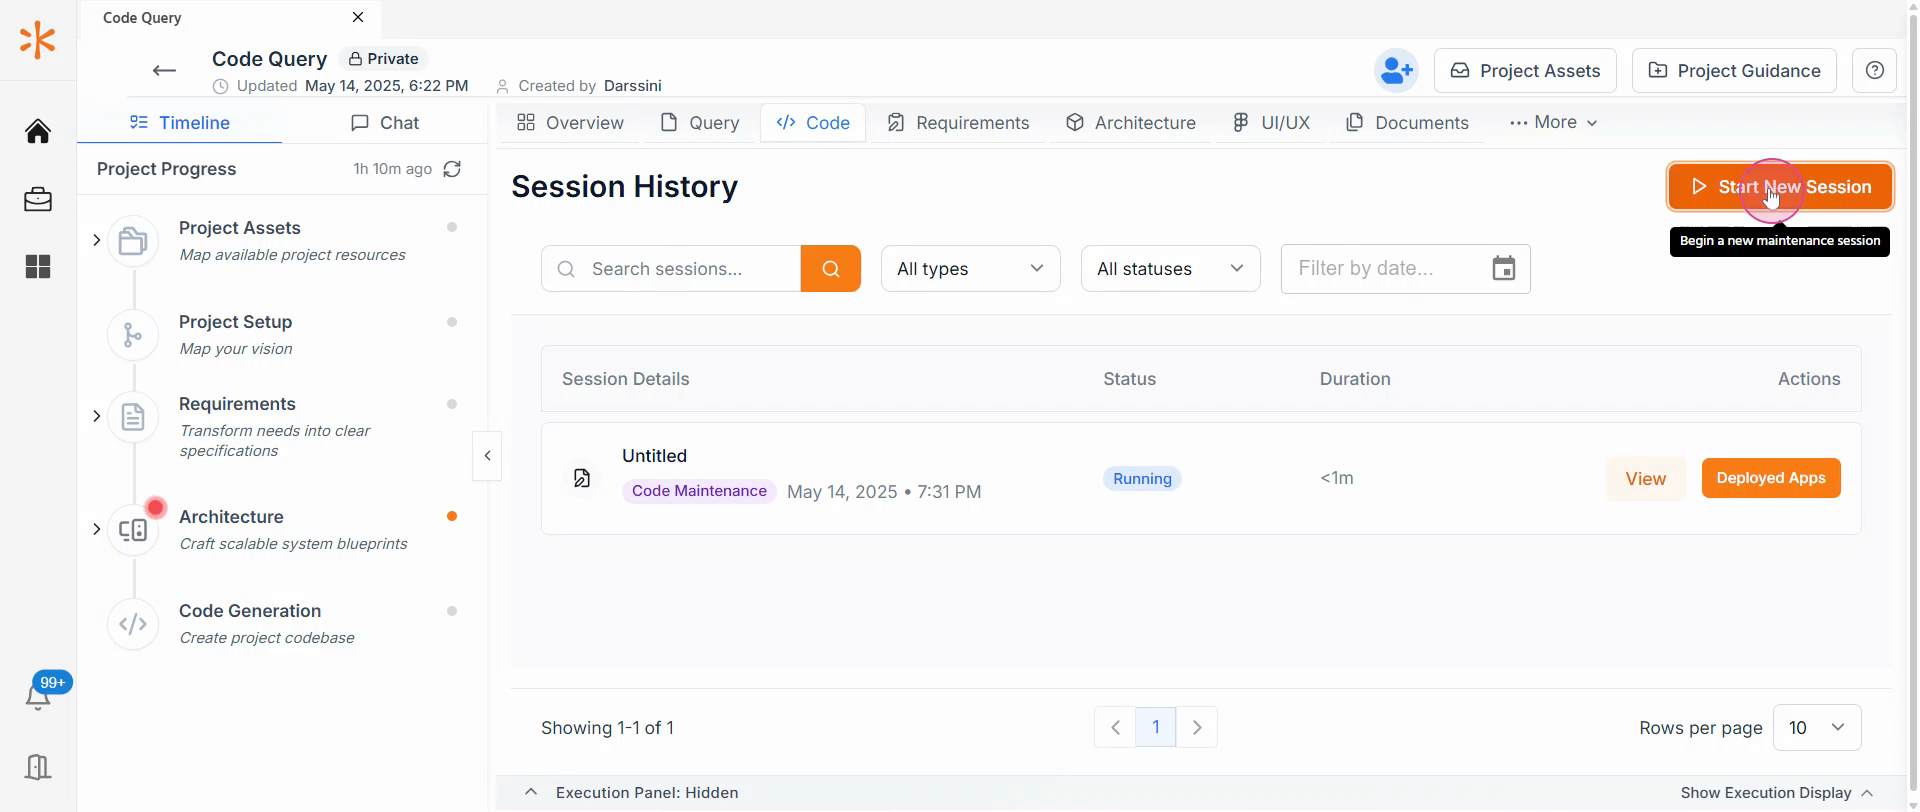
3
Step 3: Click on Start new session.
4
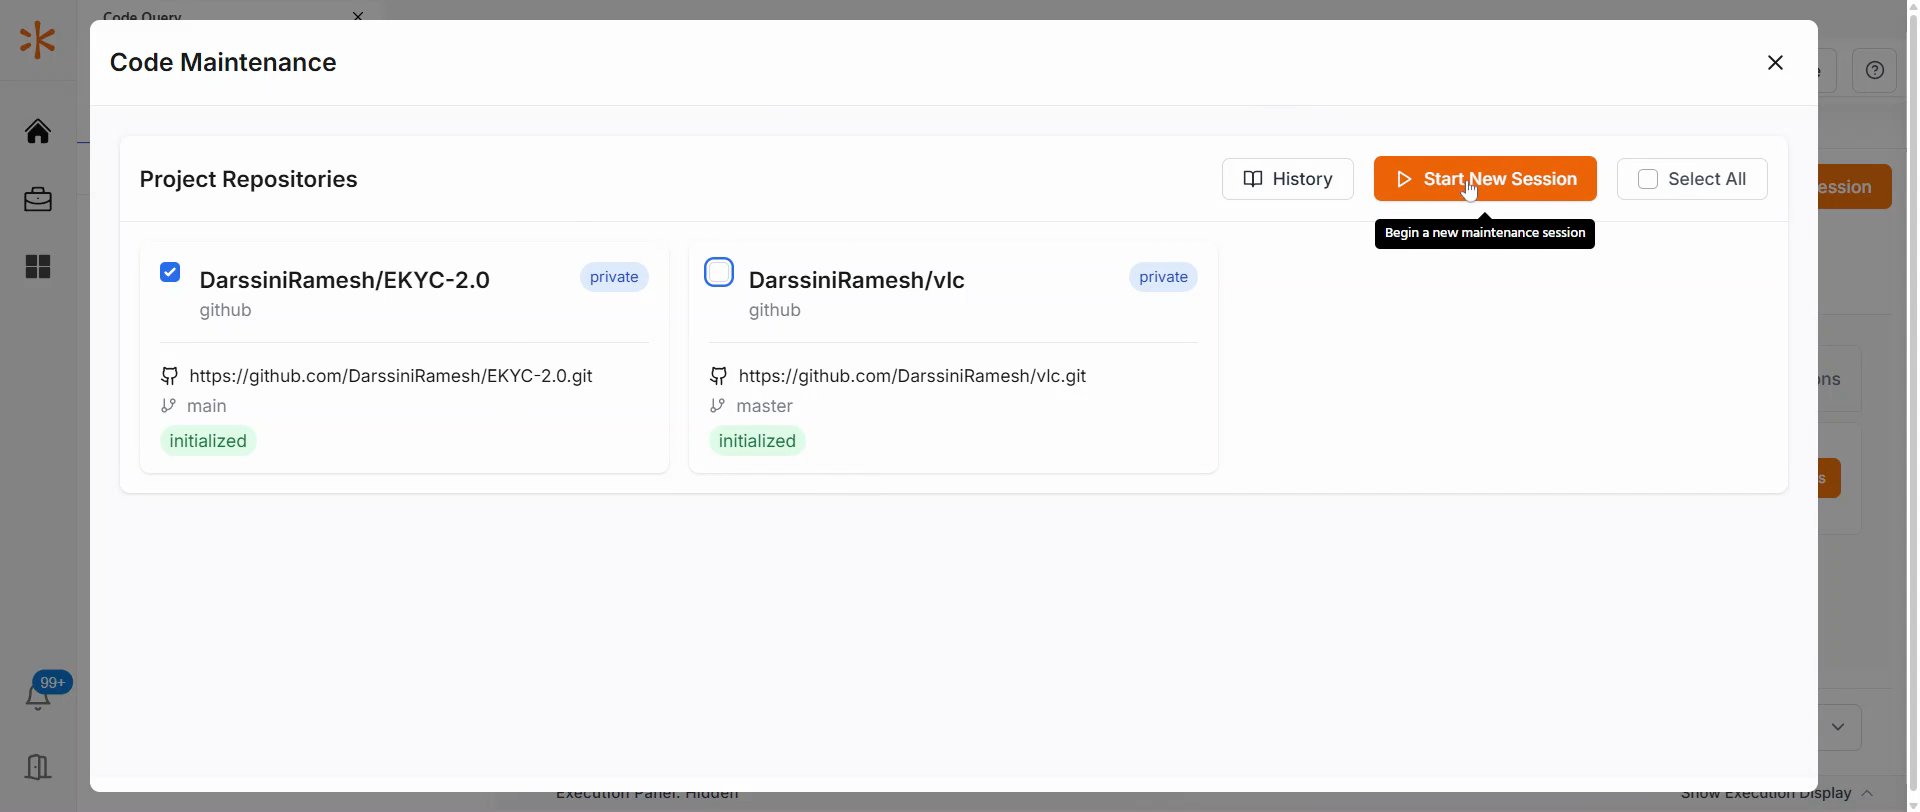
Step 4: You'll see two options:
- Code generation
- code maintenance.
Choose code maintenance for modifying your existing code base.
5
Step 5: Select the repository you wish to modify and click on Start new session.
6
Step 6: Once the session starts, you'll see the progress of the operation.
For instance, if you've given an input to write inline documentation, you'll see the operation in progress and the details of file modifications.
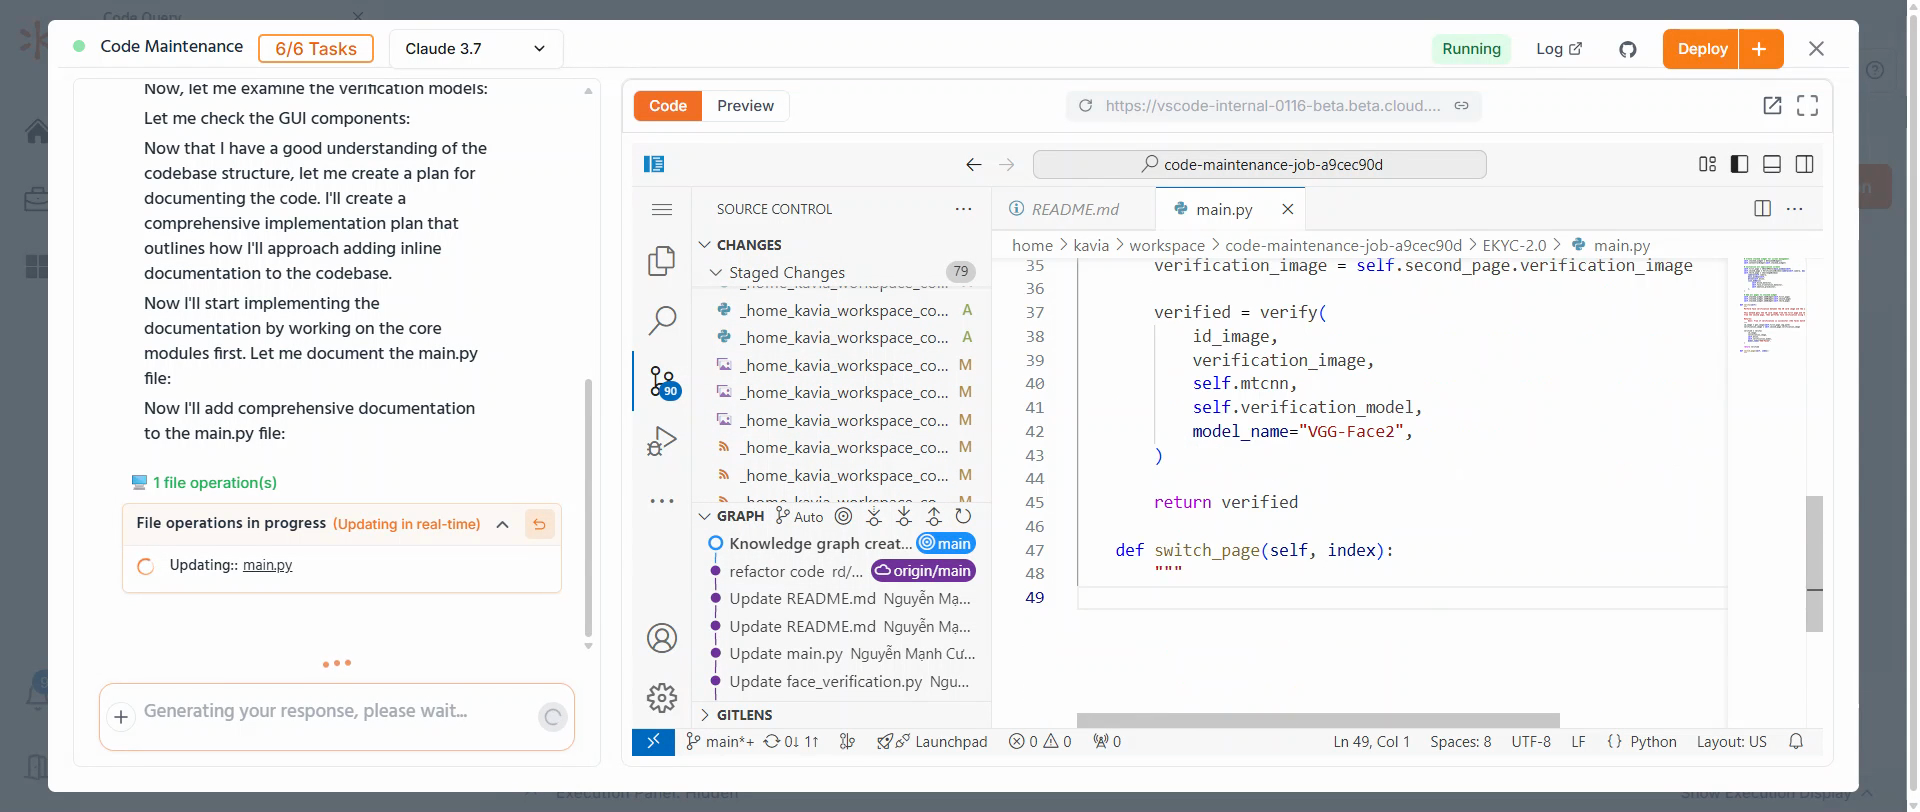
7
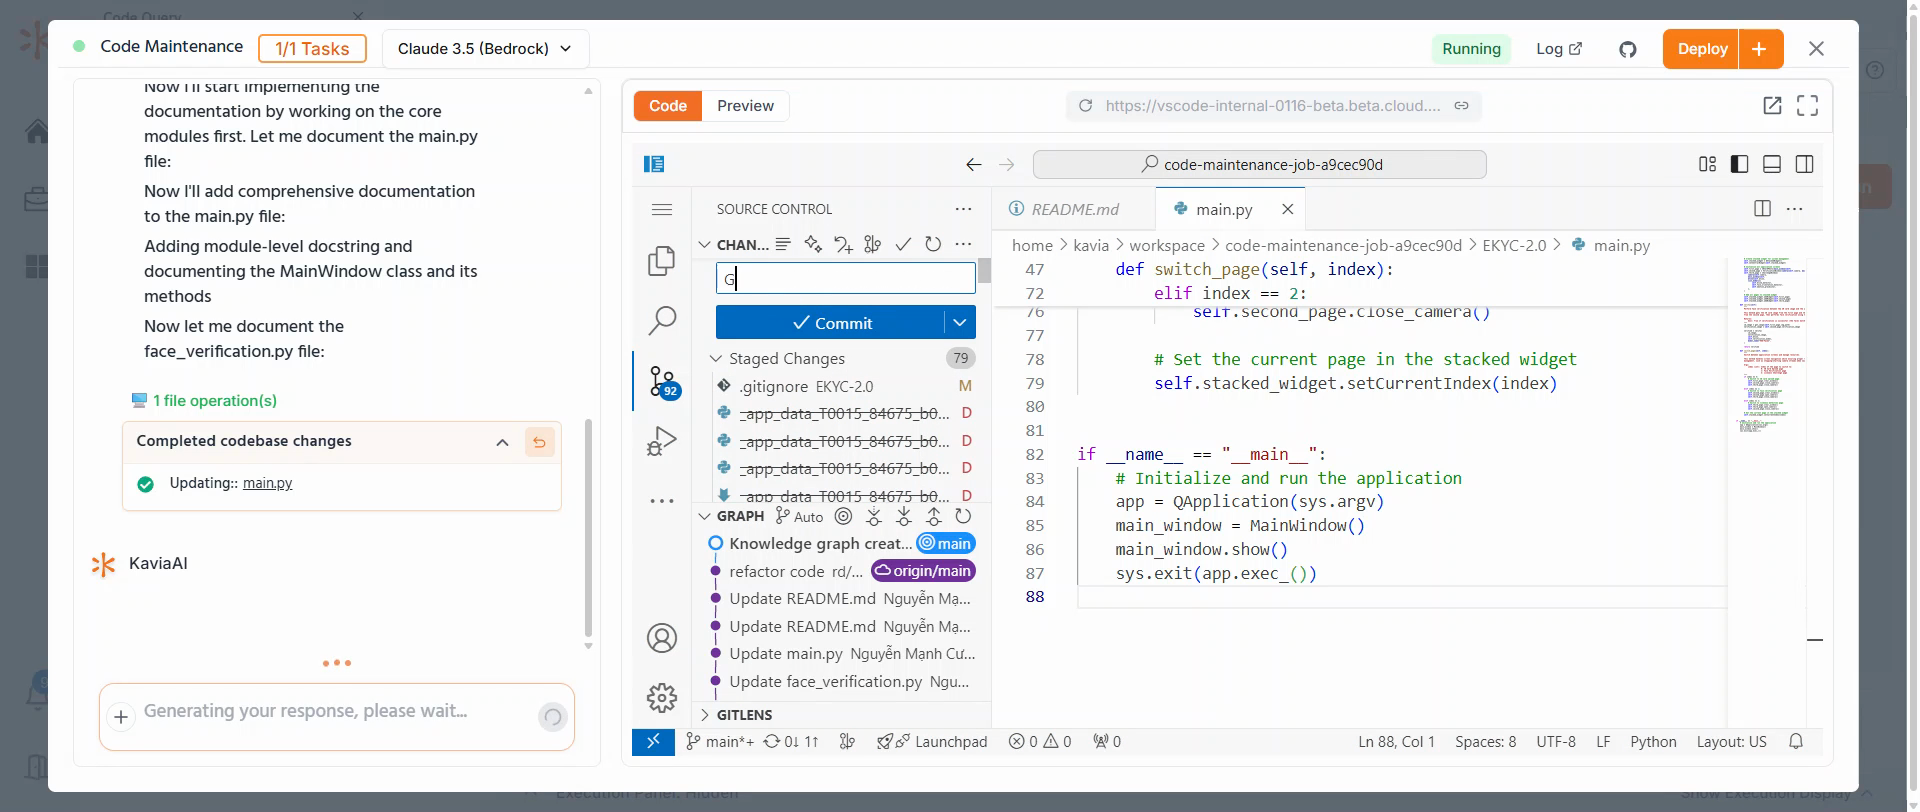
Step 7: You can add features, write documentation, fix errors, or add error handling functionality.
Once these changes are complete, commit and push the code. It's recommended to start a new branch and proceed.
8
Step 8: Provide a commit message and push the changes to maintain your updates.
9
Step 9: Create a new branch by selecting create new branch.
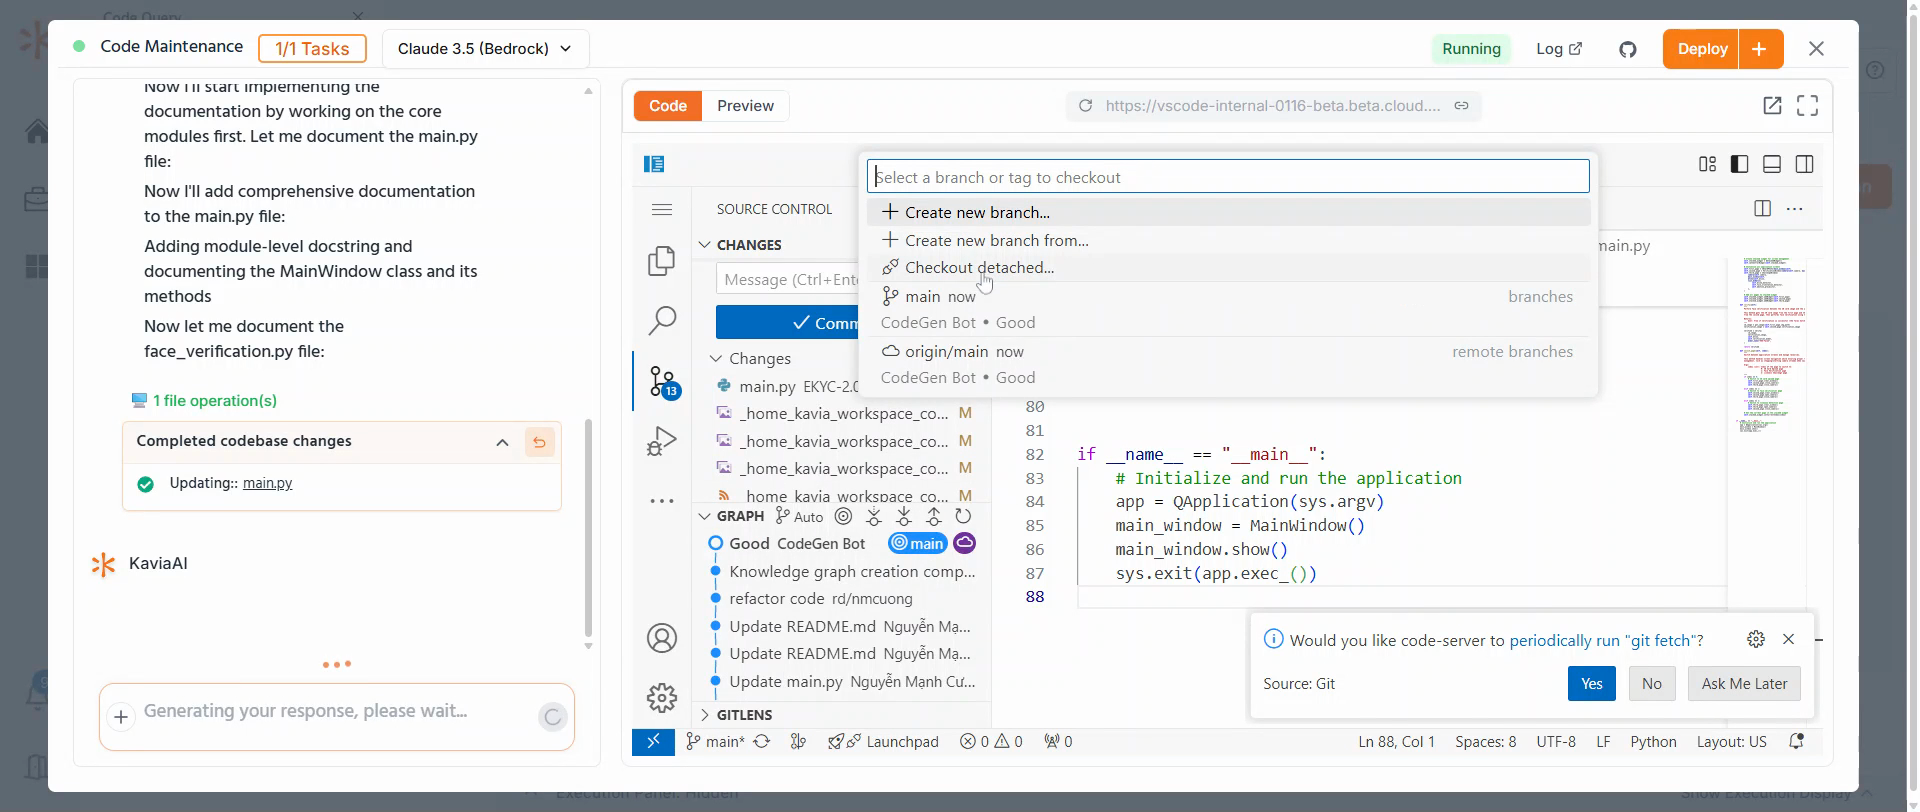
10
Step 10: Give your new branch a name.
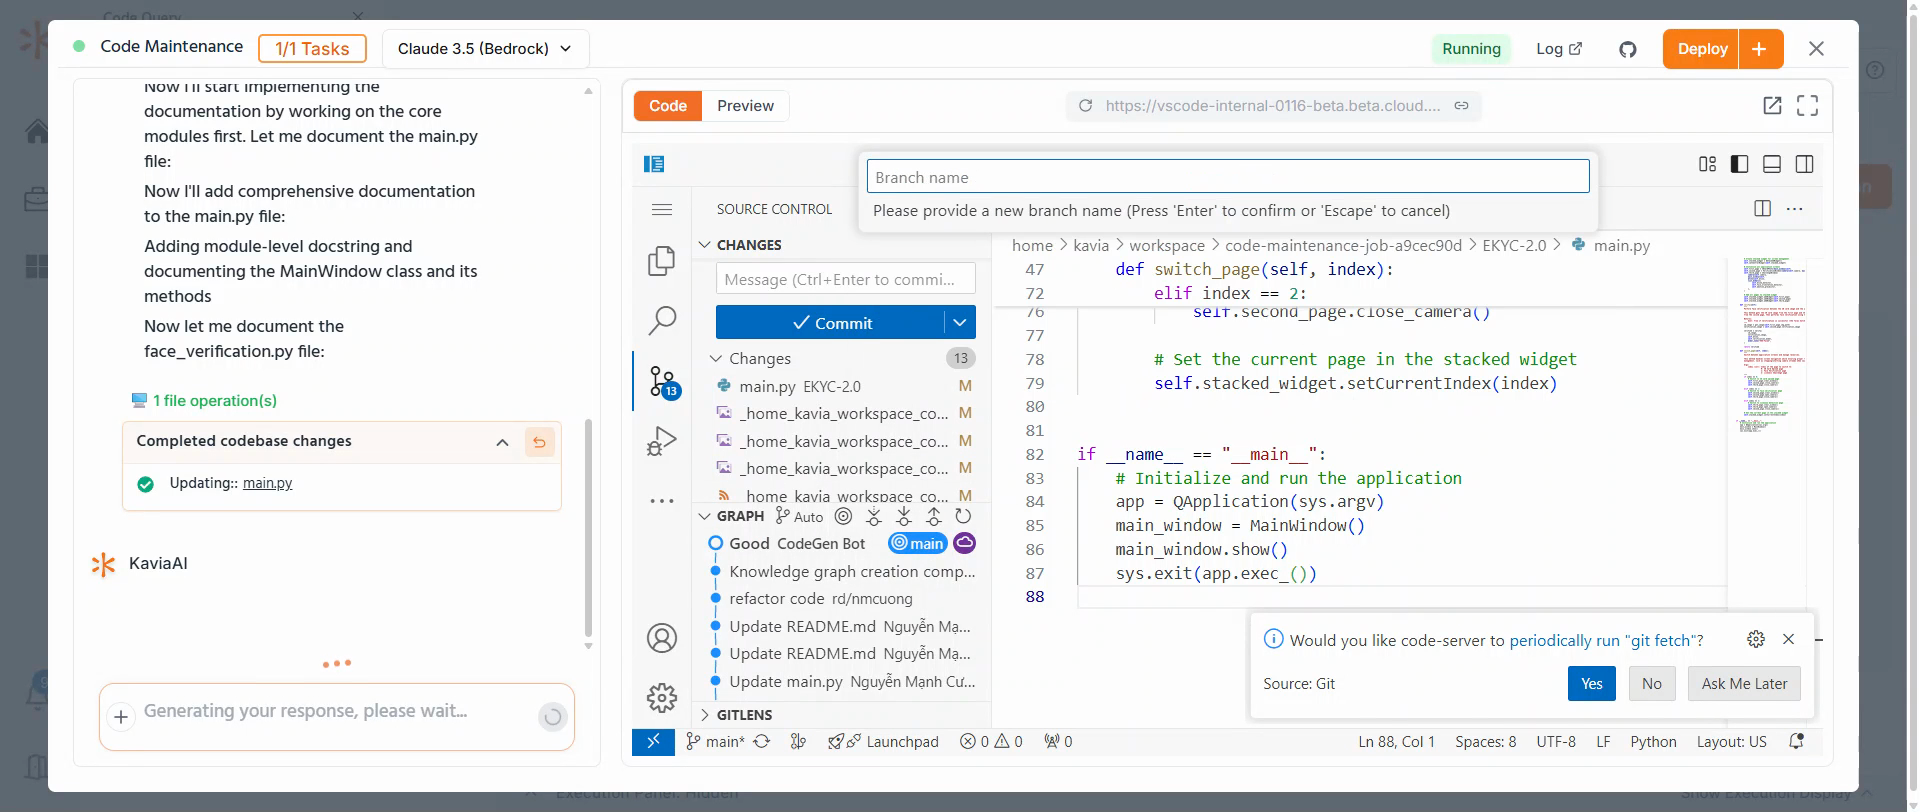
11
Step 11: If you wish to work on multiple sessions in parallel, let the session run in the background.
Give your session a name and start a new session.
Remember, each new session starts fresh and does not continue from the previous one. This way, you can have multiple sessions running simultaneously.
Thank you for following this tutorial on code maintenance with Kavia AI.
Previous
QueryNext
Project Planning