Managing Groups in Kavia
Kavia’s Group Feature enables efficient management of team access and resources within projects. By organizing users into groups, administrators can streamline permissions, assign roles, and control project visibility — ensuring that only the right people have access to the right information.
This guide walks you through creating, managing, and assigning access to groups in Kavia.
Open the Kavia Dashboard
Log in to your Kavia account and open the Kavia Dashboard. This is your central hub for managing users, projects, and system configurations.

Go to the Groups Tab
From the dashboard’s main menu, navigate to the Groups tab. This section contains all existing user groups within your organization.
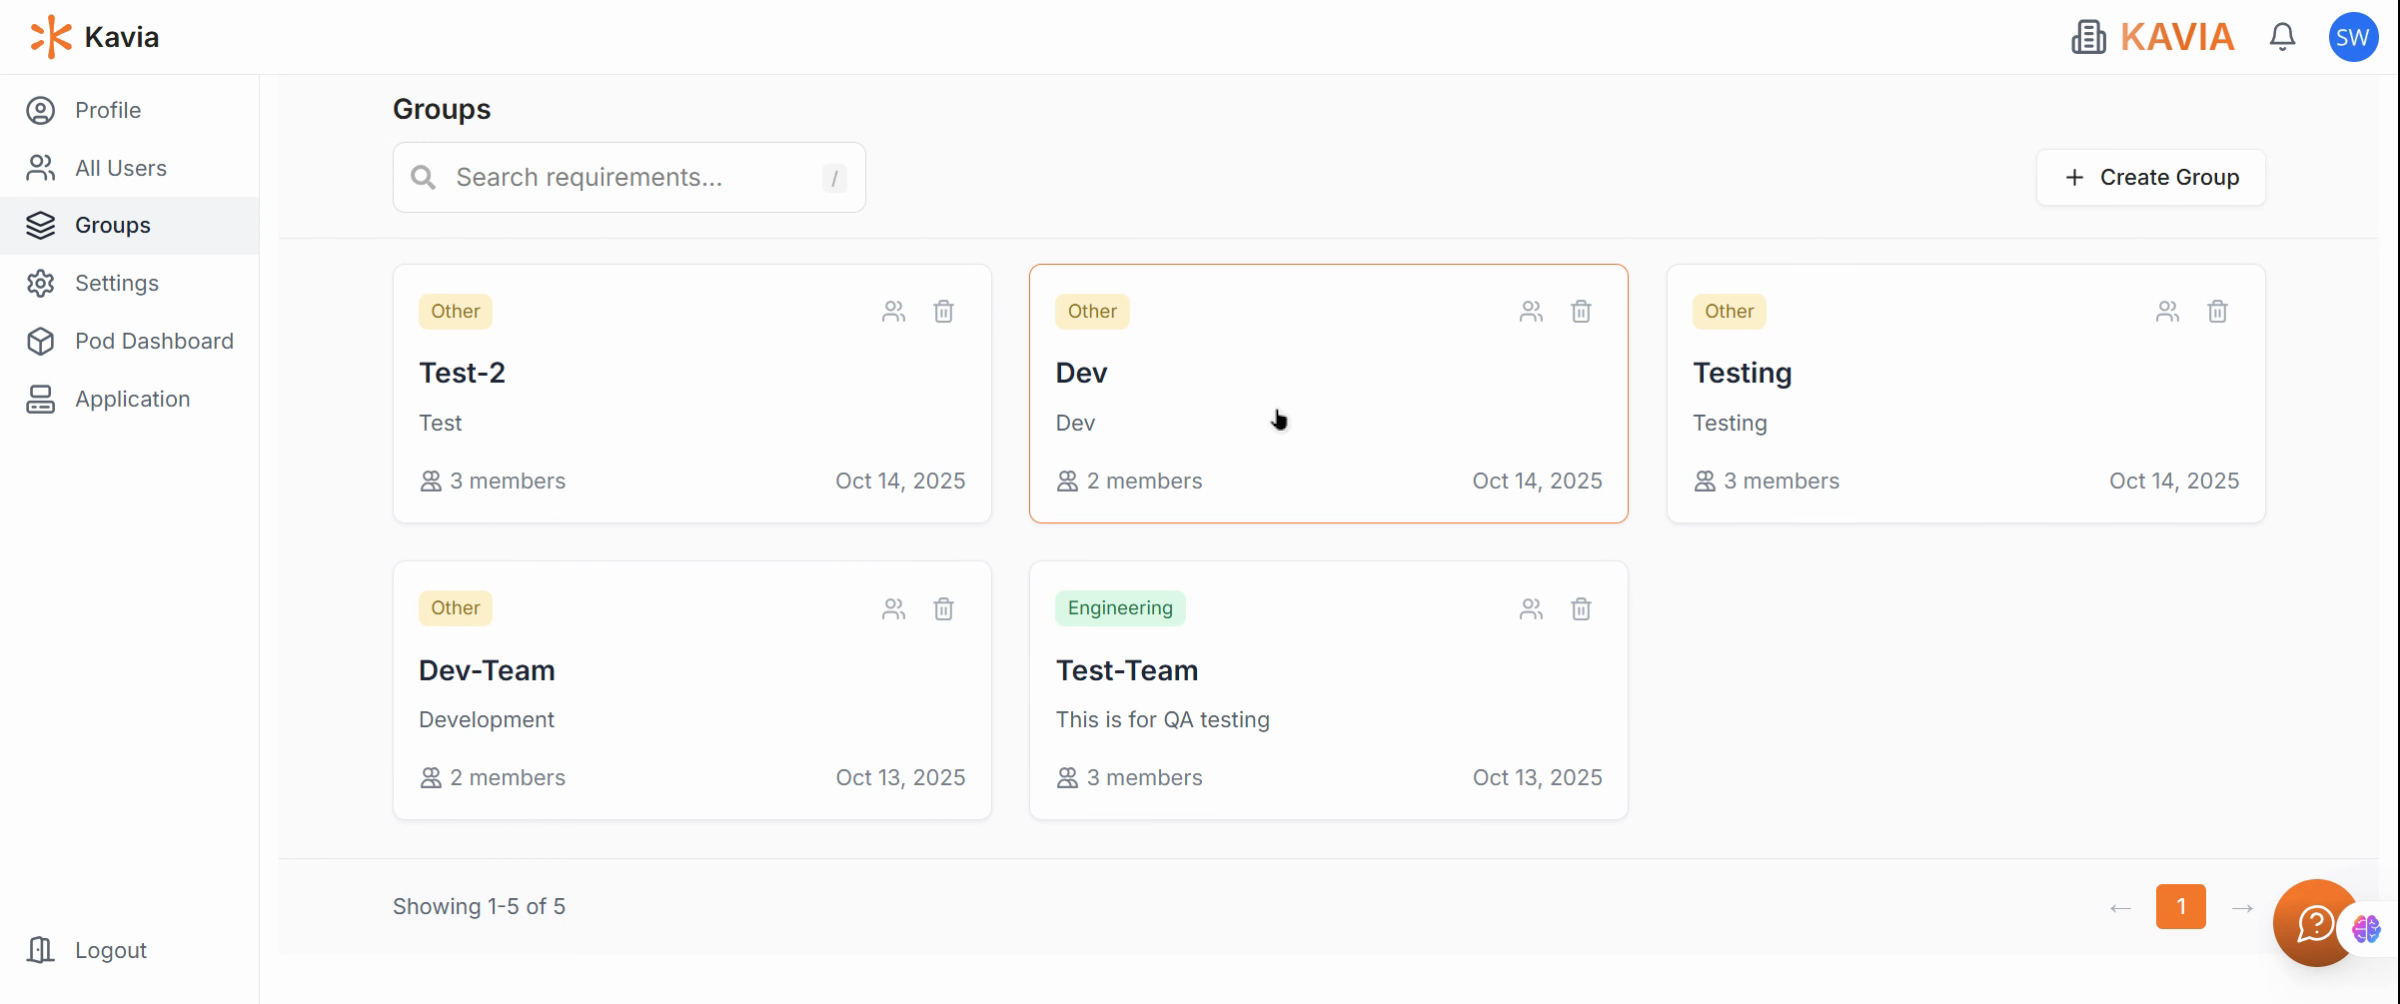
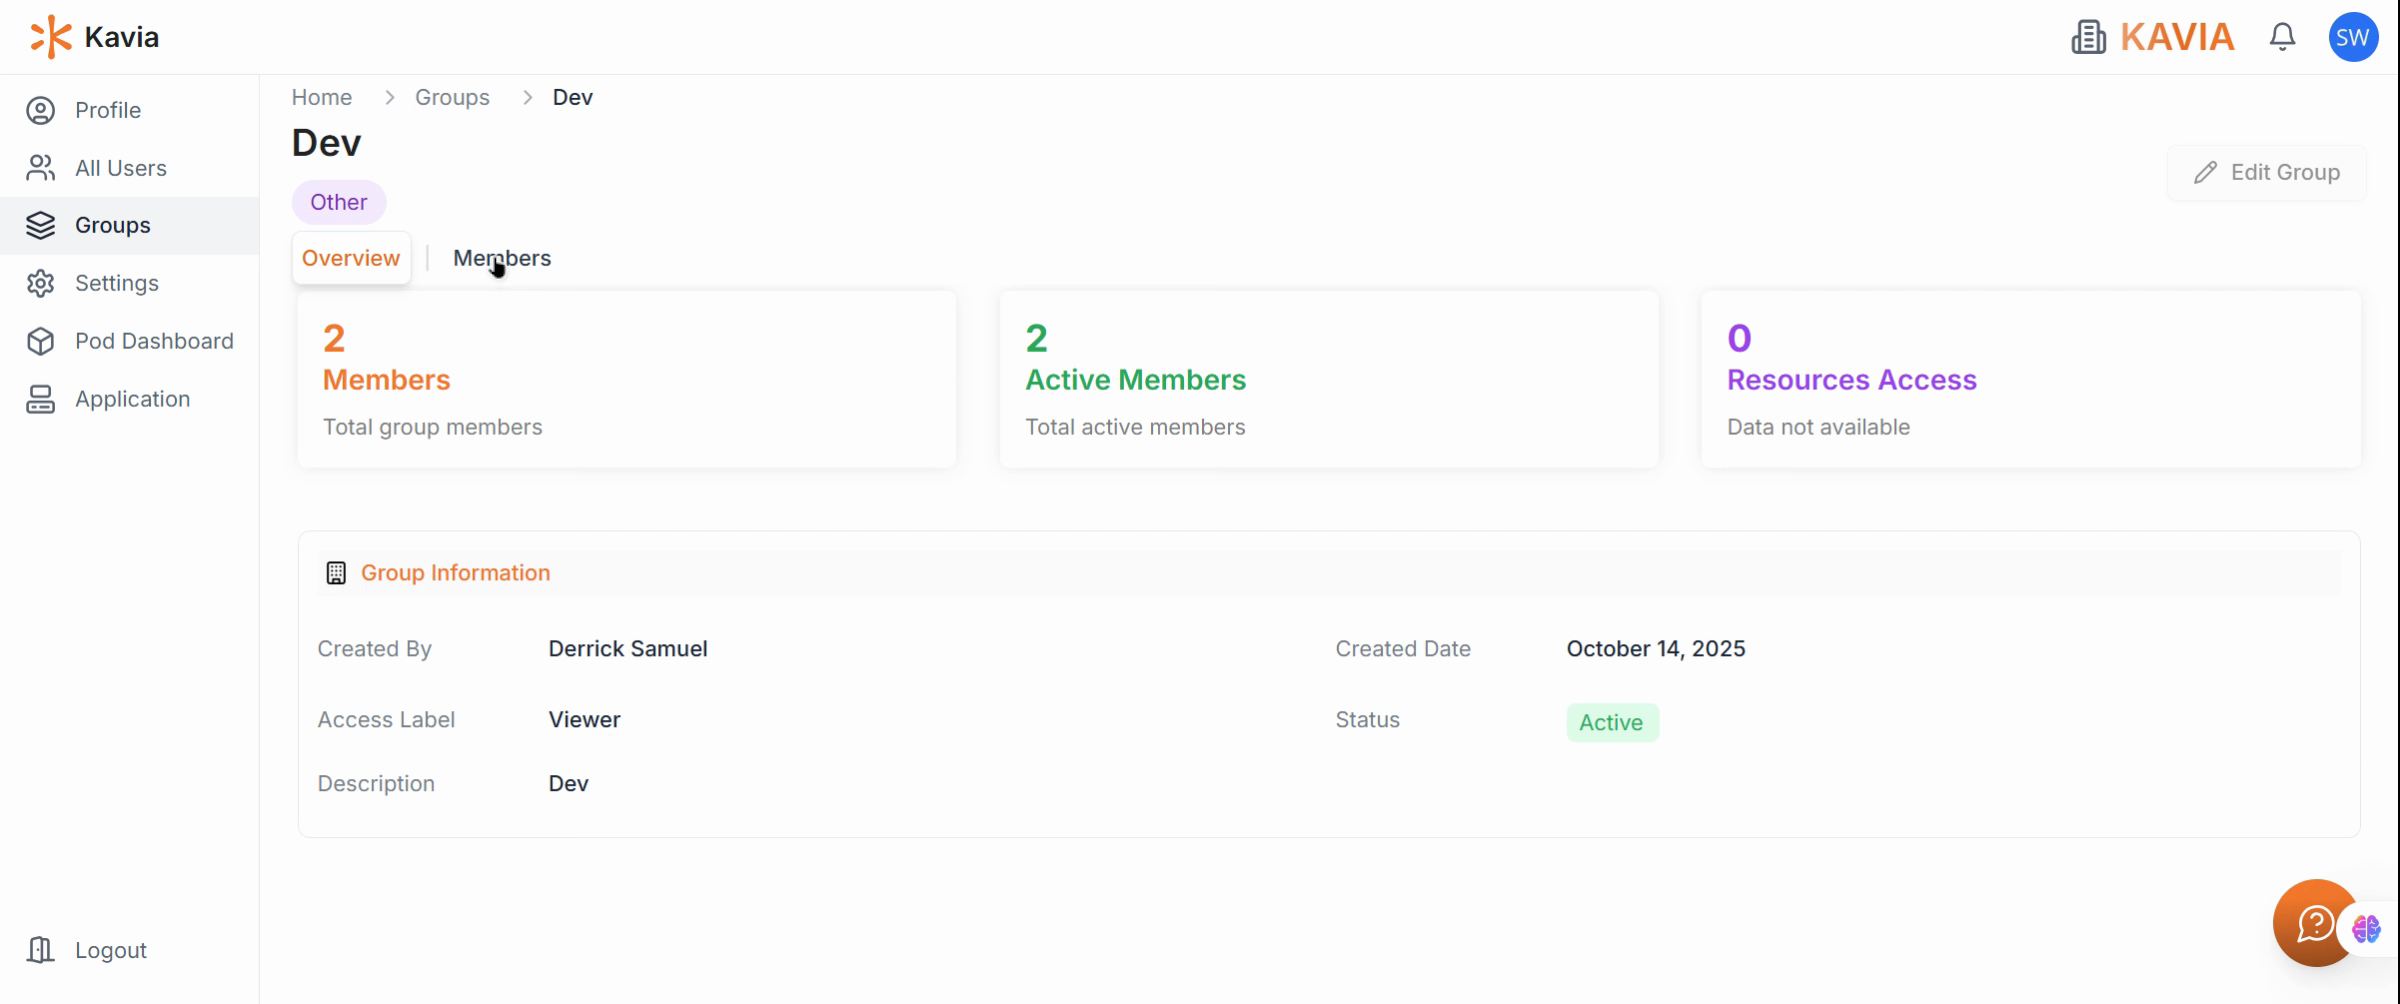
Open a Group Overview
Select any group to view its complete overview. The overview displays details such as:
- Member count
- Group activity
- Resource access
- Creator and creation date
- Status and access label
- Description
This gives you a clear snapshot of how each group is structured and used.
View Group Members
Inside the group page, go to the Members section to see all current users assigned to the group, along with their roles and permissions.
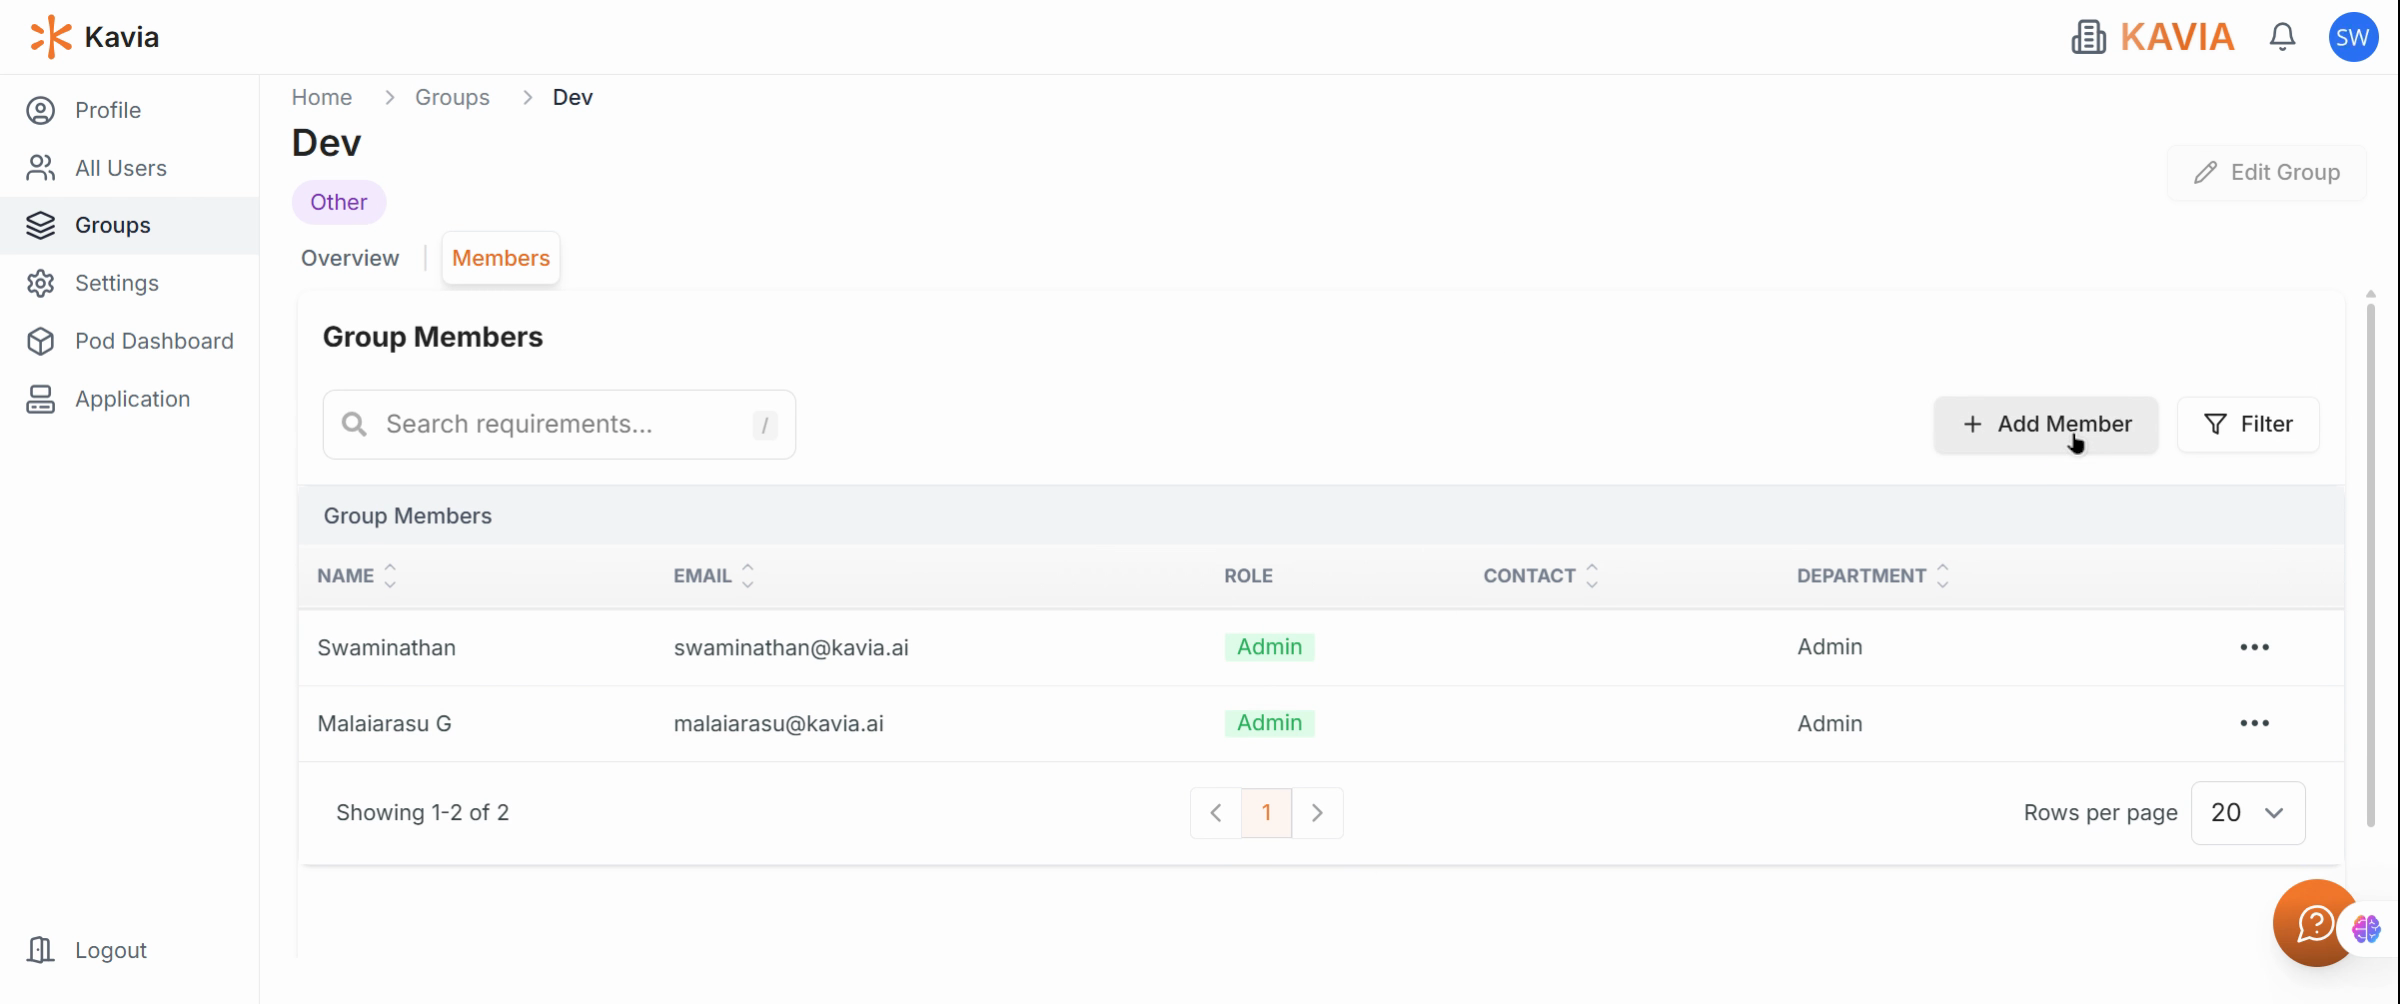
Add a New Member
Click Add Member to include a new person in the group. Select the user from the list or invite them by email, depending on your organization’s configuration.
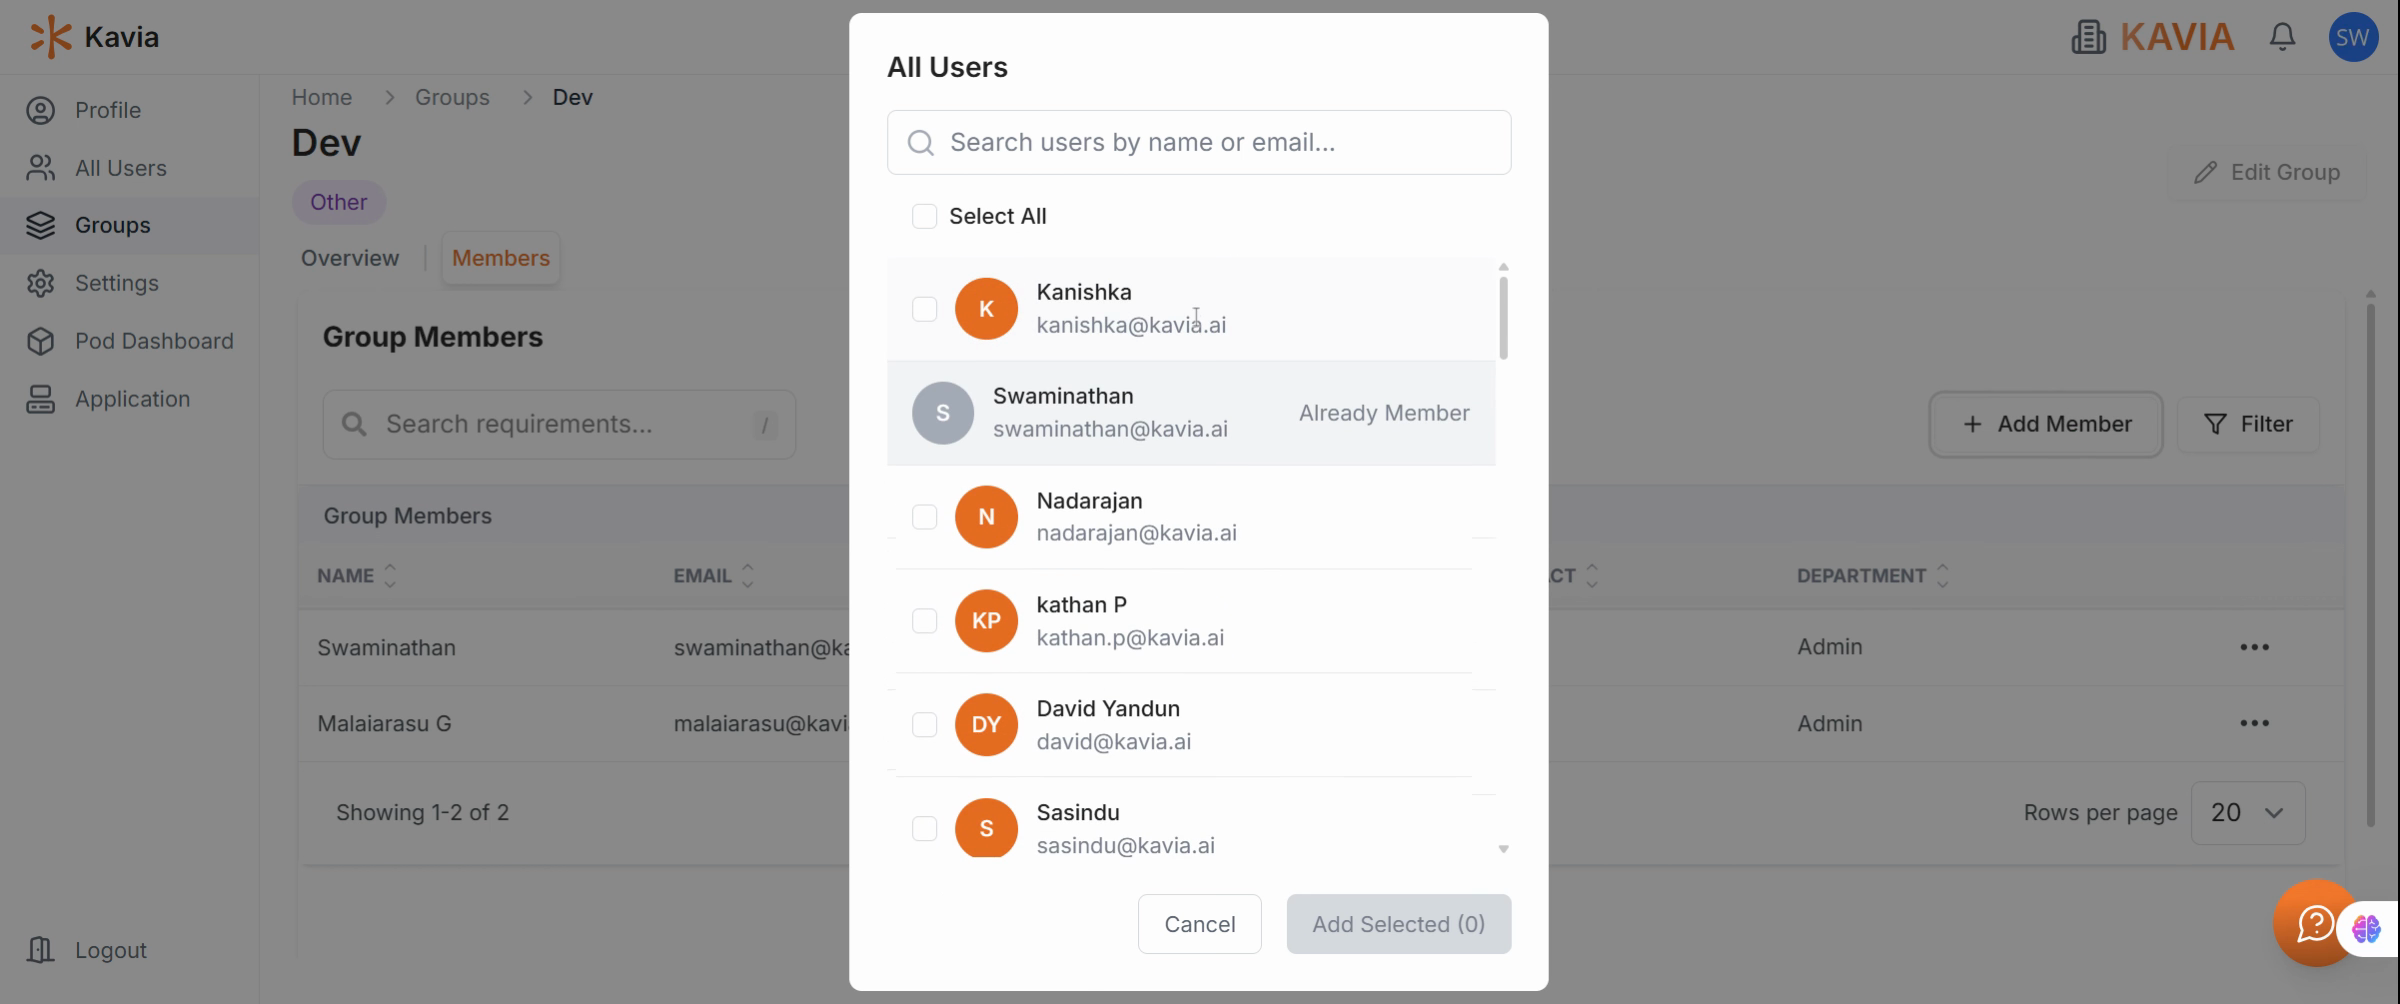
Once added, Kavia will display a confirmation message indicating that the member has been successfully added to the group.
Check the Member’s Role
Review the member’s role (e.g., Admin, Editor, or Viewer) to ensure they have the correct level of access. Roles can be edited later if needed.

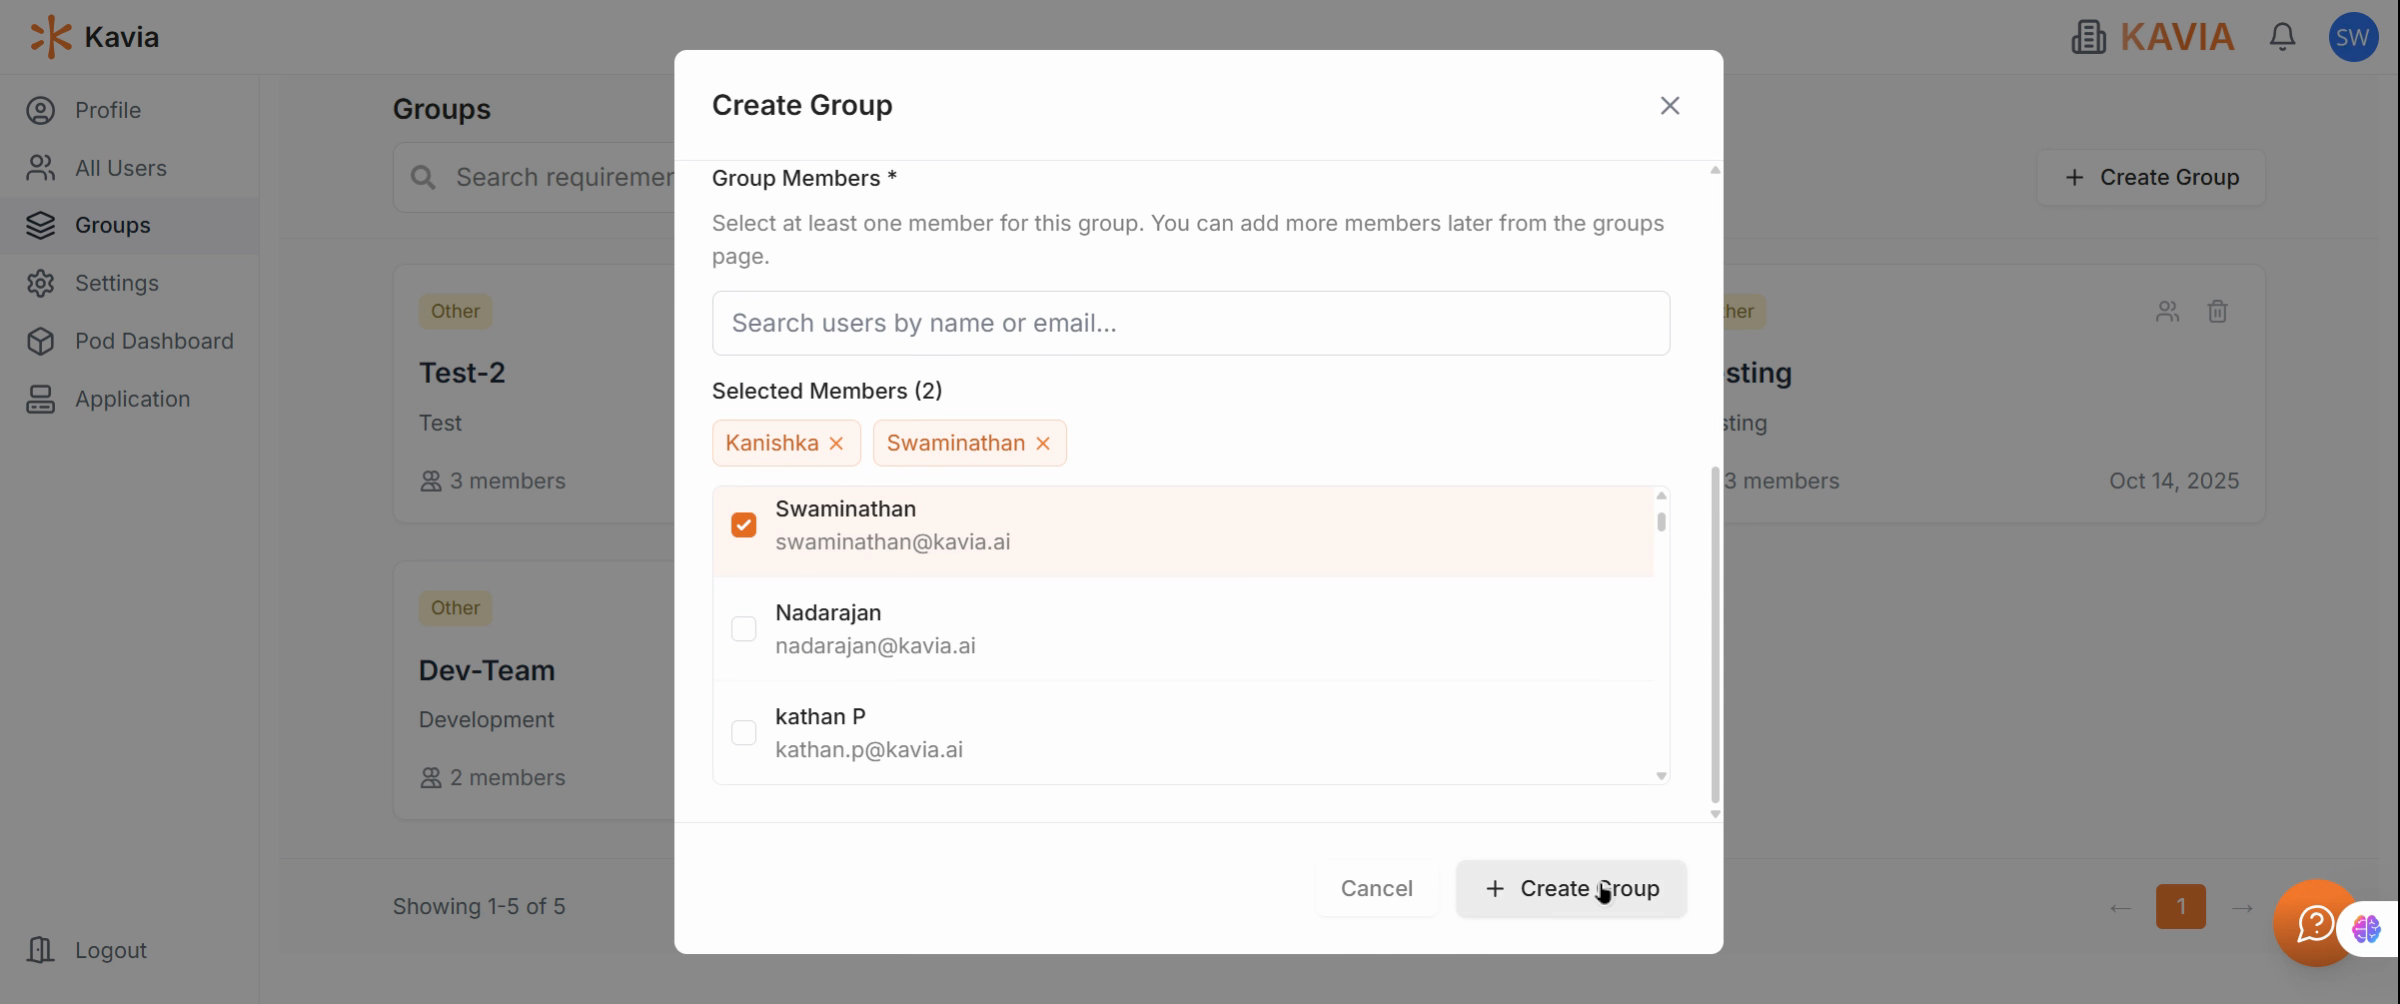
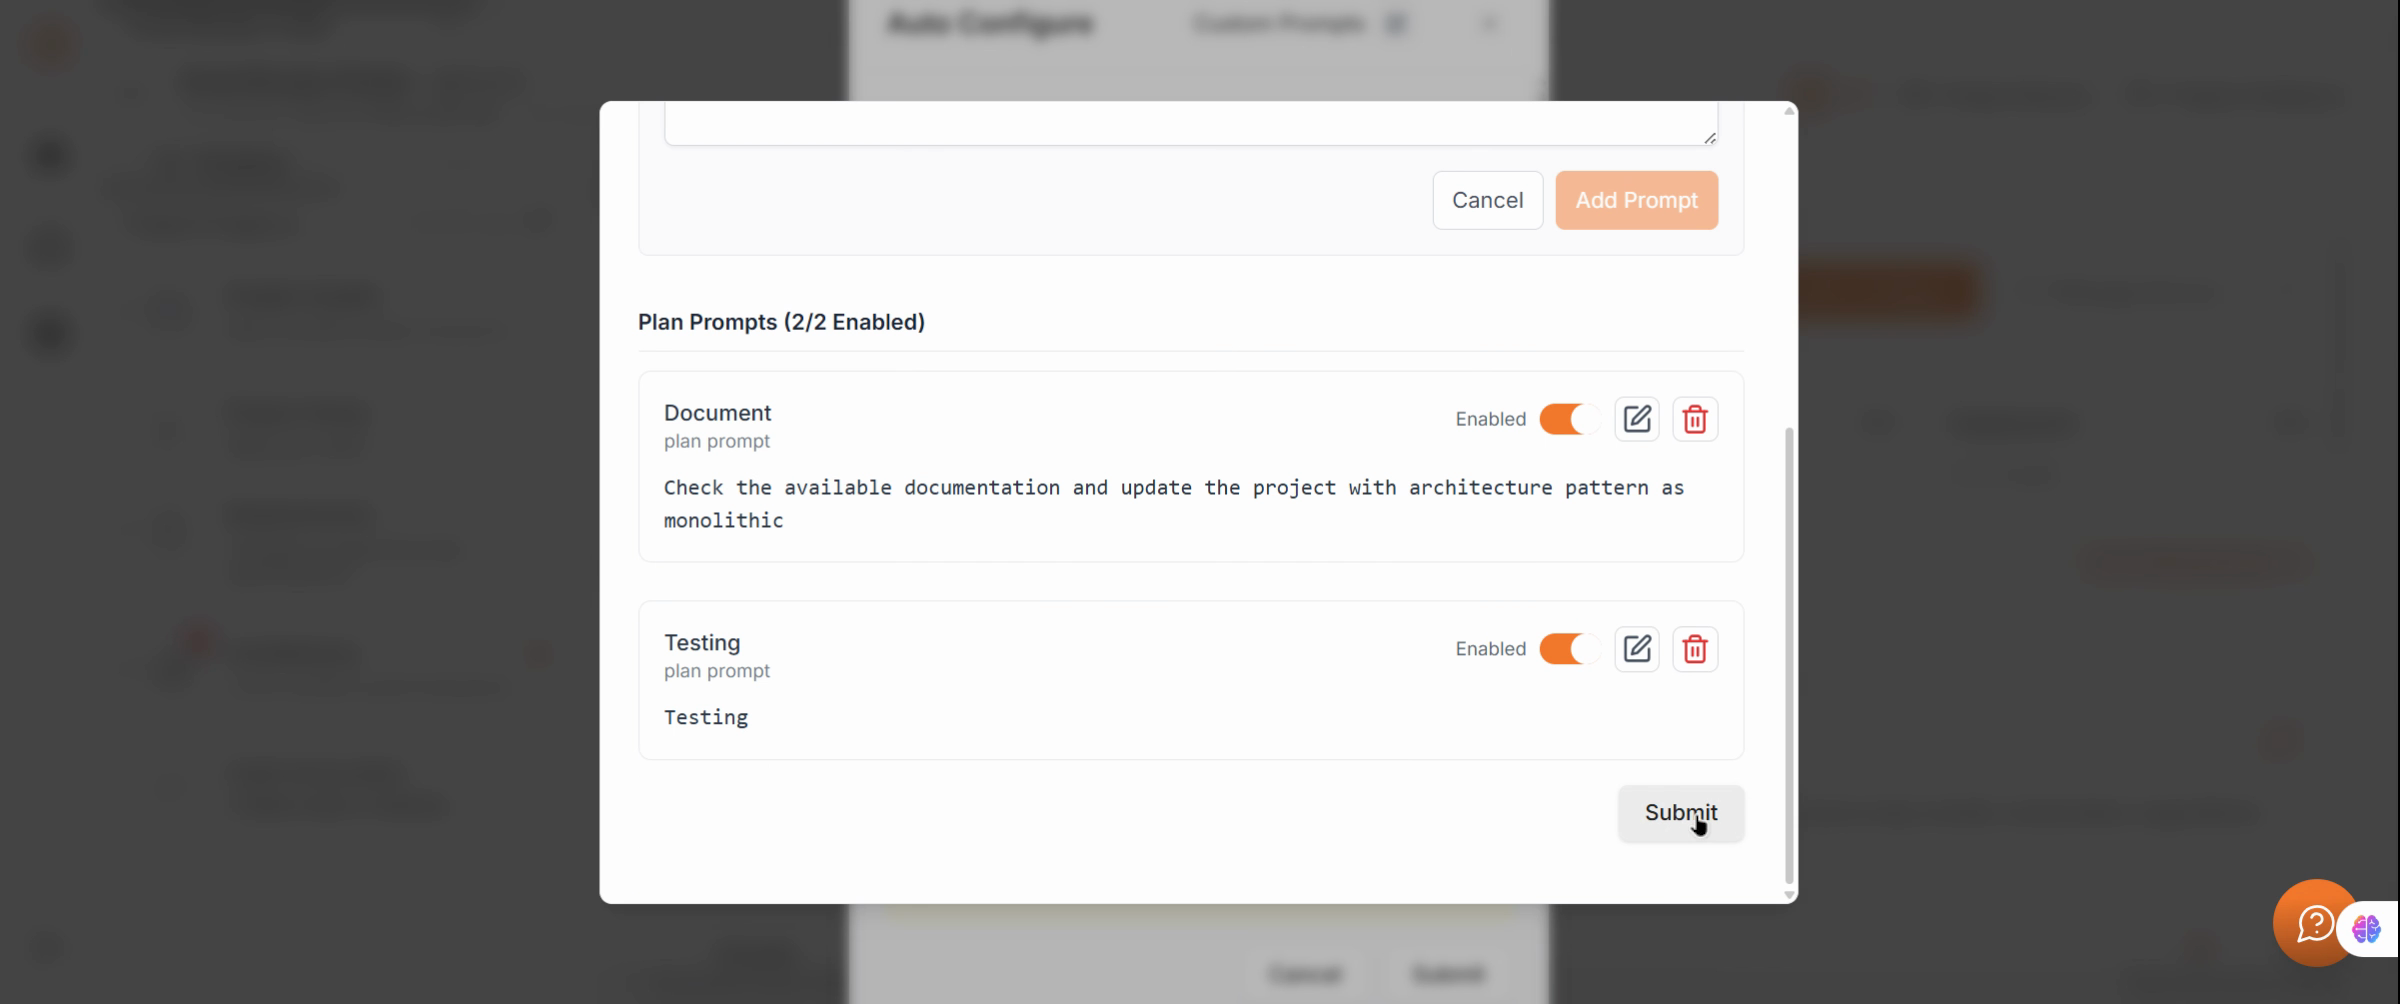
Create a New Group
To form a new group, click Create Group from the Groups tab. This will open the group creation form.

Define Group Details
Enter a Group Name (for example, DevOps) and an optional Description, such as “Development Operations team.”
You can also choose a Group Type (optional) and add initial members during this step.

Add Members and During Creation
Add the relevant users to your group while setting it up. This ensures immediate collaboration and access once the group is created. Click Create to finish setting up your group. Kavia will automatically generate the group and assign it within your organization’s workspace.
Verify Group Creation
Return to the Groups Page to see your new group listed. You can now manage or edit it as needed.
Open the New Group Overview
Click on your newly created group to view its creator, creation date, and overall configuration.
Review Group Members
Check the Members section to confirm that all added users appear correctly within the group.
Open the Application Tab
Next, navigate to the Project List to select a project and manage access to that project.
Manage Project Access
In the Project dashboard, click Manage Access to configure how users and groups can interact with that project.

Choose Visibility Type
In the Visibility Type section, you’ll have two options:
- Organization Access – all users in your organization can access the project.
- Group-Based Access – restrict access to specific groups only.
Select Group-Based Access to limit visibility.
Assign Group Access
From the dropdown, choose your DevOps group so that only members of this group can access and contribute to the project.
Save Changes
Click Save Changes to apply the updated access settings.
Your project is now secured under group-based access, ensuring that only authorized members can view and edit it.