Code Generation
This guide explains how to use Kavia’s AI-powered Code Generation Agent to build and manage your application, generate code, and handle project-related tasks efficiently.
1
Step 1: Understand the Code Generation Agent
The Kavia code generation agent is currently based on the GPT 4.1 model. It assists with code creation and other project-related tasks.
2
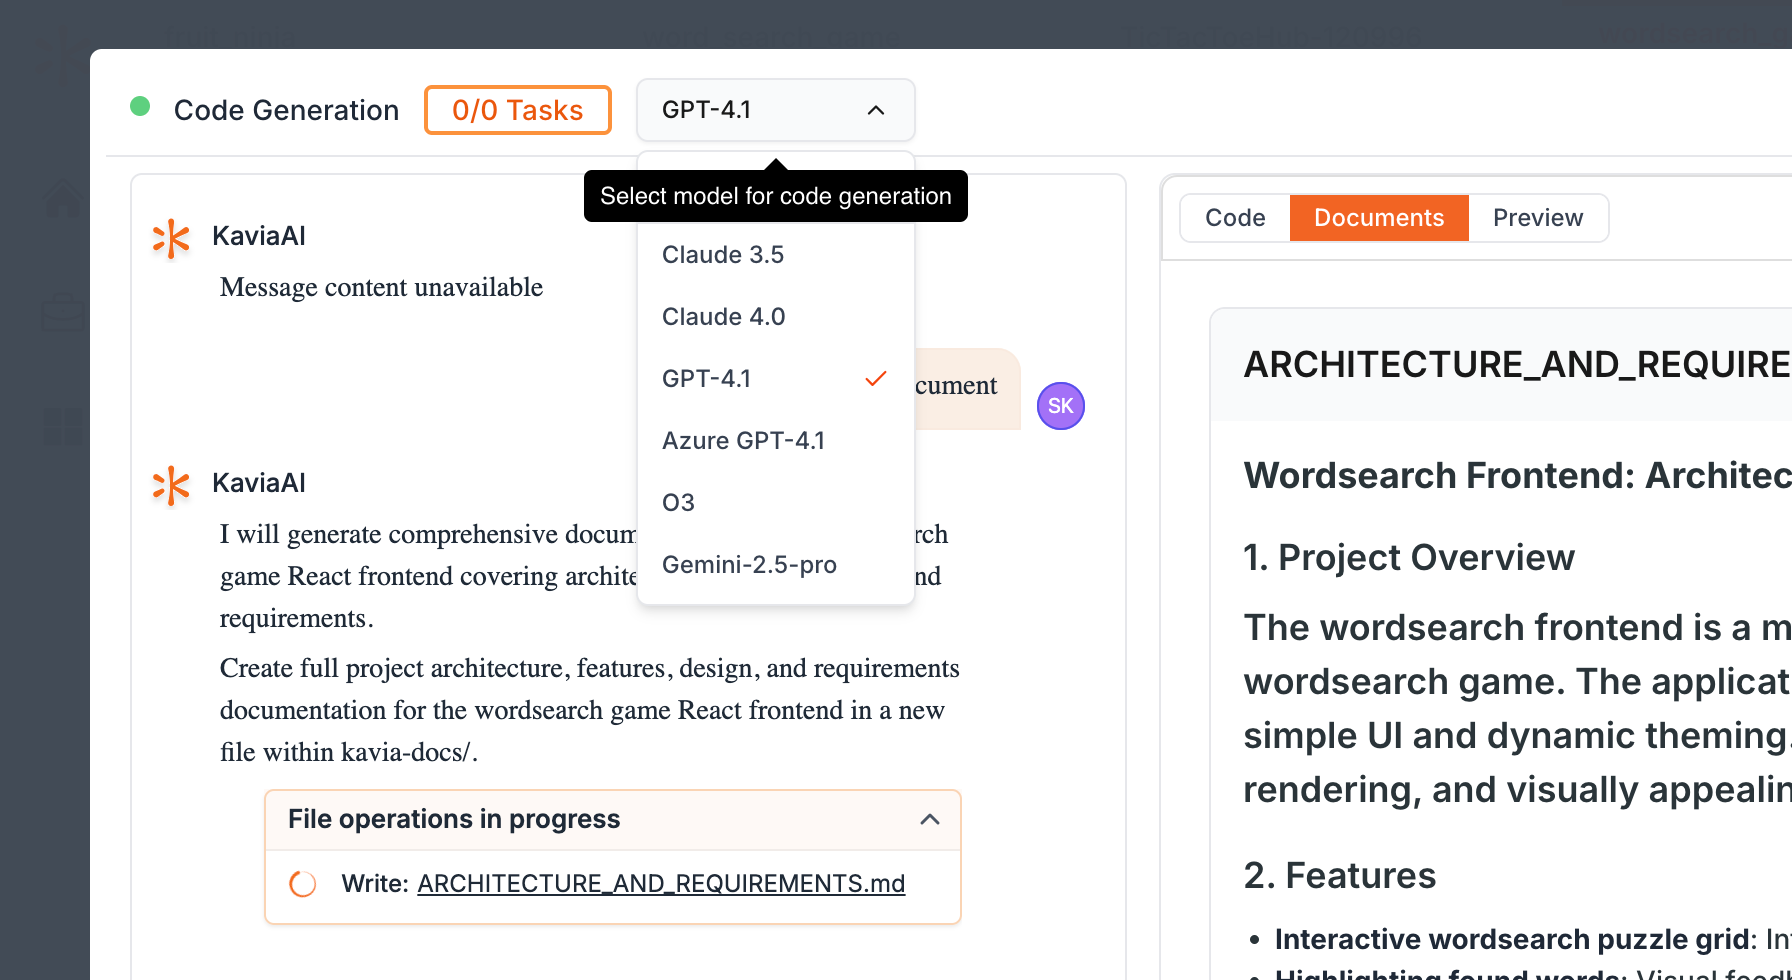
Step 2: Change the Model
To change the model, click on the panel shown in the following screenshot.
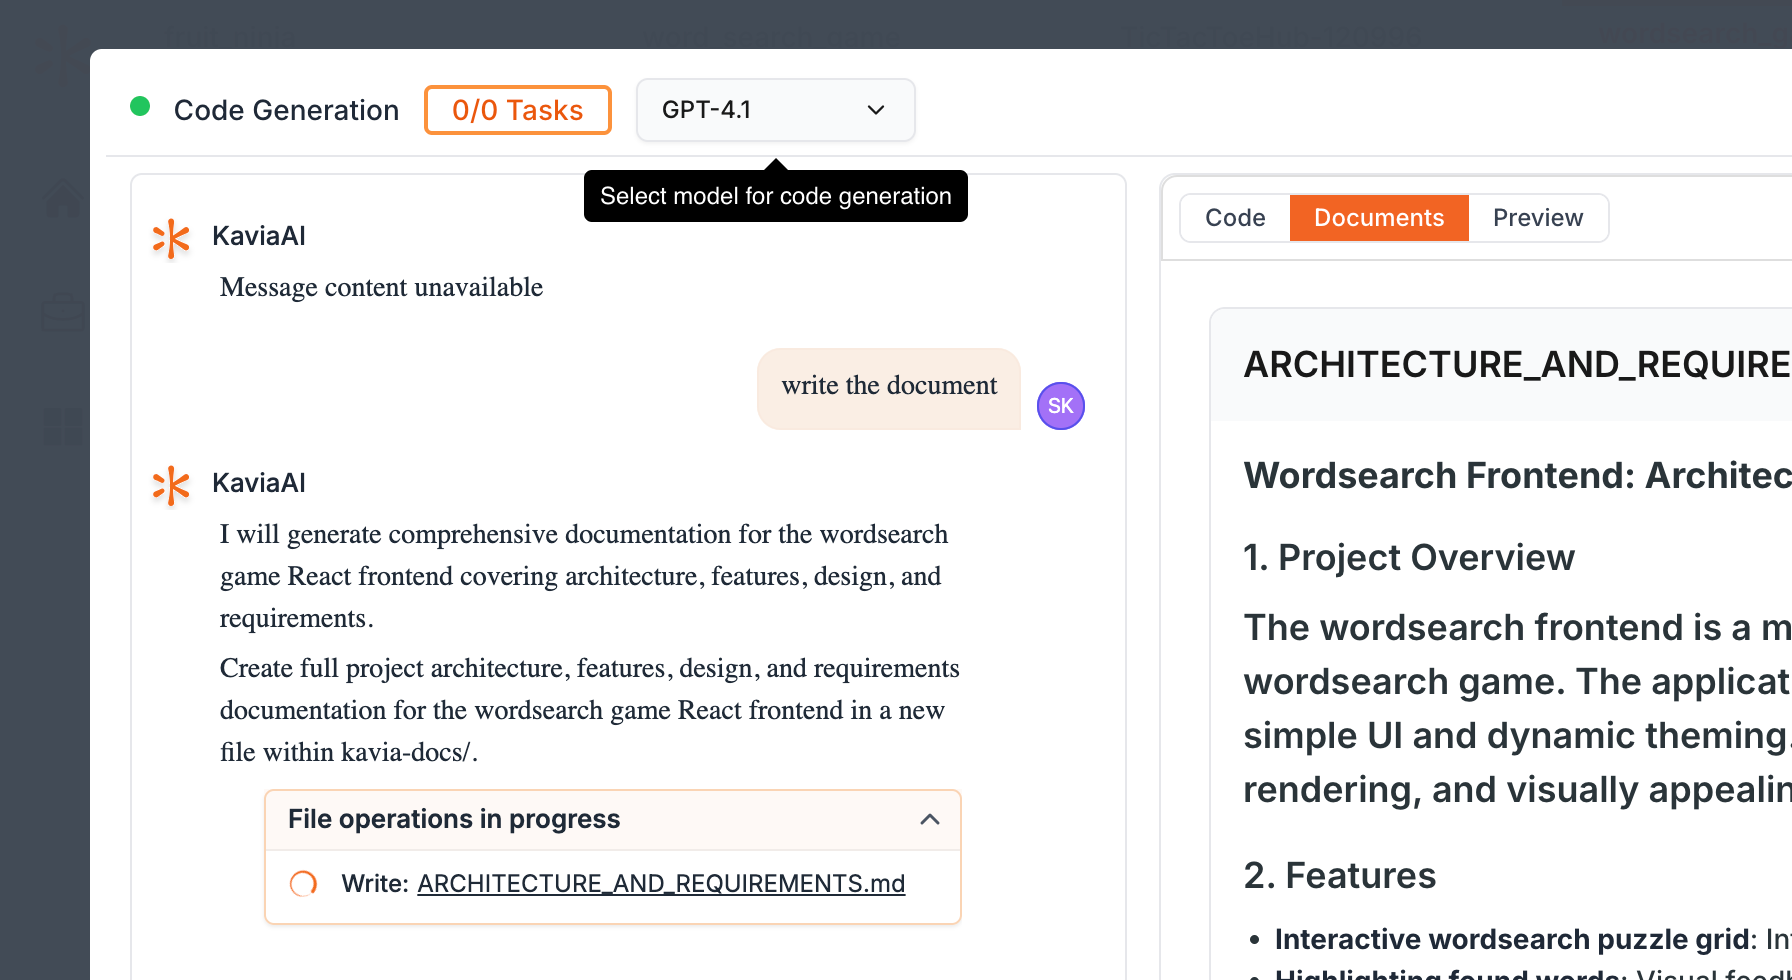
You will find a wide selection of models to choose from.
3
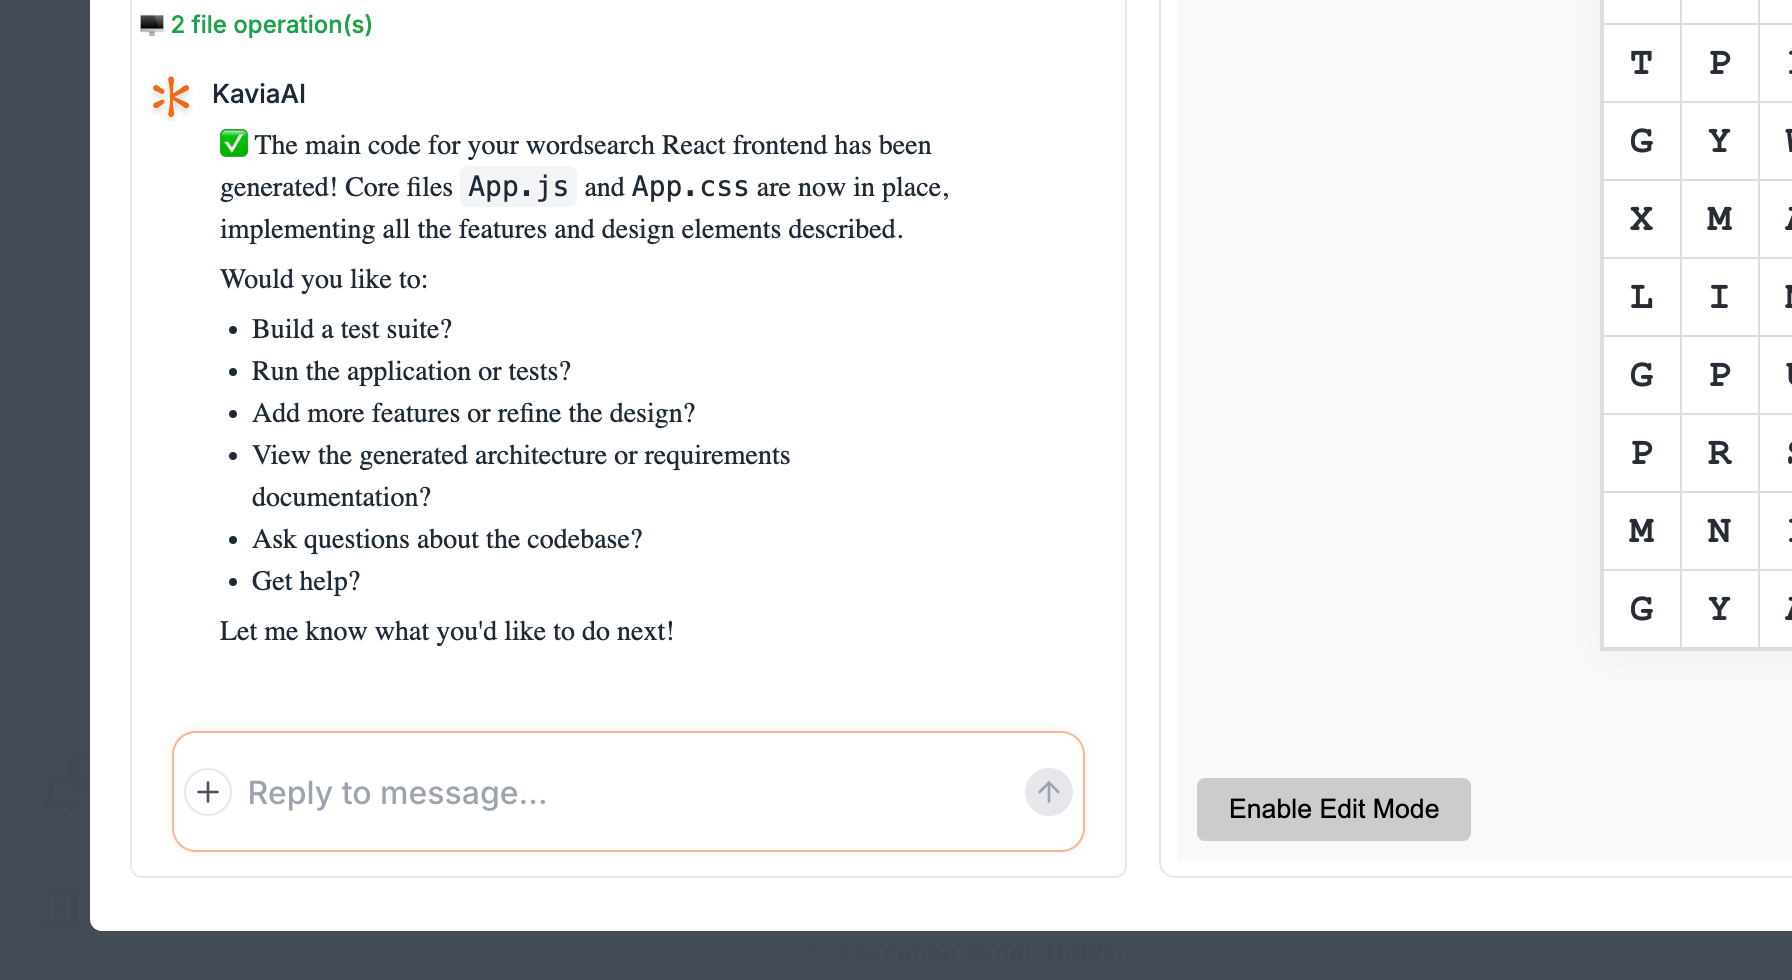
Step 3: Use the Chat Panel
In the Chat panel, shown below, you're able to request the agent to write documents, code, or assist with other tasks.
4
Step 4: Add References
If you need to add references, click the plus button to attach files.
5
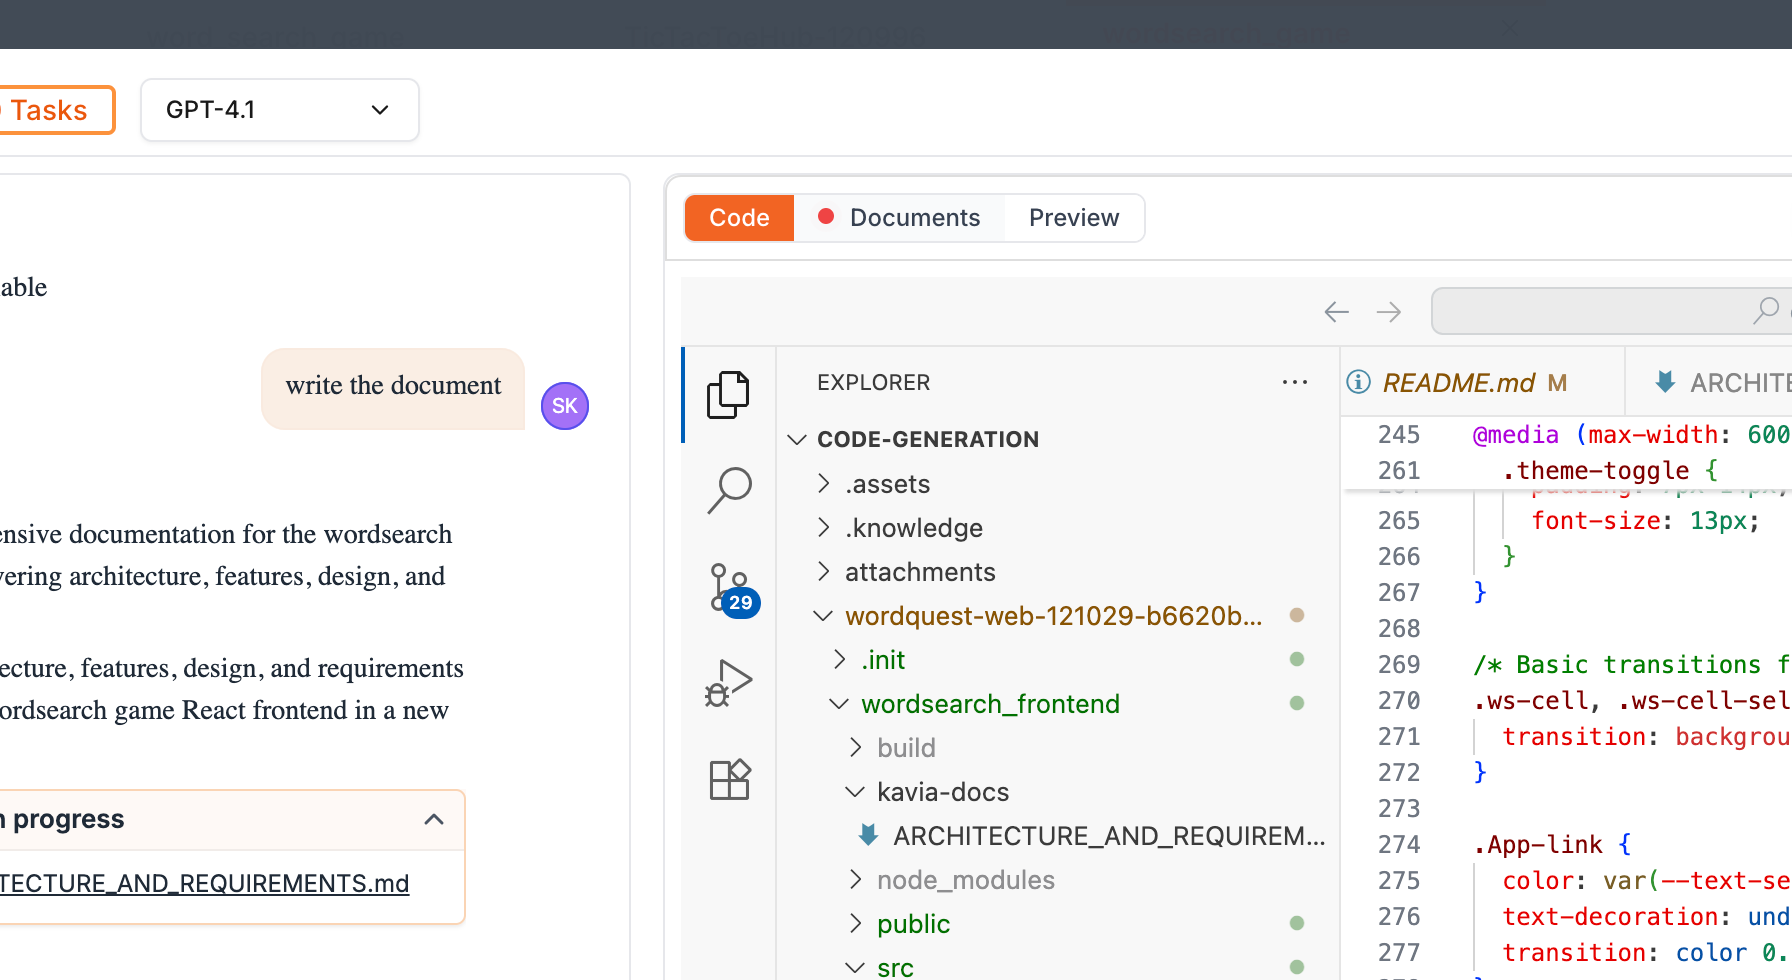
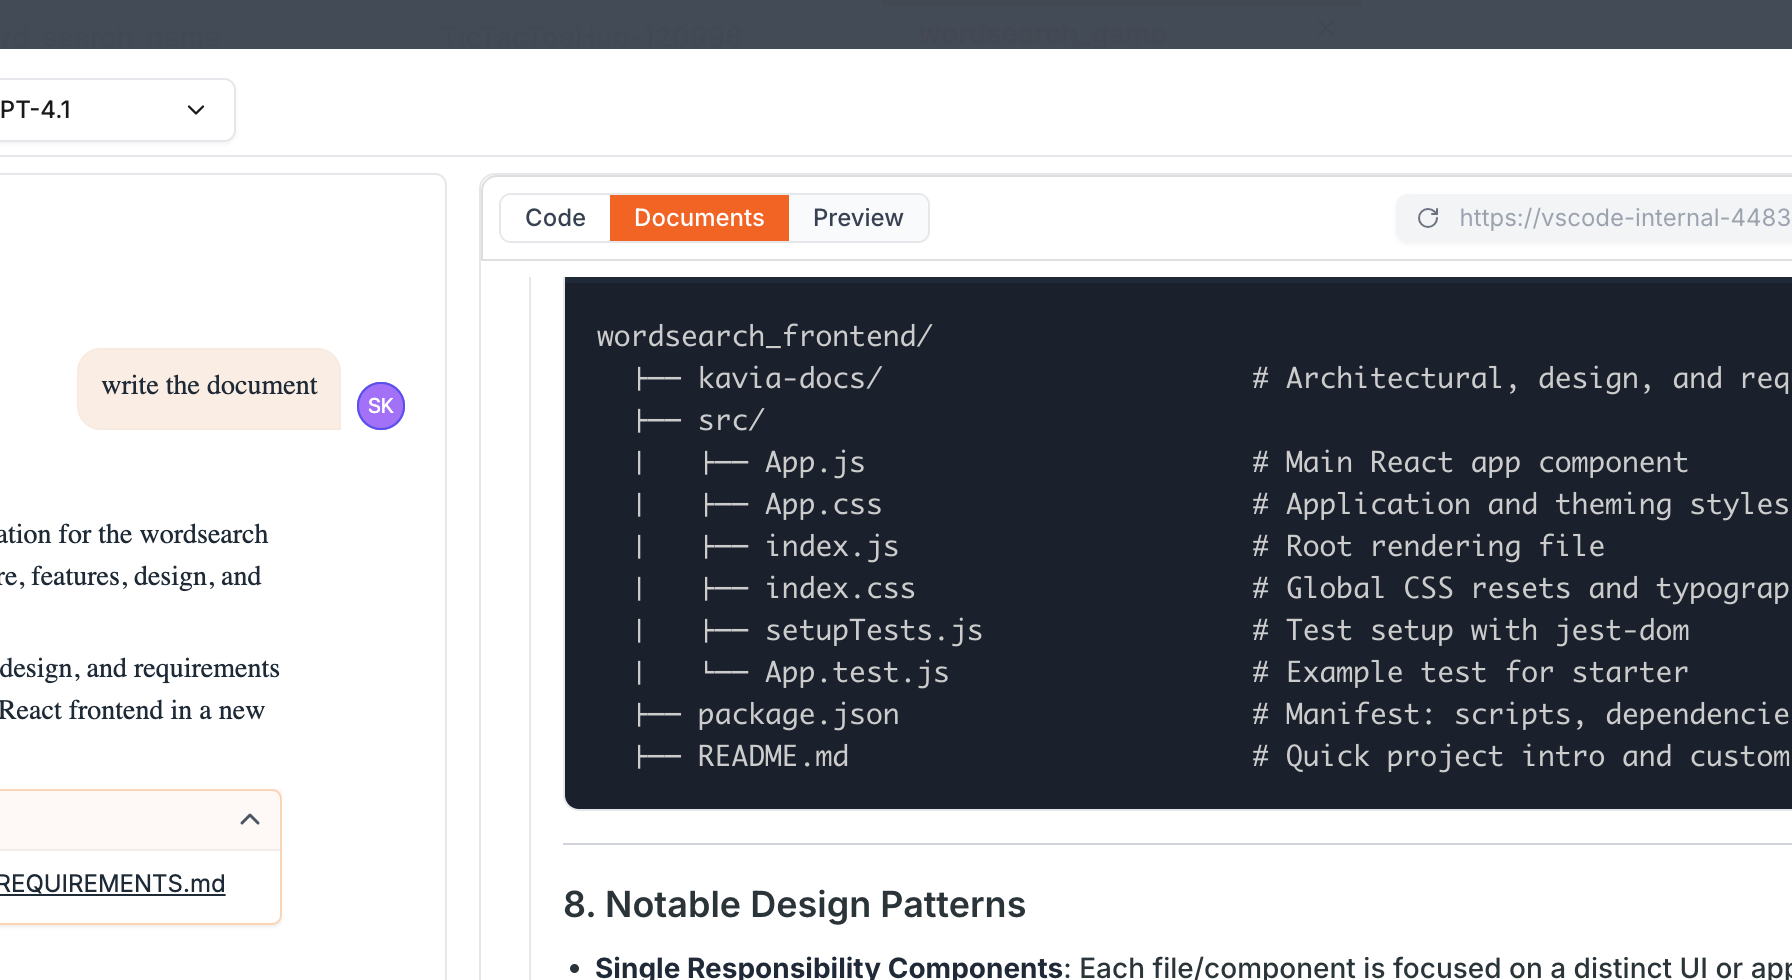
Step 5: Navigate the Tabs
On the right side, there are three tabs: Code, Documents, and Preview. The Code tab, shown below, is where you access your code.
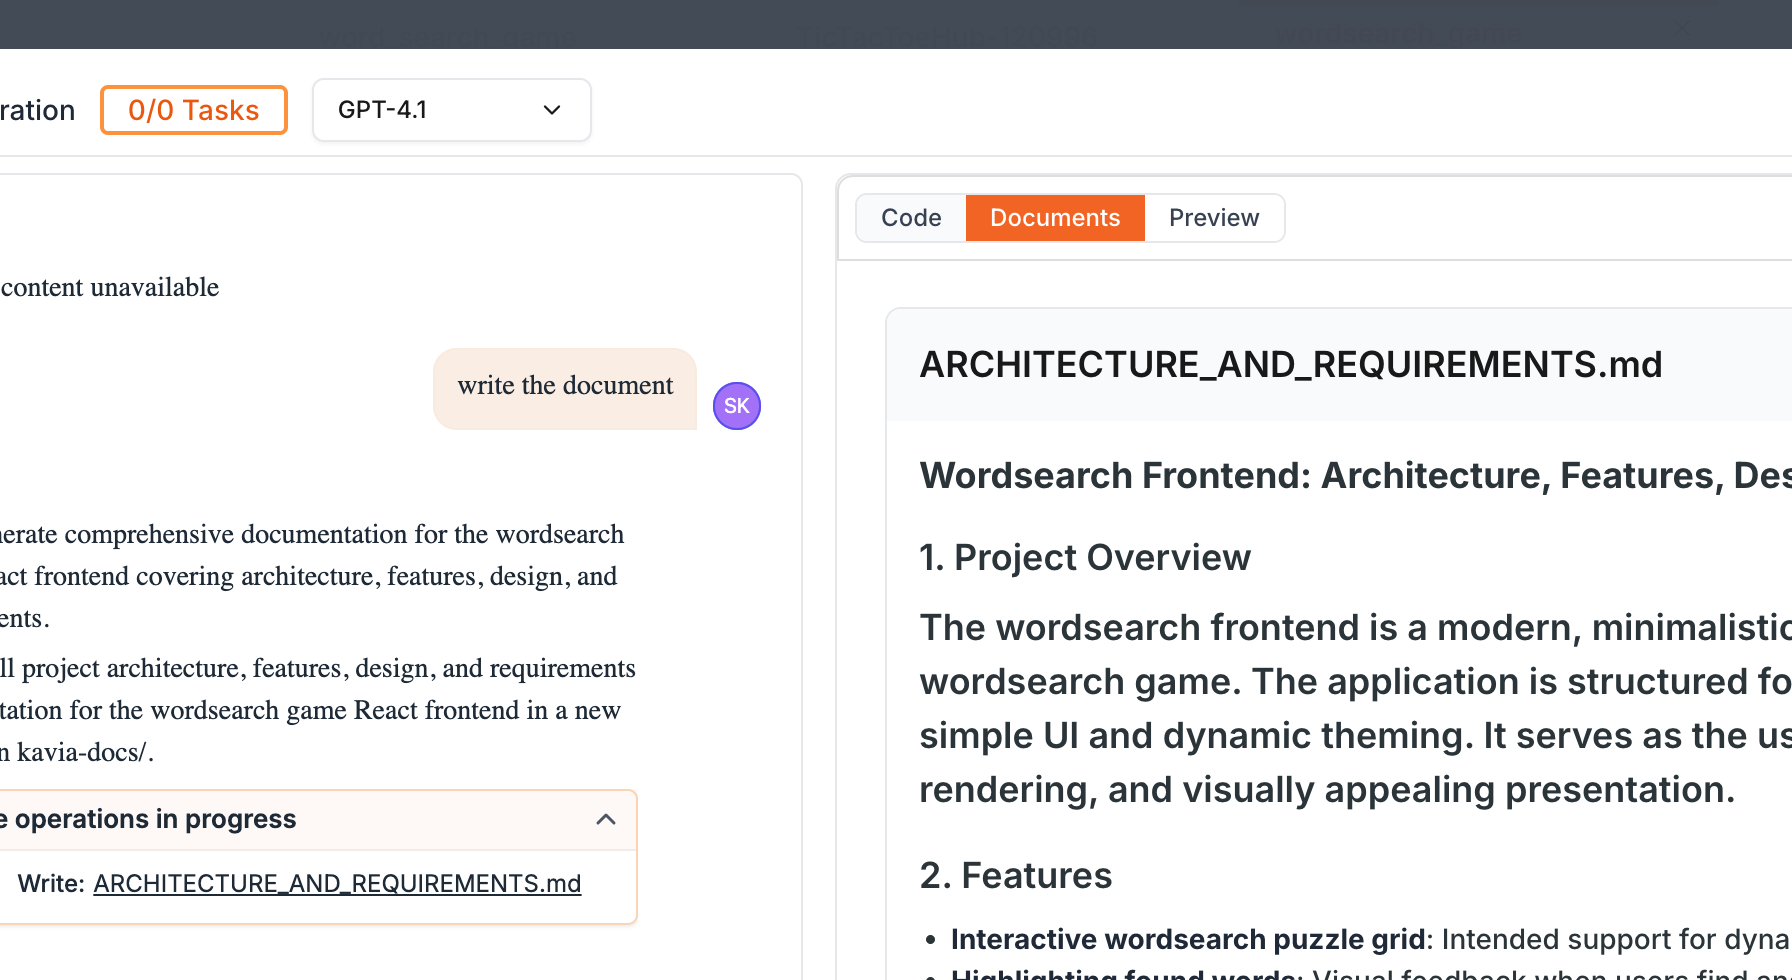
The Documents tab, shown below, assists with documentation.
The Preview tab, shown below, allows you to preview your app.
6
Step 6: Use the Preview Tab
In the Preview tab, you can open the preview in a new tab, refresh the container, or copy the URL by clicking the corresponding buttons.
7
Step 7: Fix Your Code
If your code needs fixing, tell the chat agent. It'll fix any issues for you.
8
Step 8: Terminate the Session
When you're done, terminate the session by clicking the X button.

9
Step 9: Name and Choose Session Options
Name your session in the provided box.
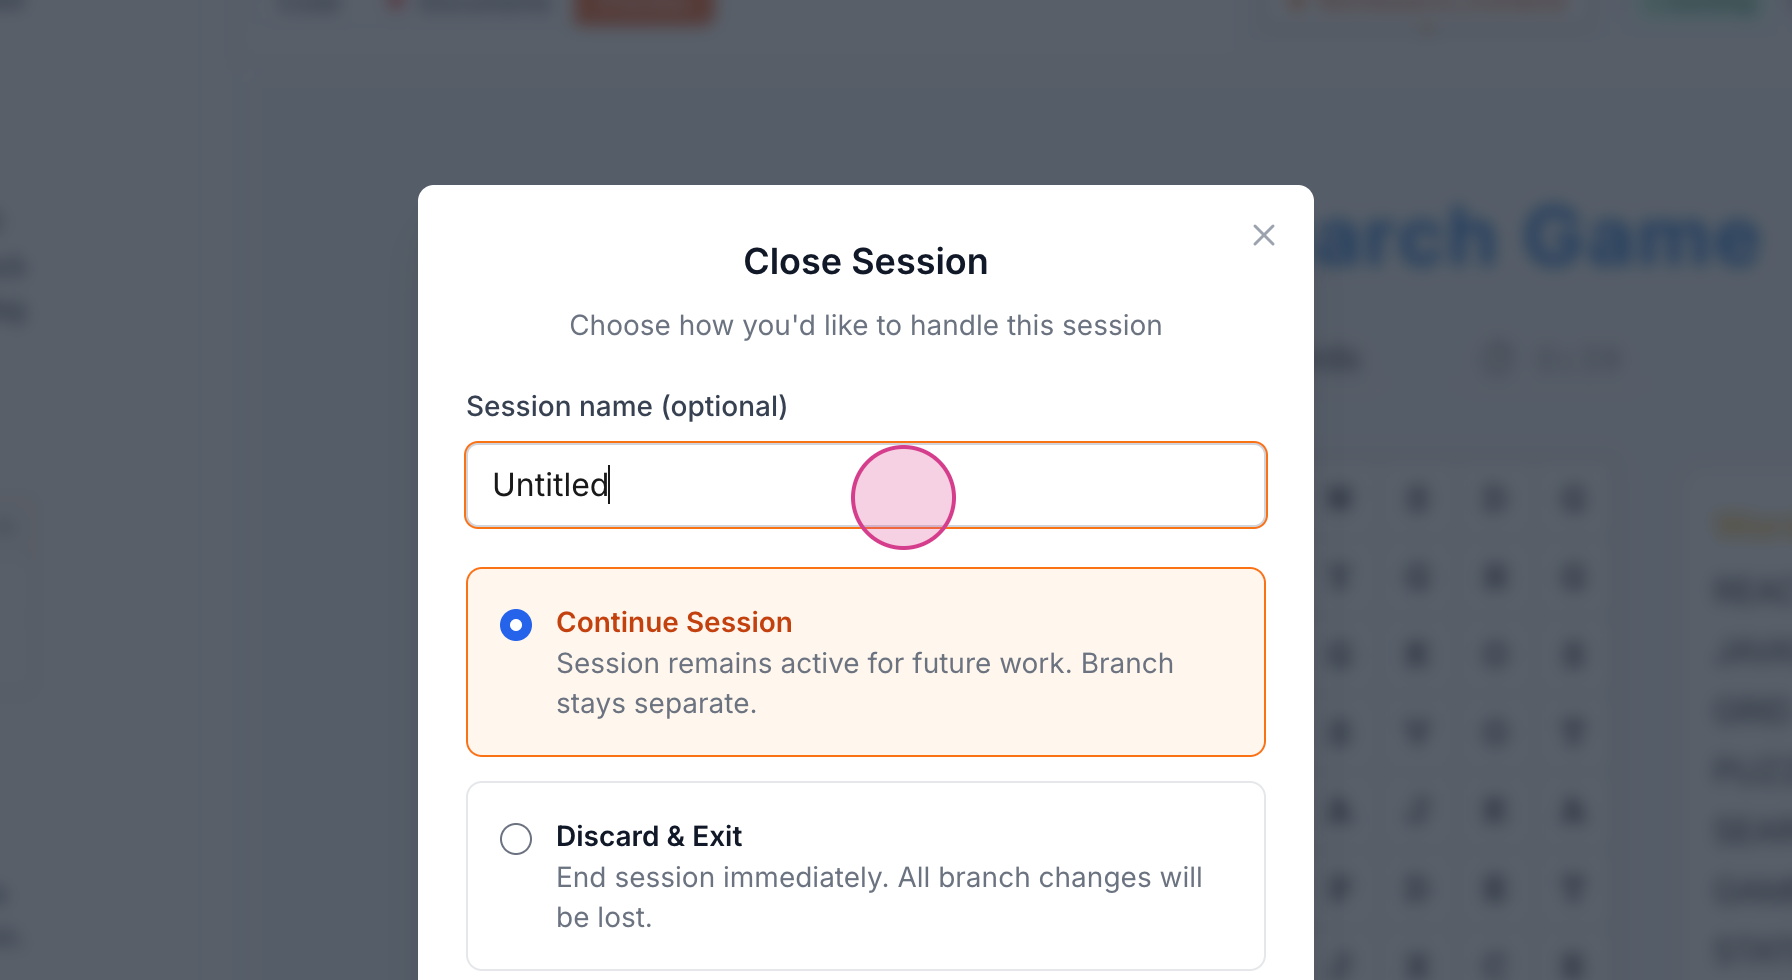
You have three options: continue the session, discard the session and exit, or save the session and exit. Continuing the session allows you to resume it anytime. Discarding the session means your work will not be saved. Saving and exiting stops the session but saves your work.
Previous
Figma to KaviaNext
Code Editor