Auto configure
Create a New Project
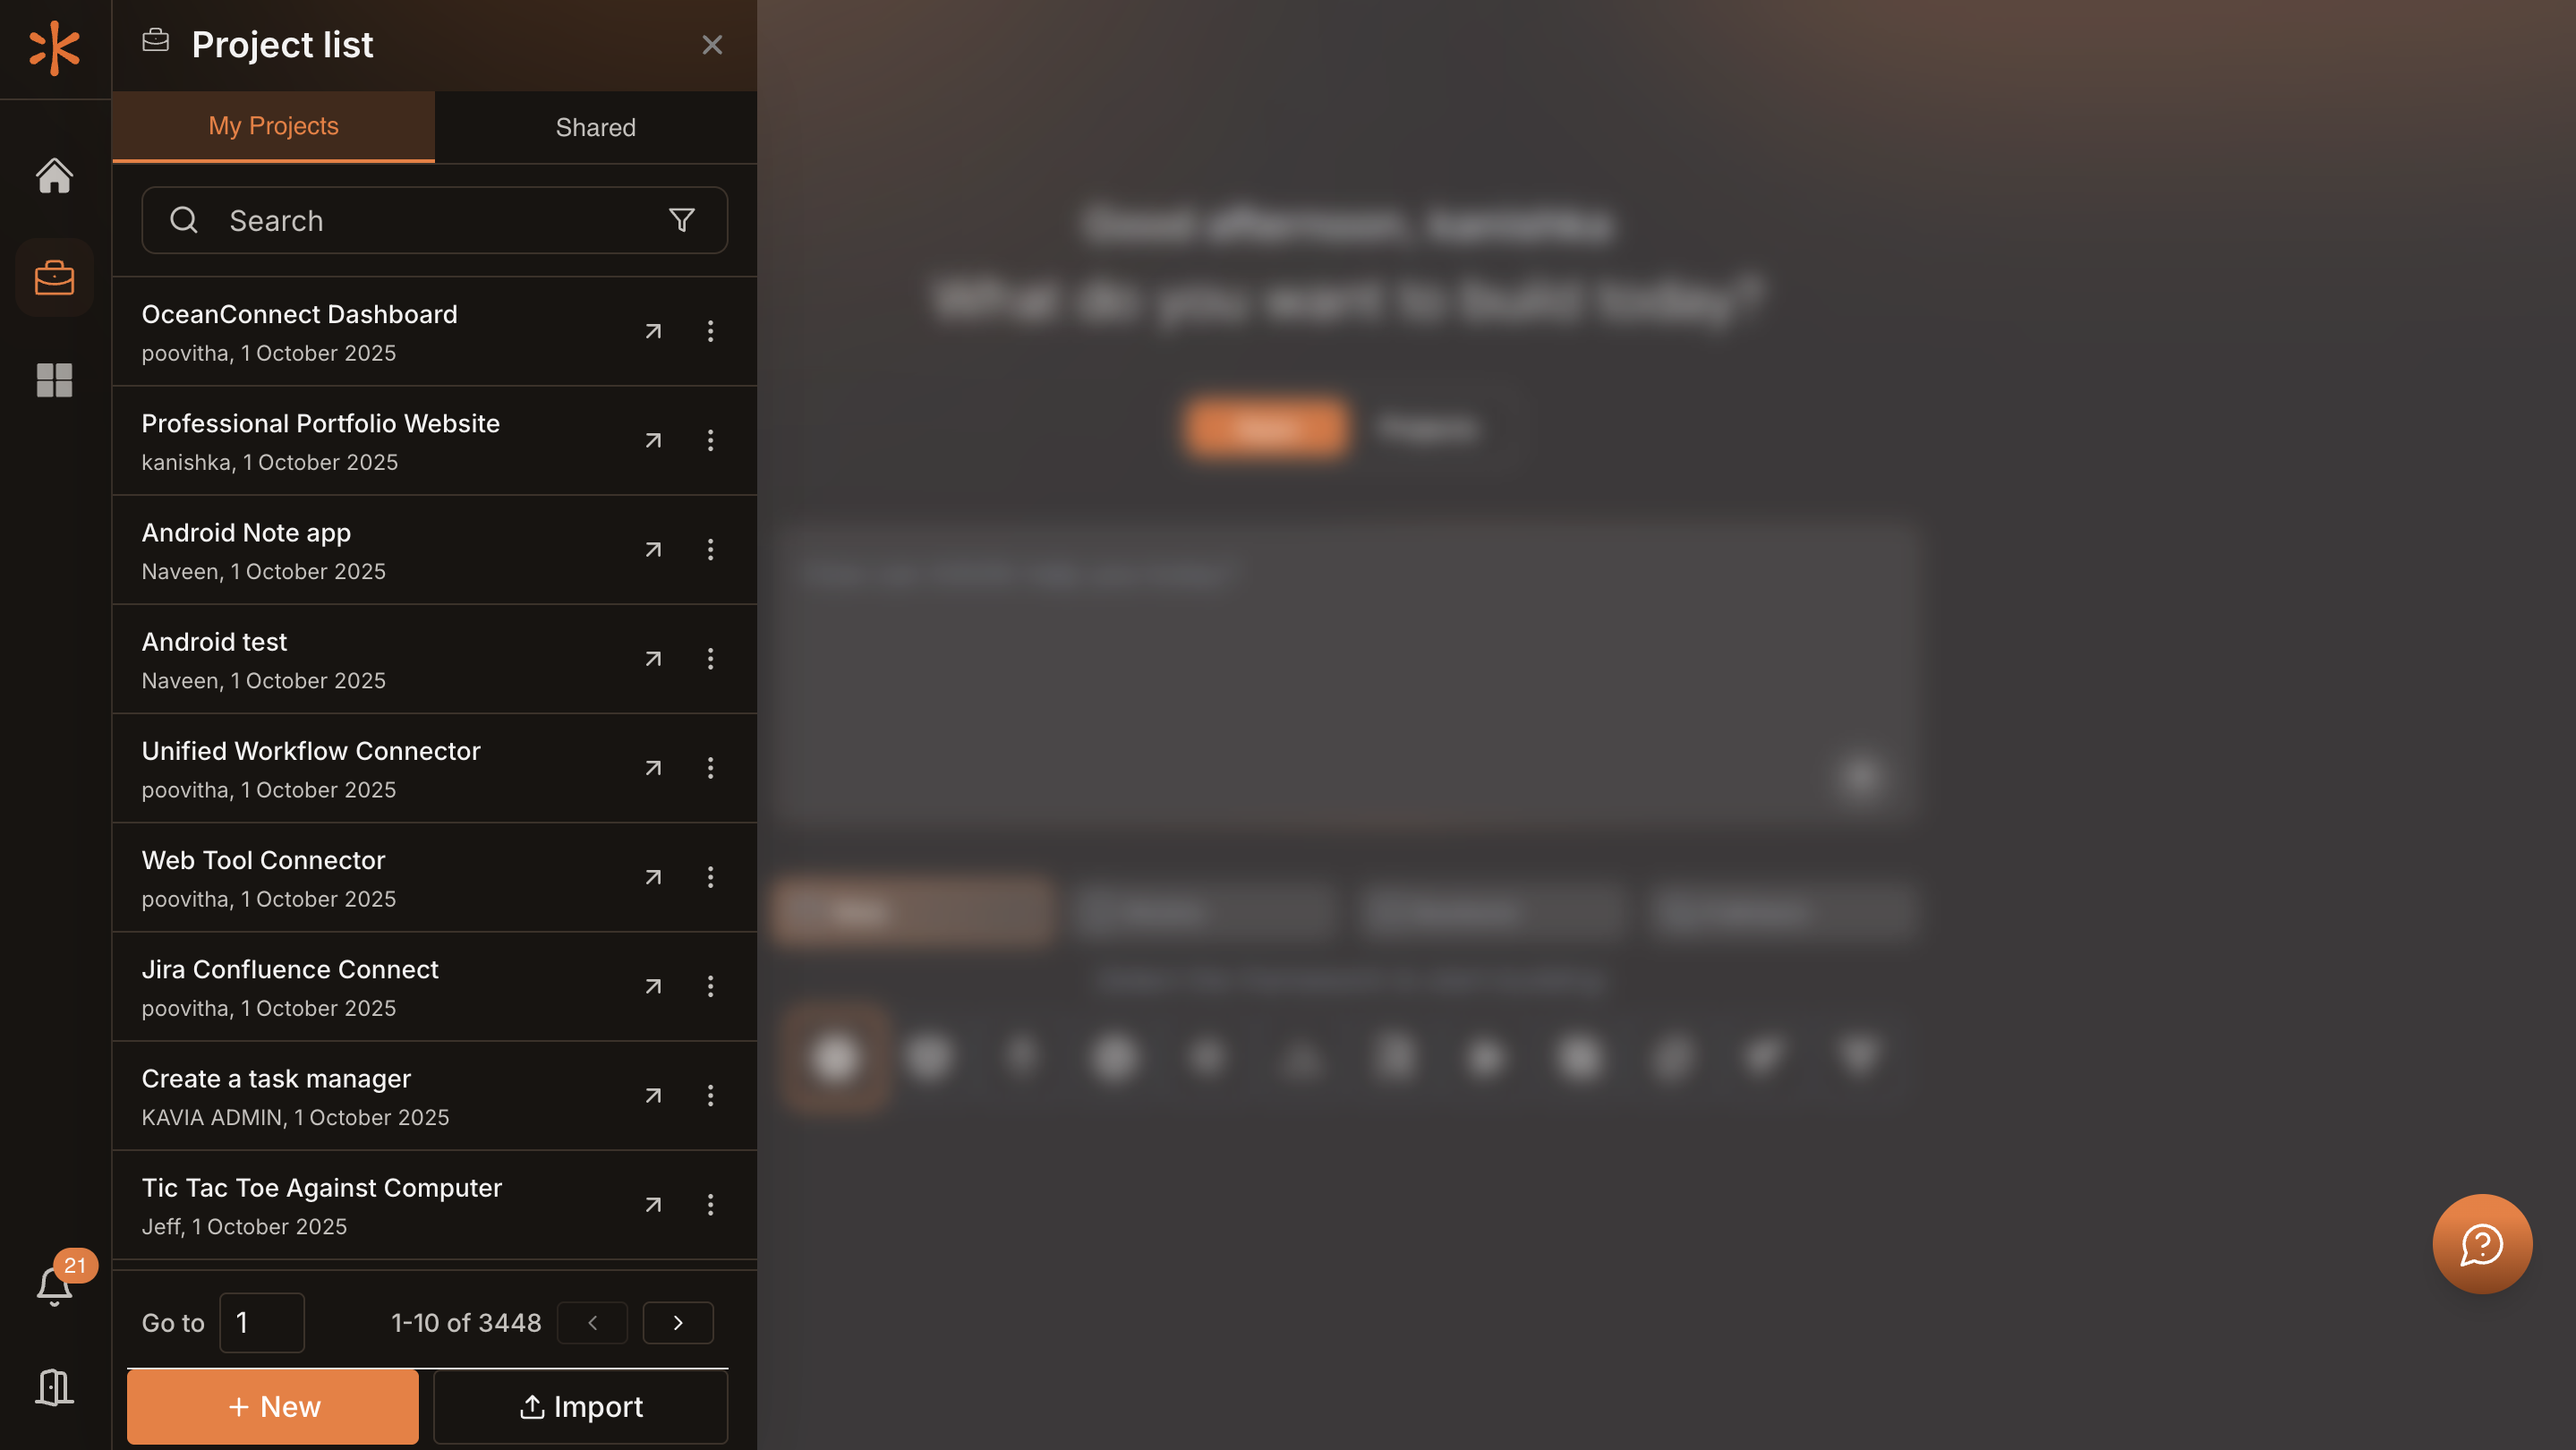
Click the Project List icon and select + New. Fill project details, choose the LLM model, and setup method. Click Continue to proceed.
Choose Assisted Setup
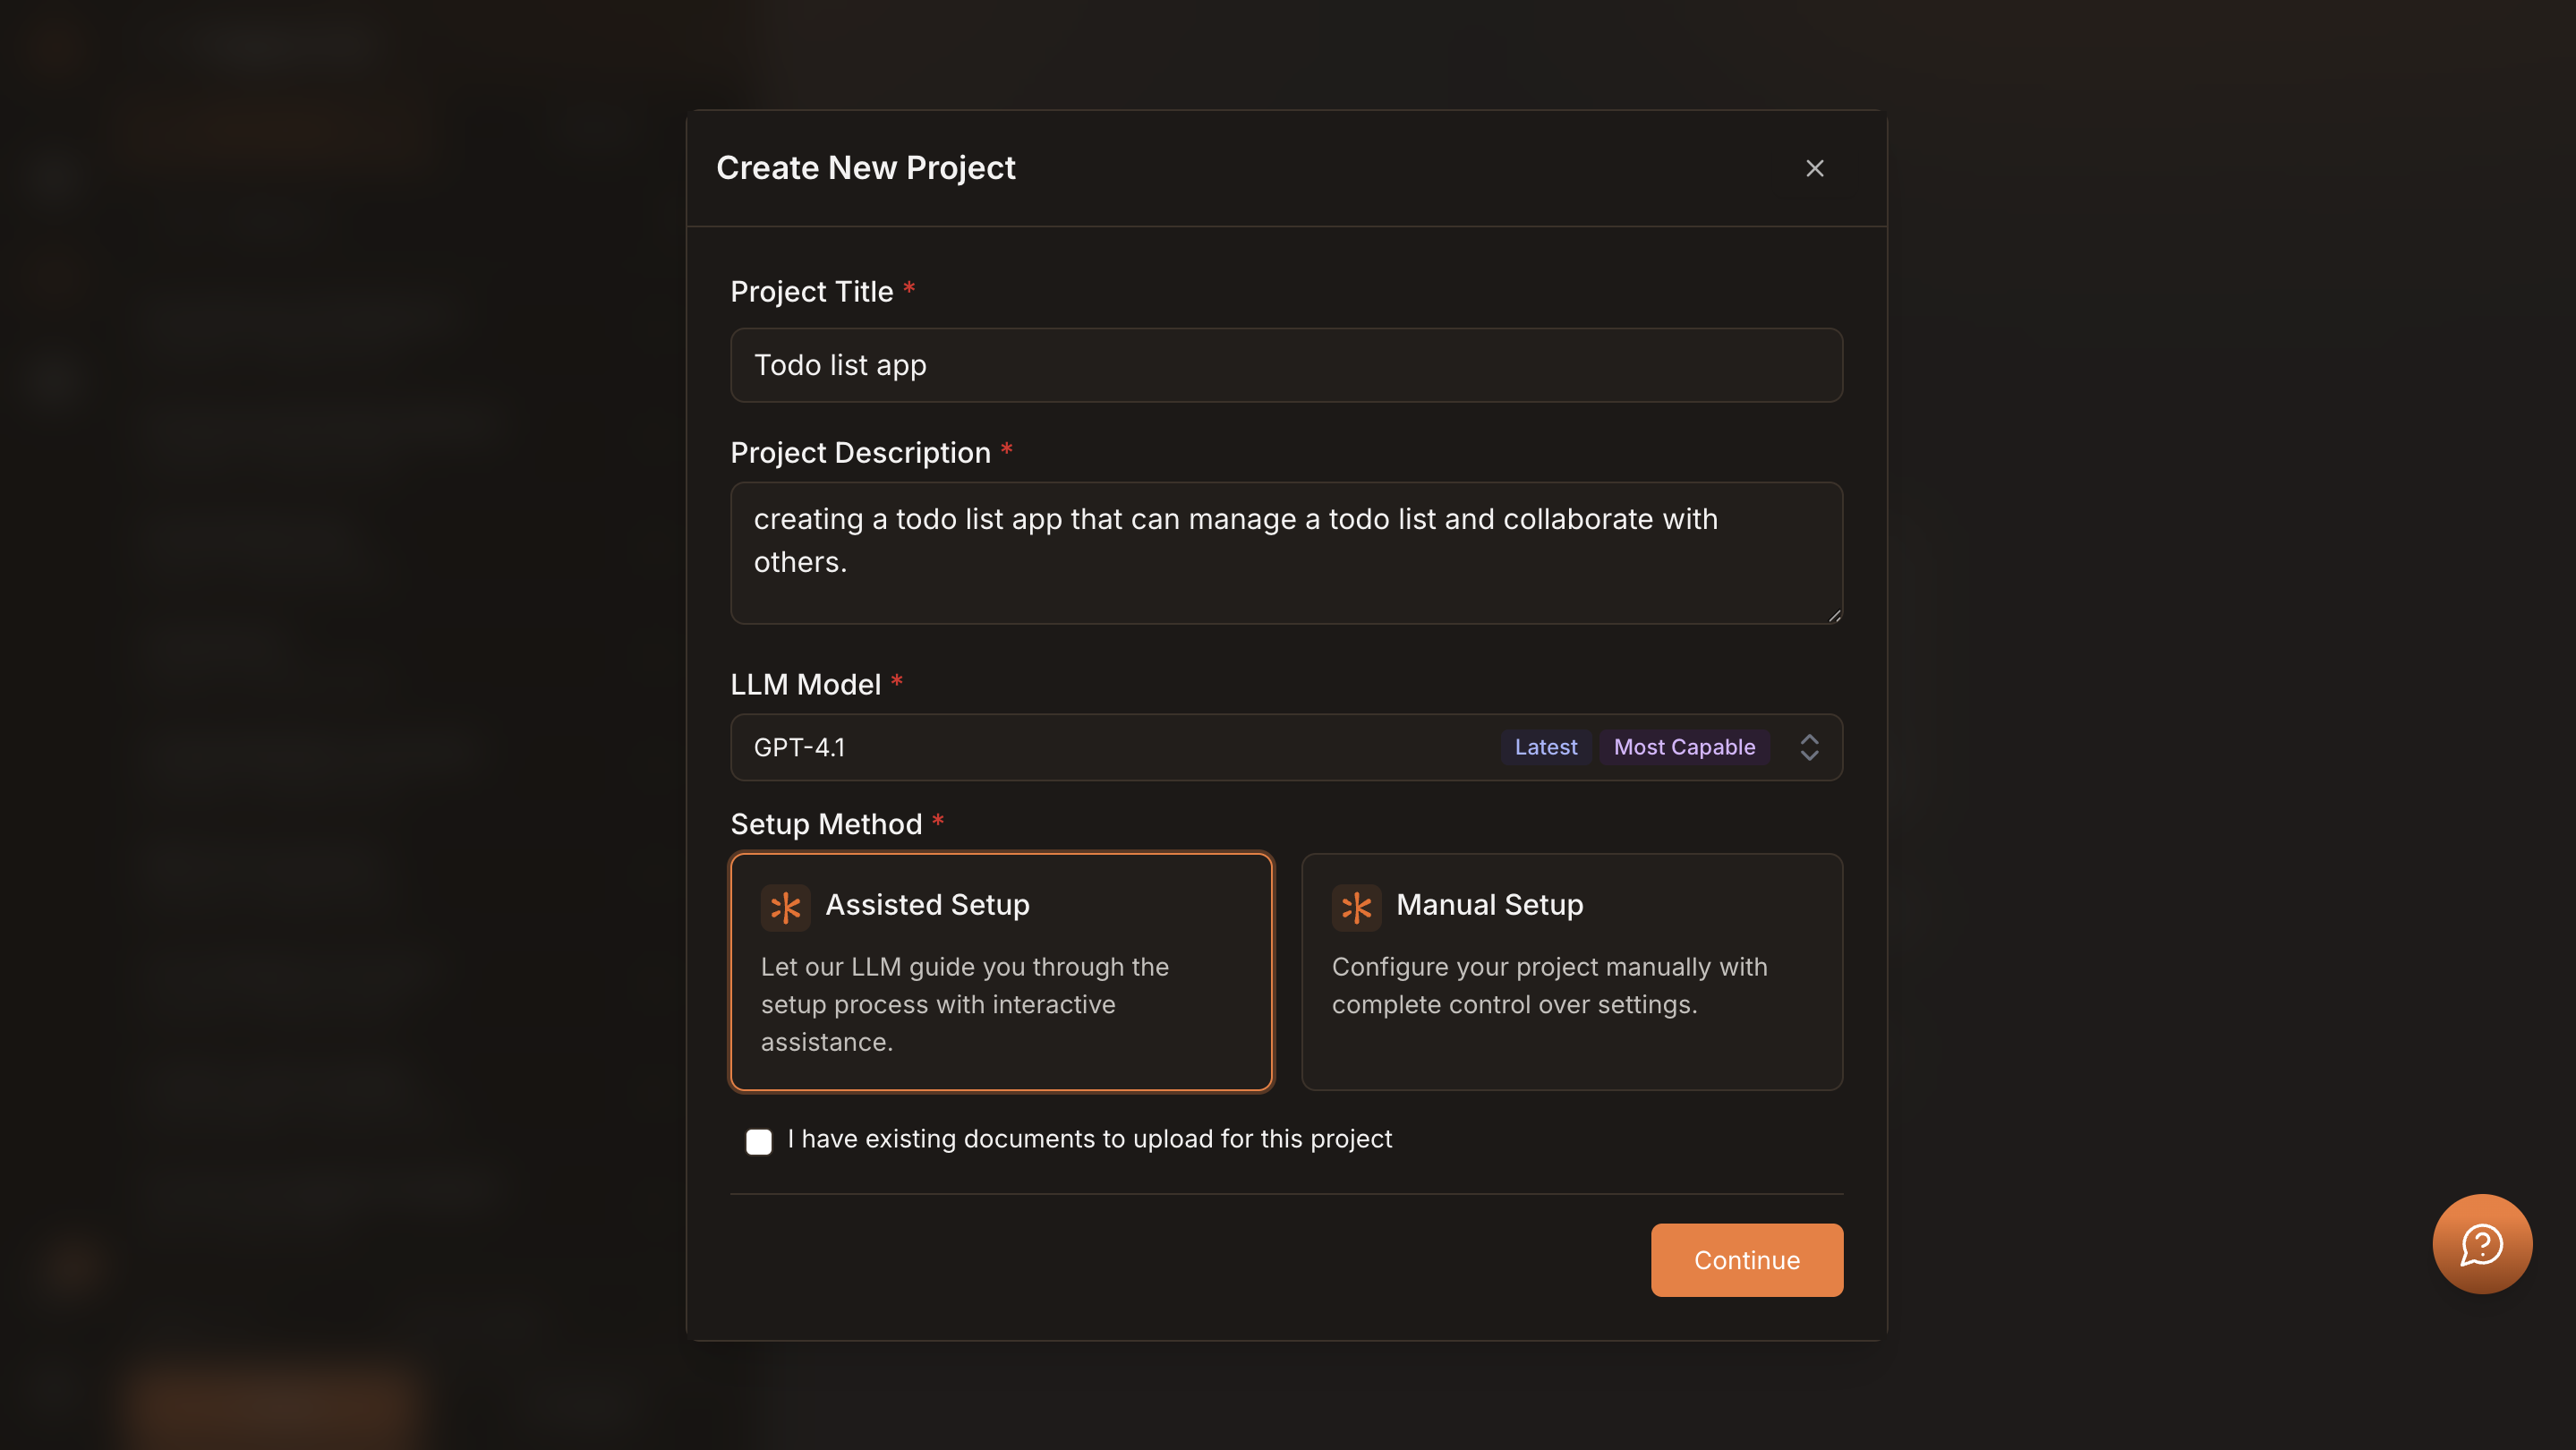
Select Assisted Setup. Leave the I have existing documents… box unchecked if you don’t have files. Continue to guided setup.
Guided Setup & Tour
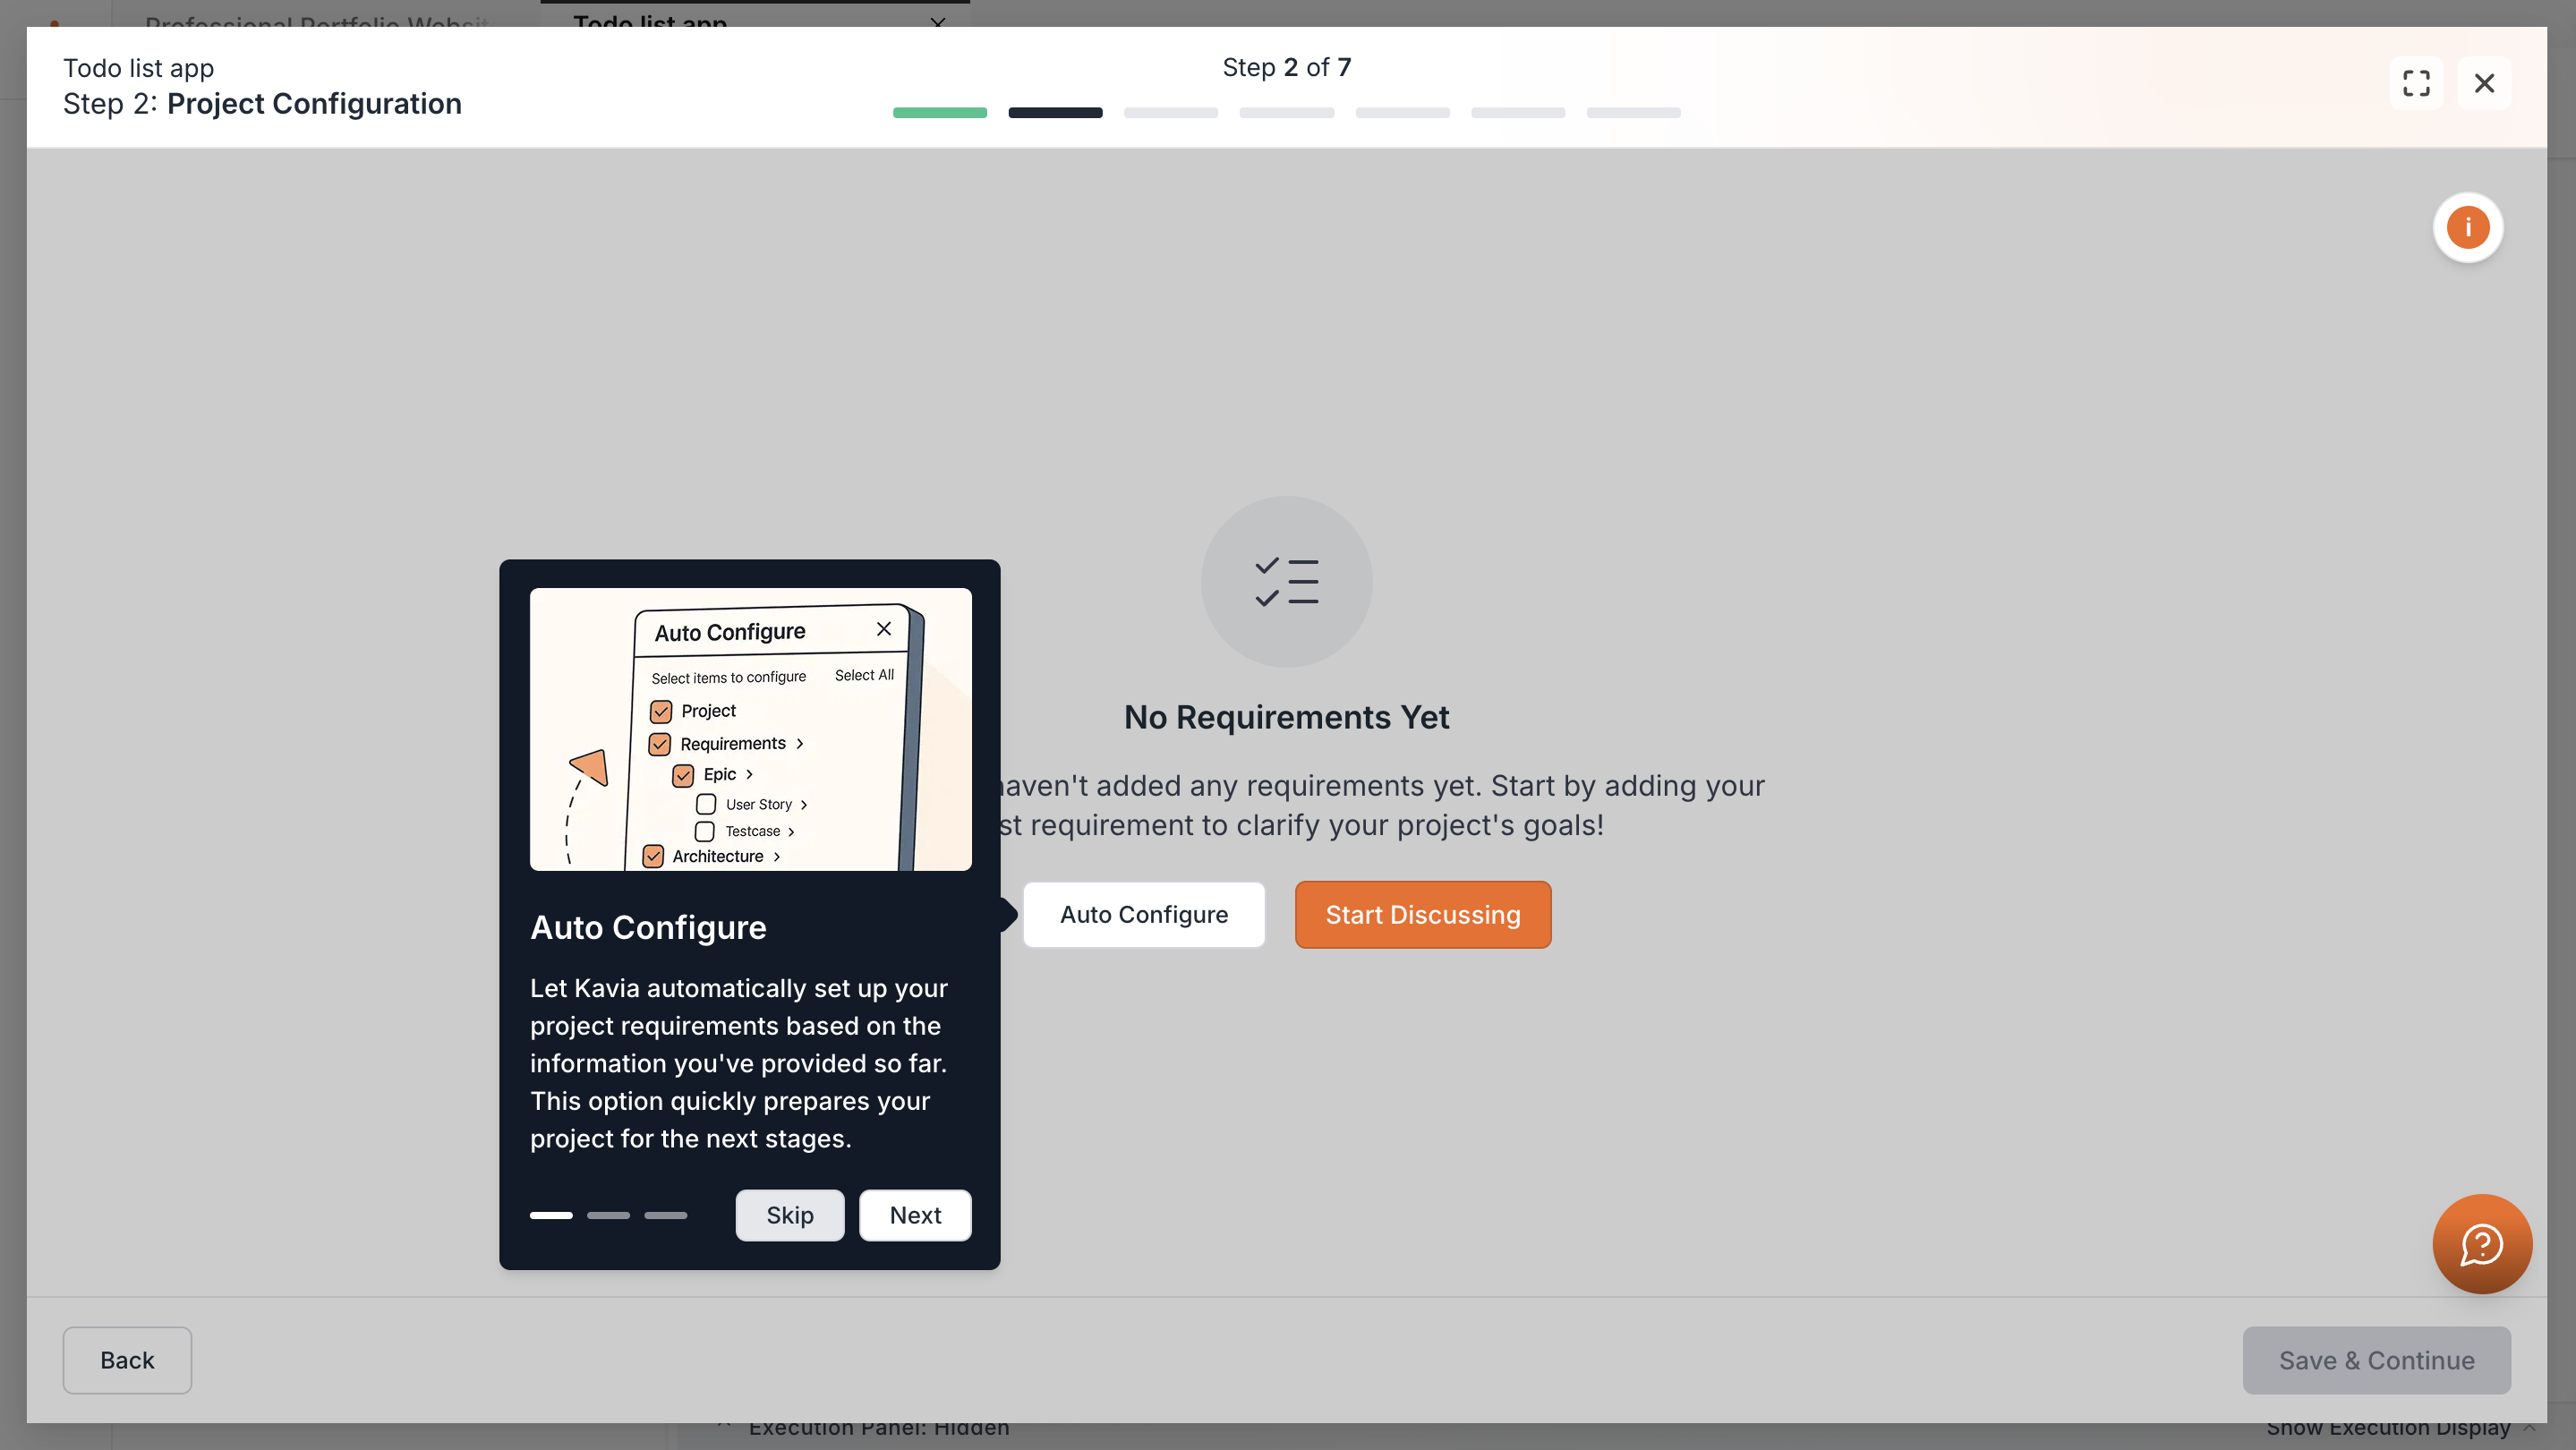
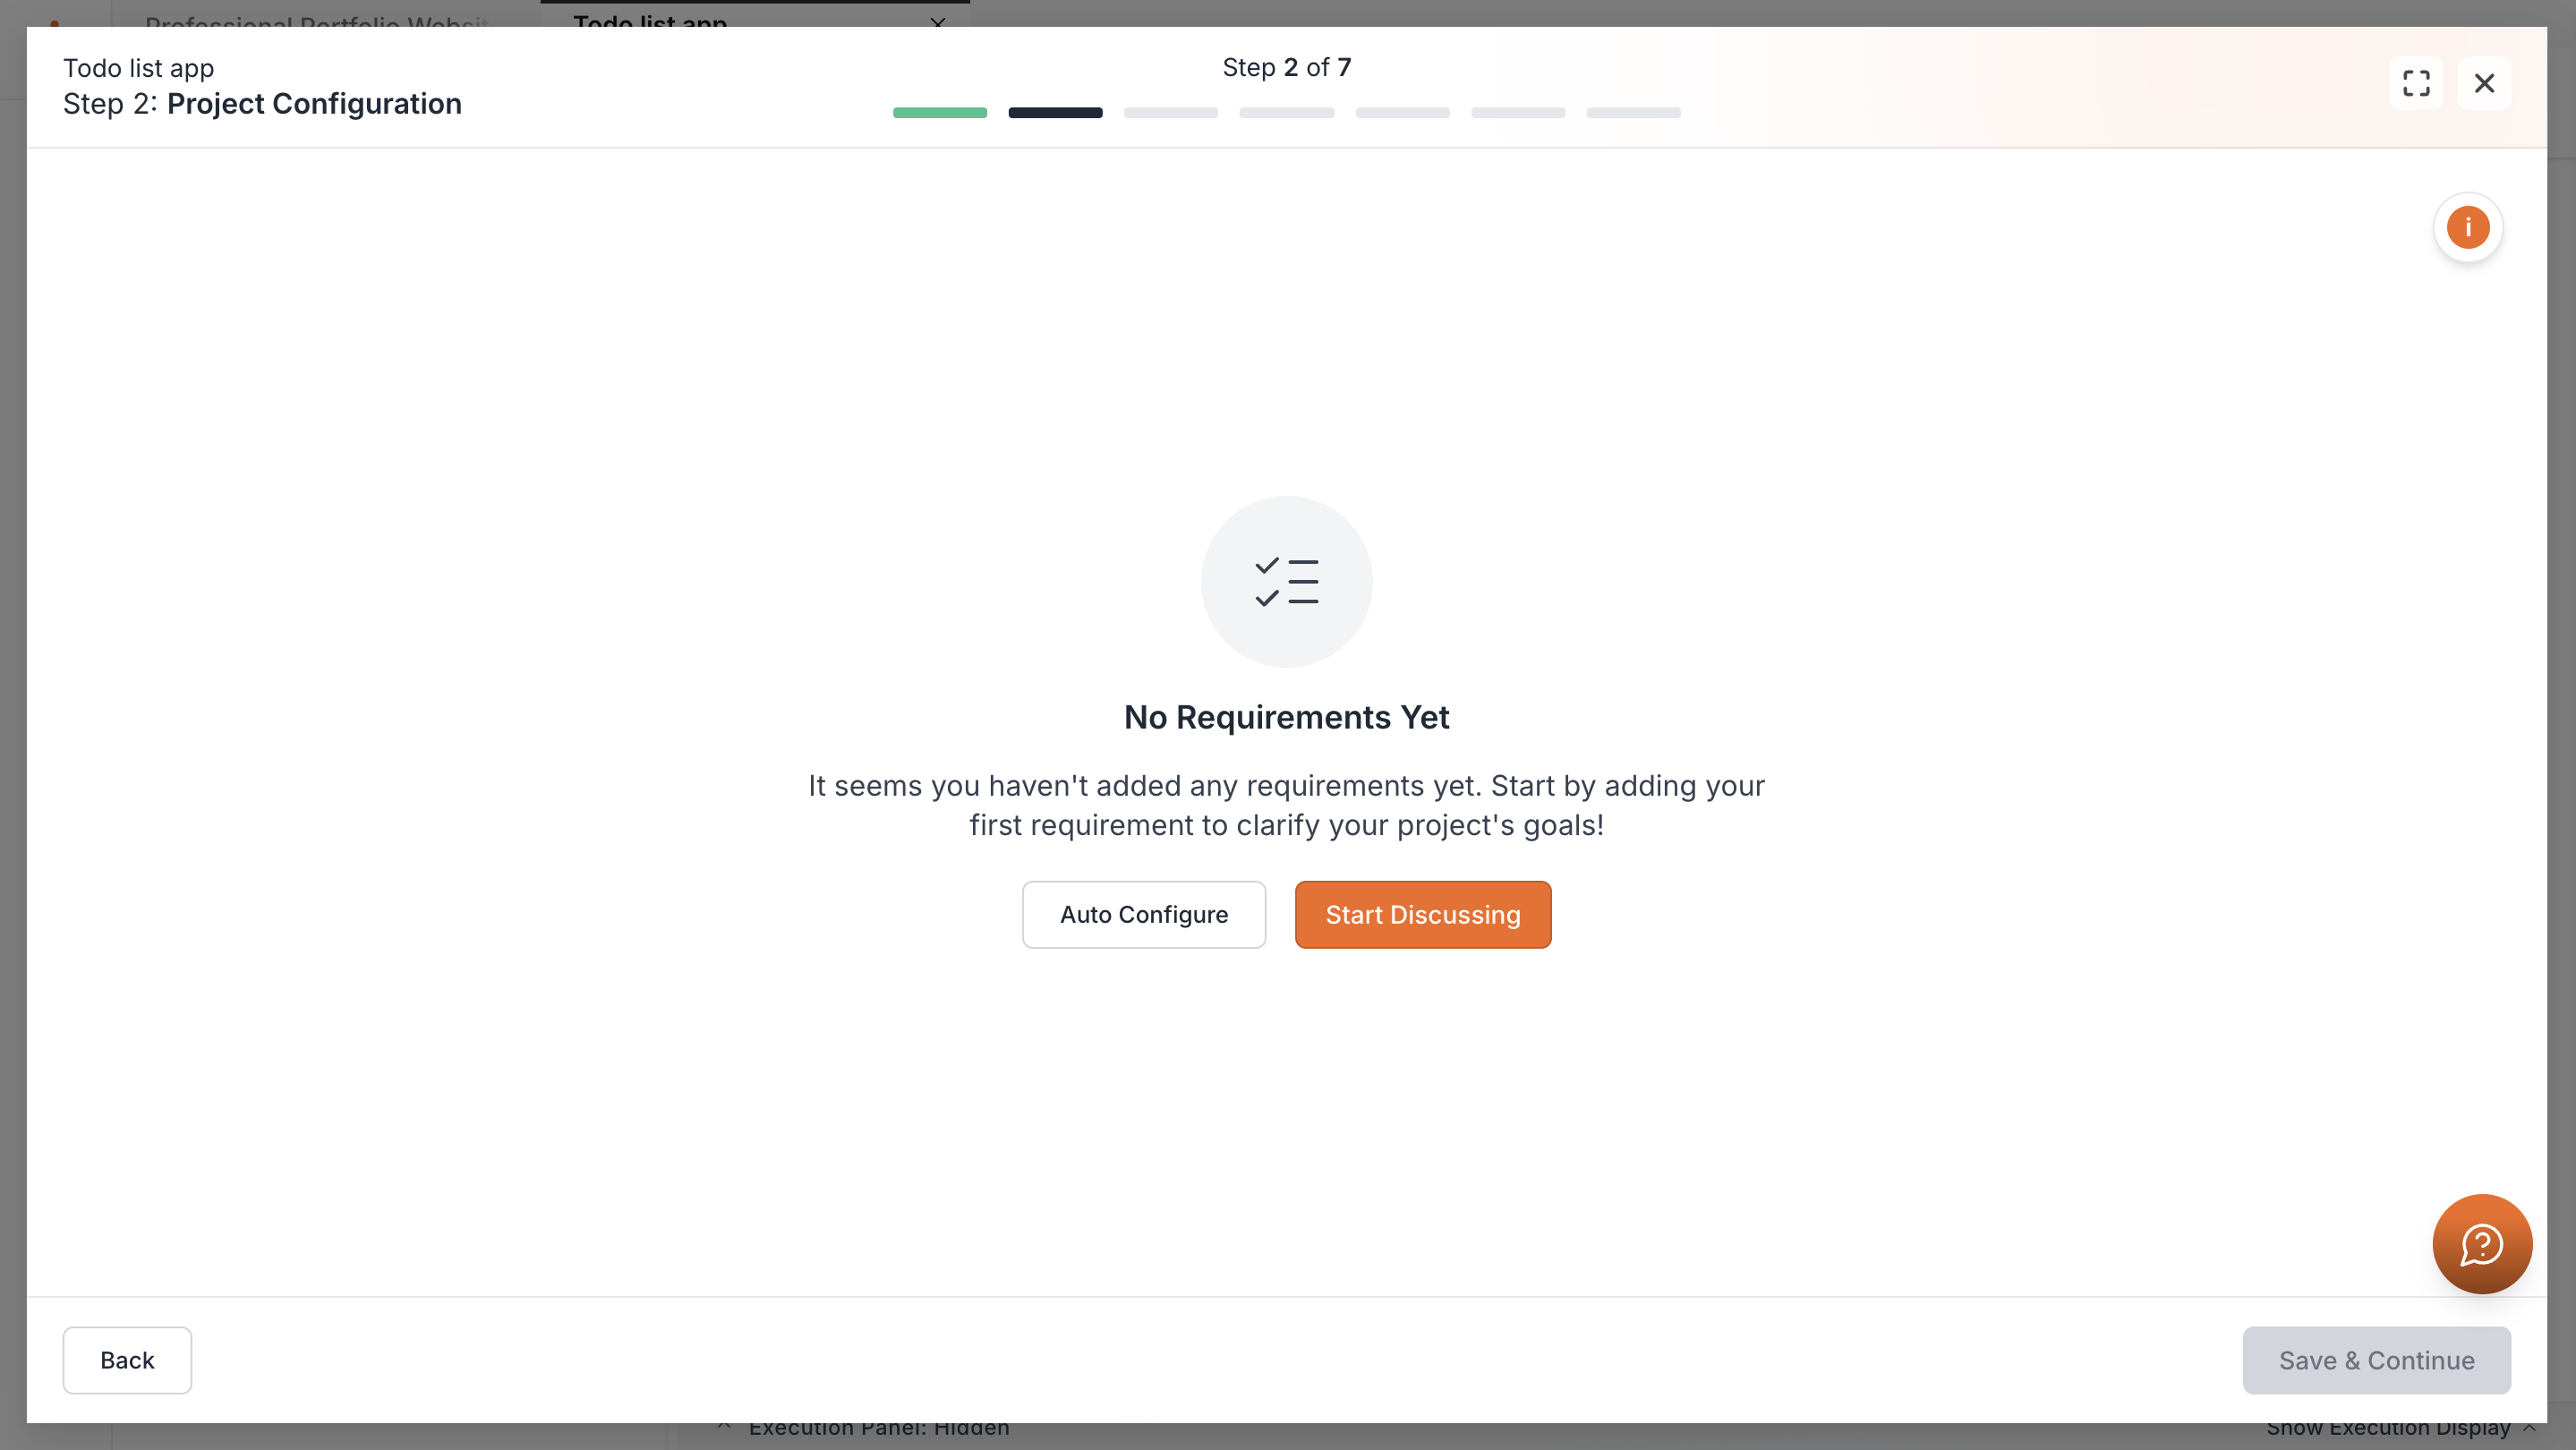
Kavia opens guided setup and offers a short tour. You can Skip or Go through the tour. After this, choose Auto Configure or Start Discussing.
Start Discussing
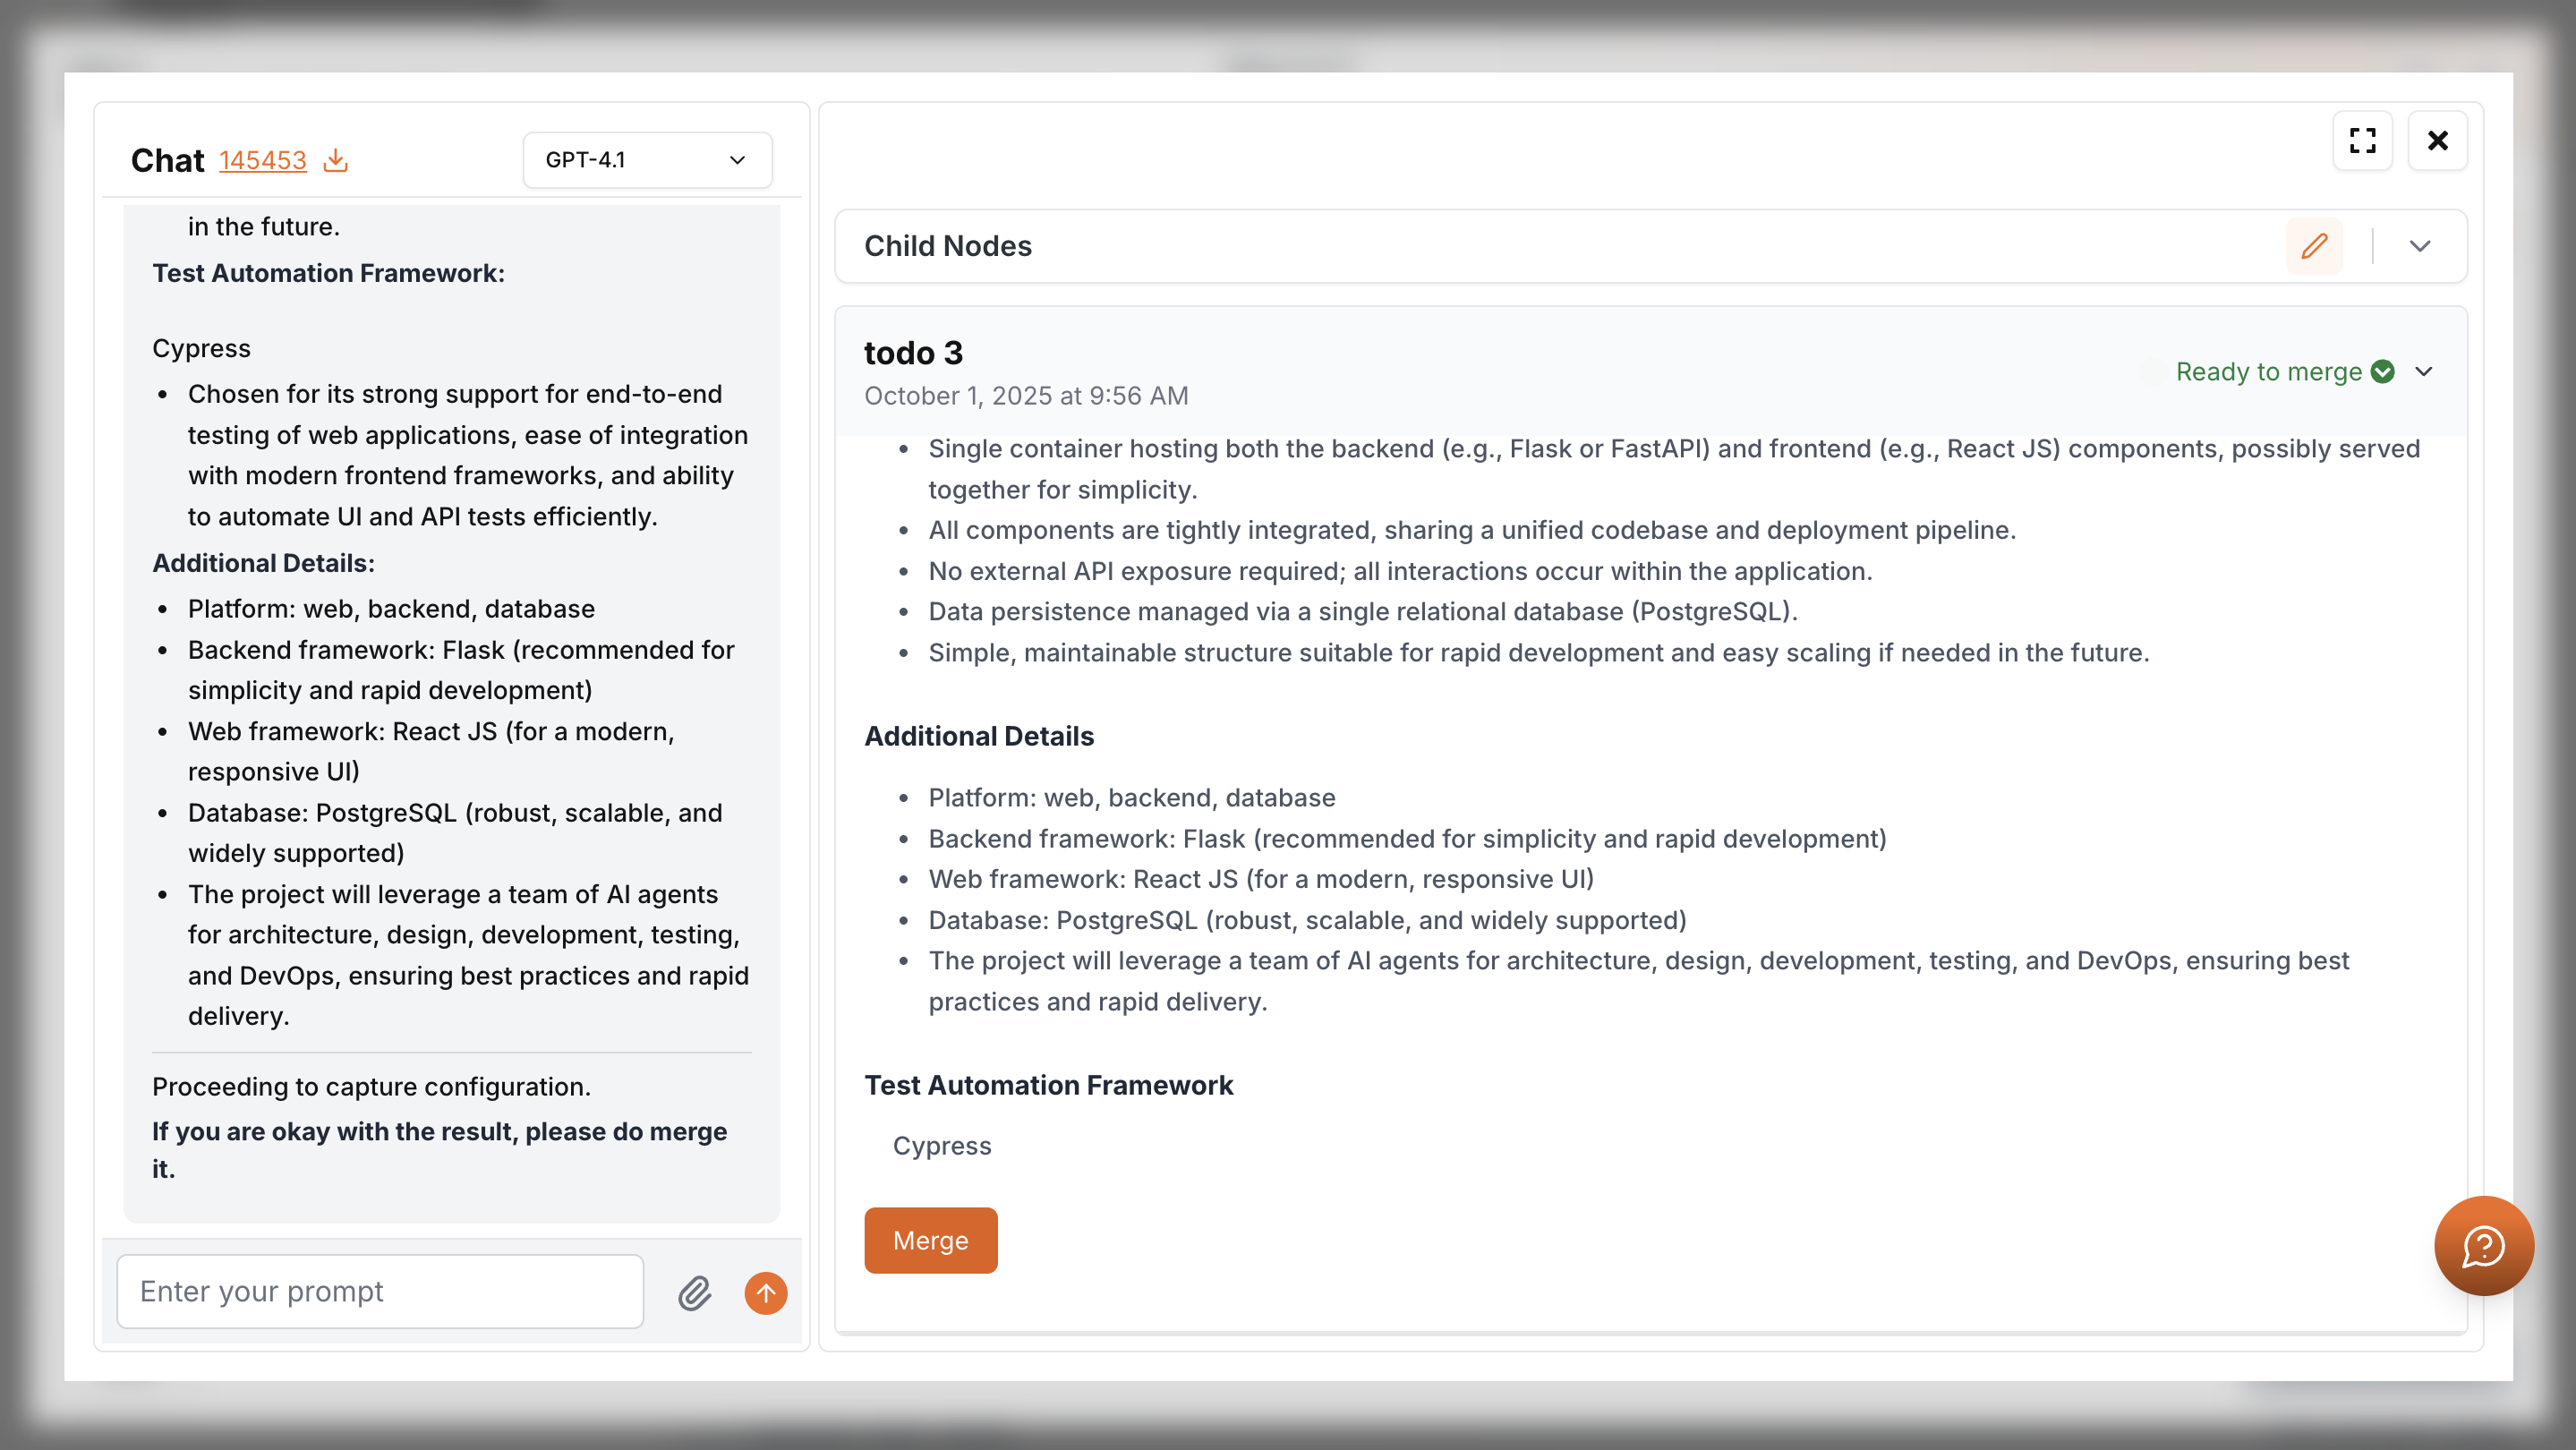
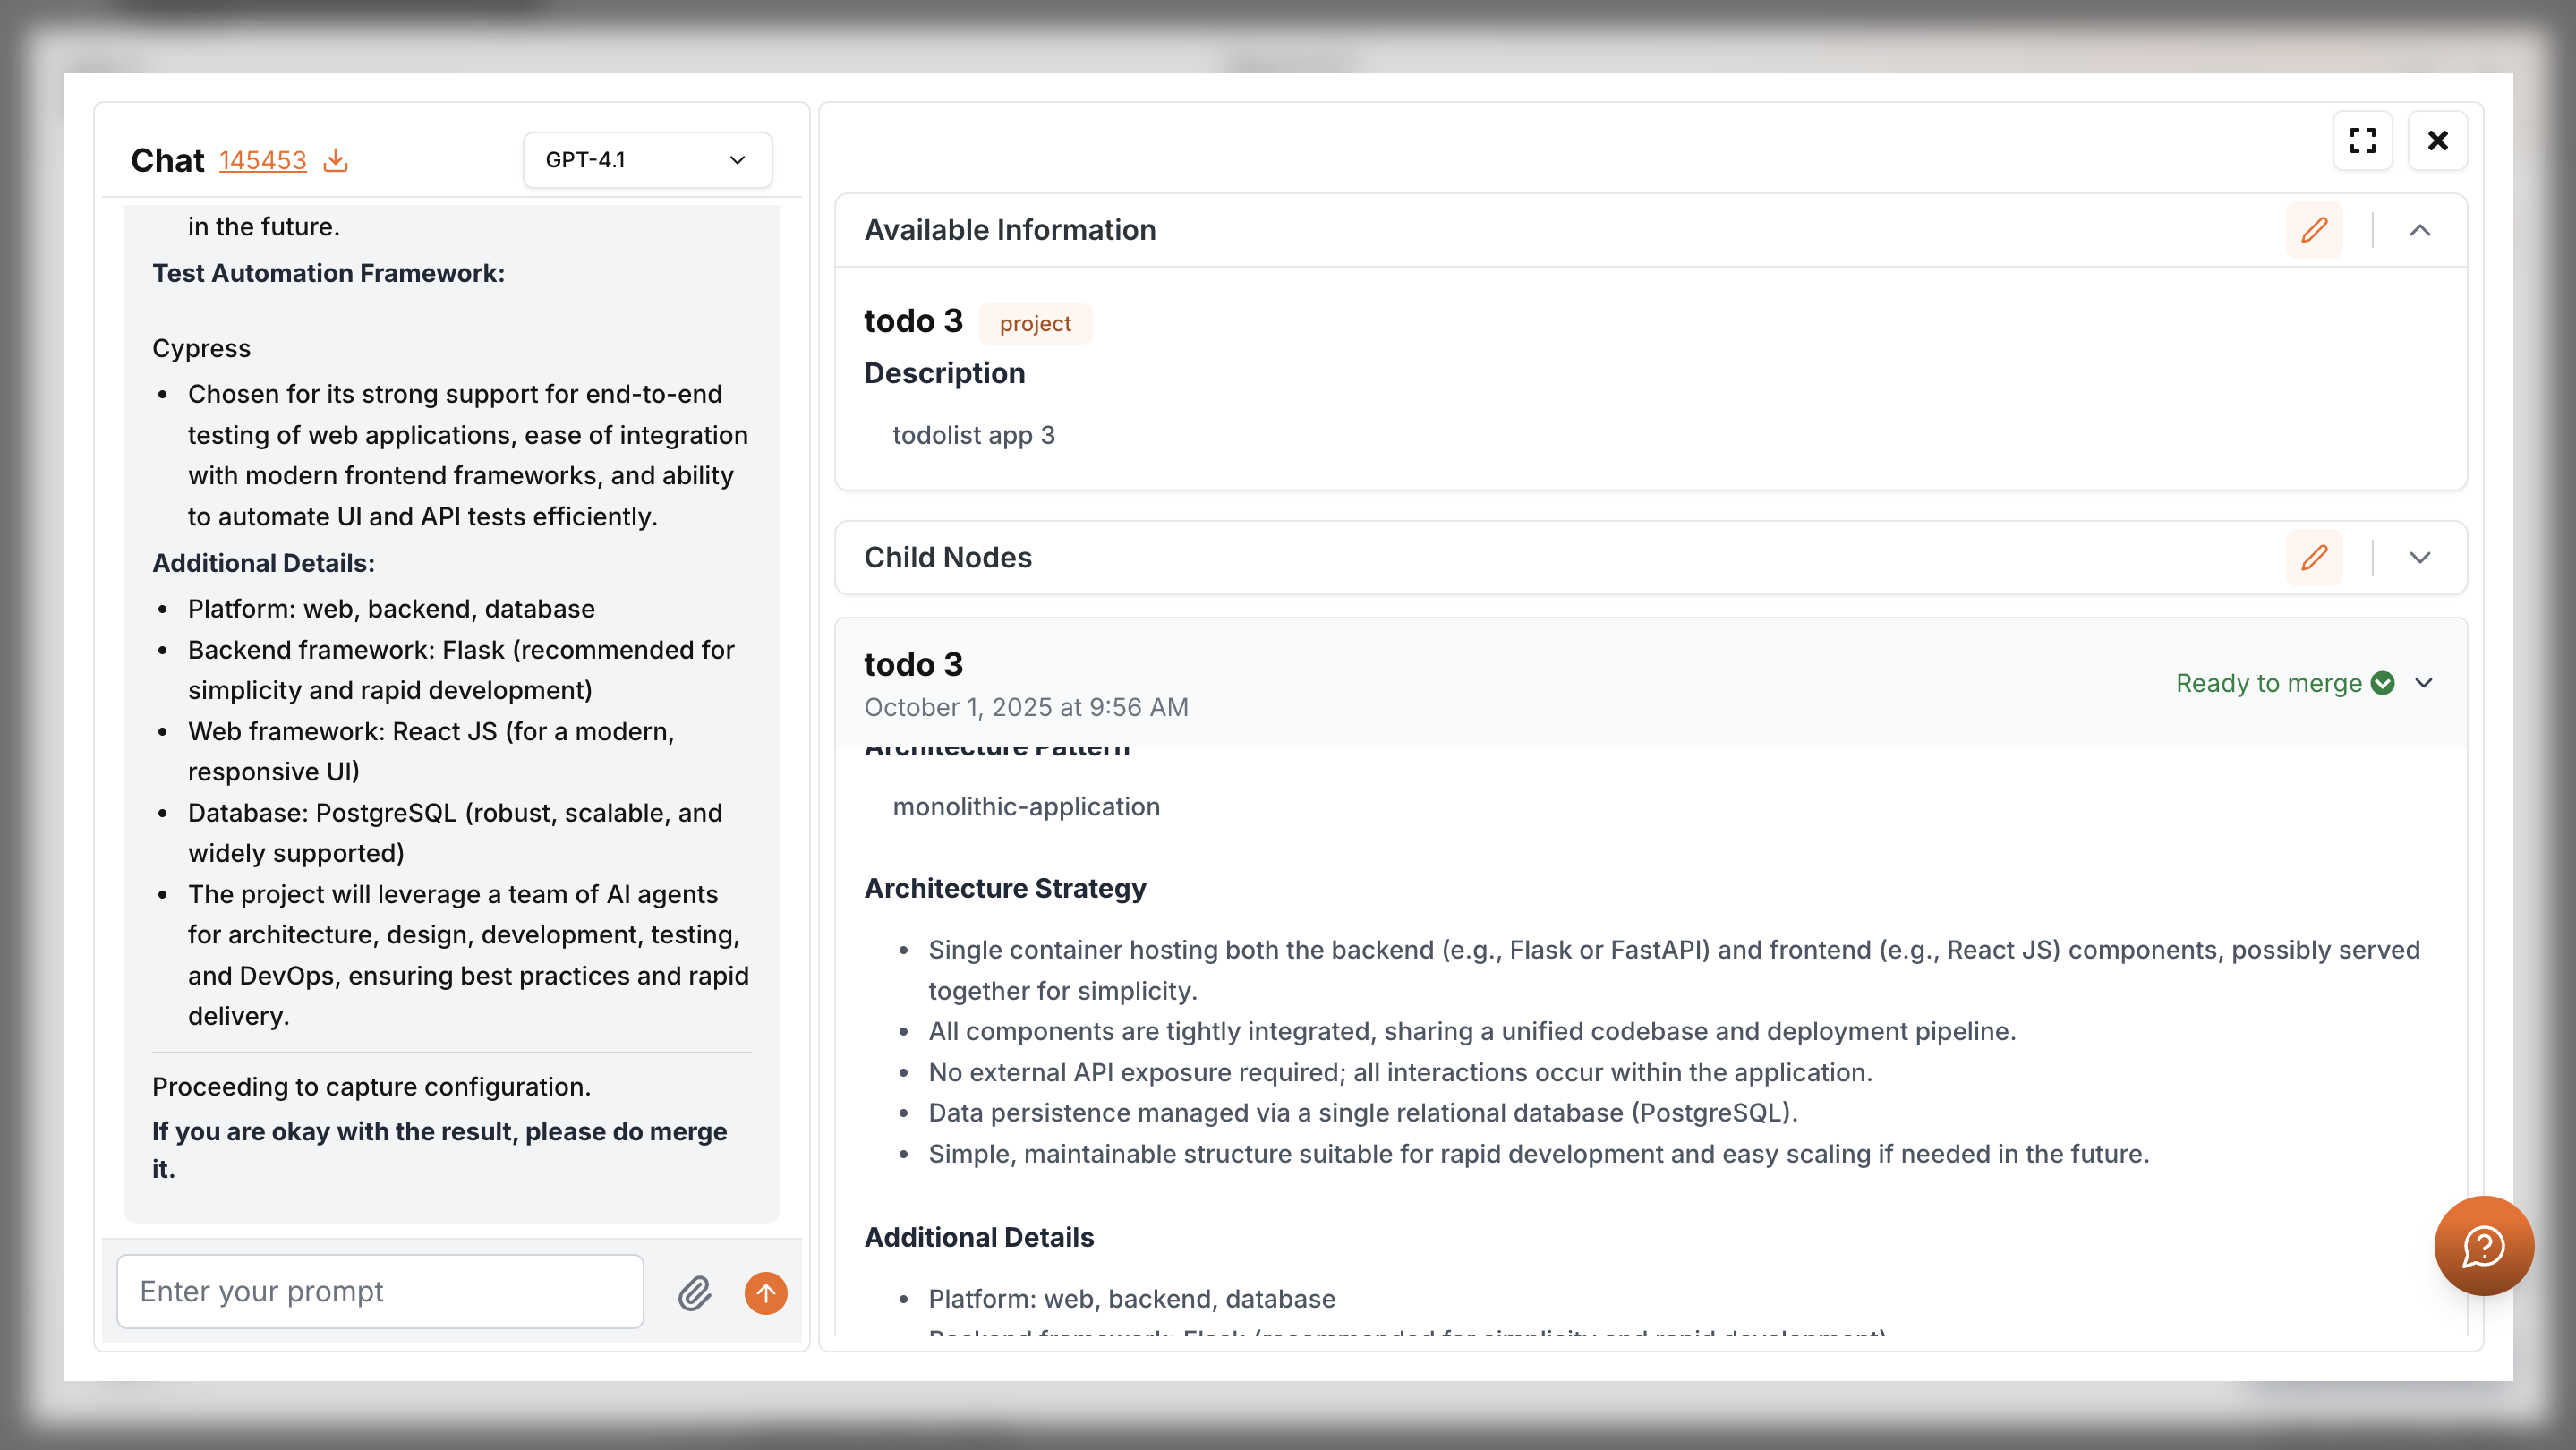
Click on “Start Discussing” to enter advanced chat to refine description, objectives, scope, and architecture. Use the chat to do the changes needed. When ready, click Merge to apply.
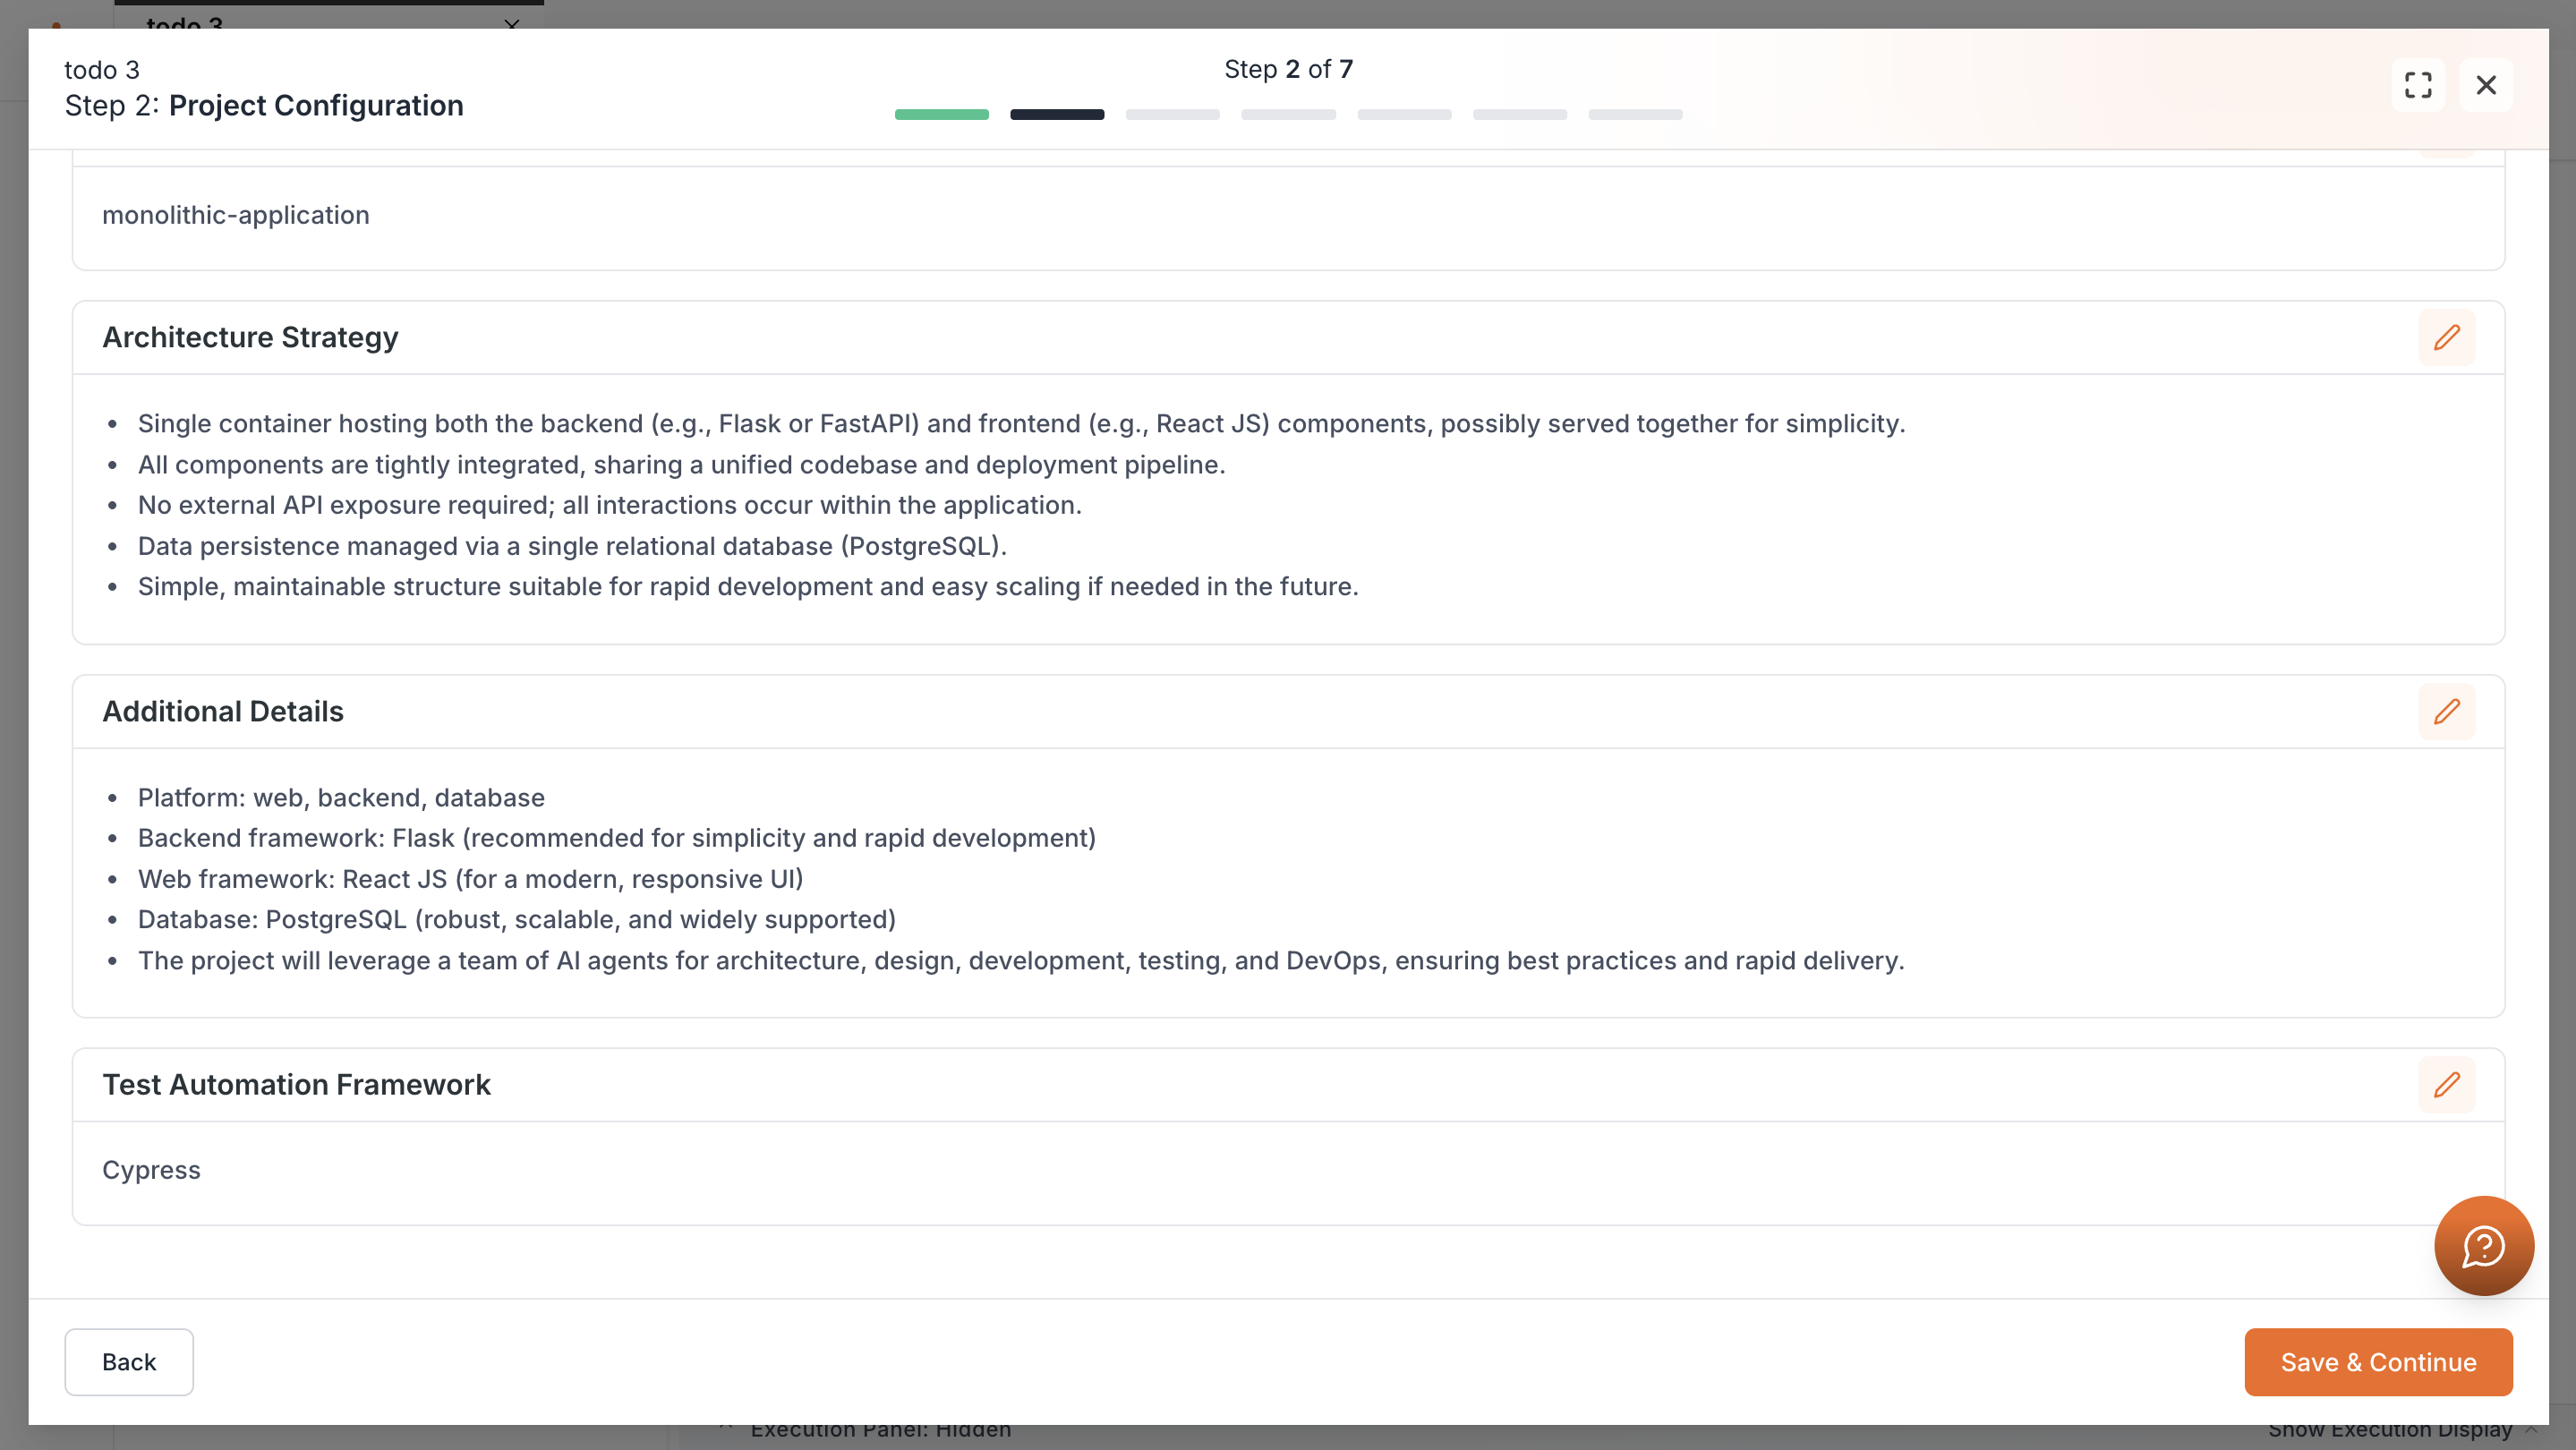
After merging, you will return to the project setup and see the updated details. Review them carefully, and if changes are needed, click the pencil icon to edit and save. Once everything looks correct, click Save & Continue to move forward.
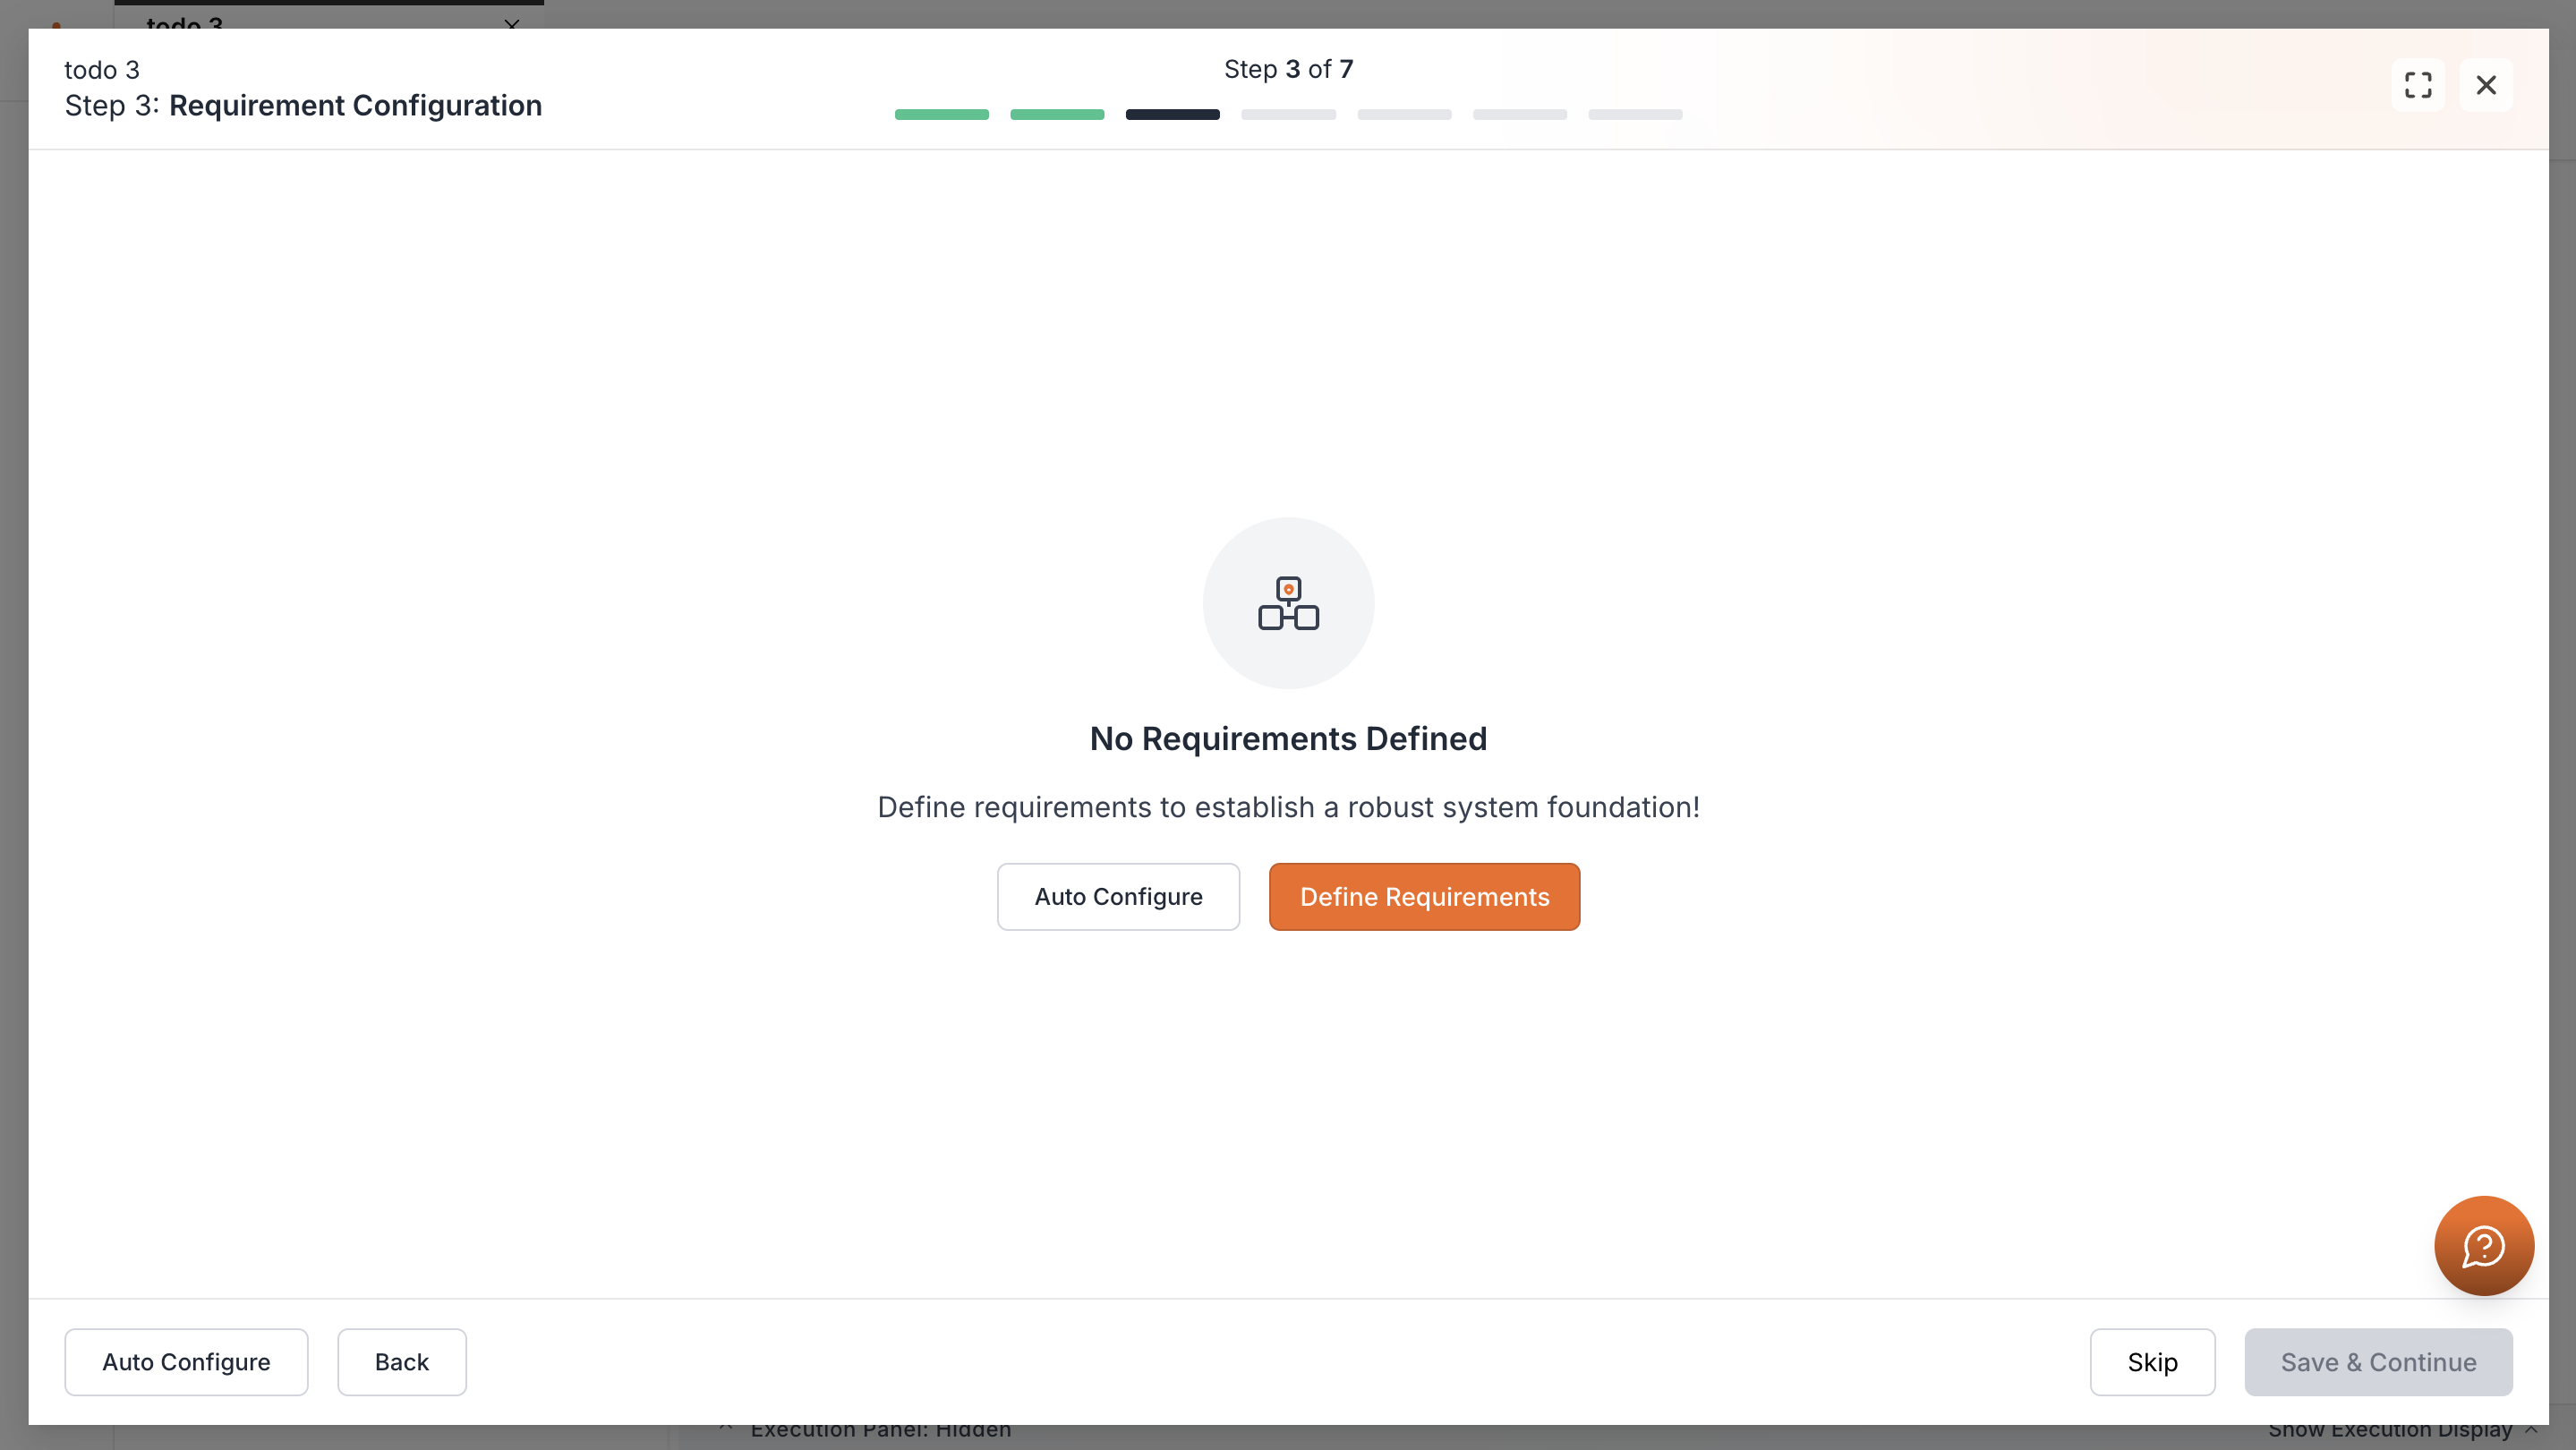
Requirements Configuration
At this stage, you can either let Kavia Auto Configure or select Define Requirements to enter a chat.
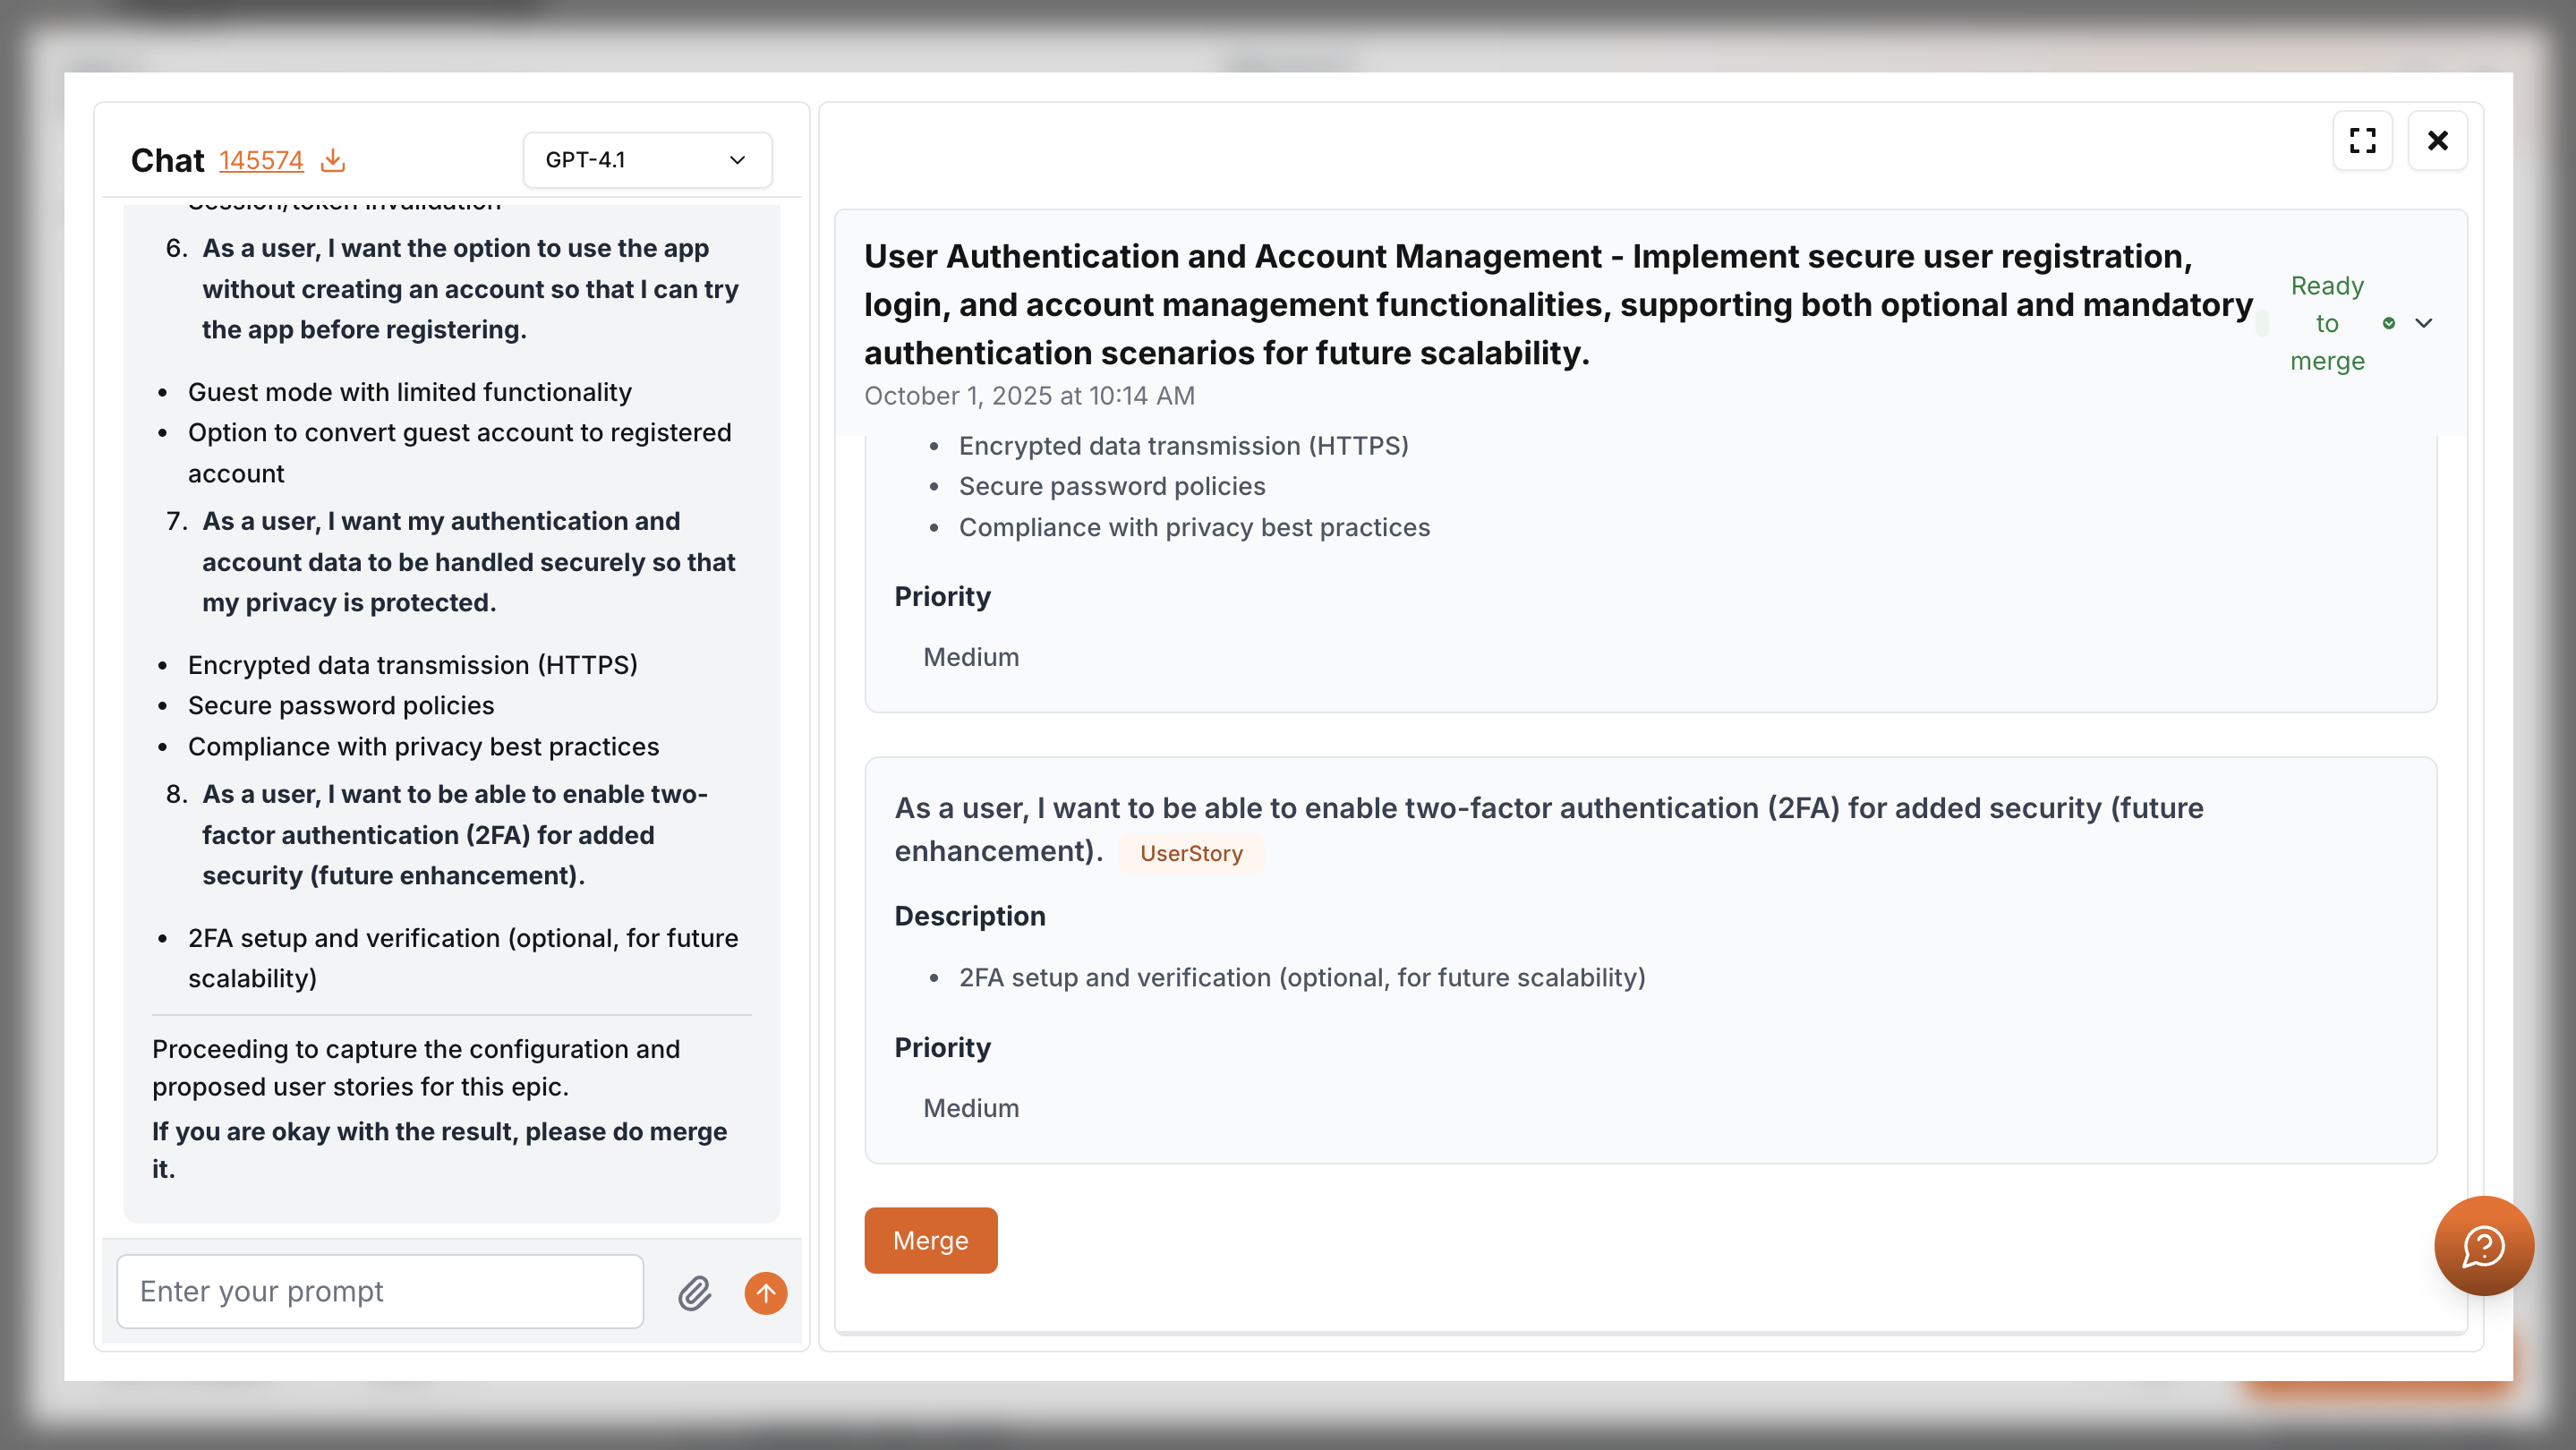
In Define Requirements, you can add or remove requirements interactively. Once you are done filanizing this scroll down and click Merge button to continue.
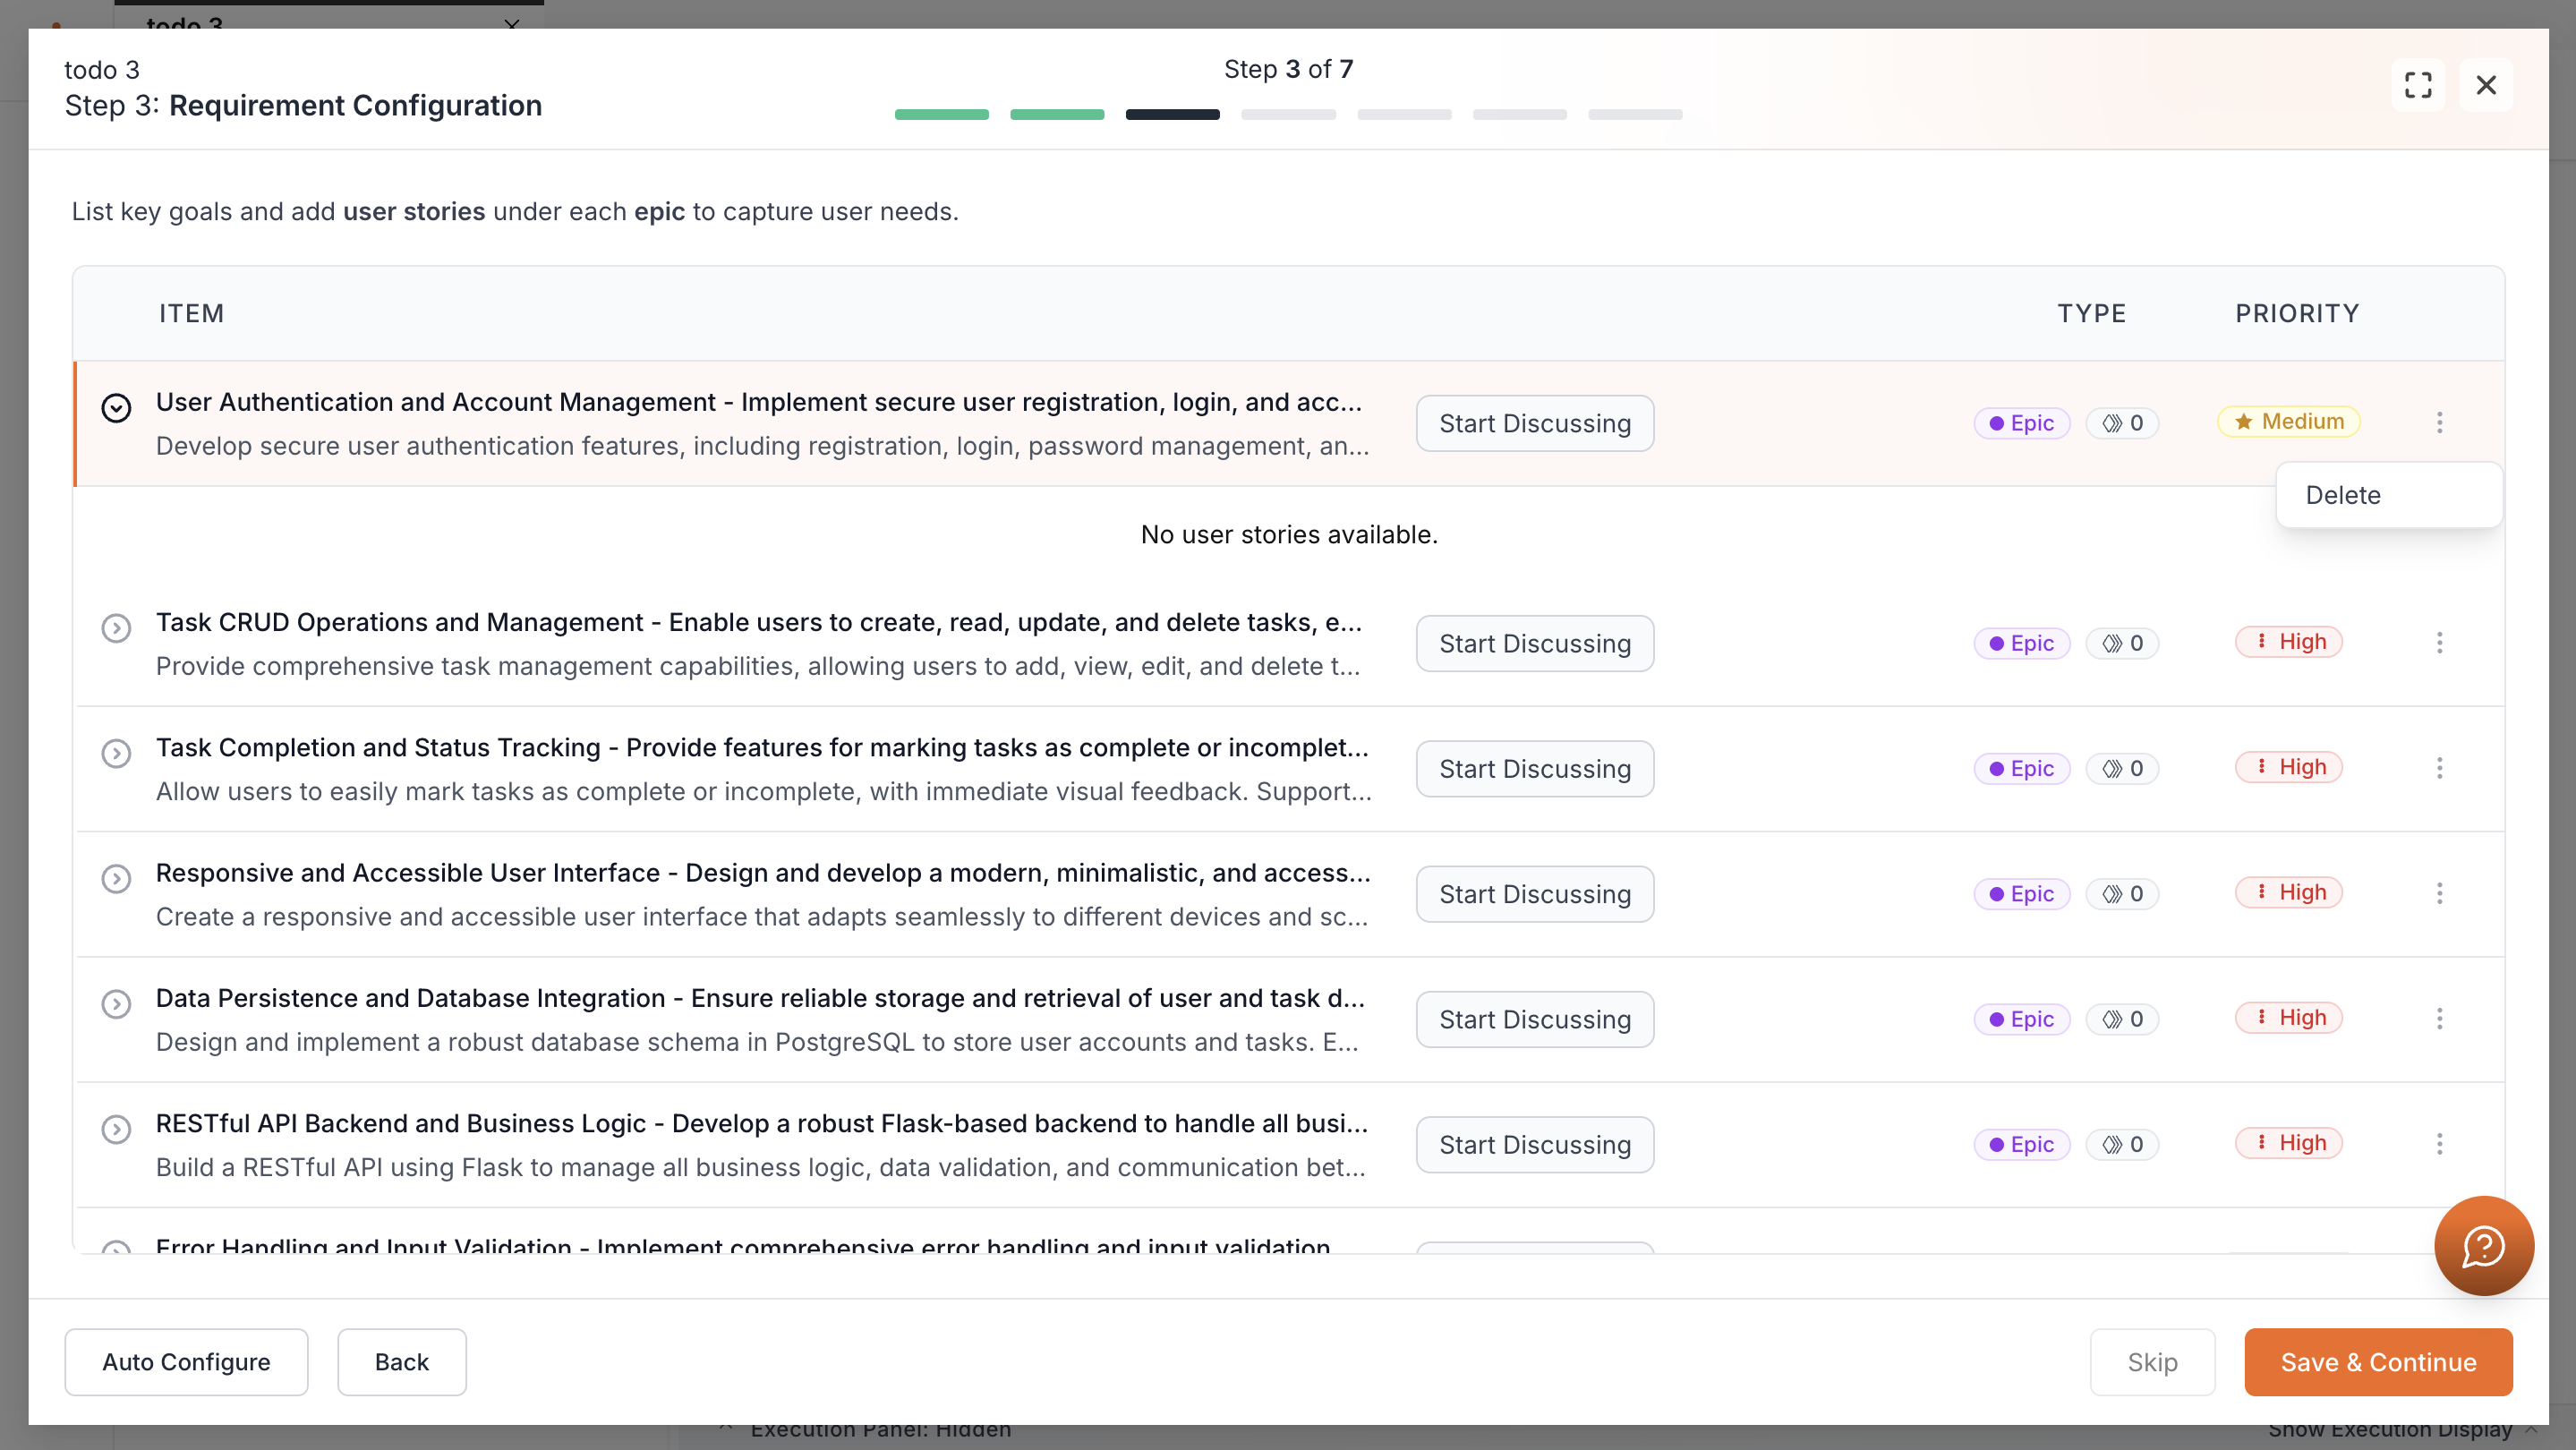
After merging, you’ll be redirected to the project setup where a table of requirements is displayed. From here, you can continue or edit items further.
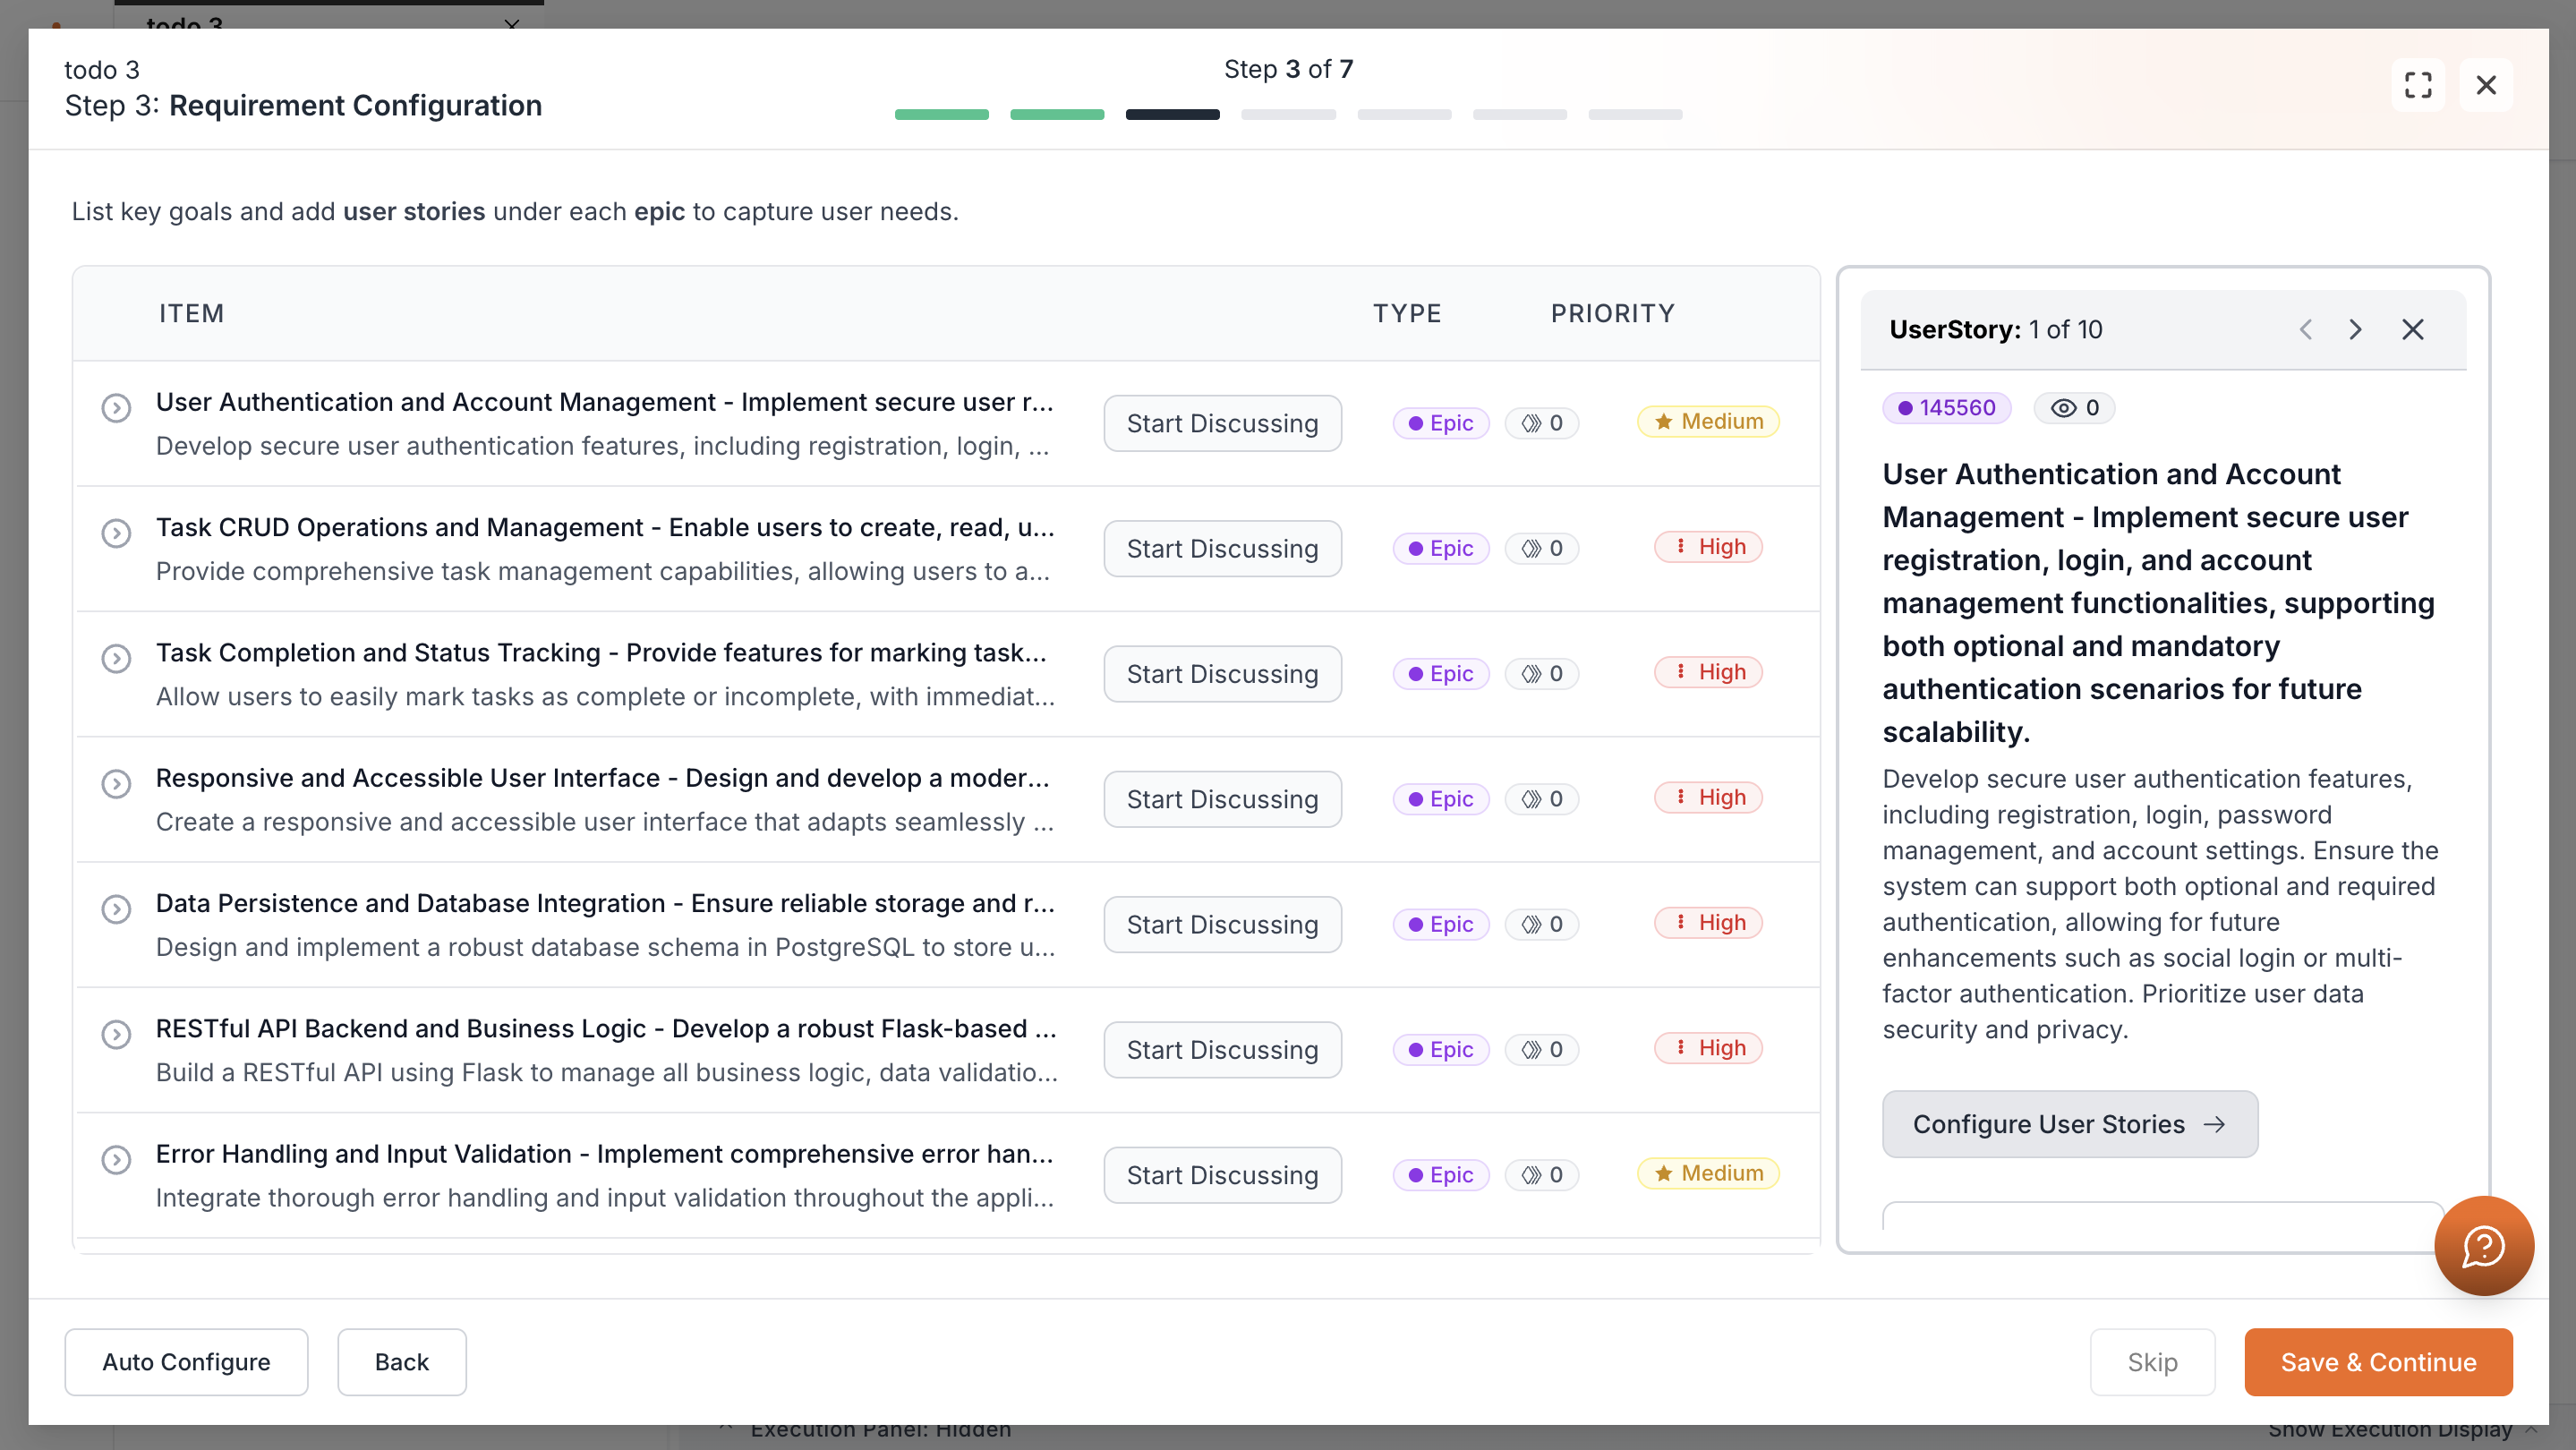
Click on a requirement to open its panel to see more detailed information about the requirement.
Select Configure user stories to adjust in chat, then merge. Save and continue when ready.
Architectural Requirements
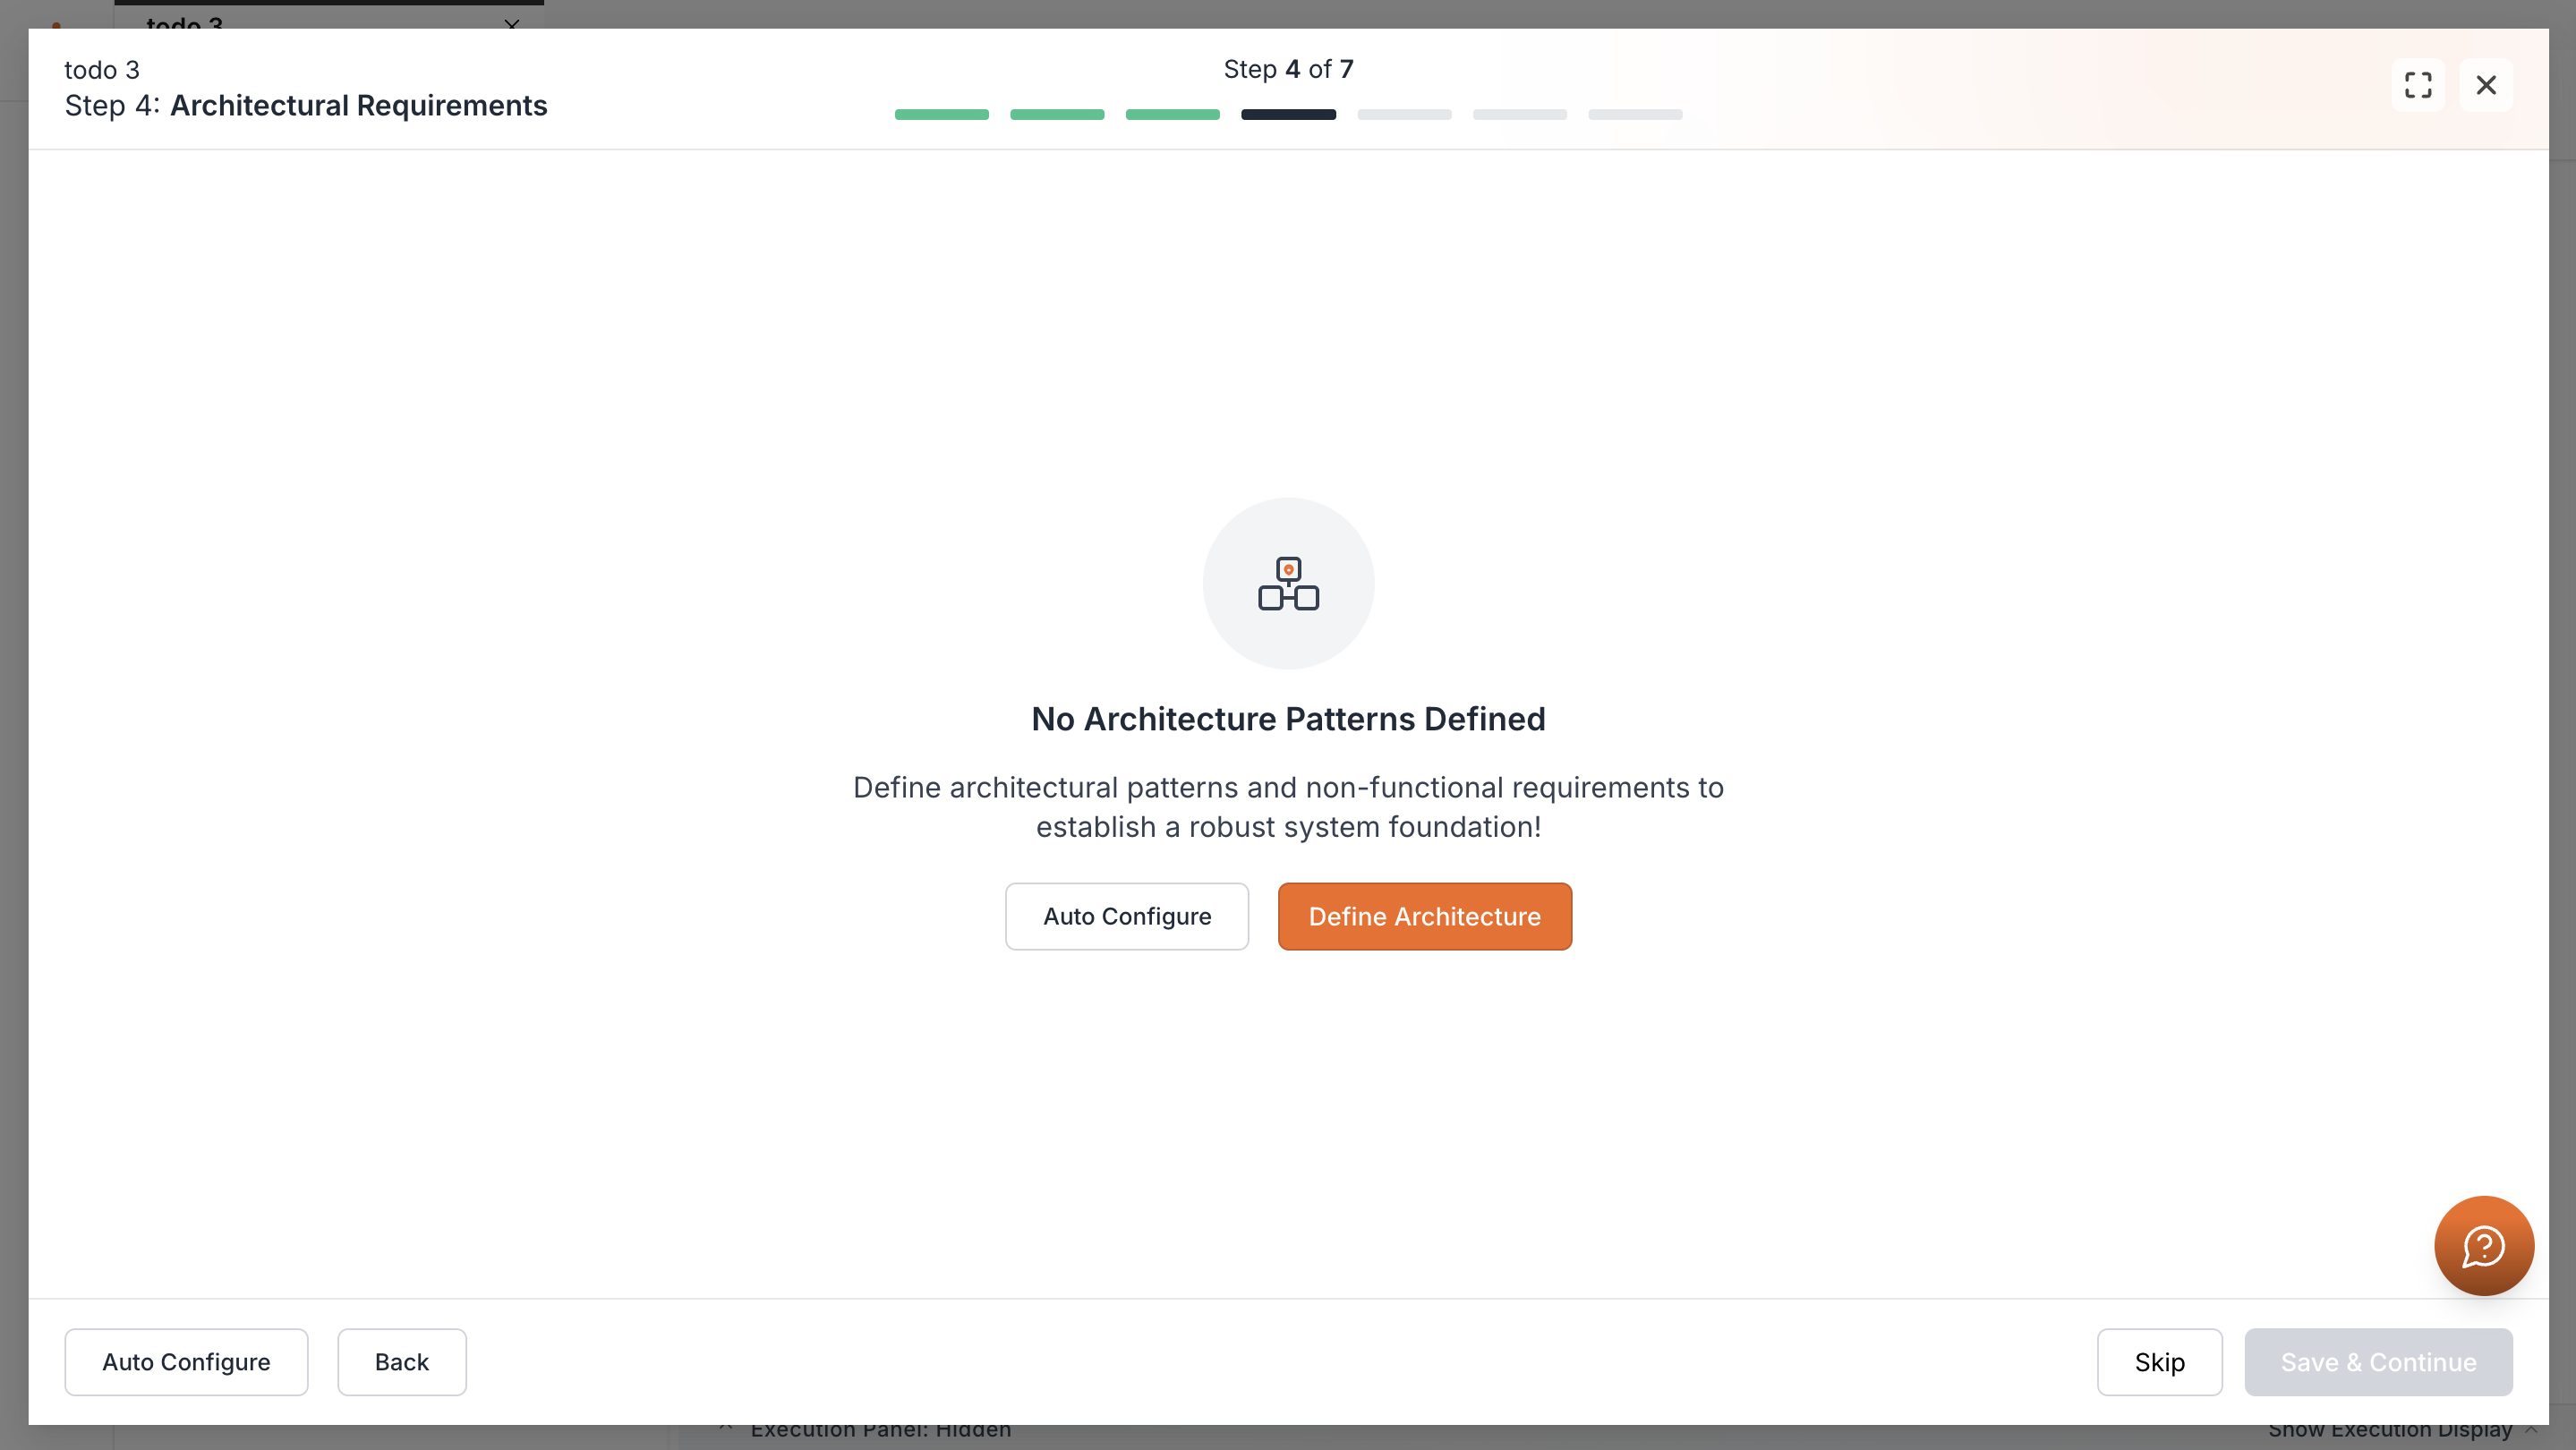
This step allows you to define architectural requirements.
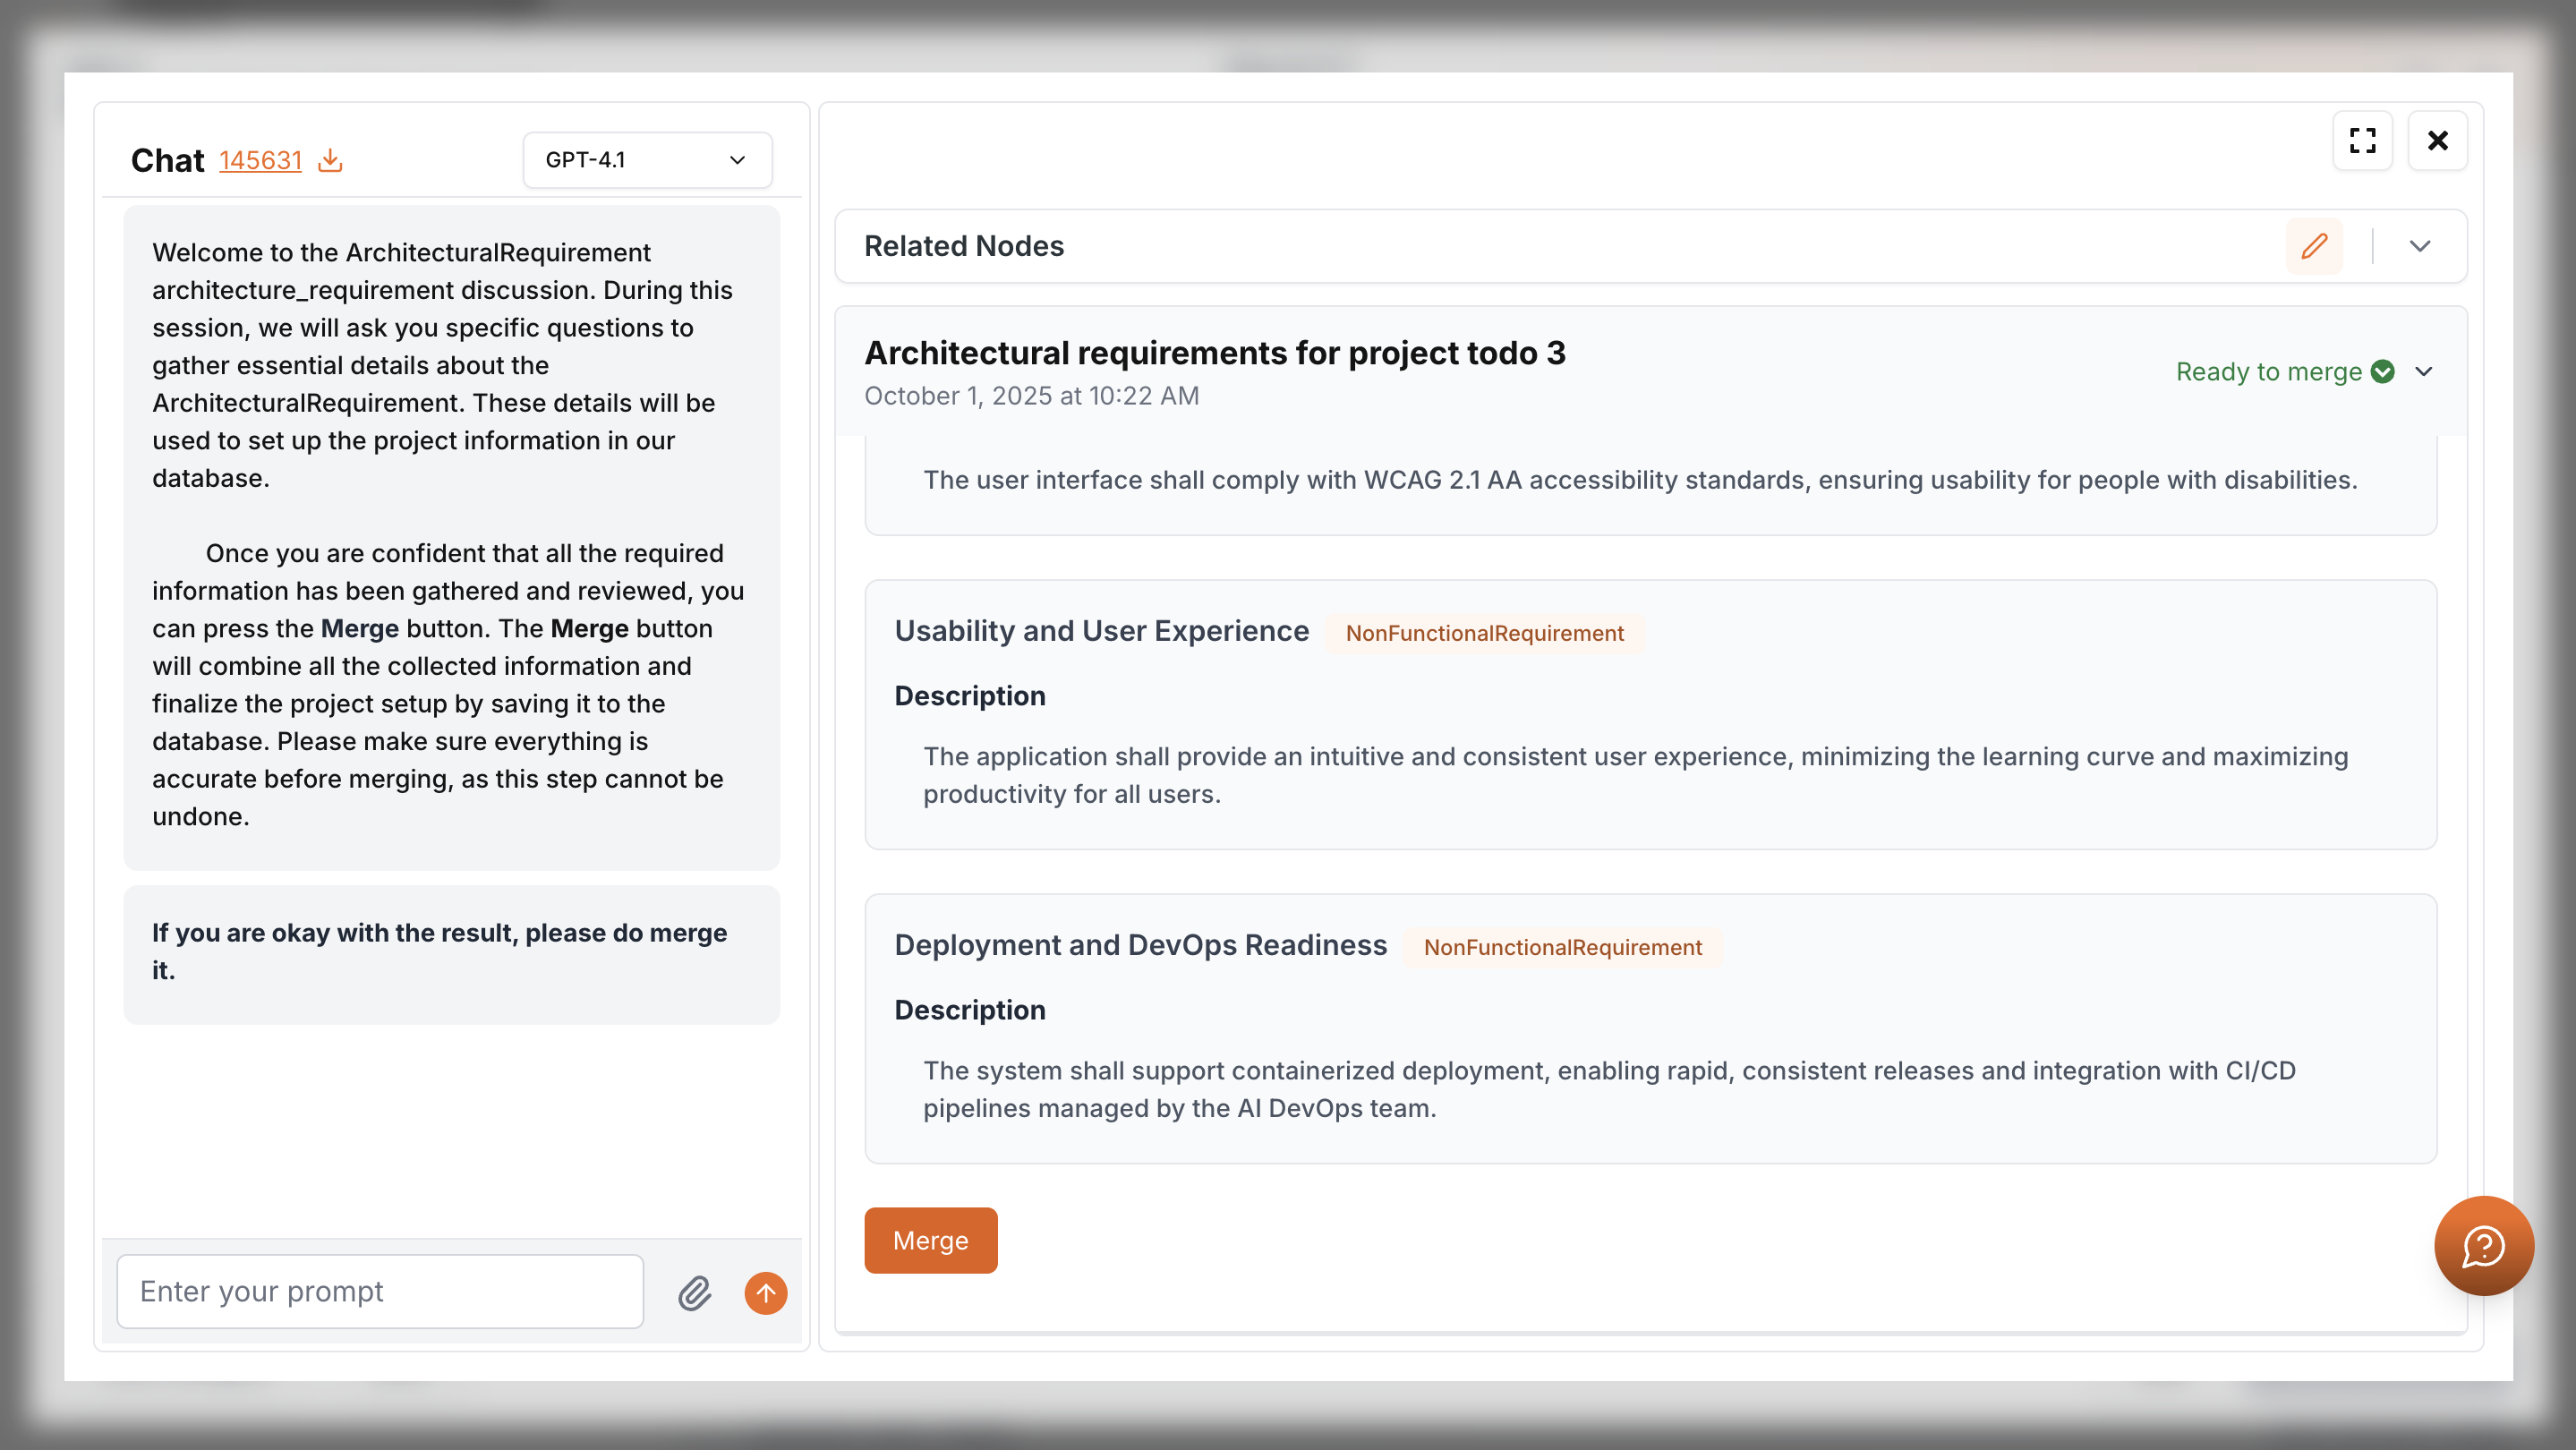
You can select Skip, Auto Configure, or select Define Architecture to refine requirements in chat. In the chat you will be able to change what Kavia provided as architectural requirements. Once you go though it and finalized it scroll down to the bottom and click Merge to apply changes that you made.

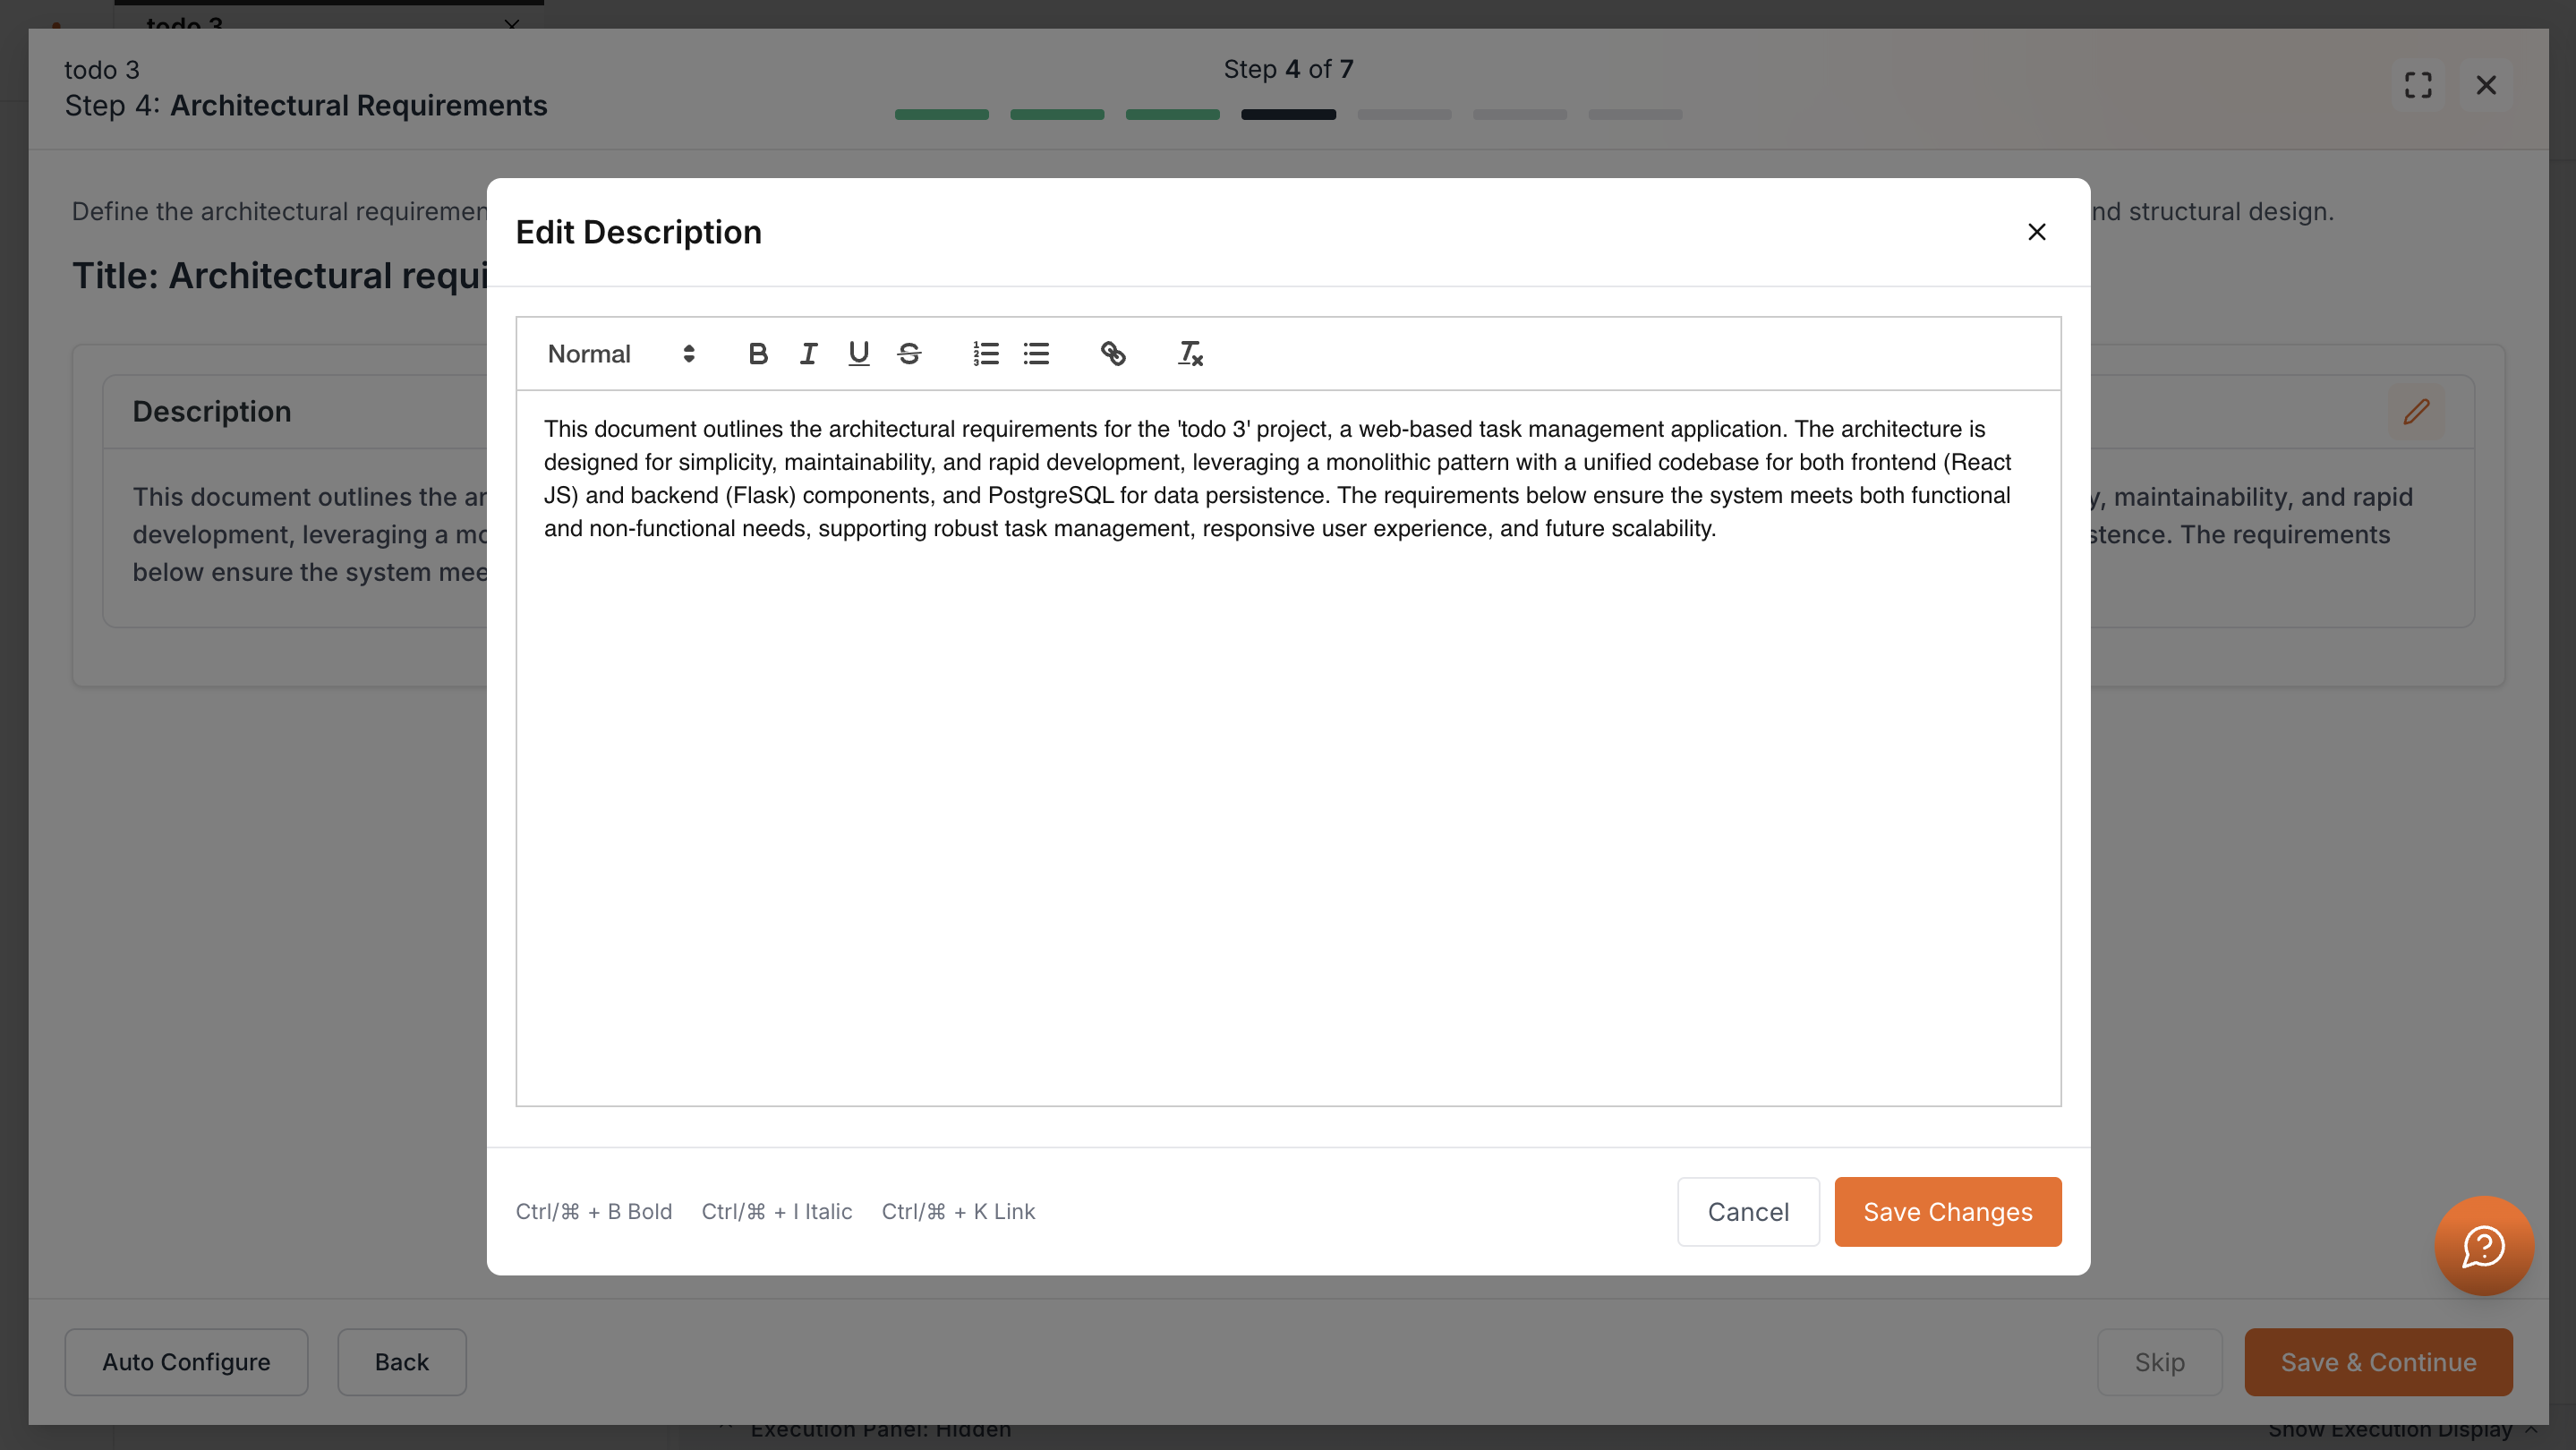
After merging, you’ll return to setup where the requirements are shown. Use the pencil icon to edit directly in the text if needed.
Once everything finalized, click Save & Continue.
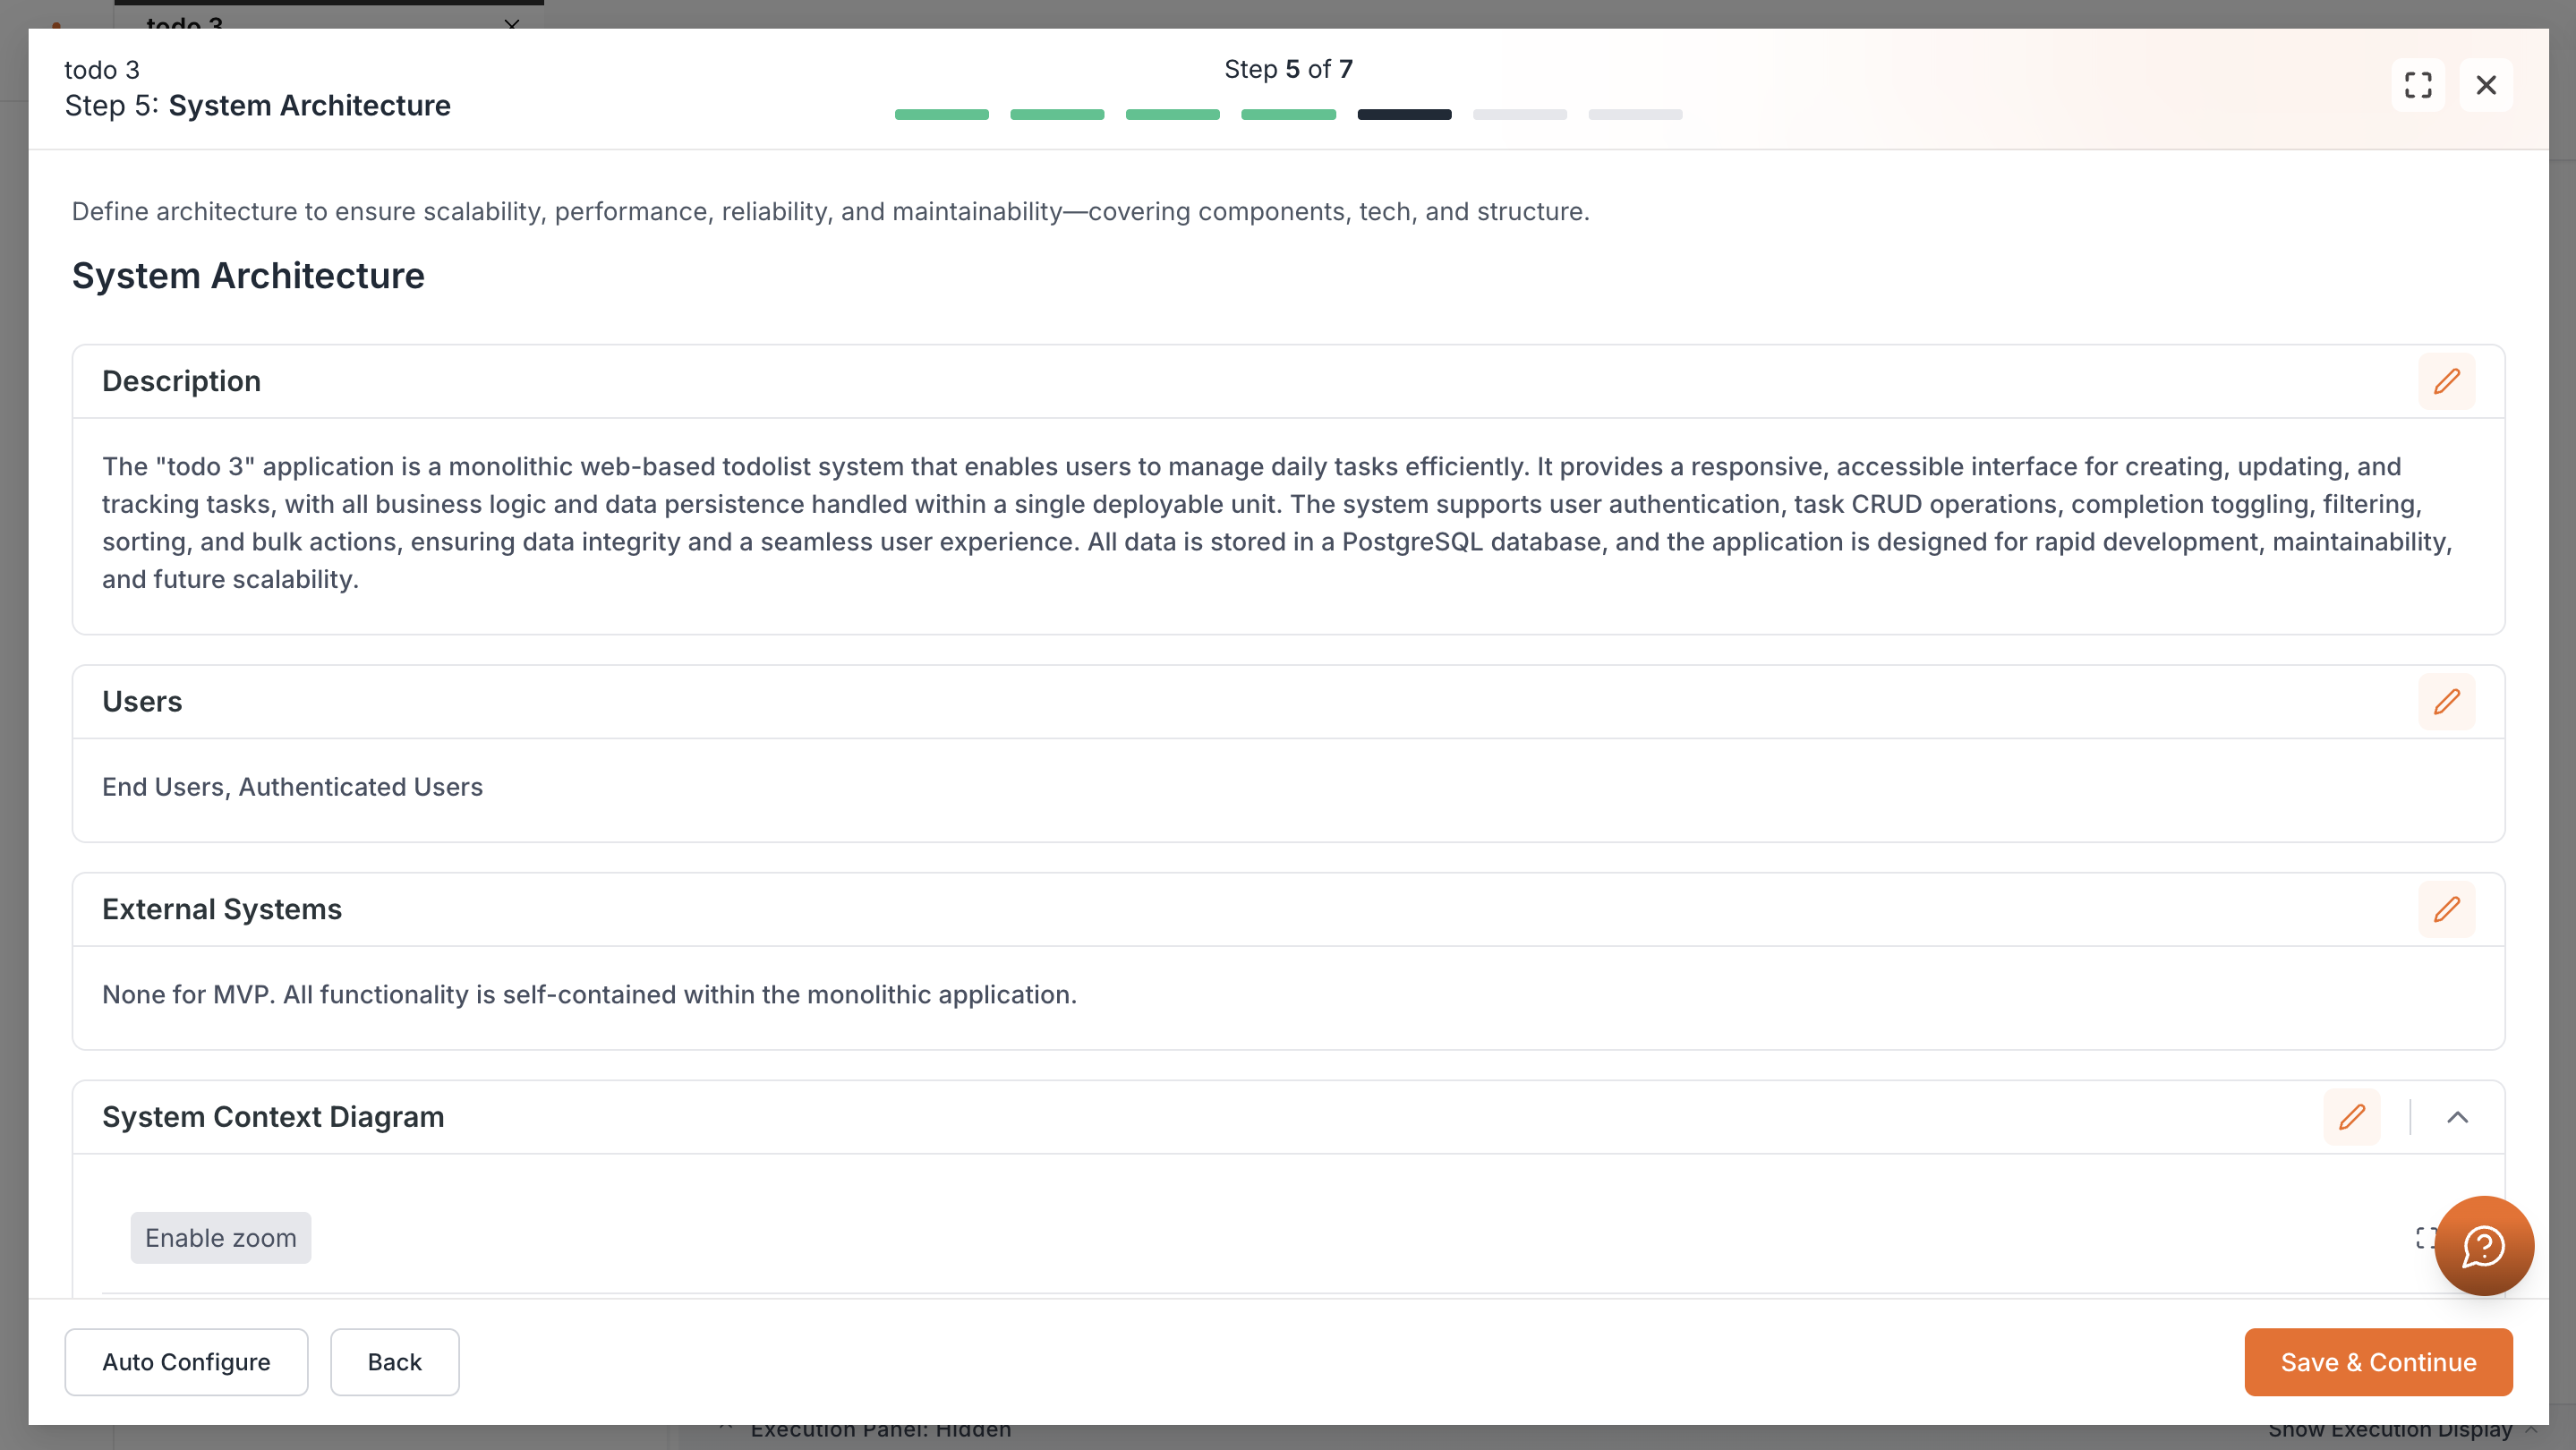
System Architecture
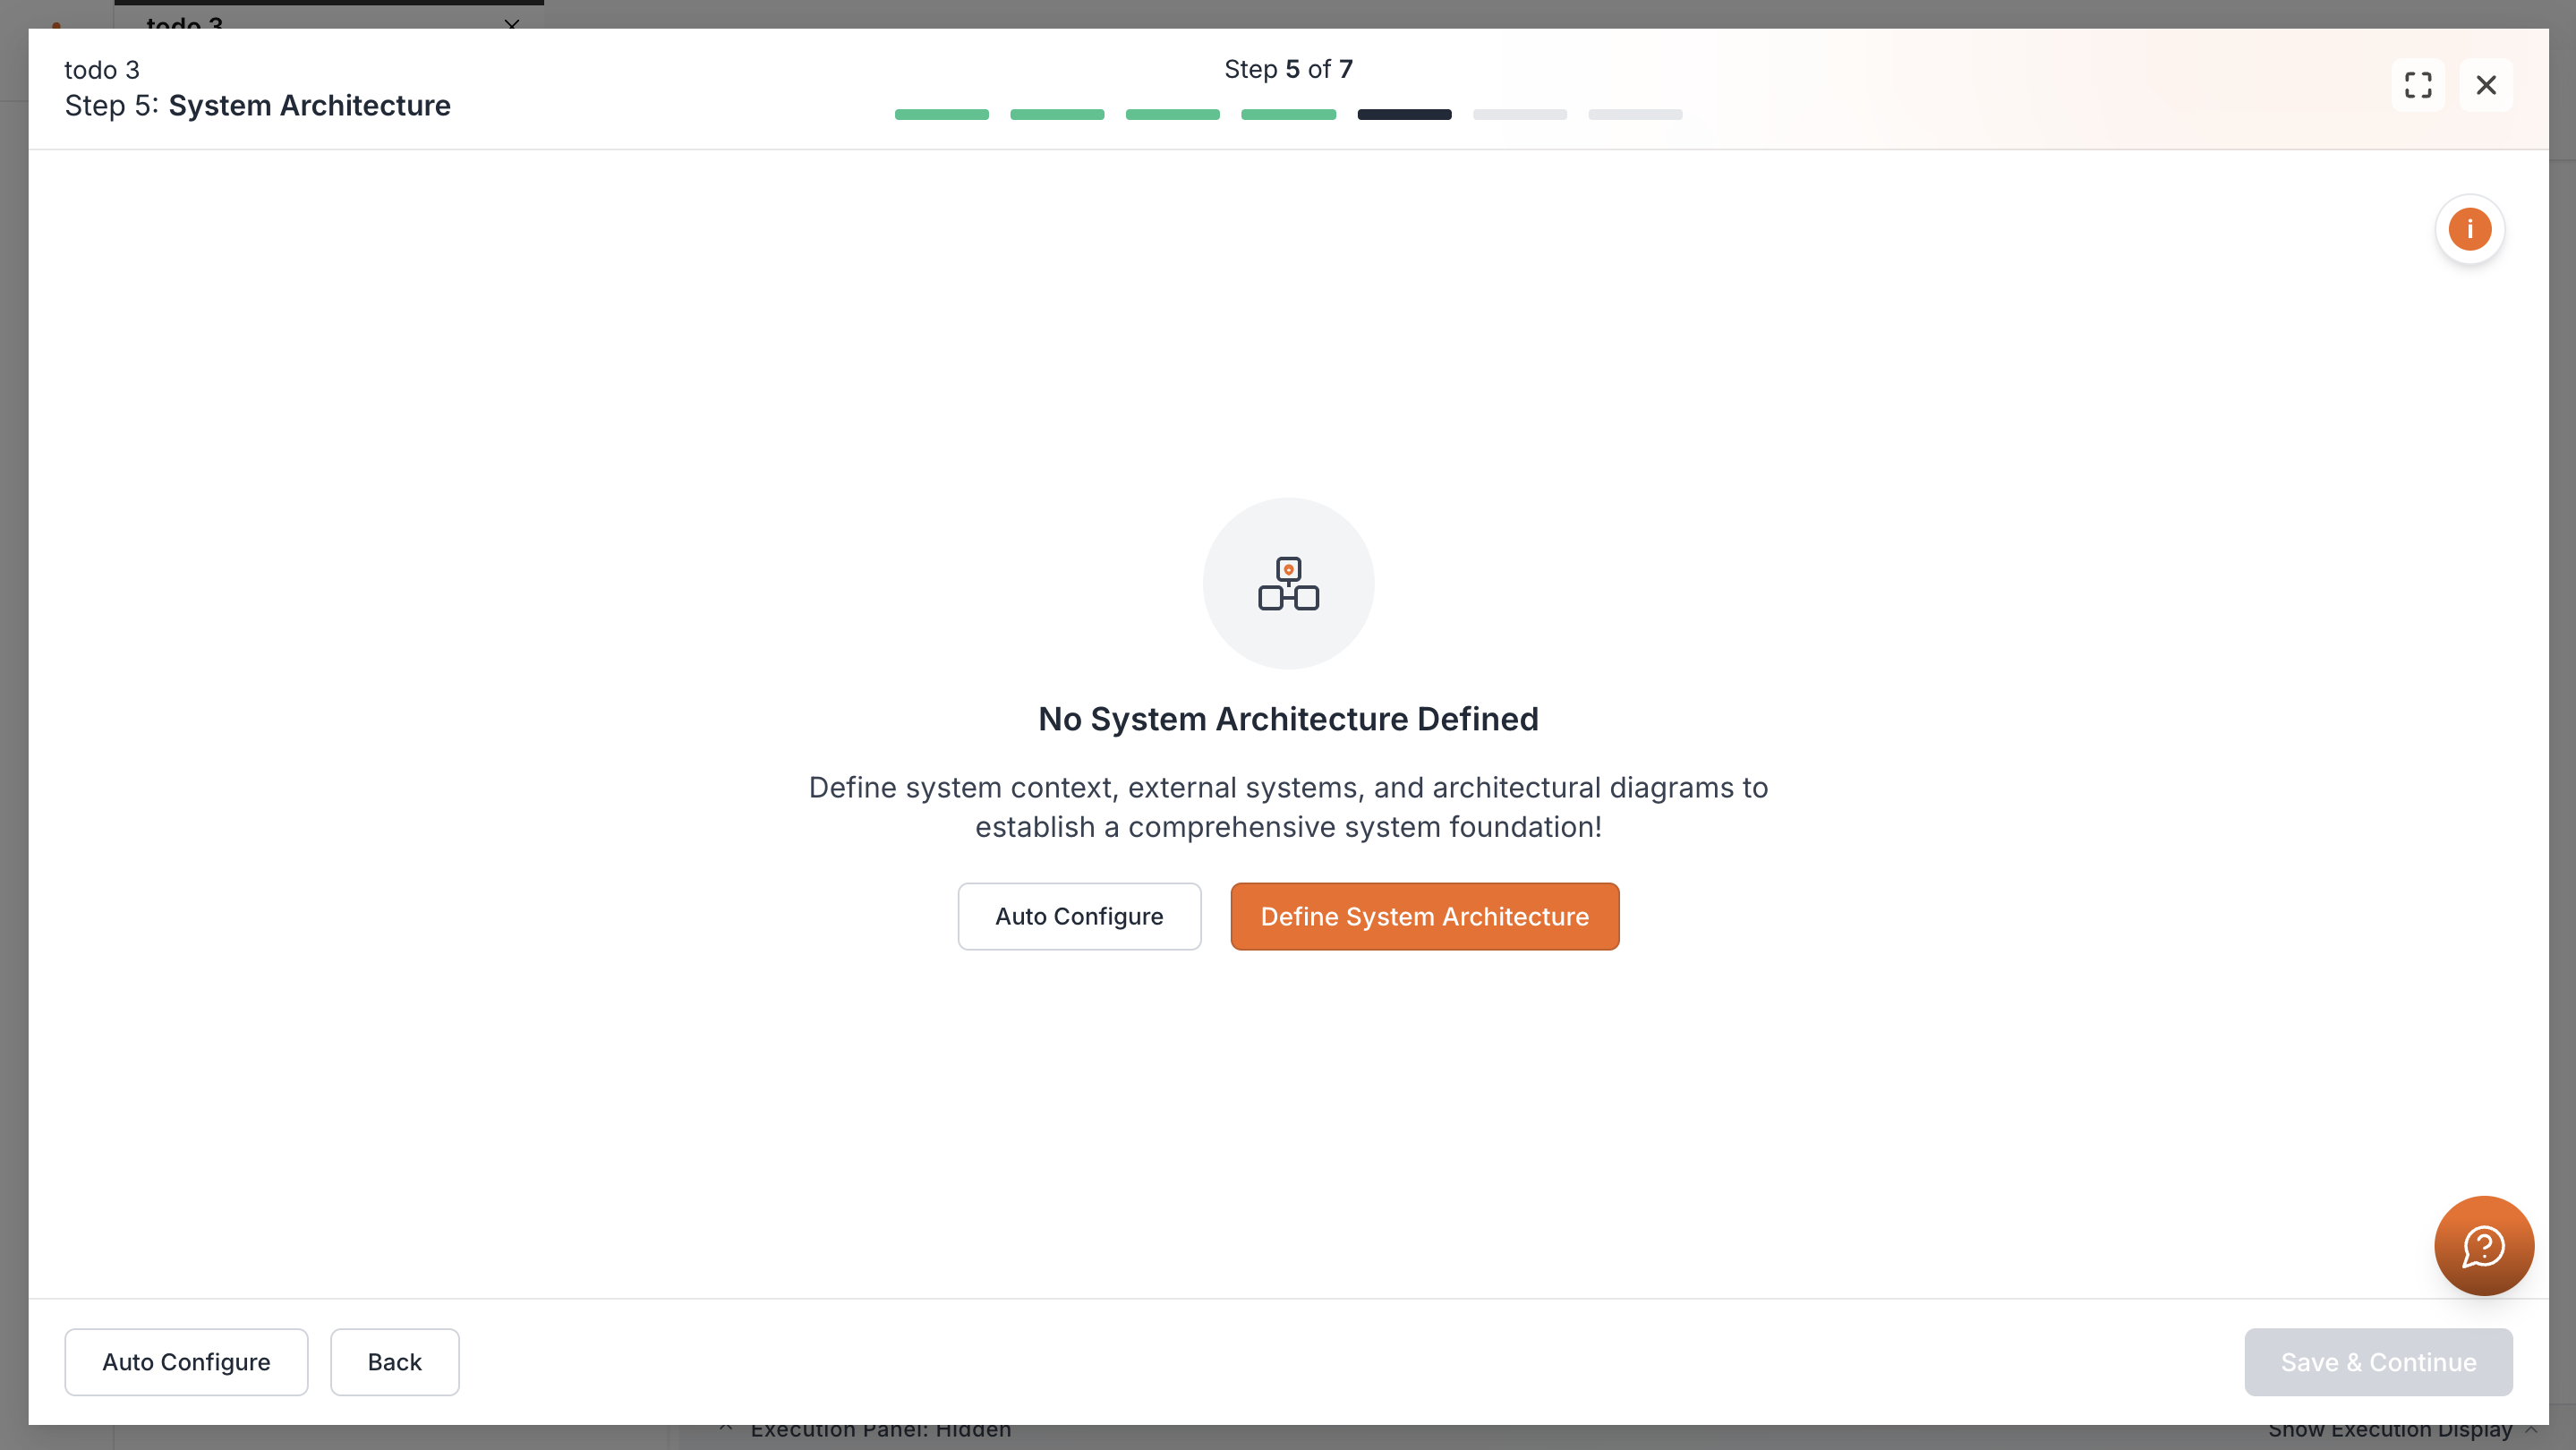
Now you will define the system architecture.
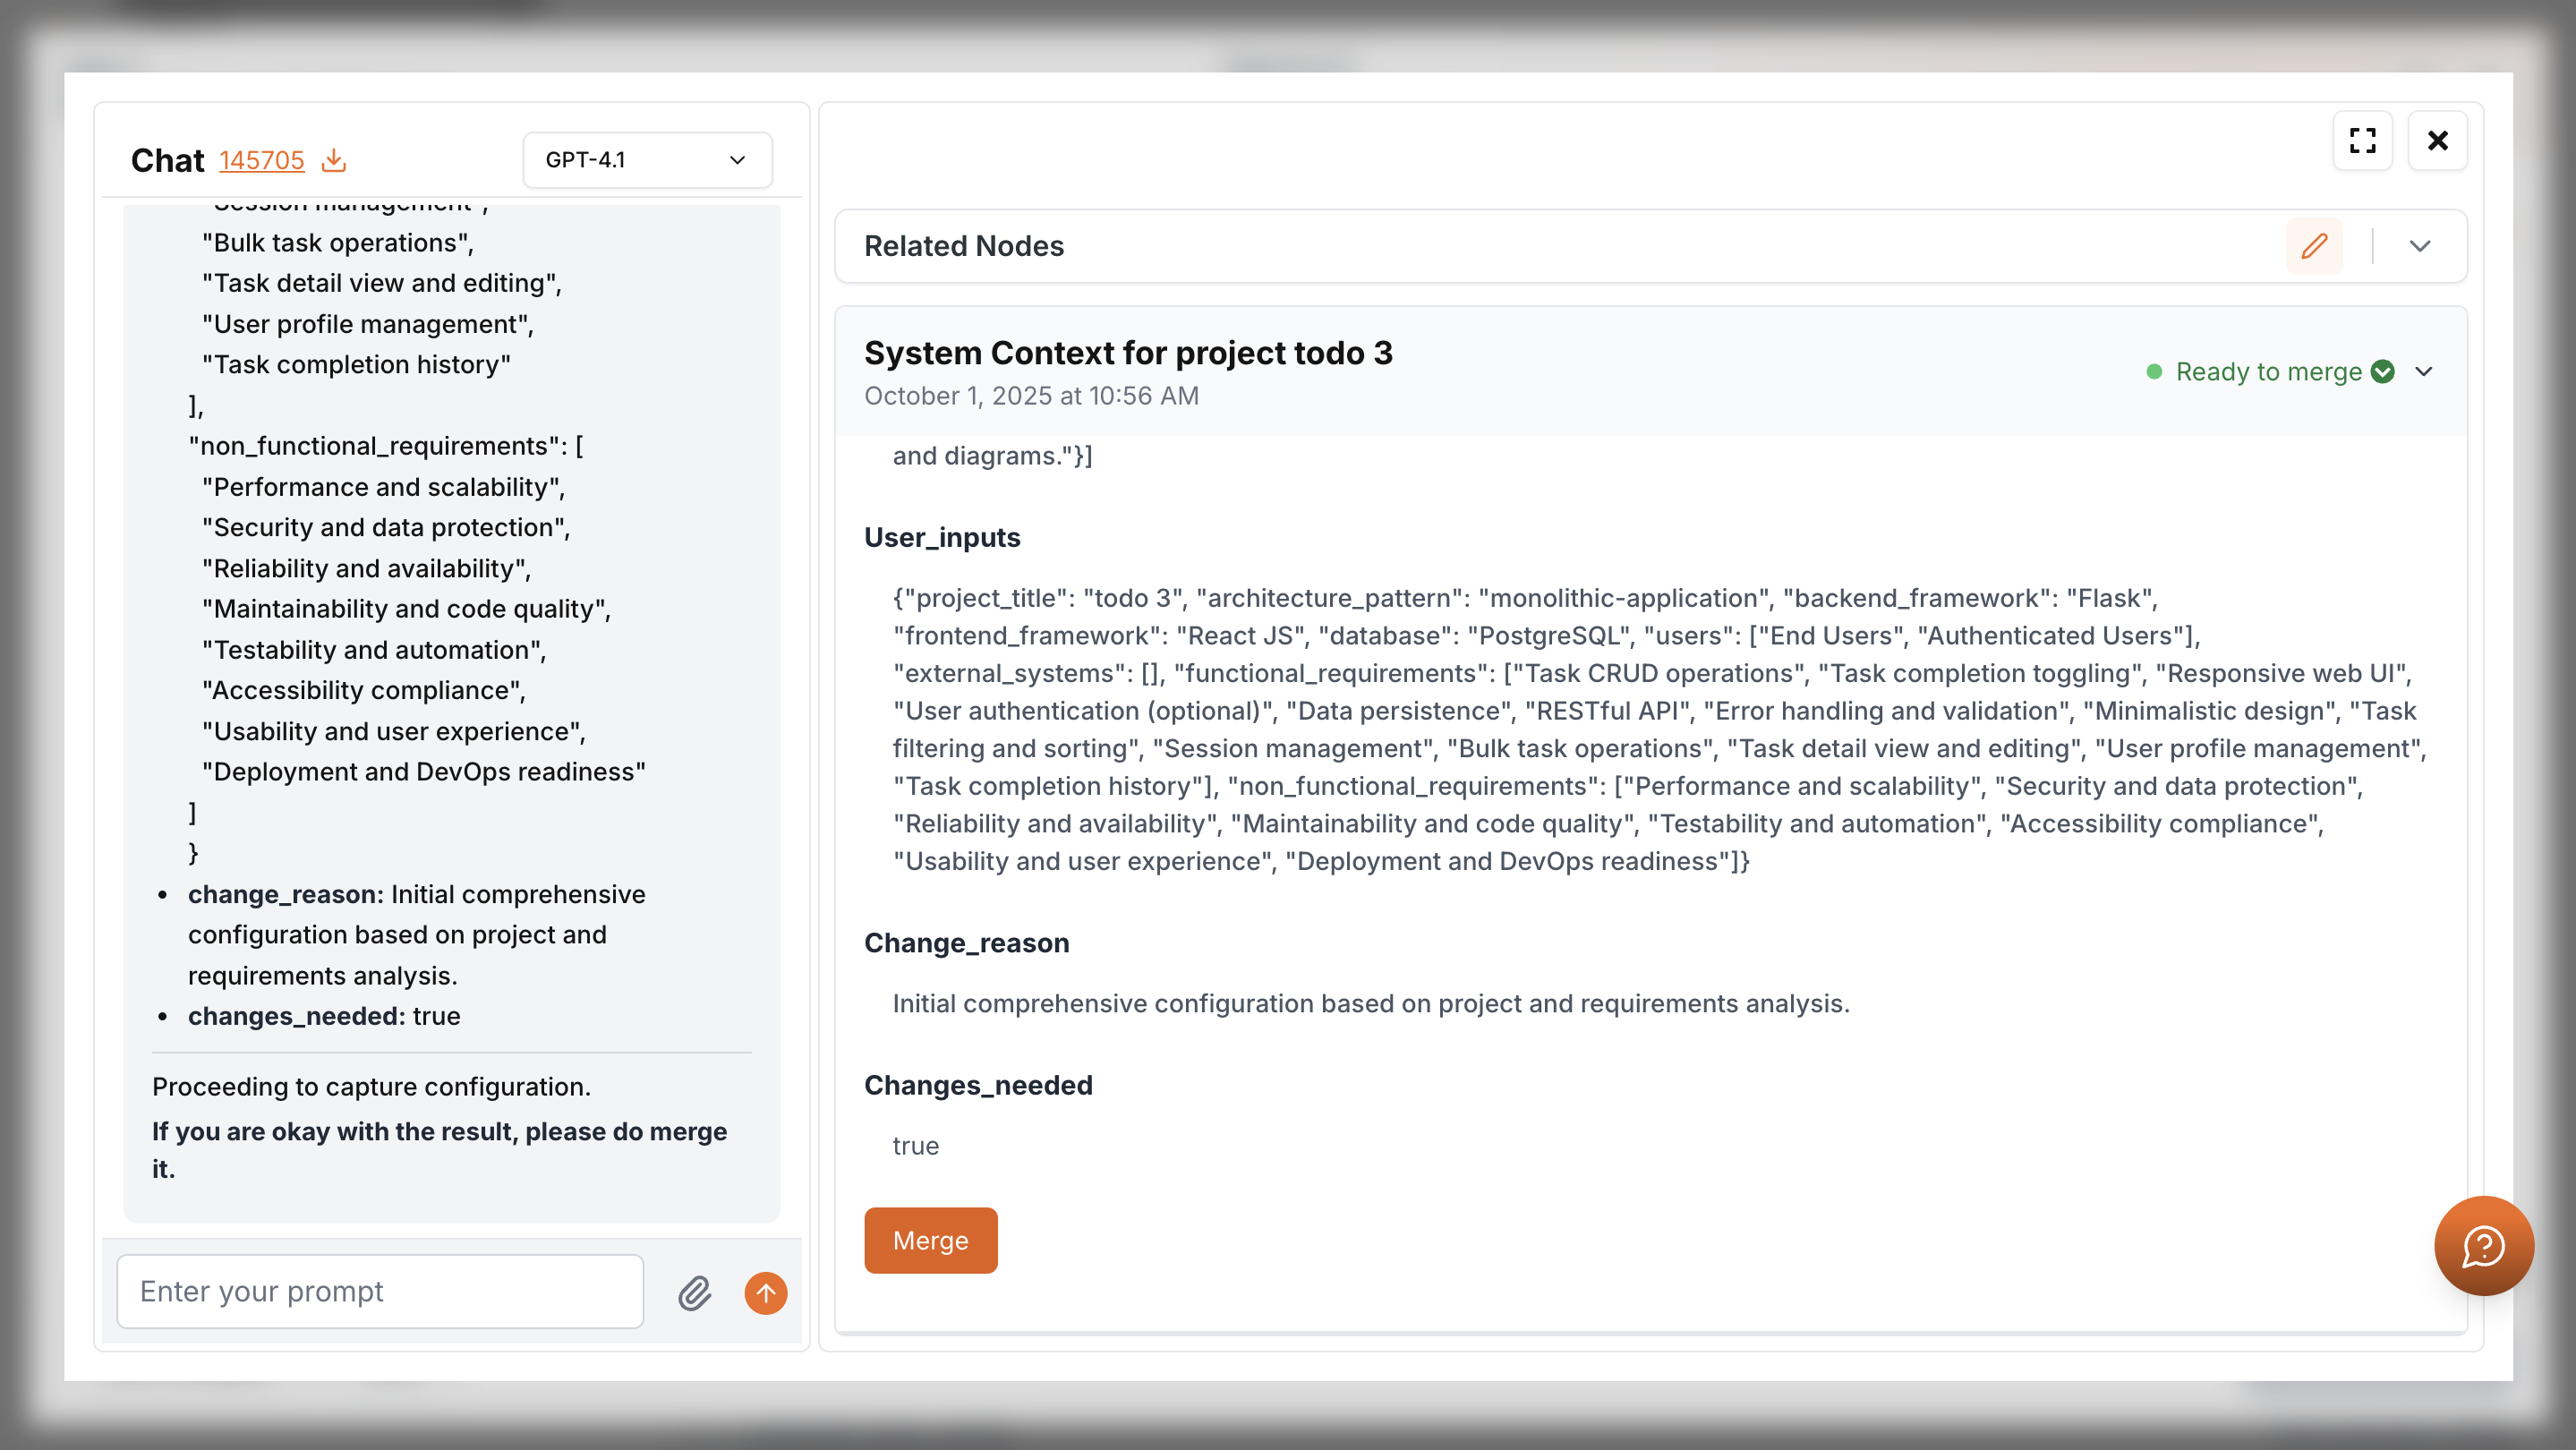
As before, you can Skip, Auto Configure, or select Define System Architecture to use chat for customization.

After merging, the full architecture will be visible in the setup.
Use the pencil icon for quick edits and save them. Continue once all architecture details are complete.
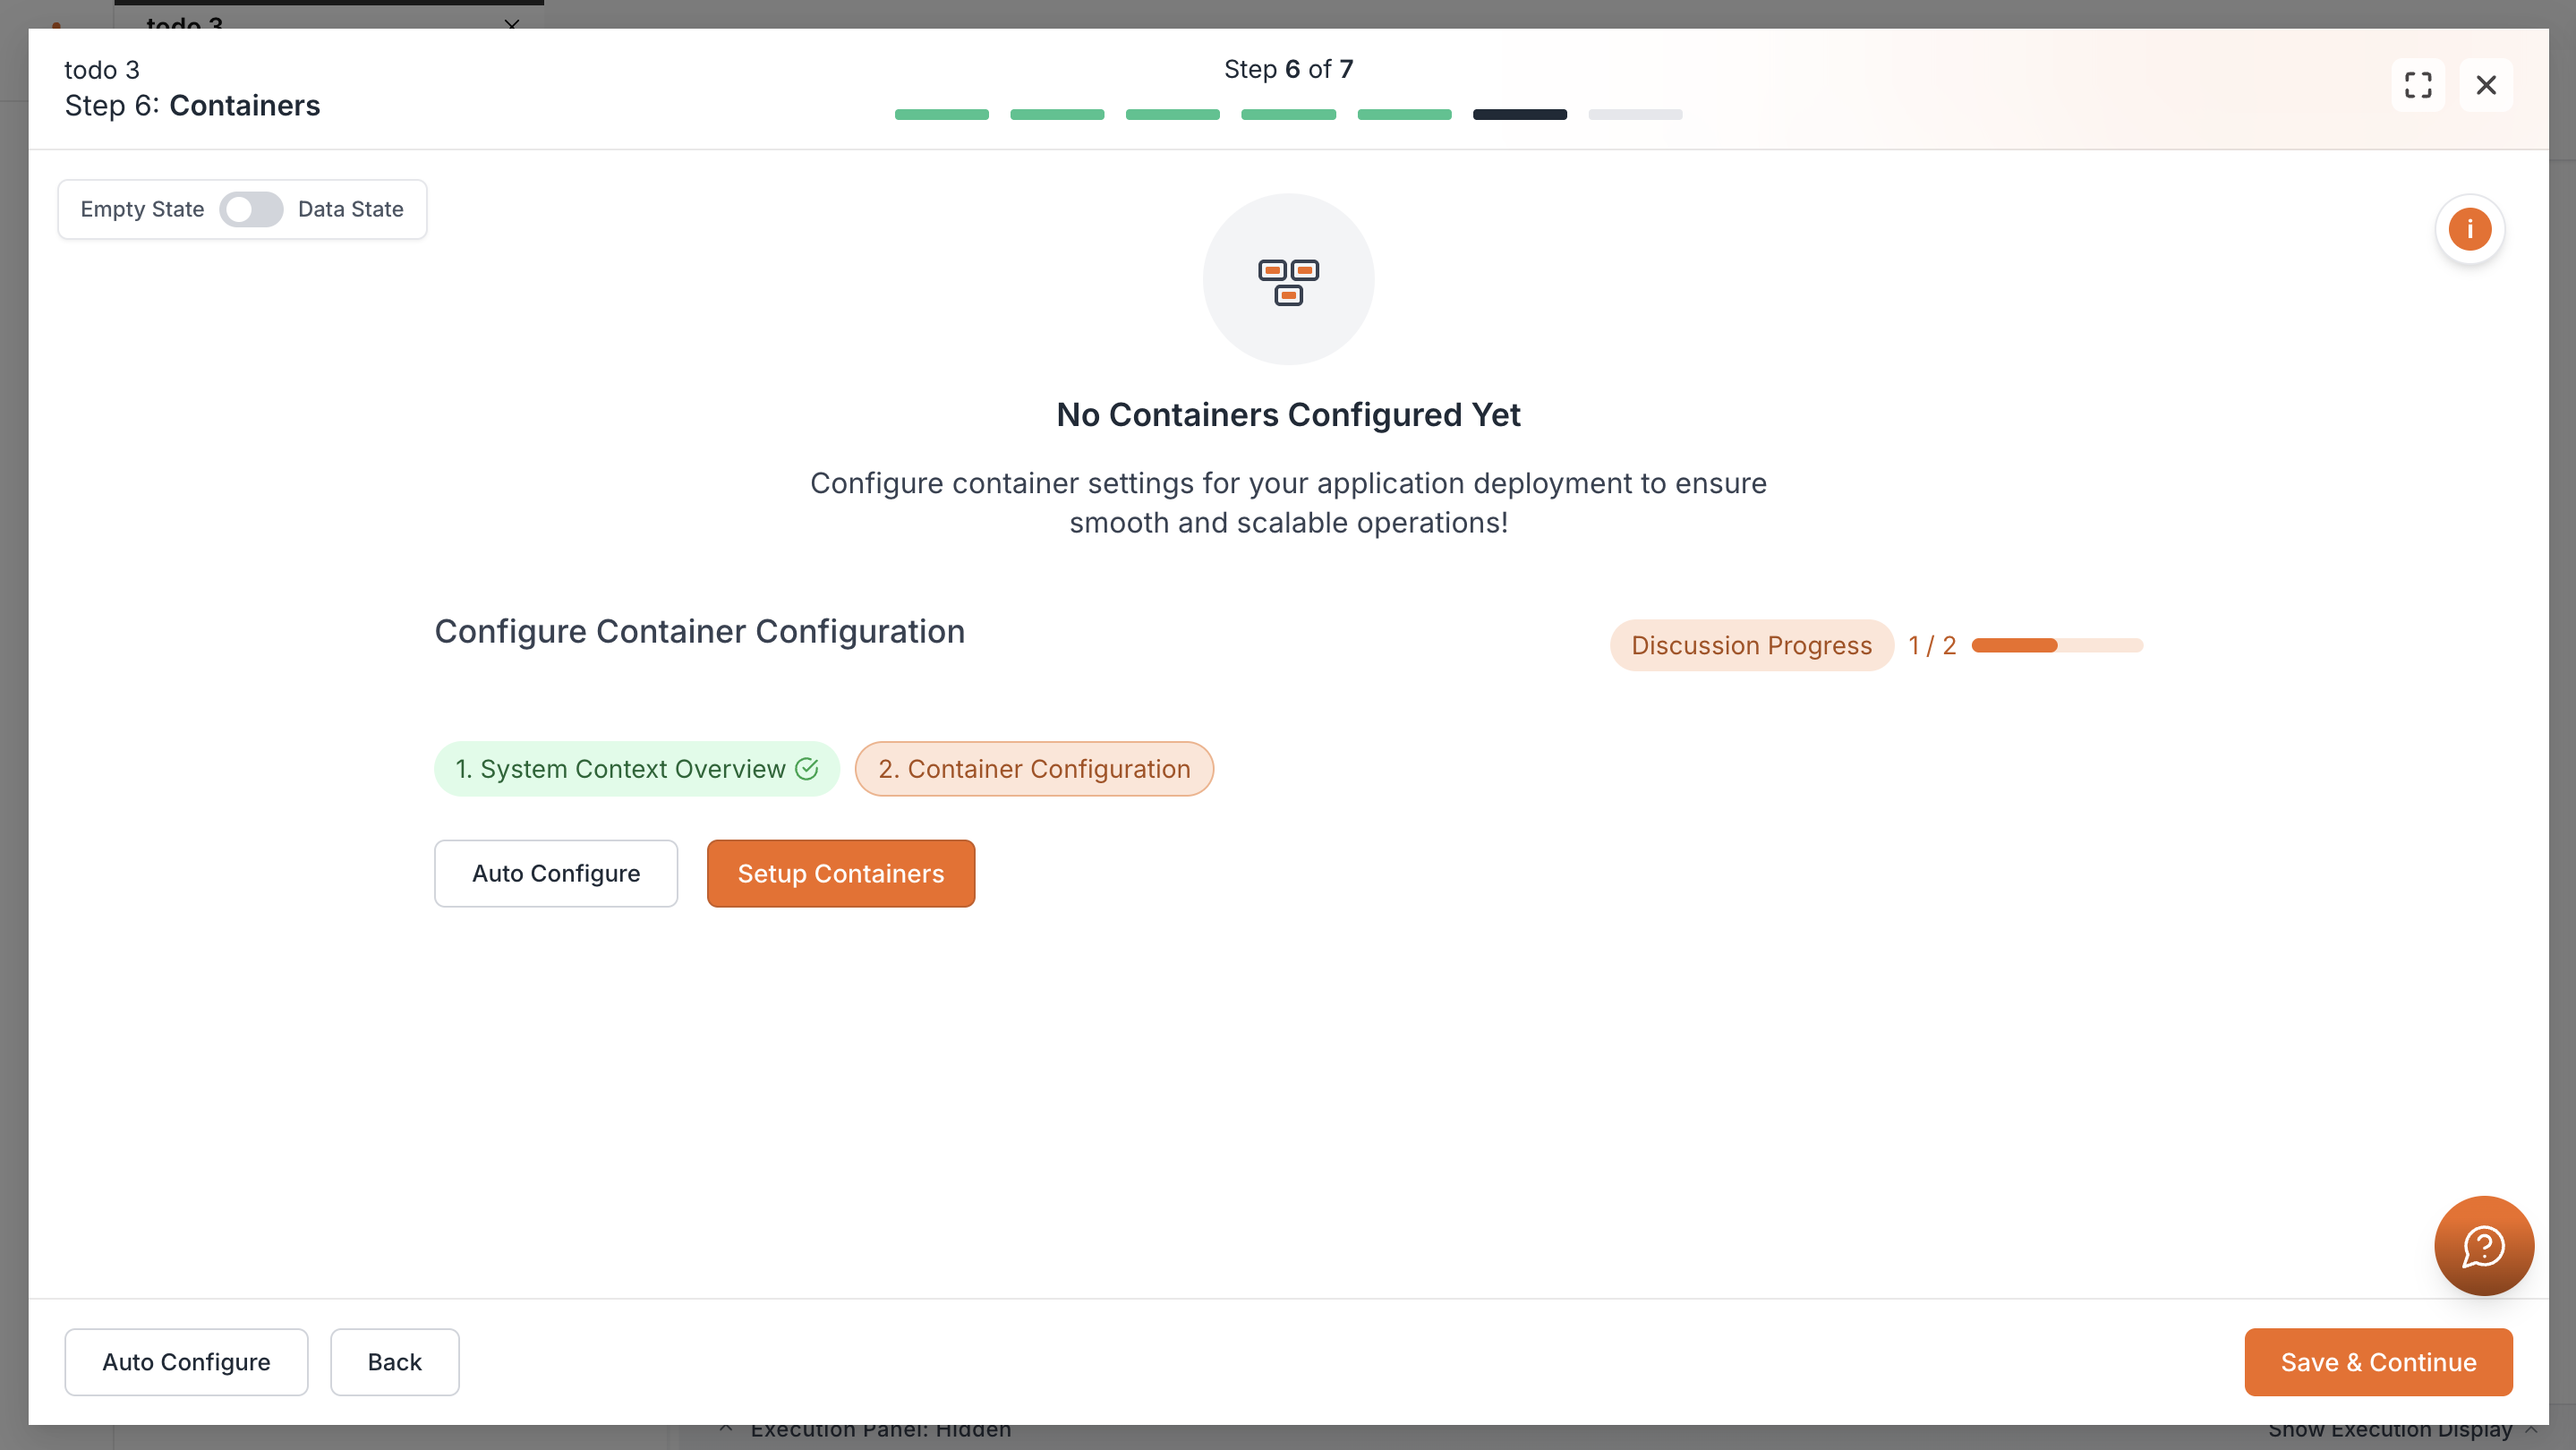
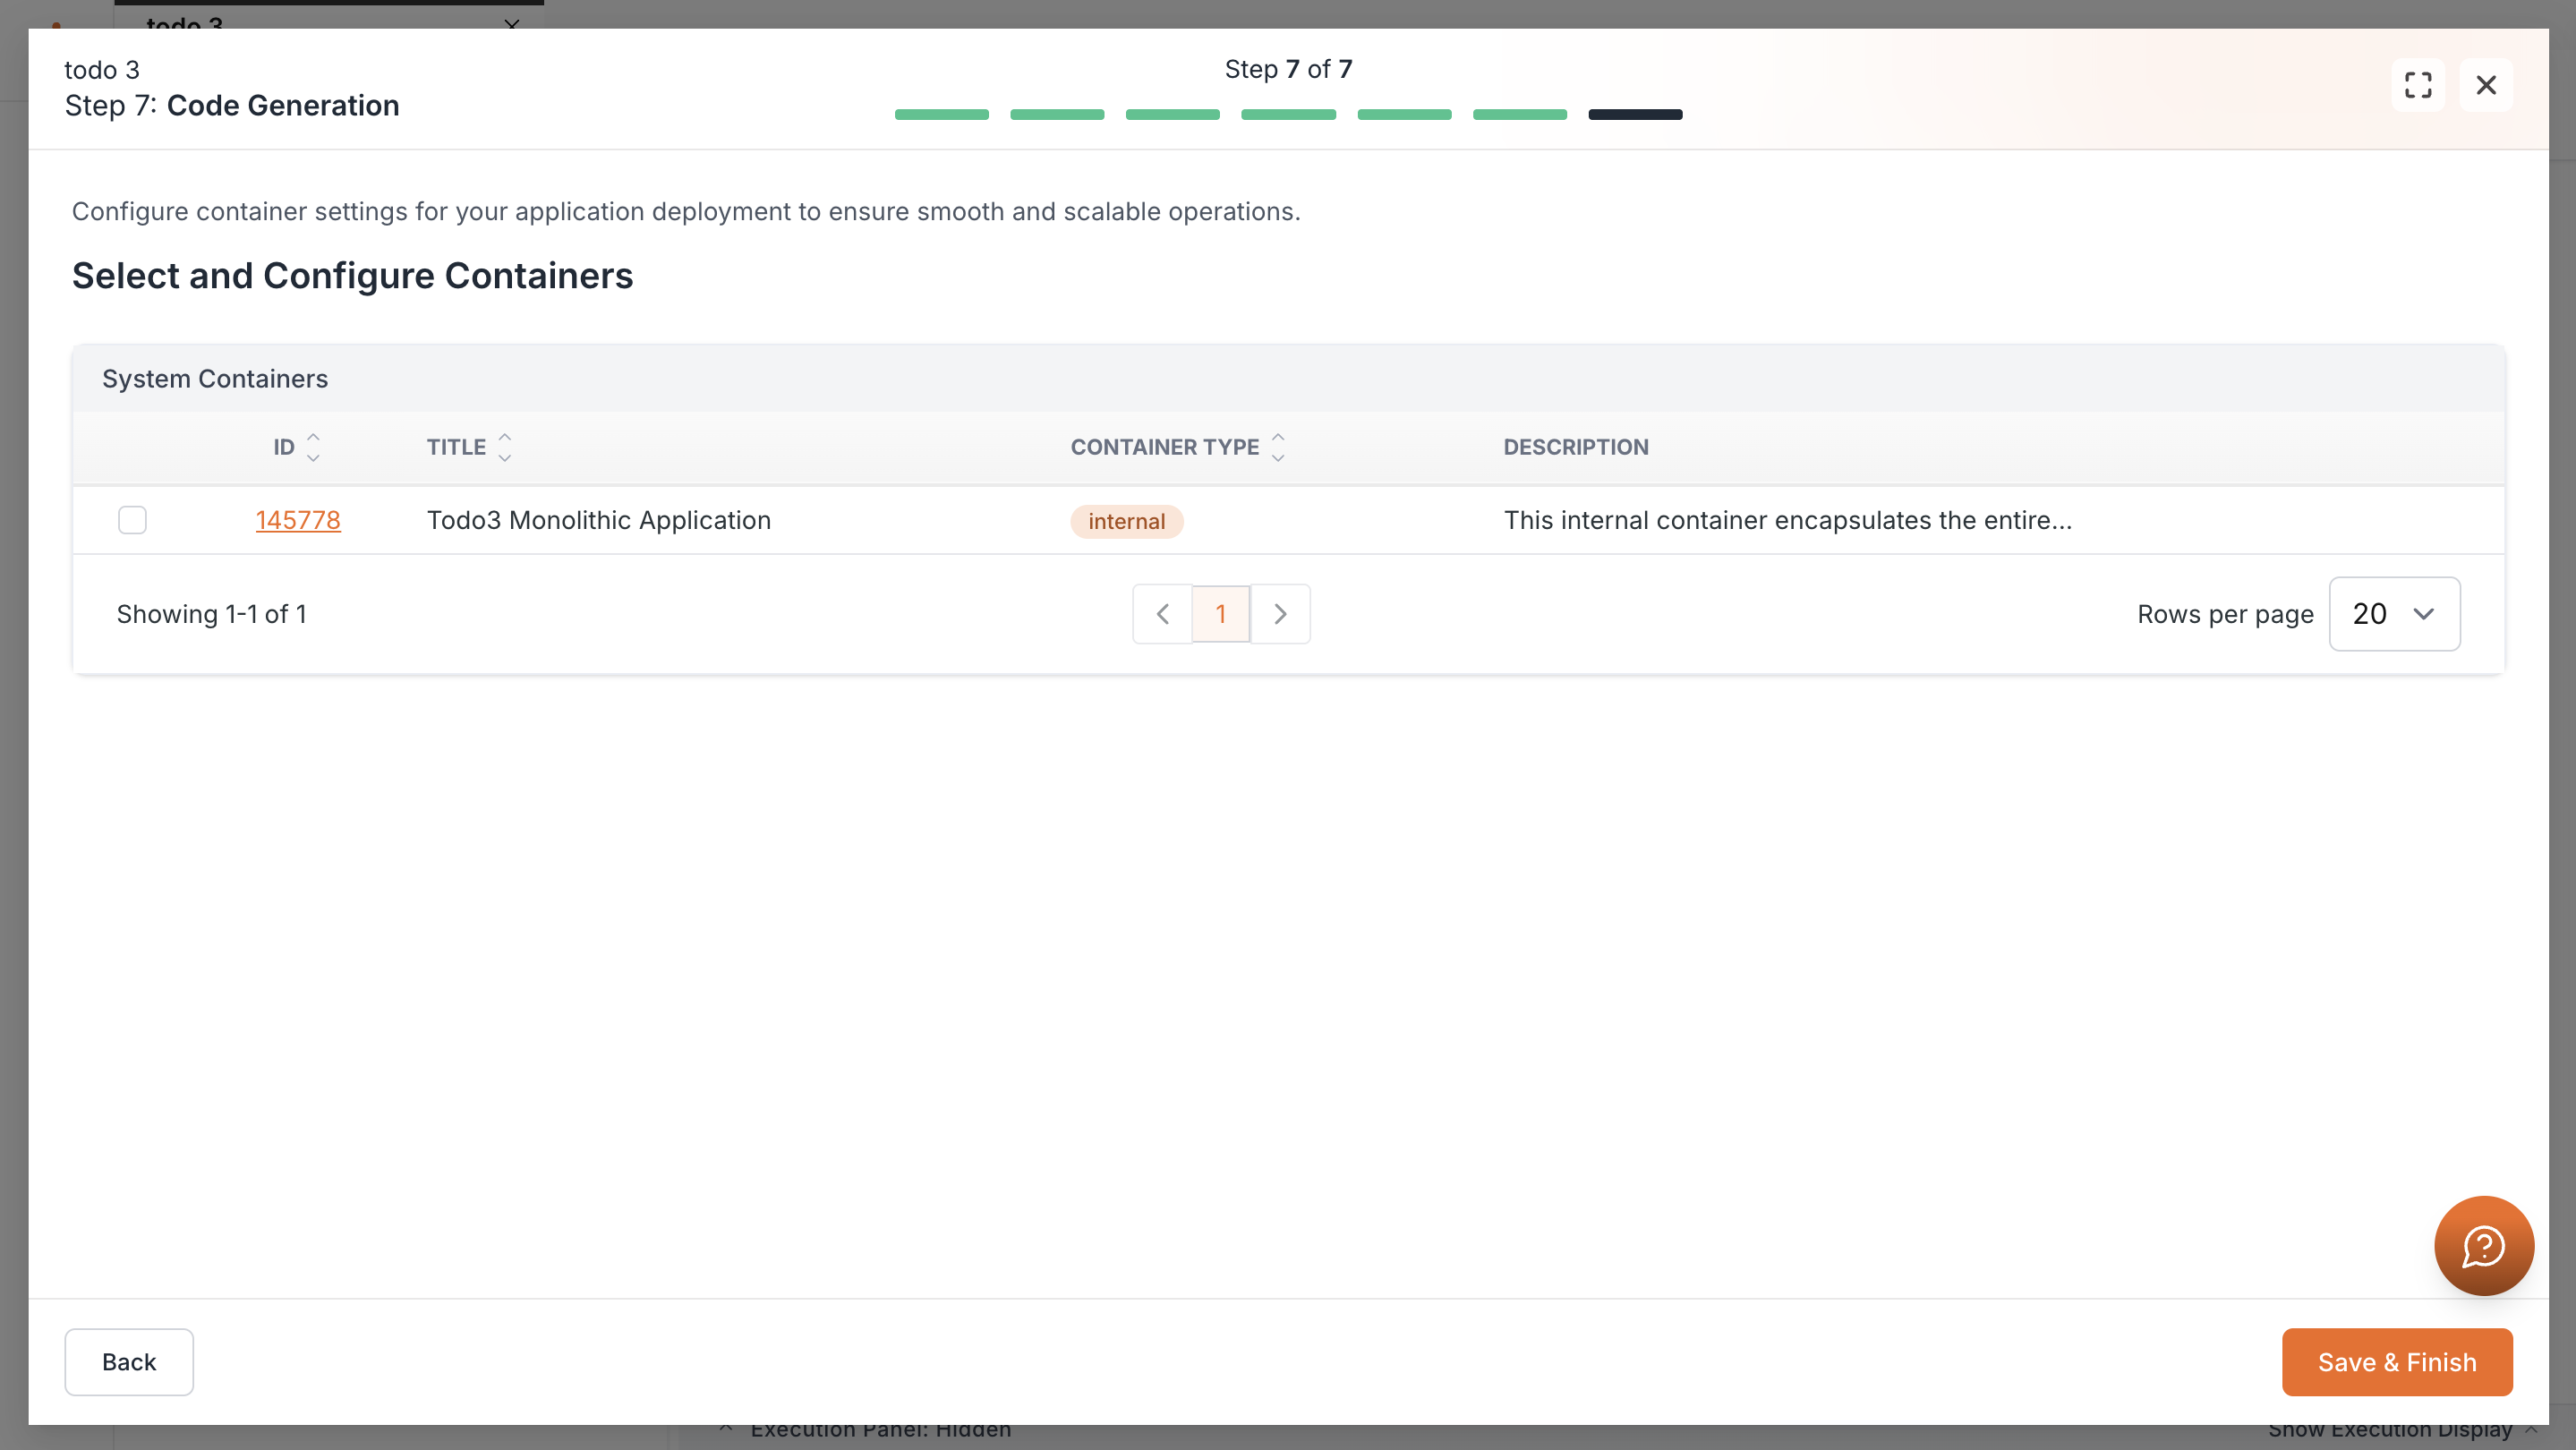
Containers Setup
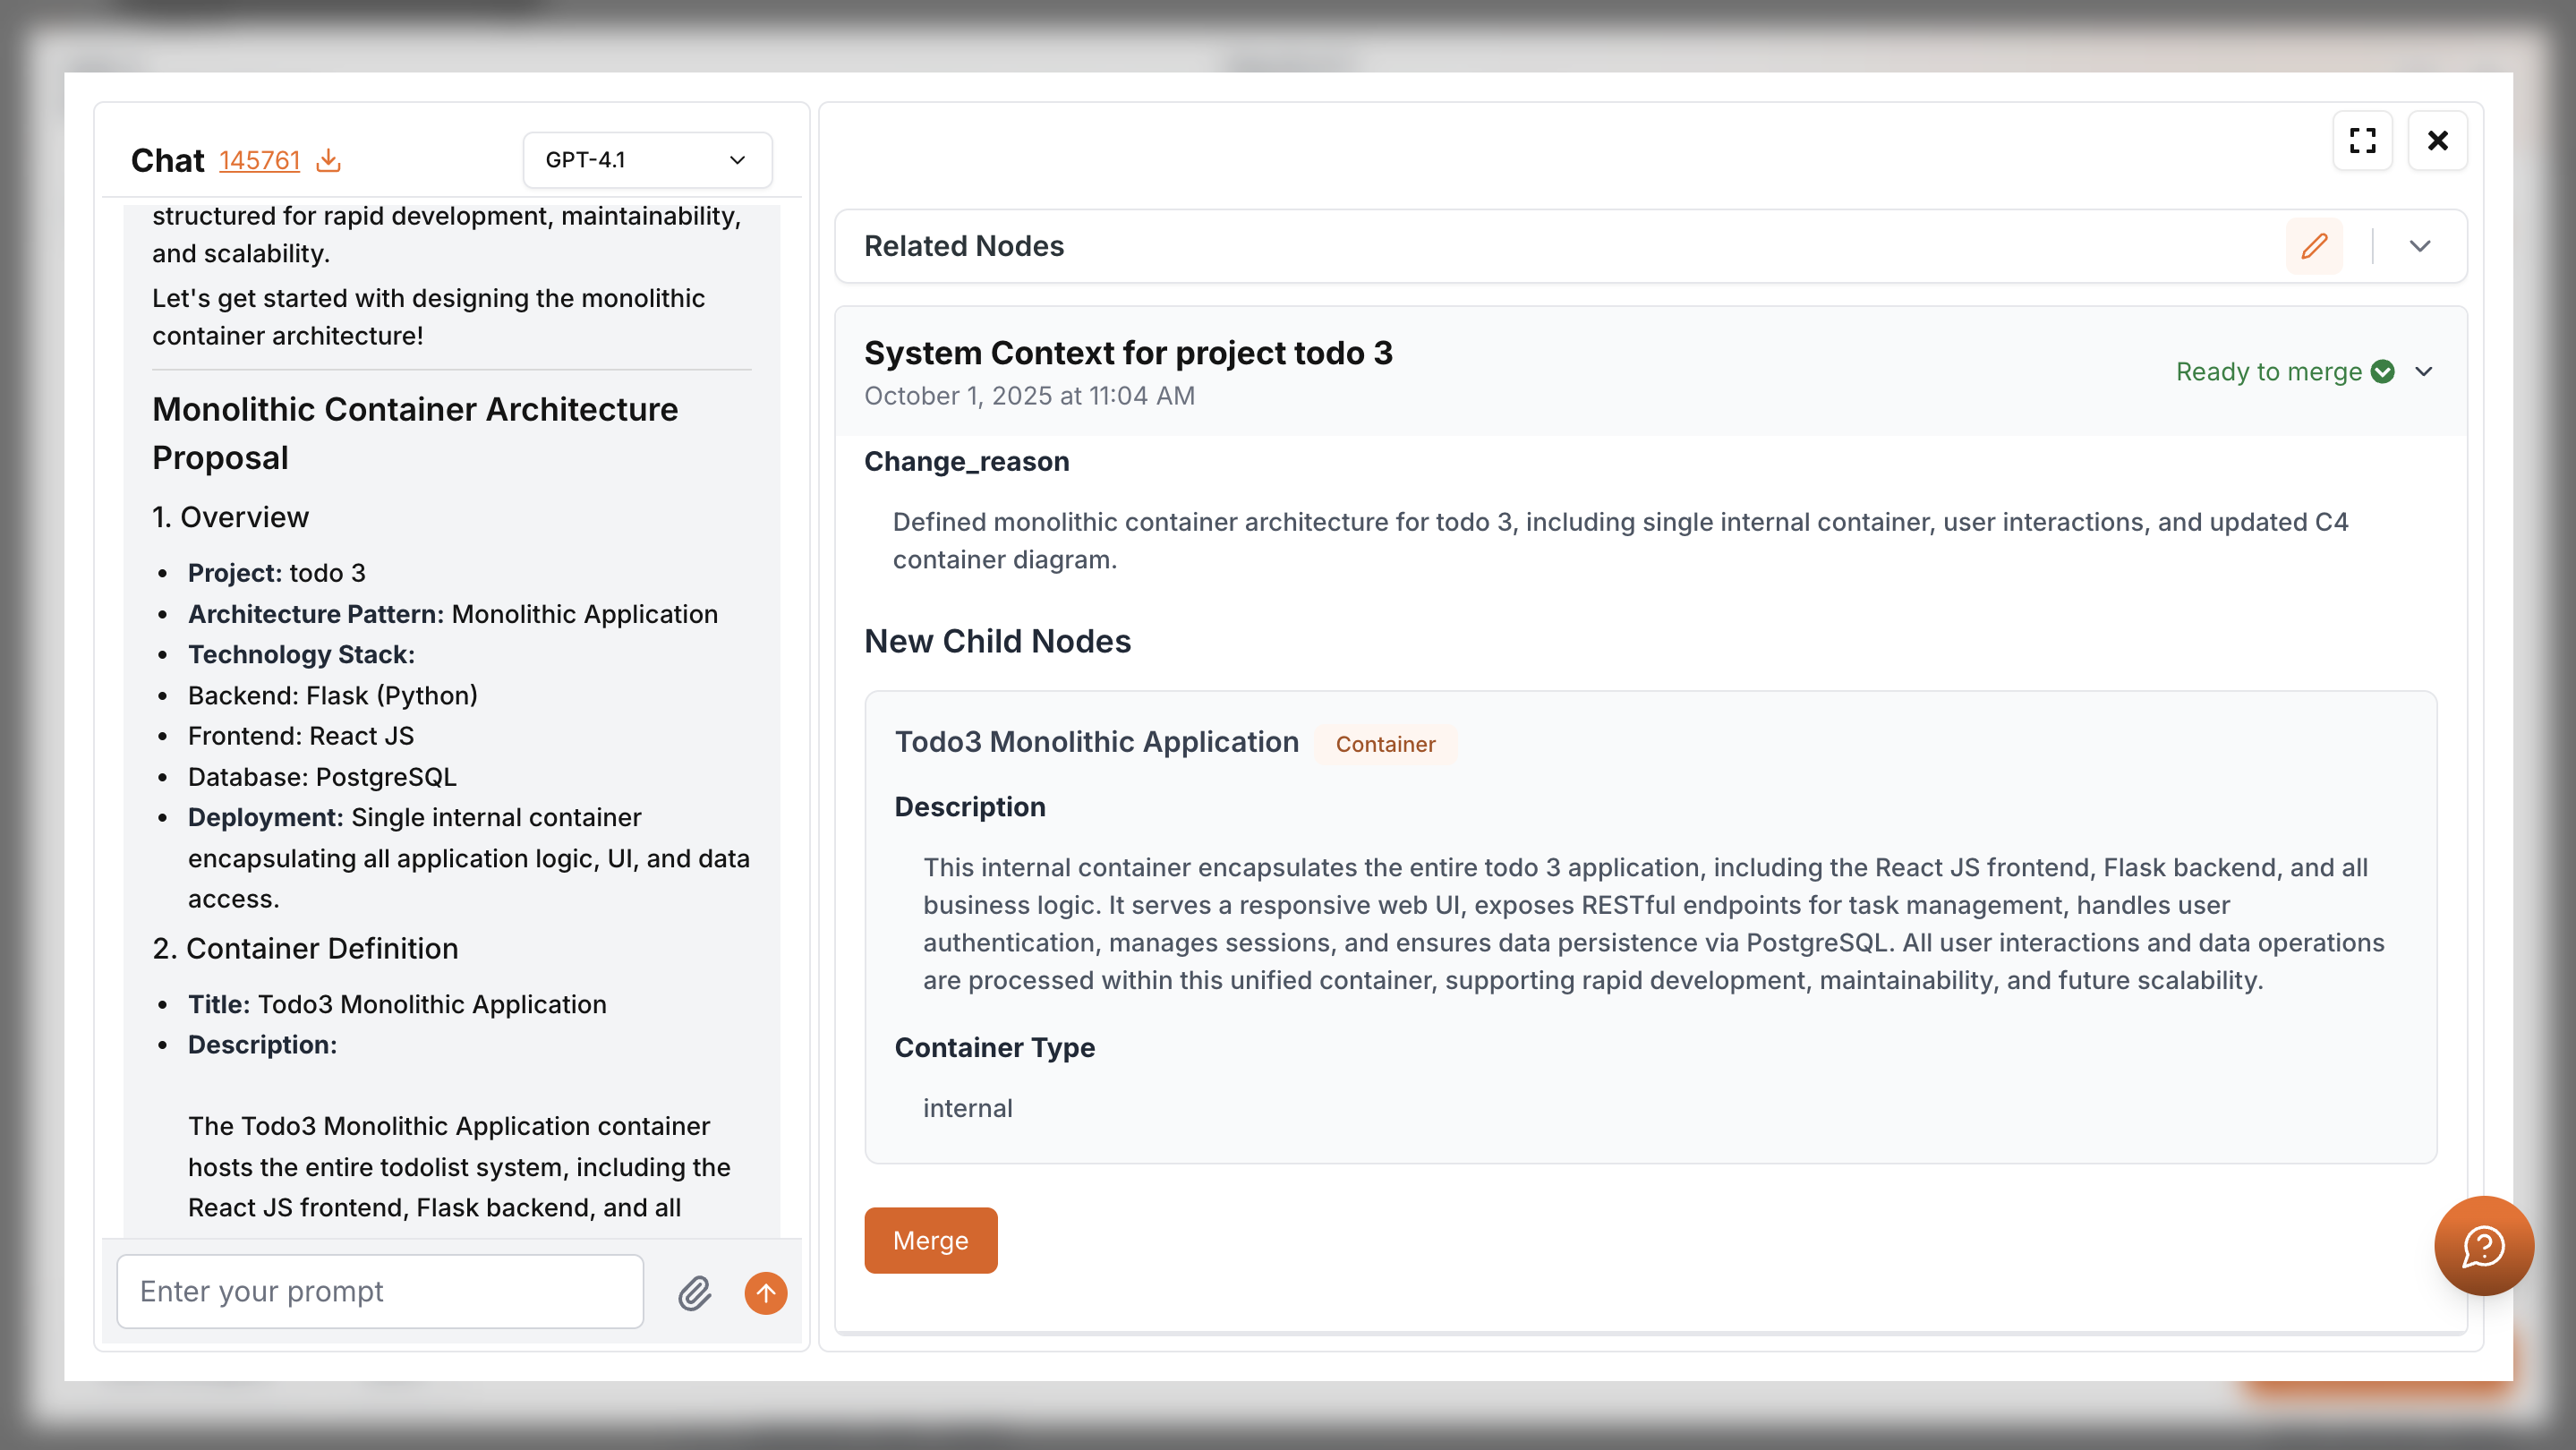
This step is divided into two parts: System Context & Overview, and Container Configuration. The context and overview are already complete, so you only need to configure containers. You can choose Auto Configure or Setup Containers to create them manually with Kavia’s help.
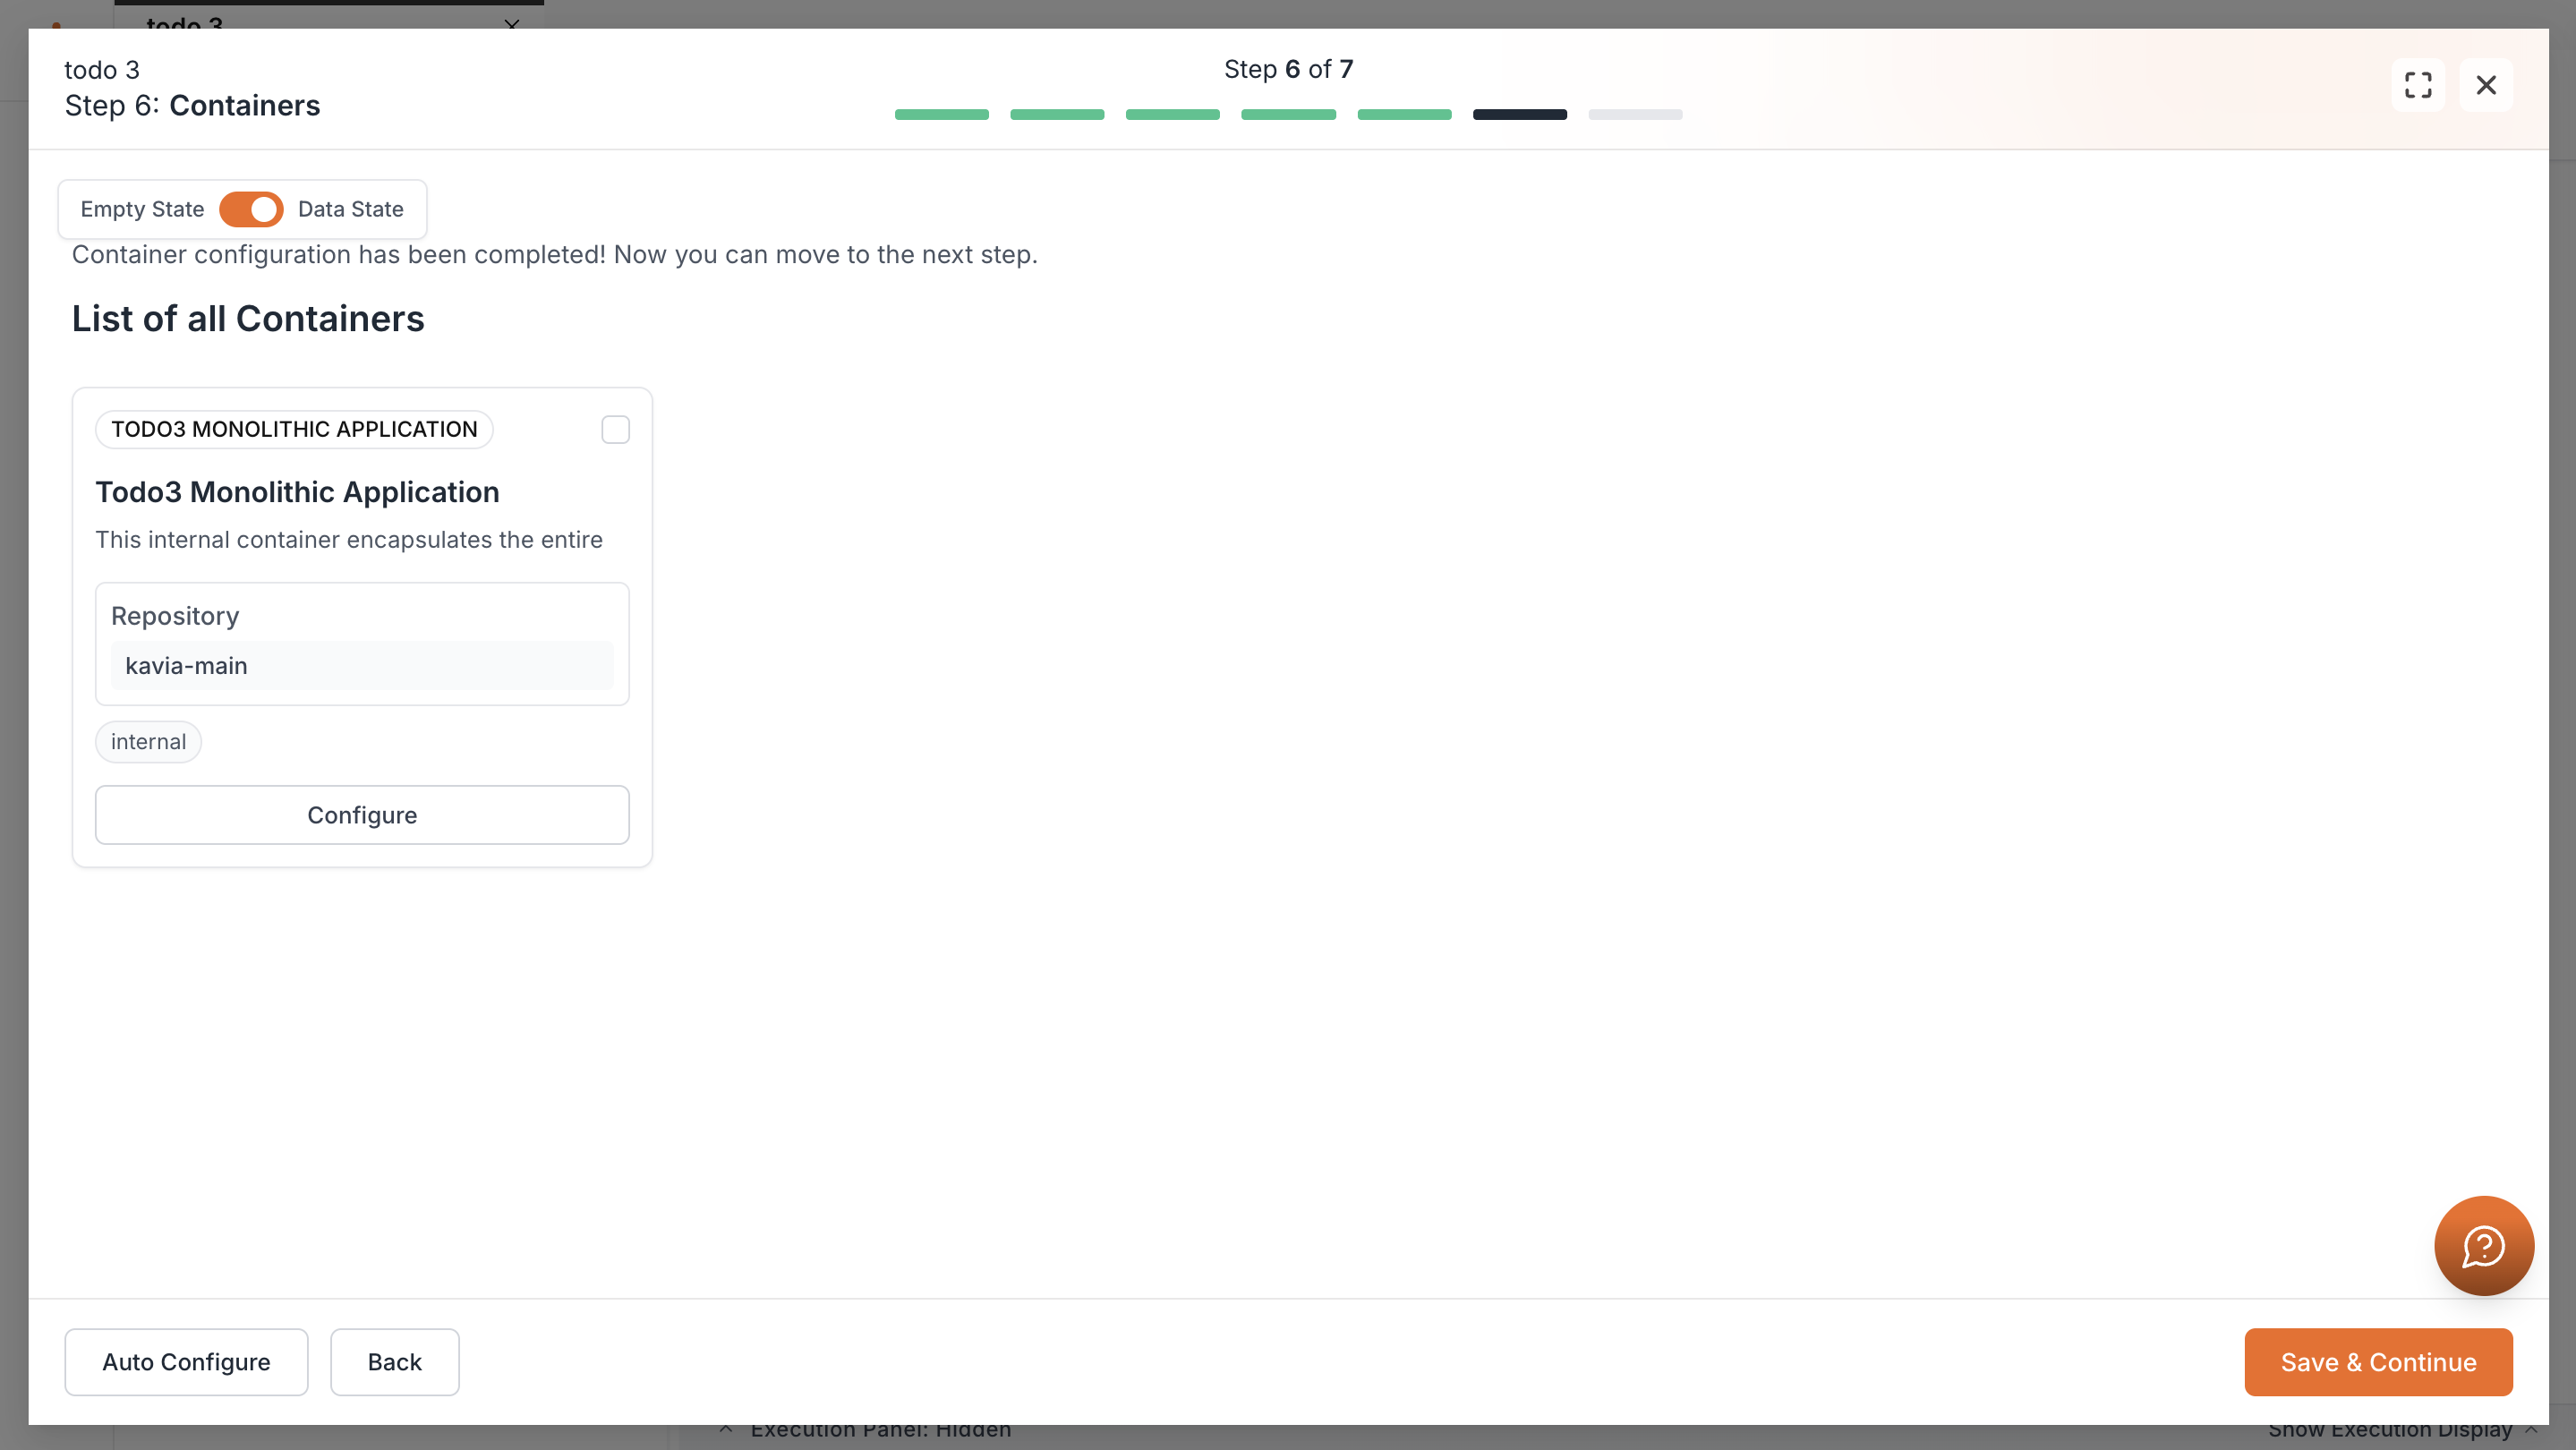
After merging, the created containers are displayed in the setup. Review and confirm before moving forward.

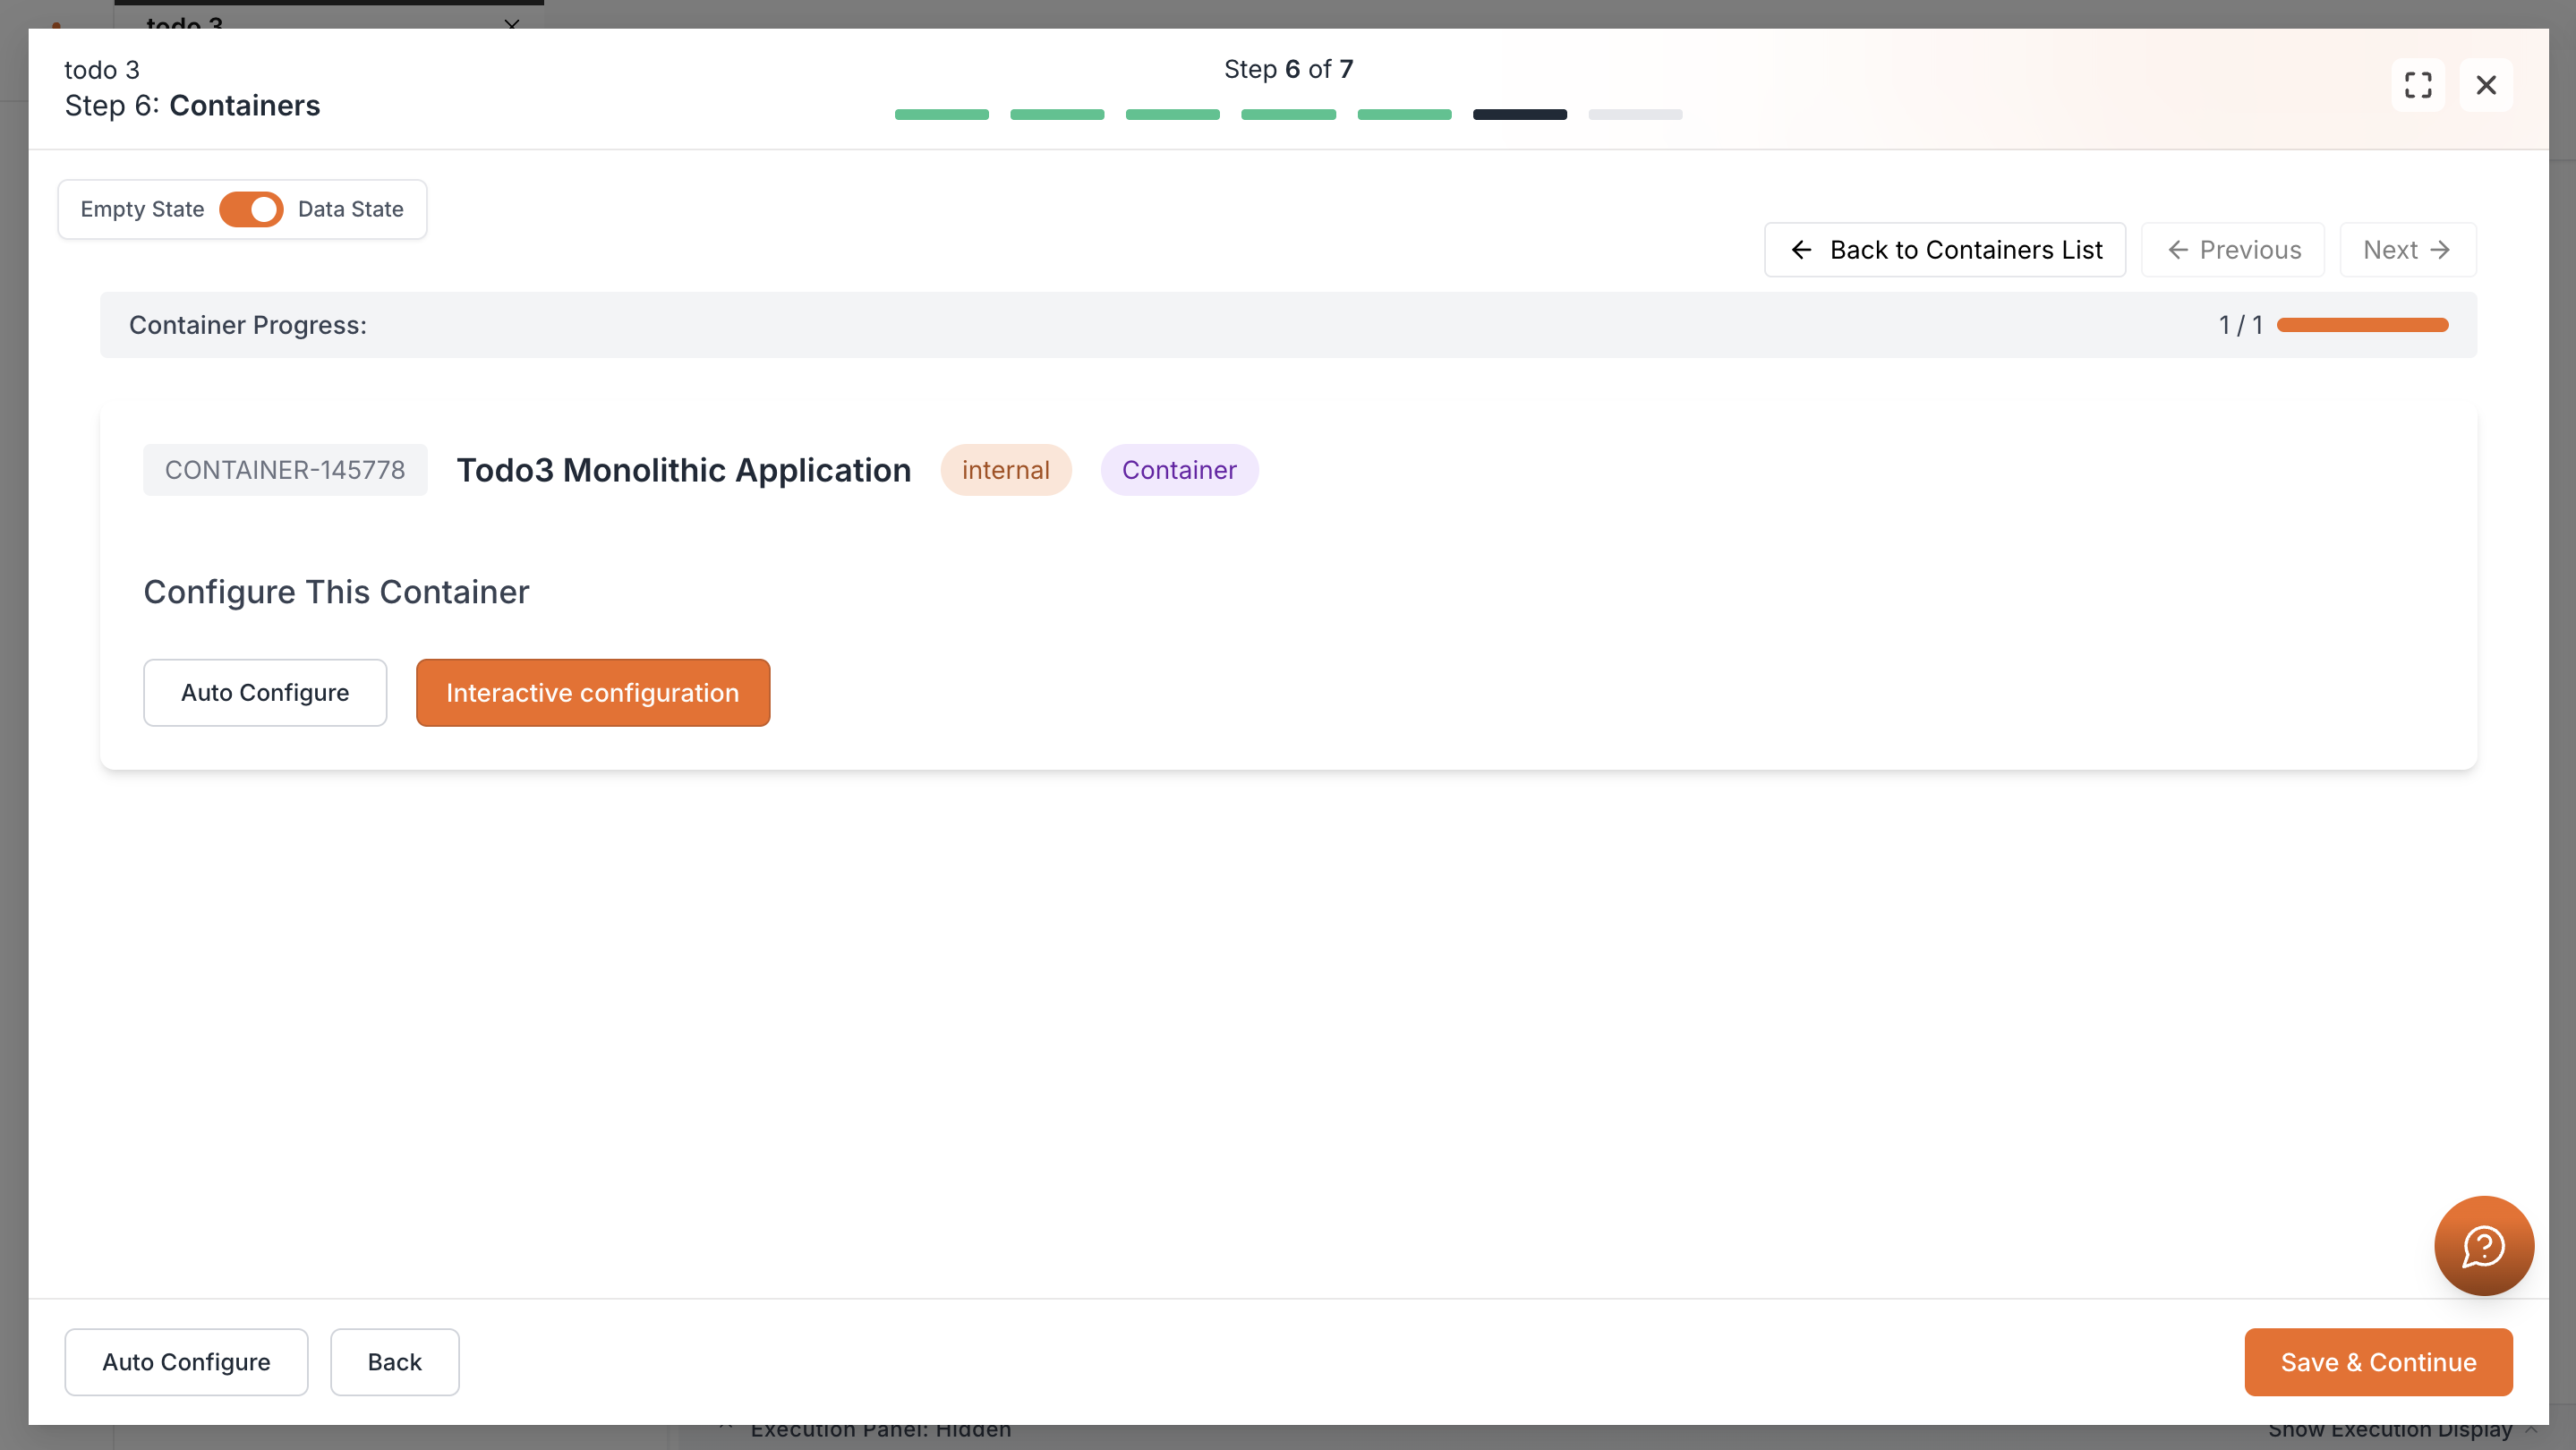
After merging, the created containers are displayed in the setup. Click Configure to review and do changes before moving forward.
Once you clicked configure you can choose Auto Configure or Interactive Configuration to go to the chat again. Review and request changes if needed. Merge to apply the updates, then return to the setup. Save and continue once ready.
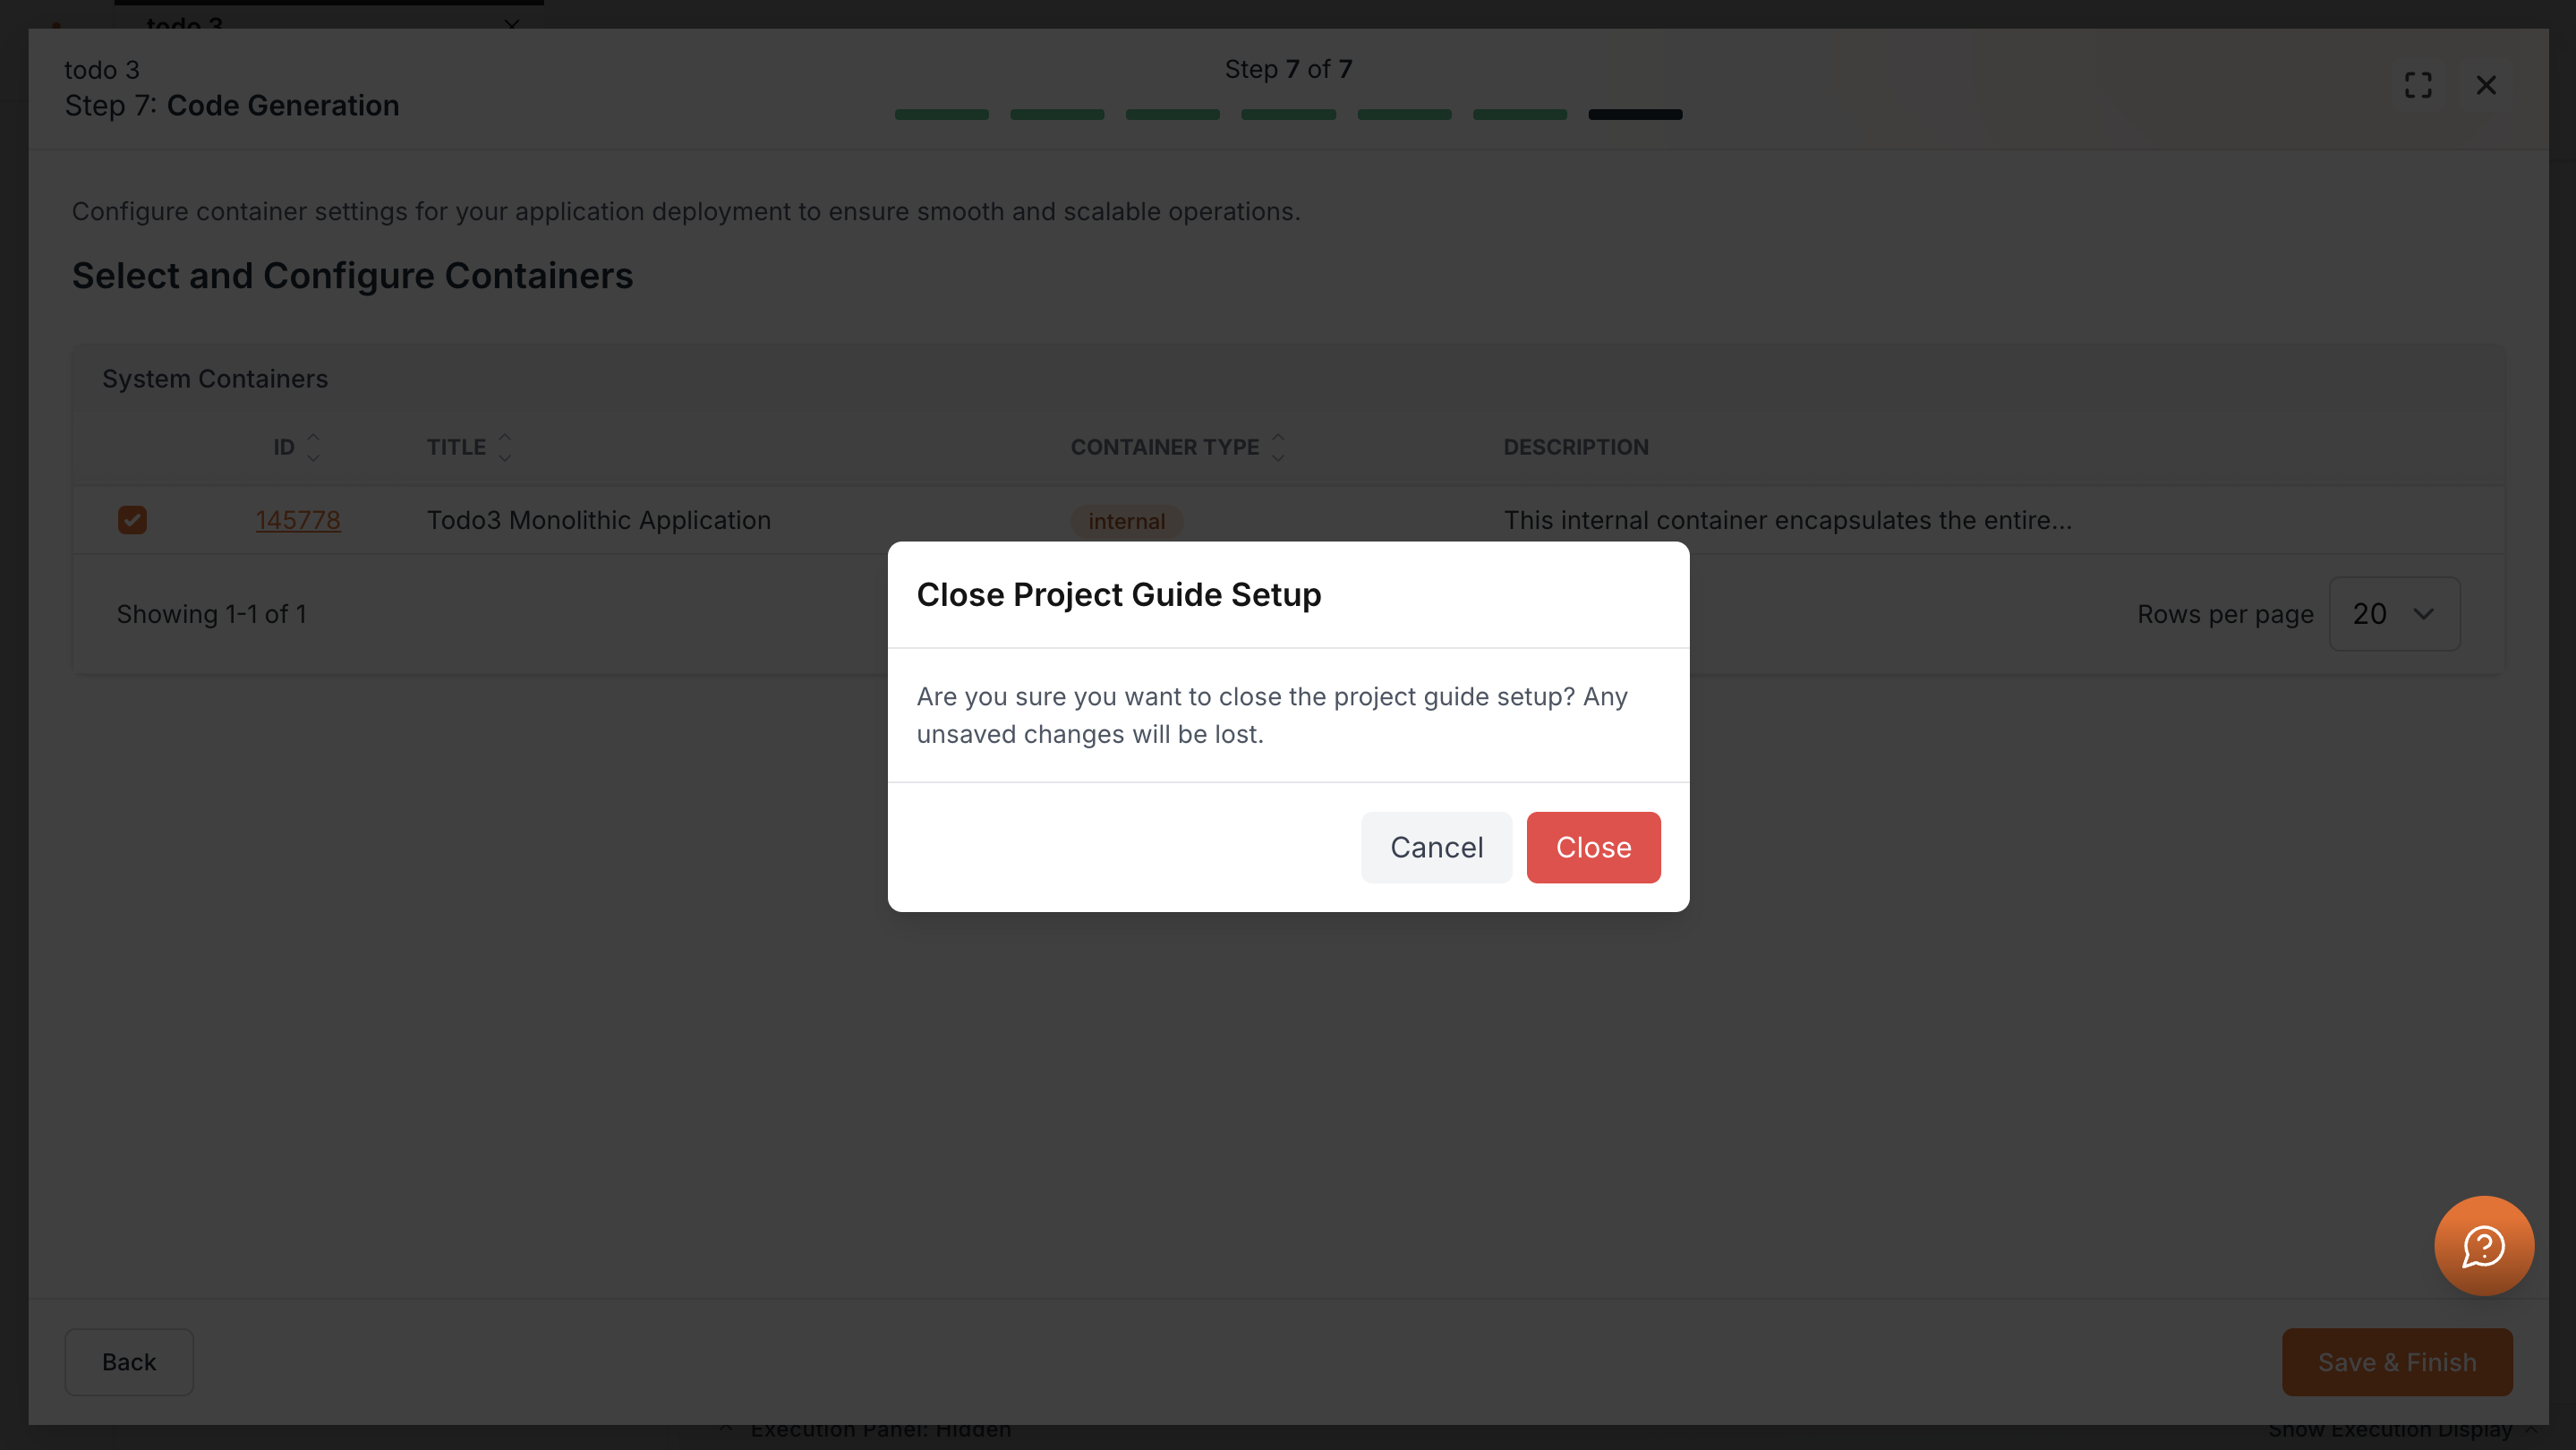
Save and Finish
At this point, click Save & Finish.
Kavia will ask you to confirm exiting setup. You can cancel to review previous steps or click Close to move to project dashboard.
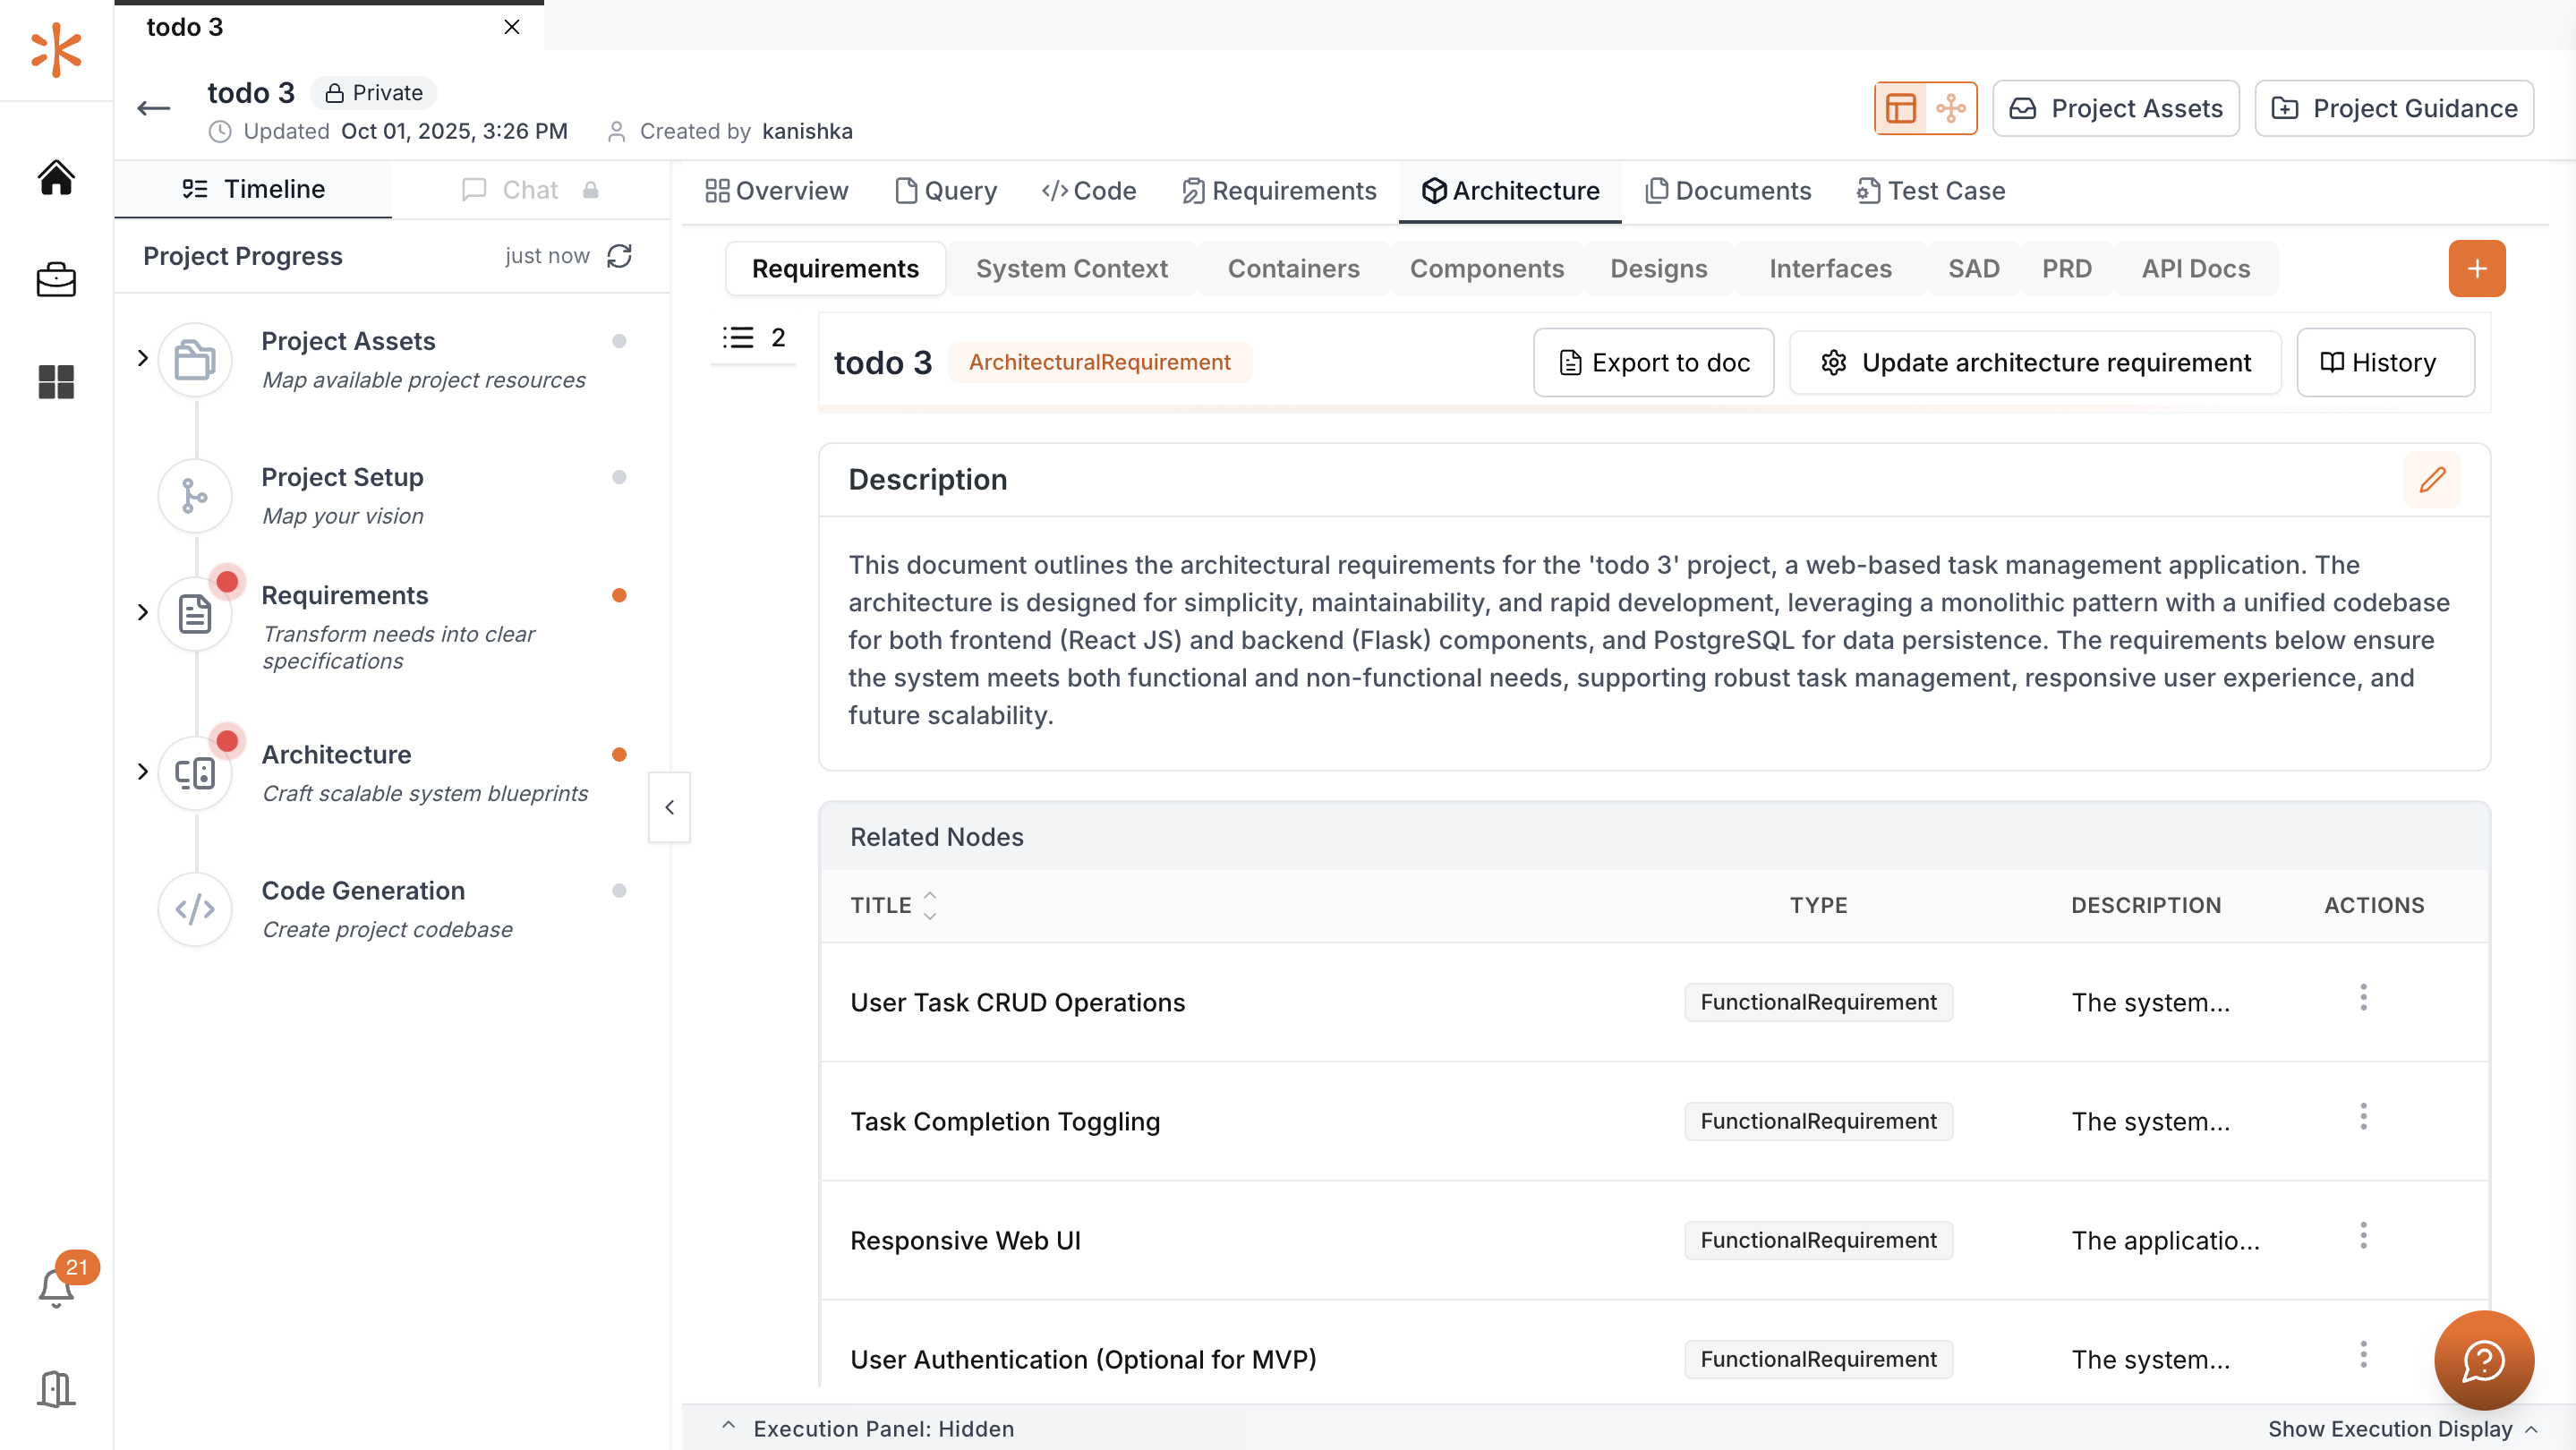
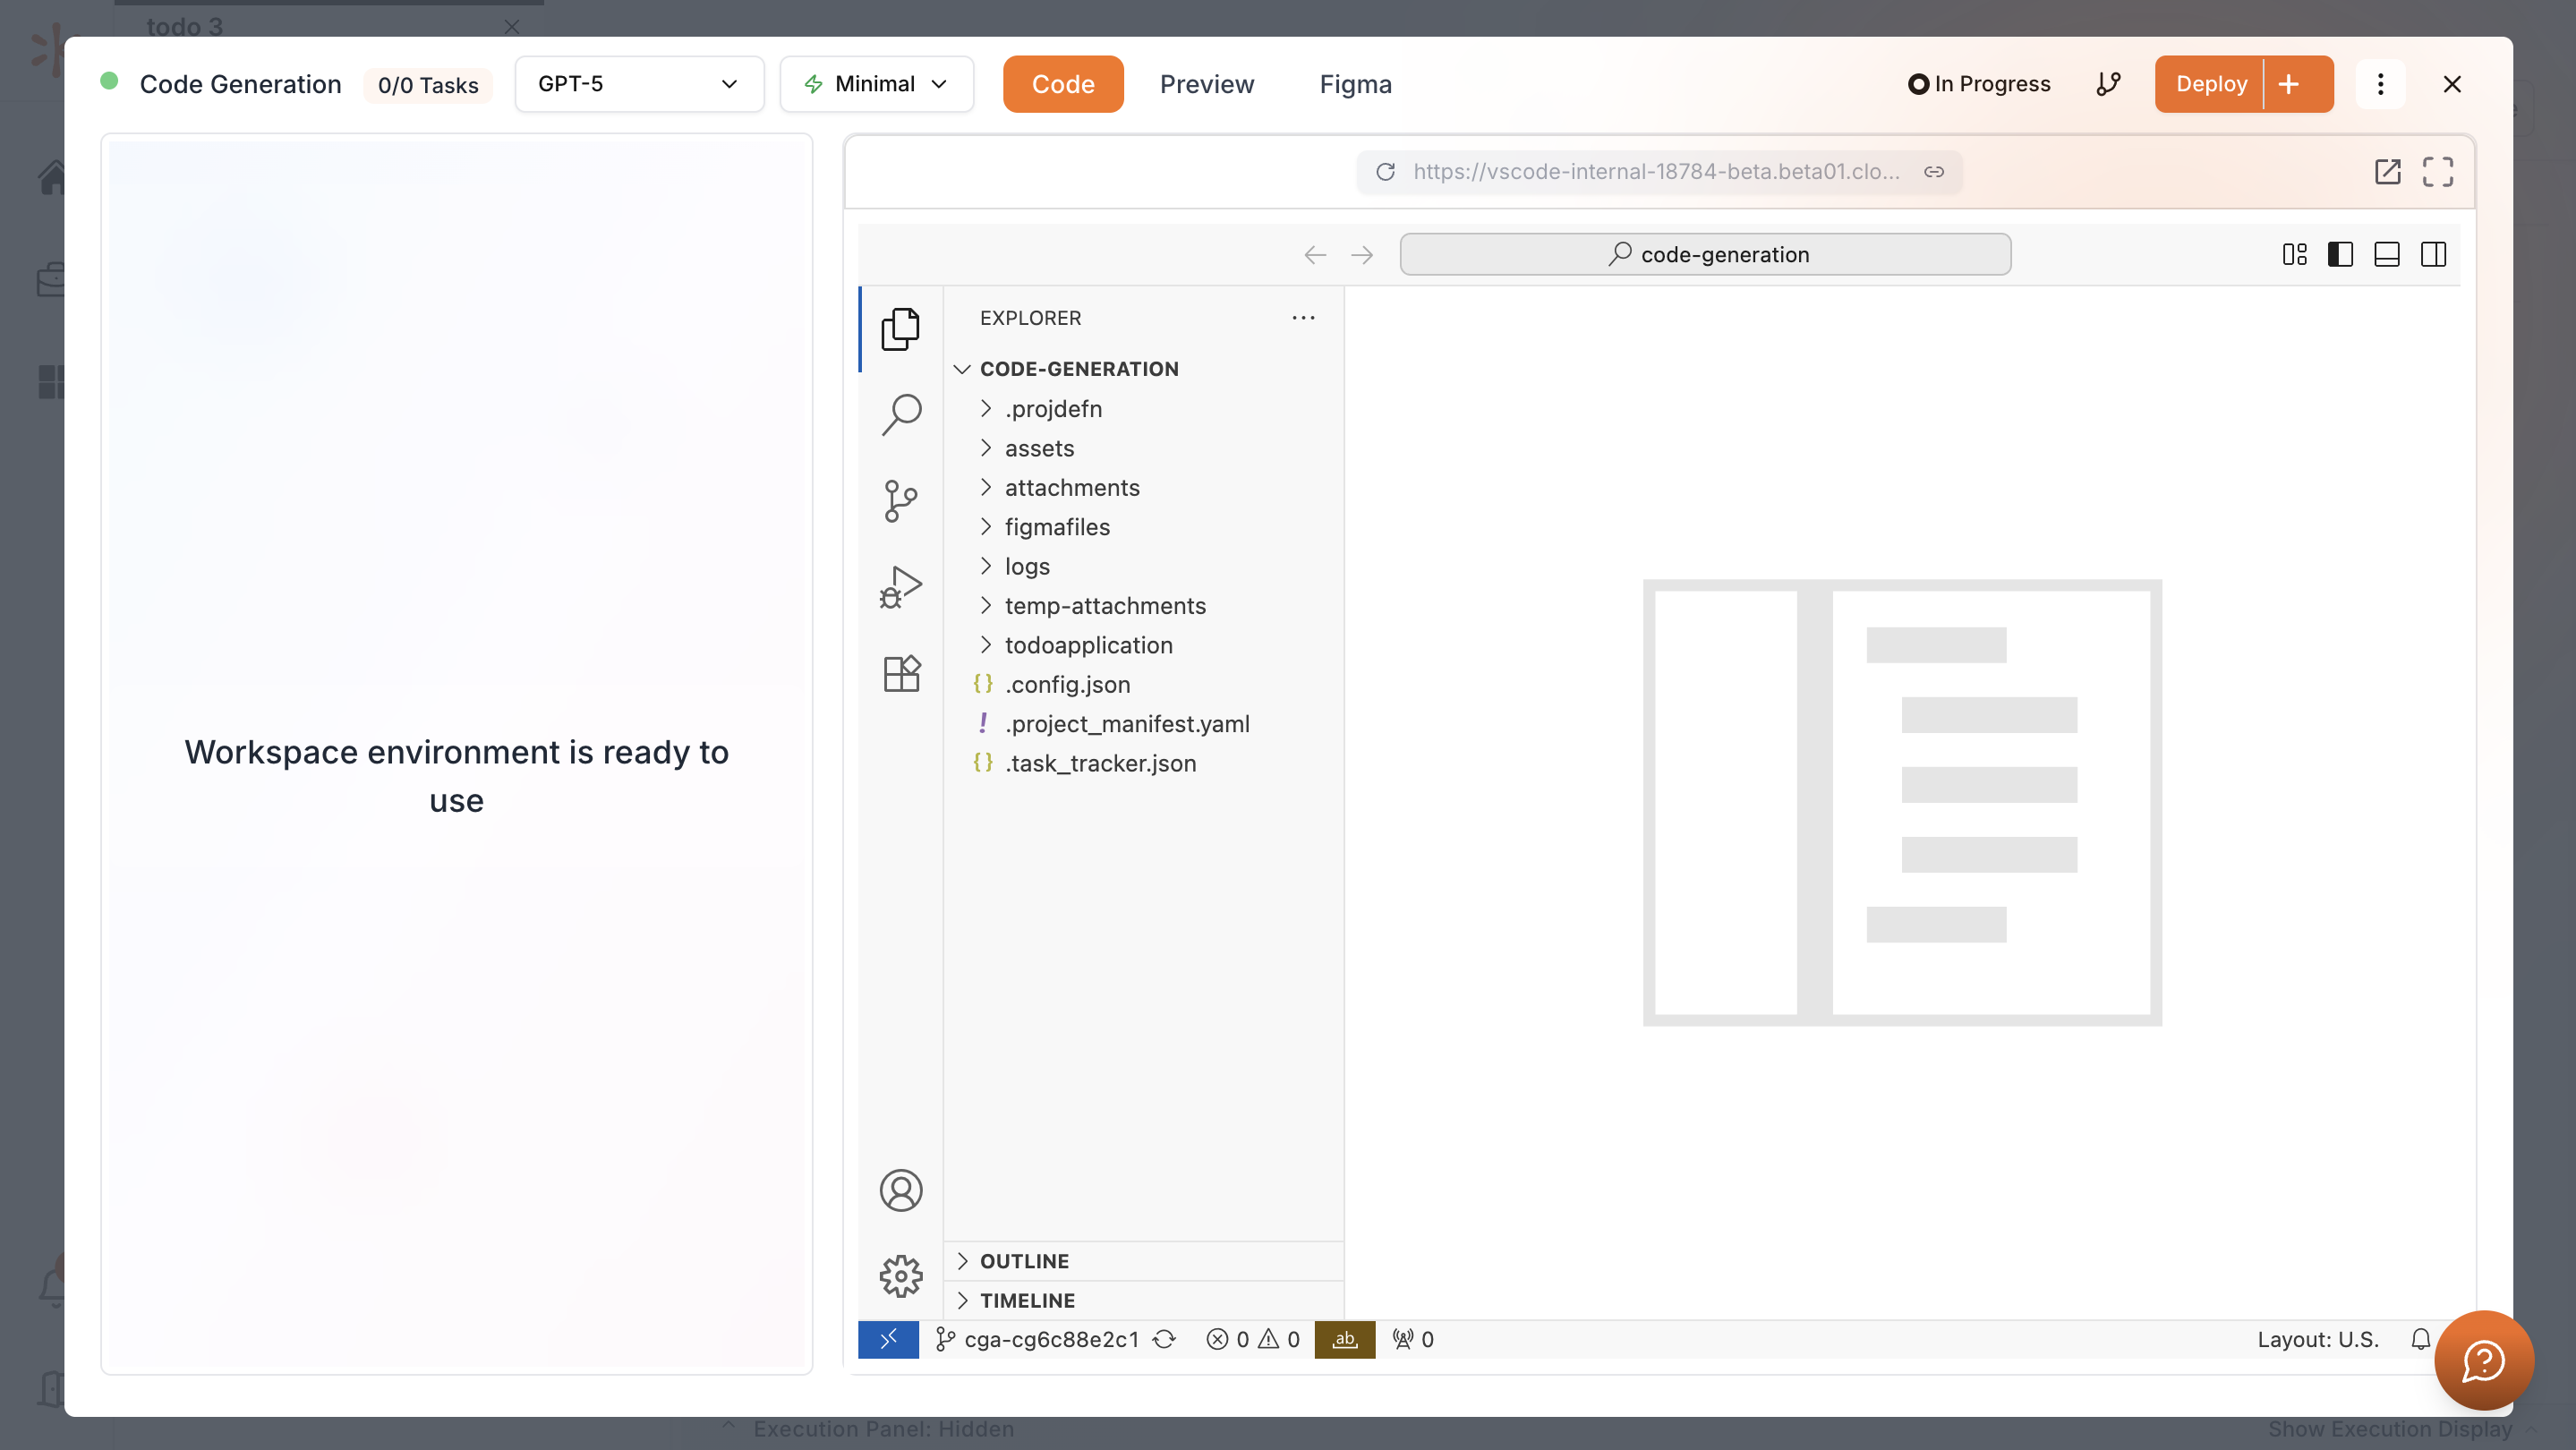
Start the Code generation
Once setup is complete, you’ll be redirected to the Project Dashboard.
Open the Code tab from the top panel.
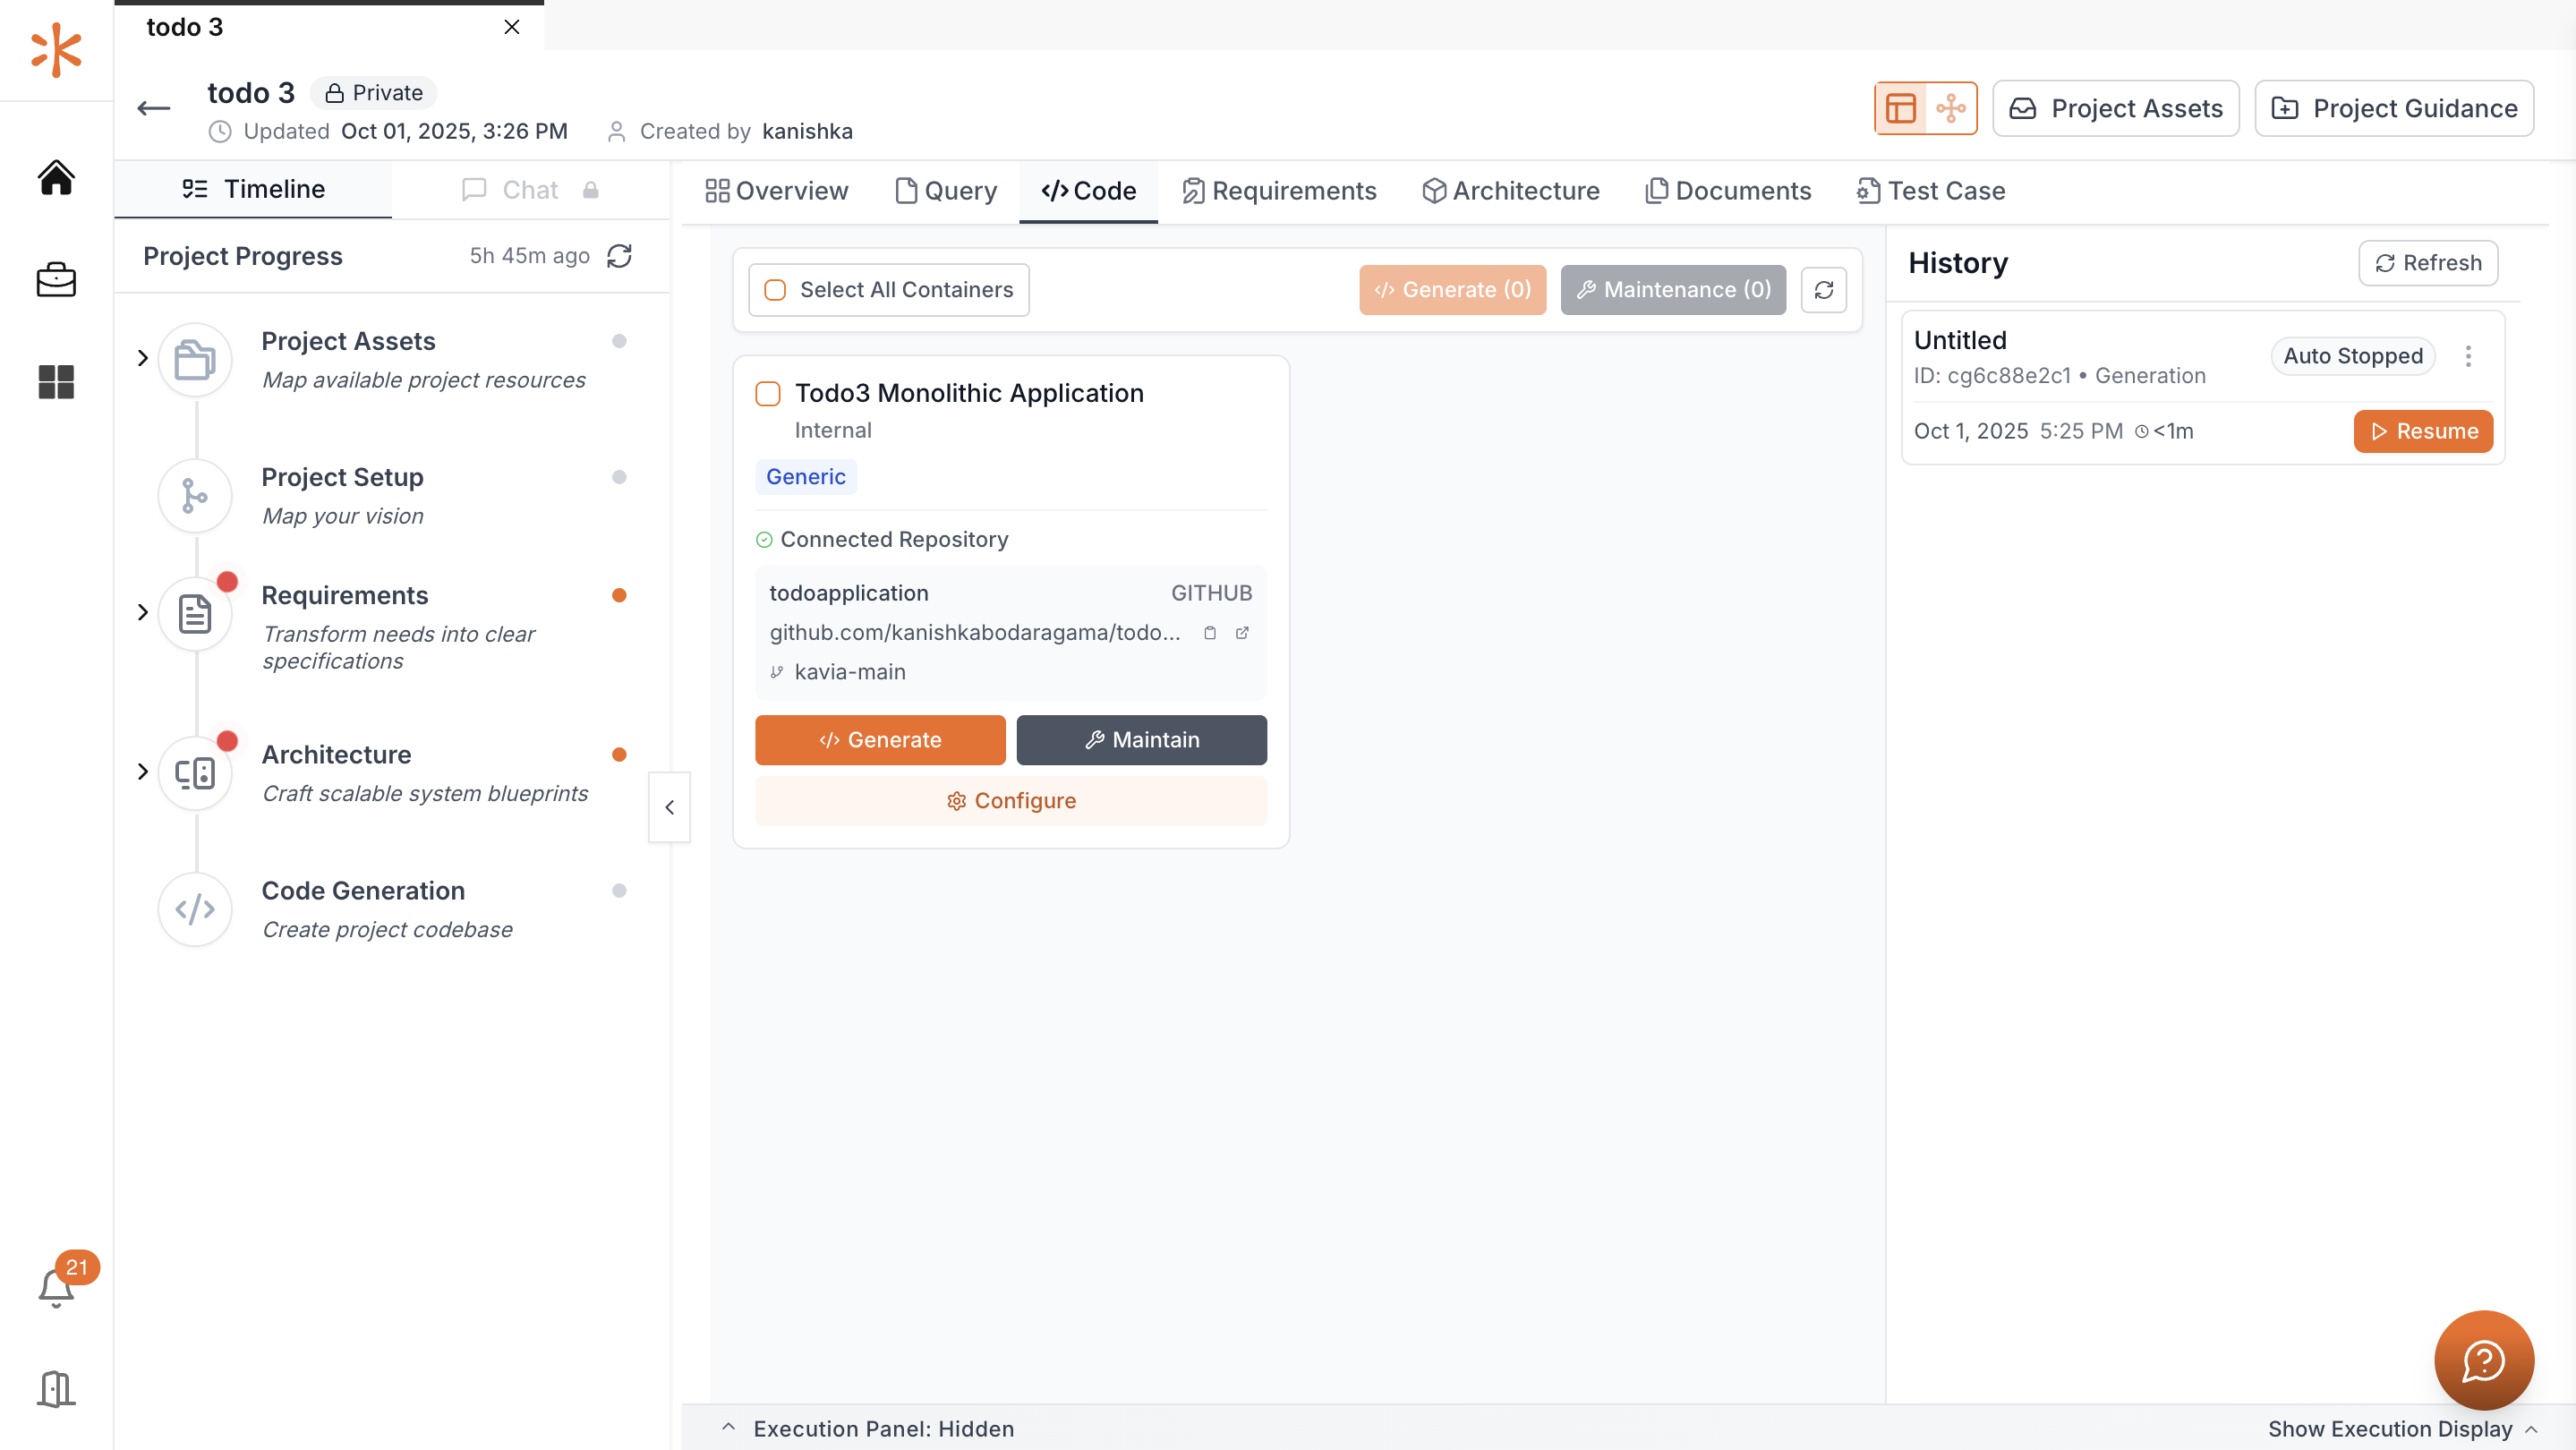
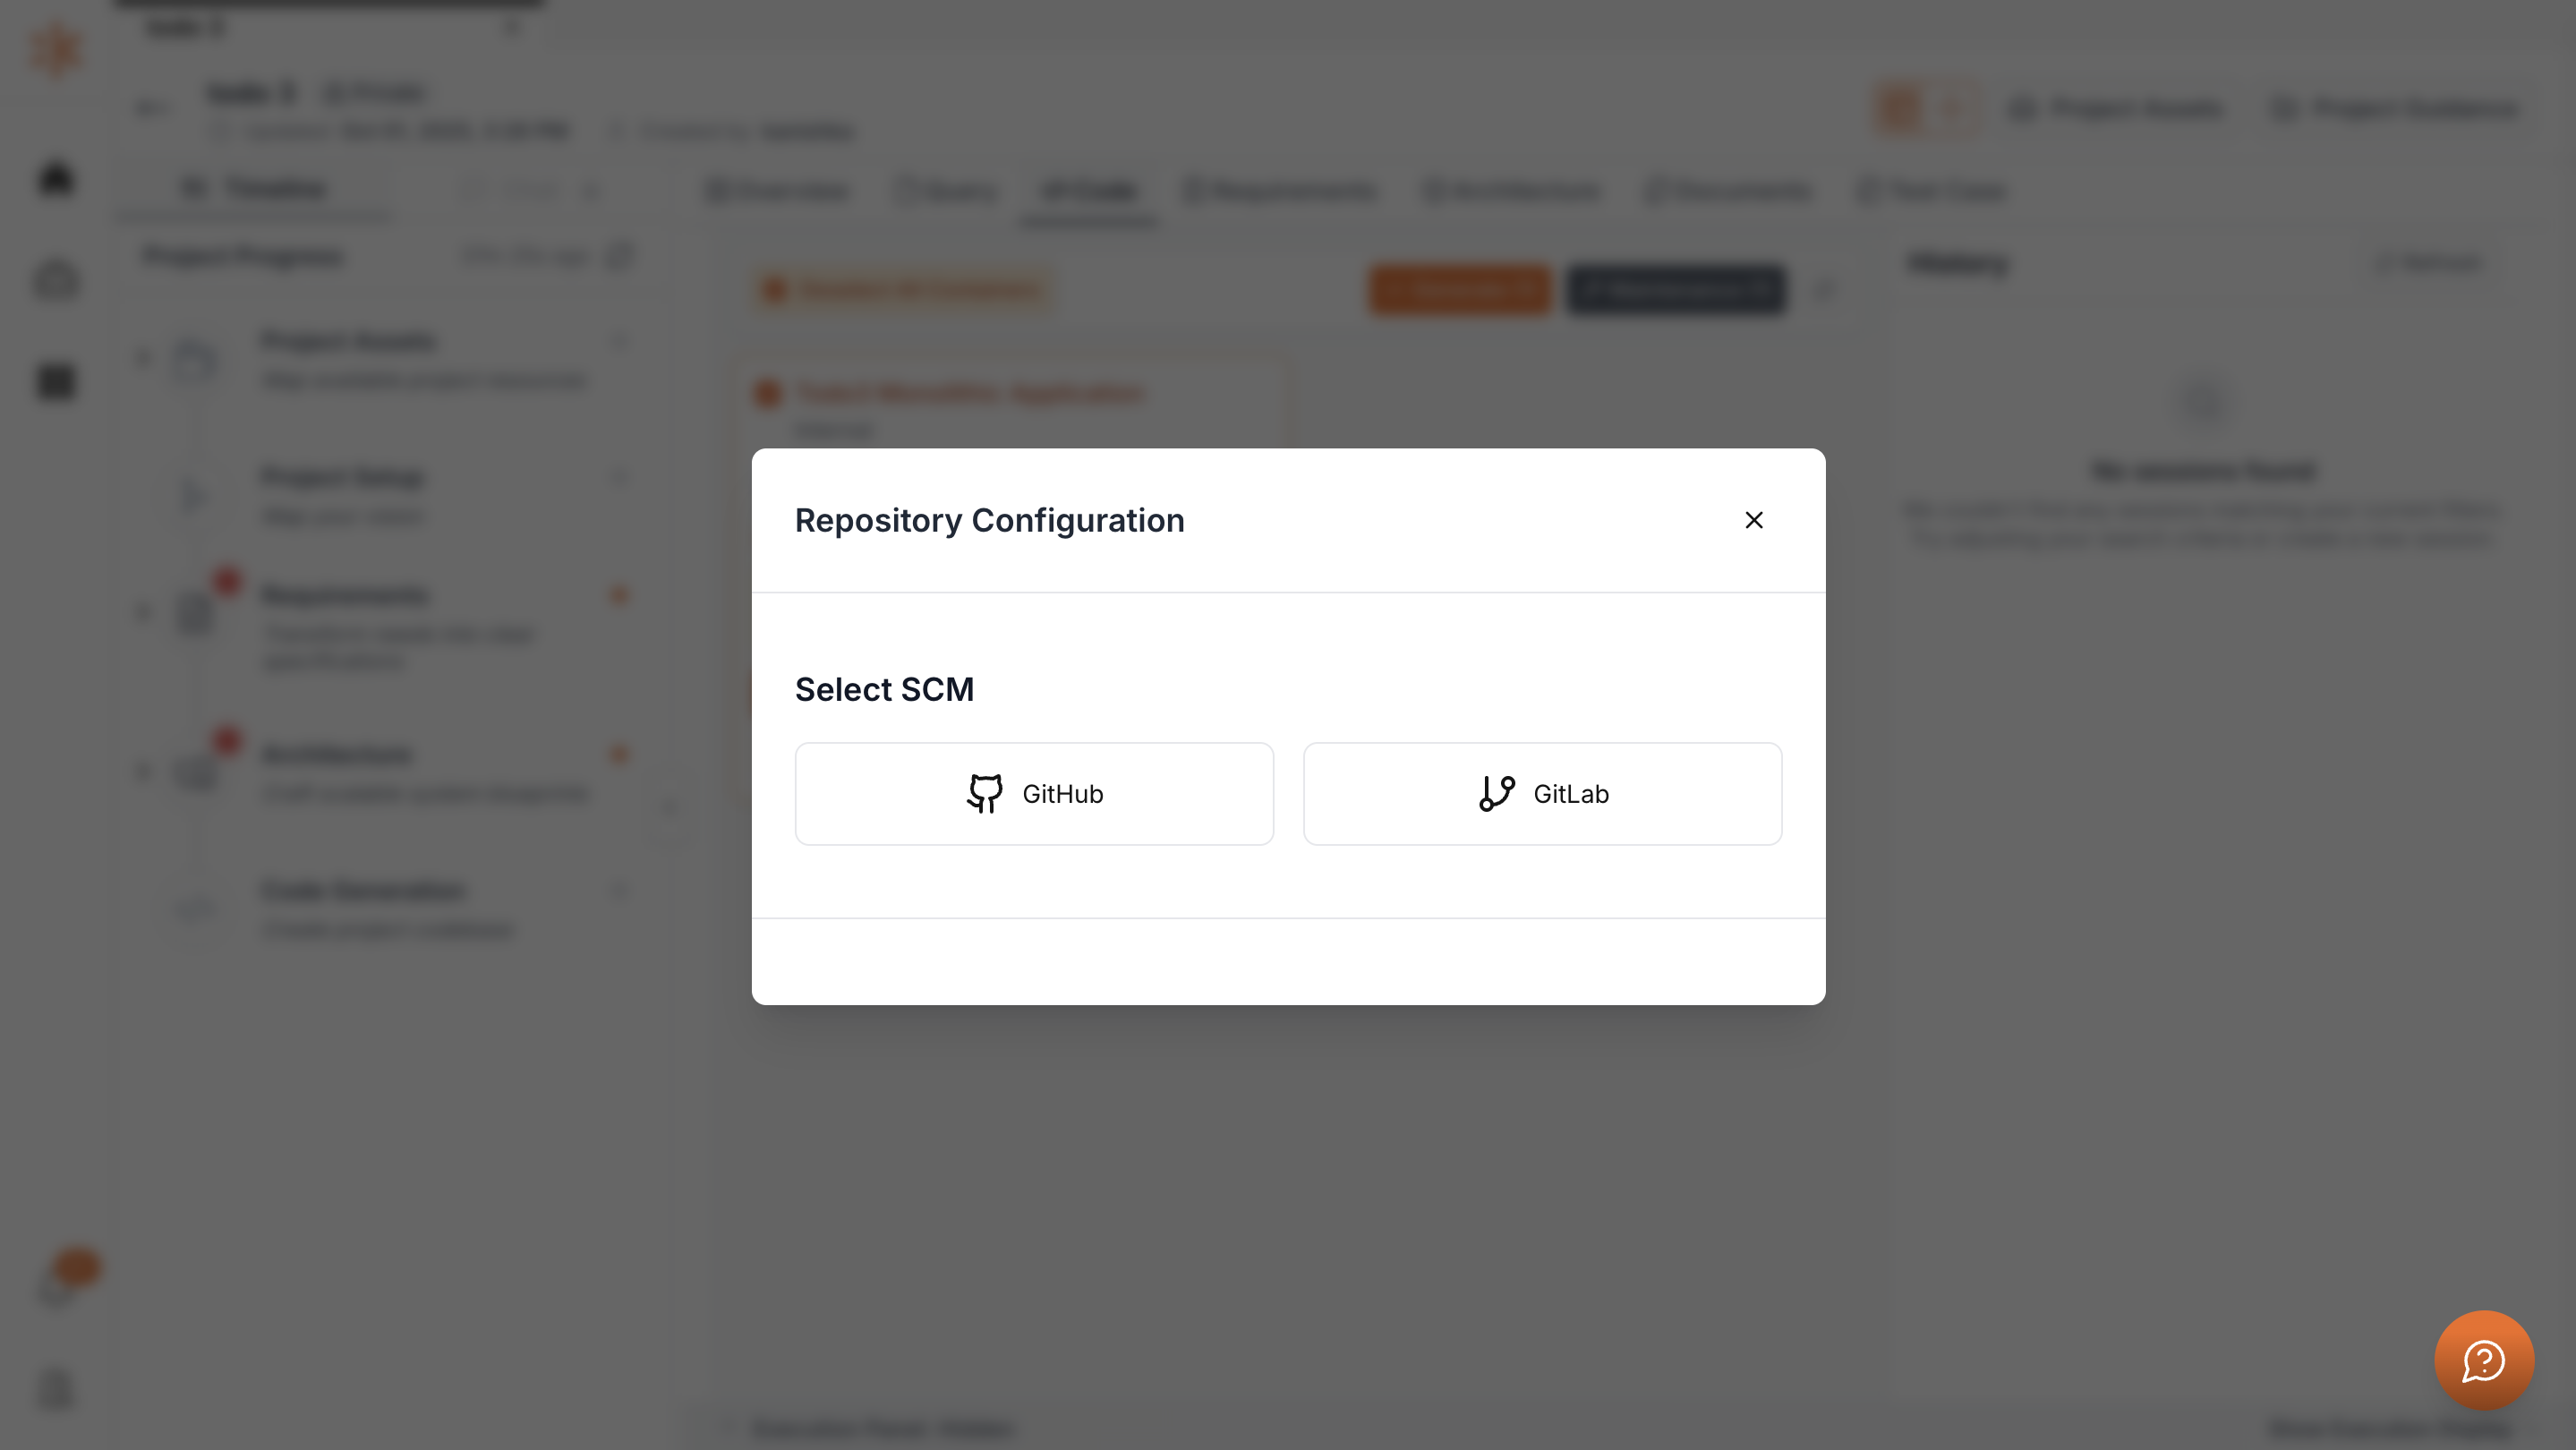
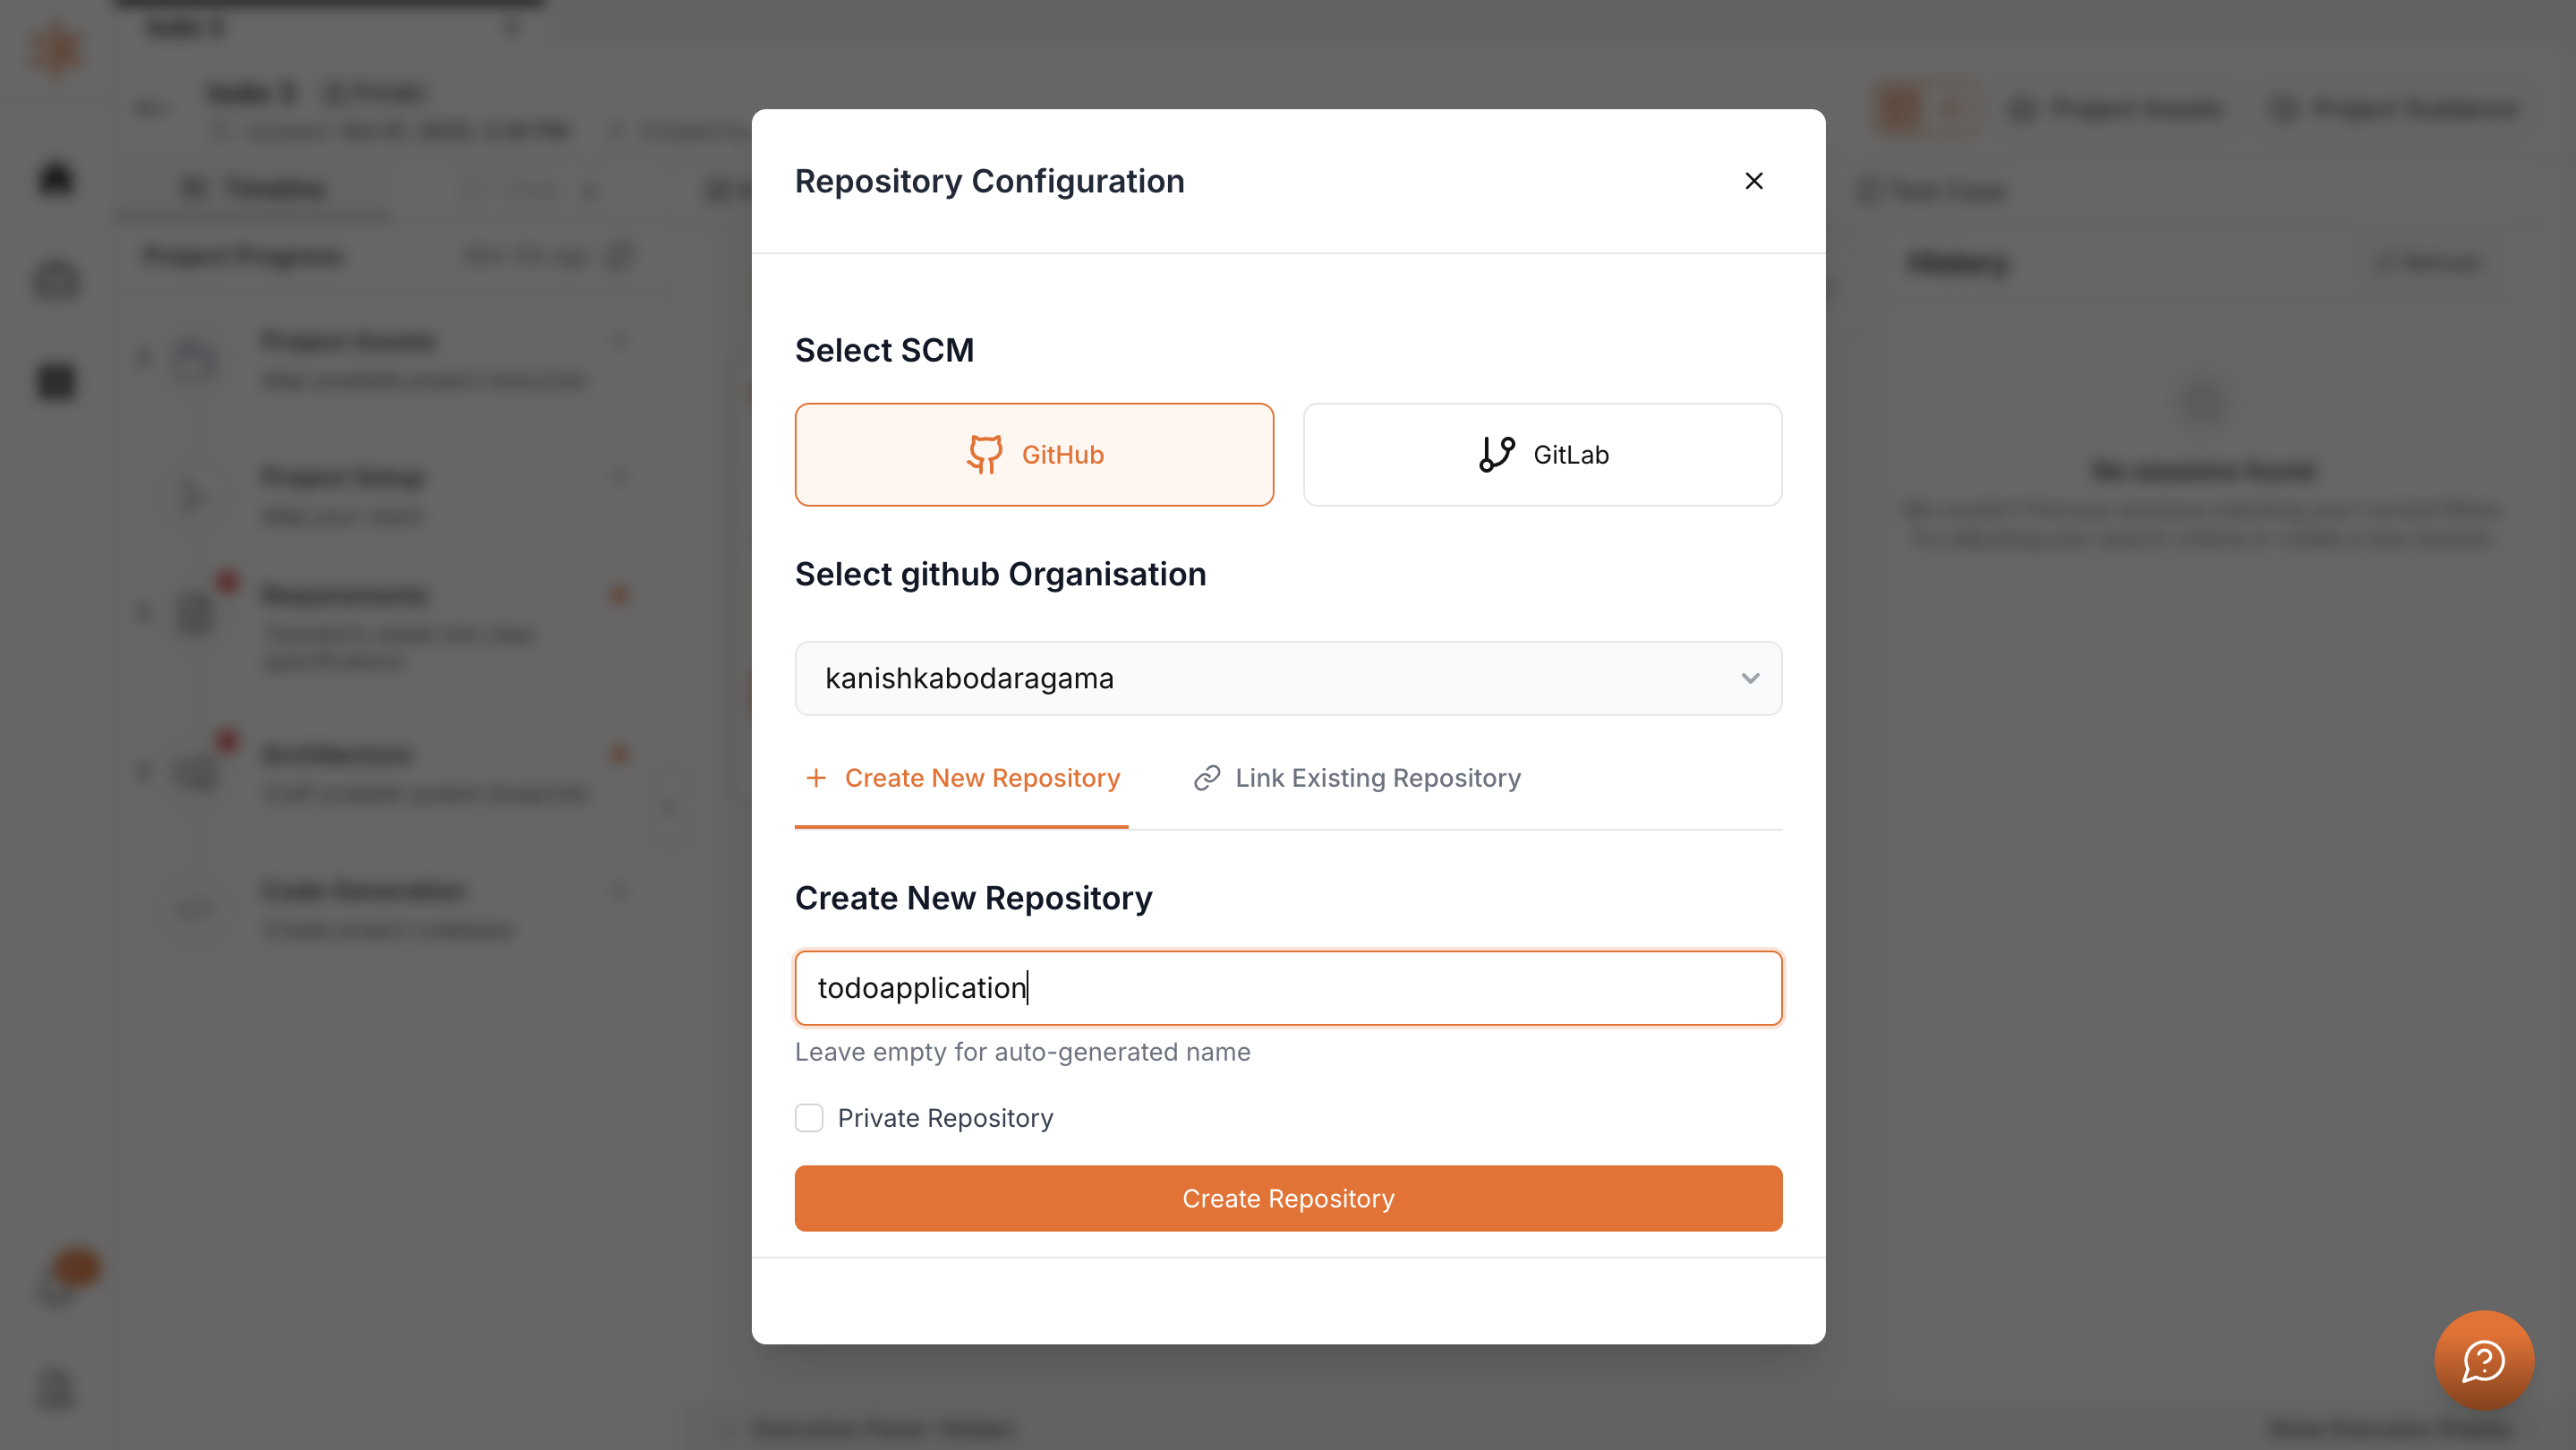
Connect Repository
Click Configure to connect a repository. You can select GitHub or GitLab.
Start Code Generation
To generate code, click the Generate button.
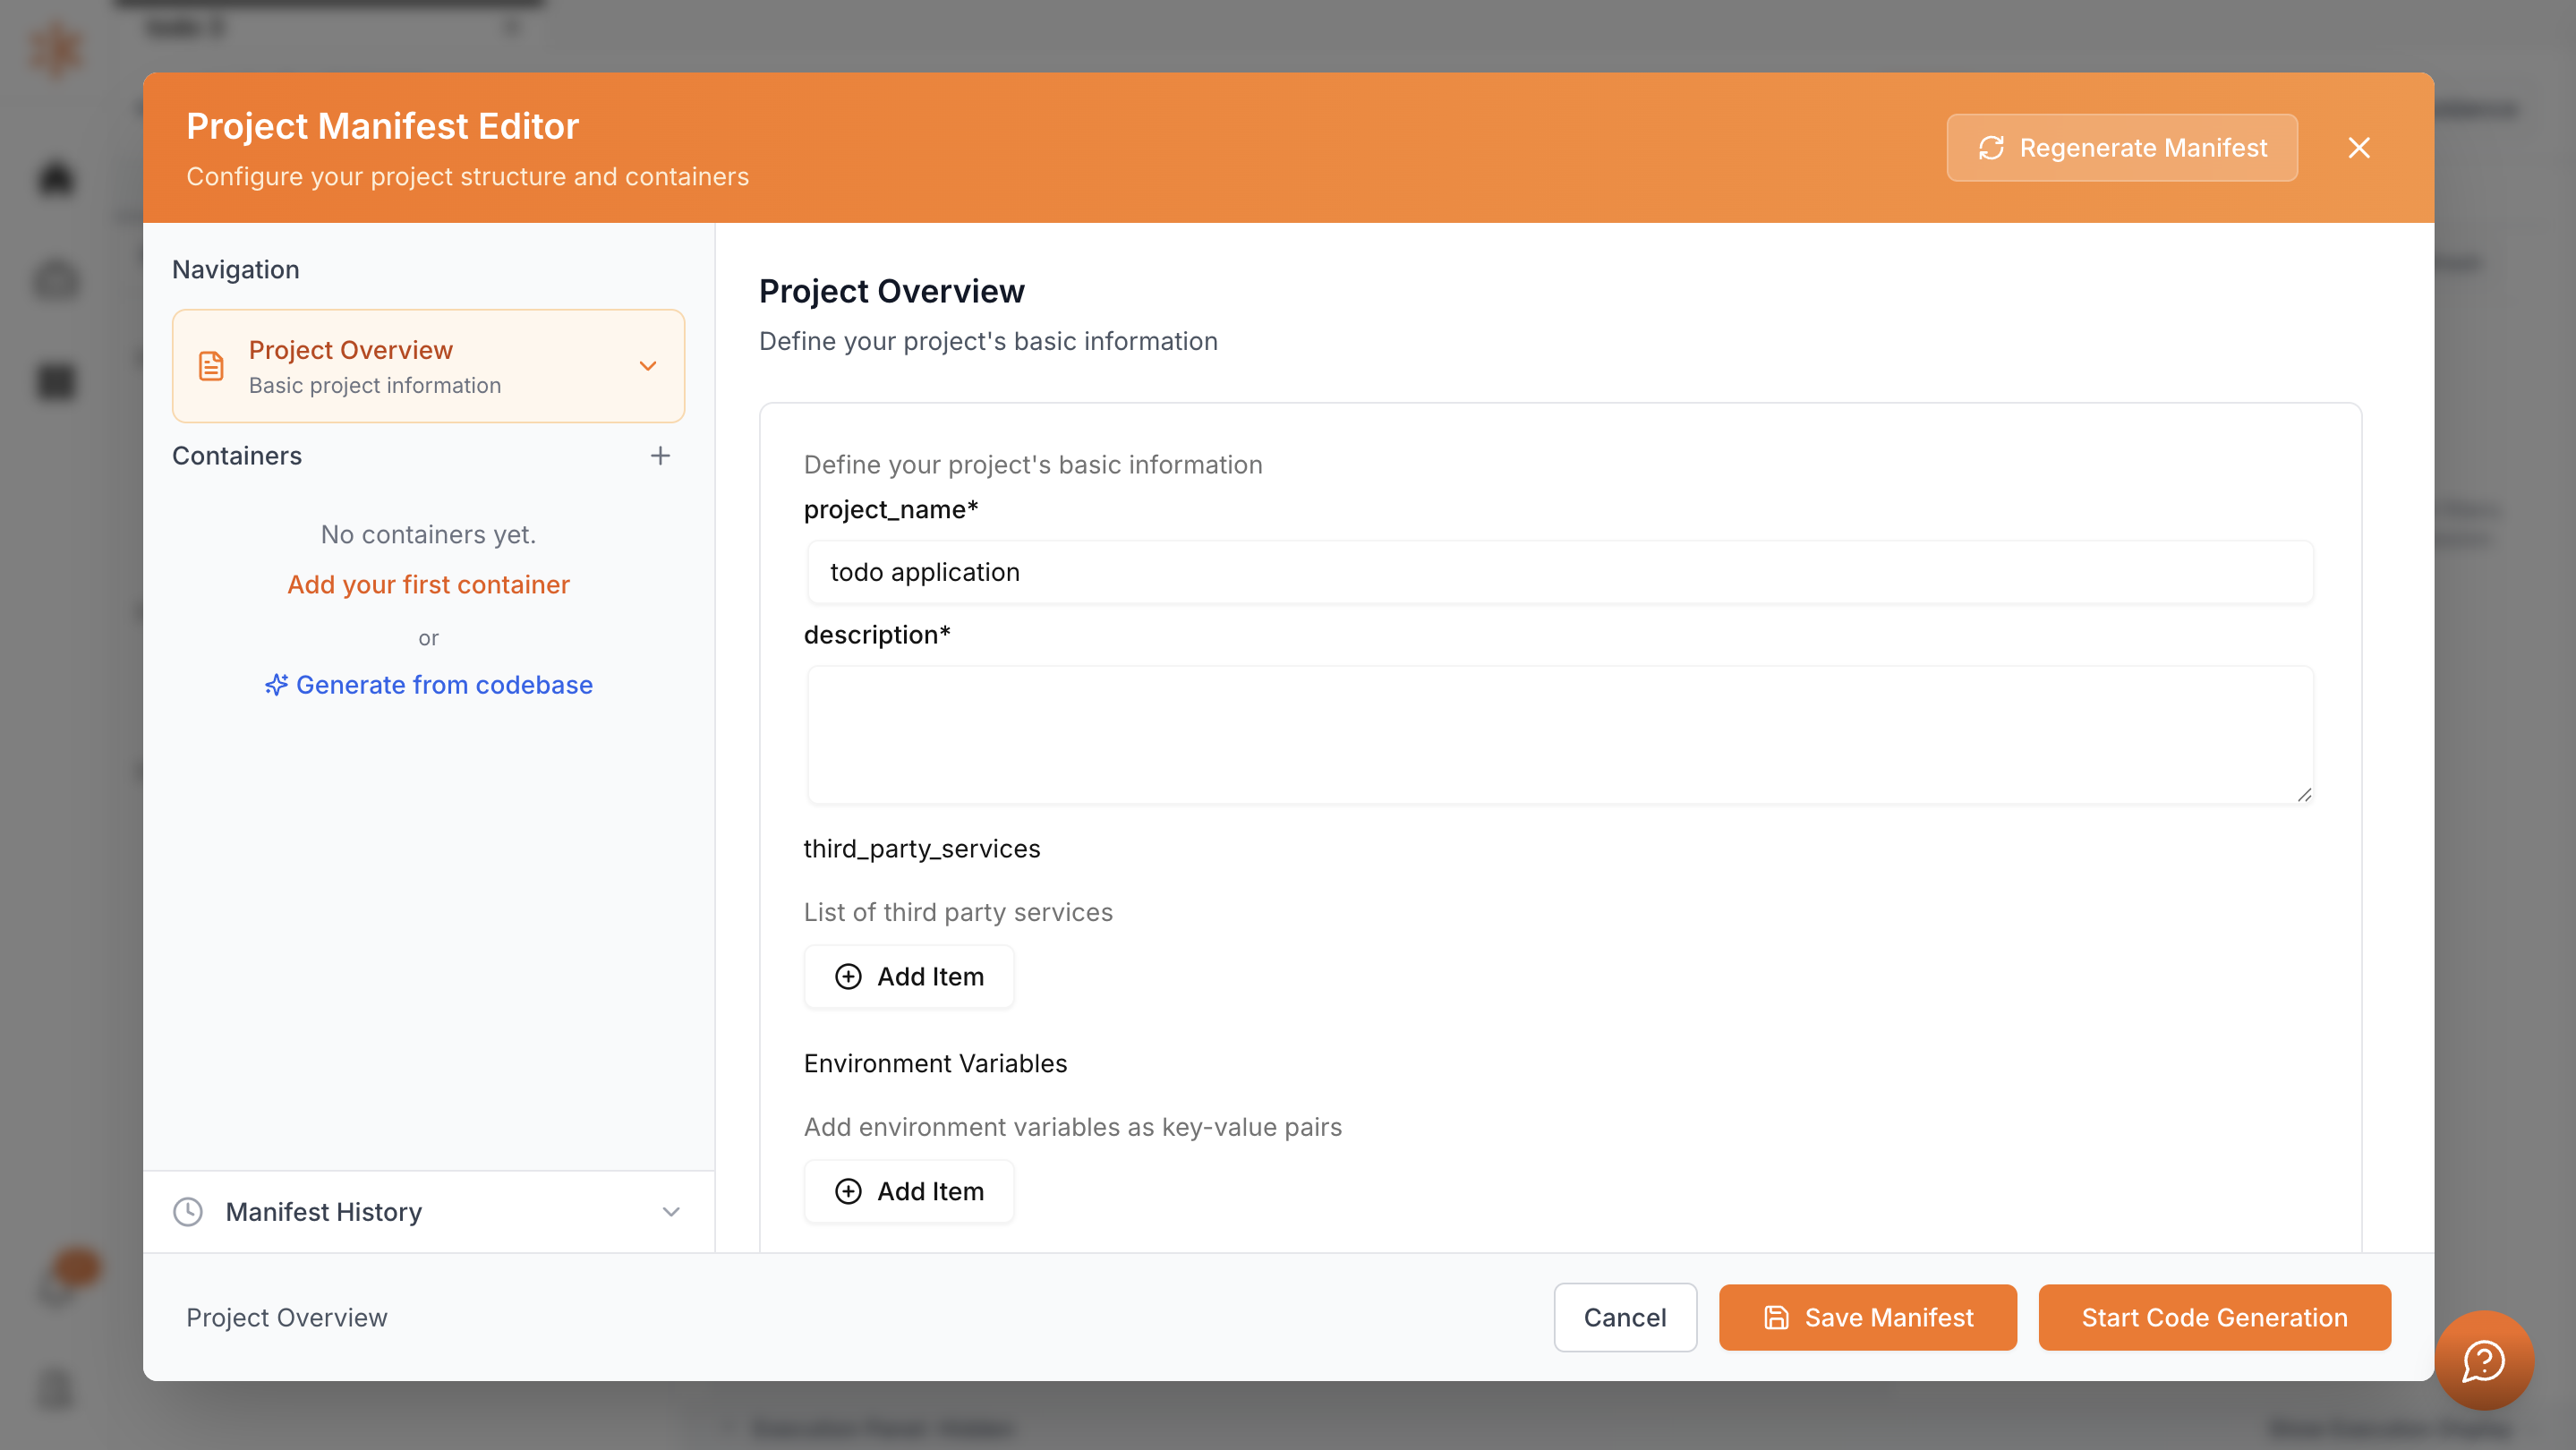
A window opens asking for project details. You need to fill them in and then click Start Code Generation.
Then click Start Code Generation. Kavia will begin generating your project code based on the setup and configurations you merged earlier..